Lighttpd is a high-performance, open-source web server known for its simplicity and efficiency. It minimizes resource consumption without sacrificing compliance, security, or flexibility, making it an integral part of the LLMP Stack — an acronym for Linux, Lighttpd, MySQL/MariaDB, and PHP/PHP-FPM.
In this guide, we will provide a step-by-step tutorial on how to install and set up the LLMP Stack on an Ubuntu 20.04 server. This includes installing Lighttpd, MariaDB, and PHP-FPM on an updated version of the Ubuntu 20.04 server.
Prerequisites
- An Ubuntu 20.04 server
- Root user privileges
- Basic knowledge of Ubuntu/Debian server management
Tasks to Accomplish
- Install Lighttpd Web Server
- Install and Configure MariaDB Database Server
- Install and Configure PHP-FPM
- Integrate Lighttpd with PHP-FPM
- Testing the setup
Step 1 – Install Lighttpd
To initiate the process, we’ll begin by installing the Lighttpd web server. The Lighttpd packages are readily available in the default Ubuntu repository. Update your package lists and proceed with the installation using the commands below:
sudo apt update
sudo apt install lighttpd
Once installation is complete, start the Lighttpd service and ensure it launches during system boot:
systemctl start lighttpd
systemctl enable lighttpd
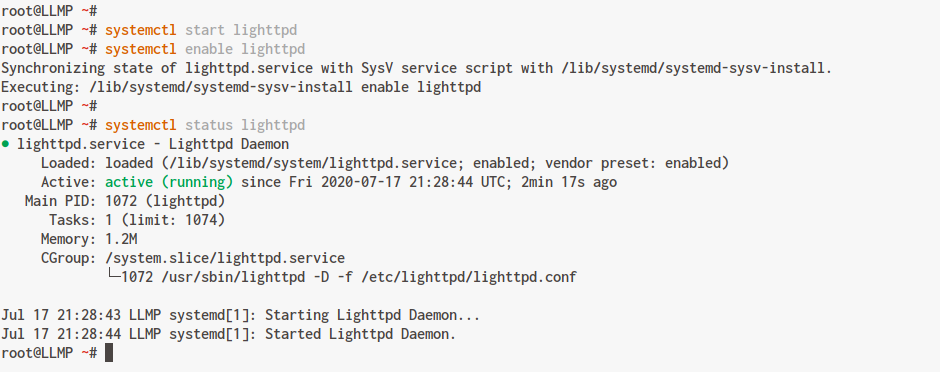
Verify that the Lighttpd service is active and running:
systemctl status lighttpd
Your output should resemble the following:
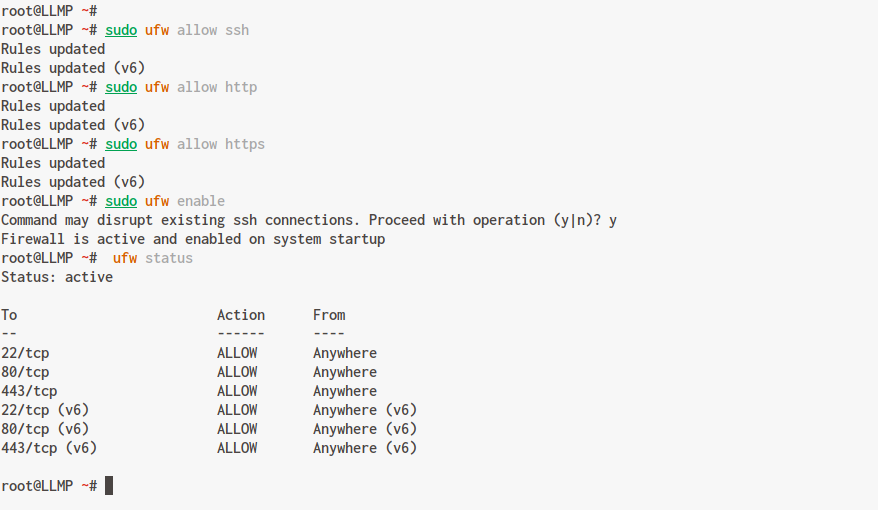
Next, adjust the firewall to allow HTTP, HTTPS, and SSH traffic:
sudo ufw allow ssh
sudo ufw allow http
sudo ufw allow https
Enable the UFW firewall using the following command and confirm by typing ‘y‘:
sudo ufw enable
Open a web browser and enter your server’s IP address:
http://10.3.3.40/
You should see the default Lighttpd index.html page:
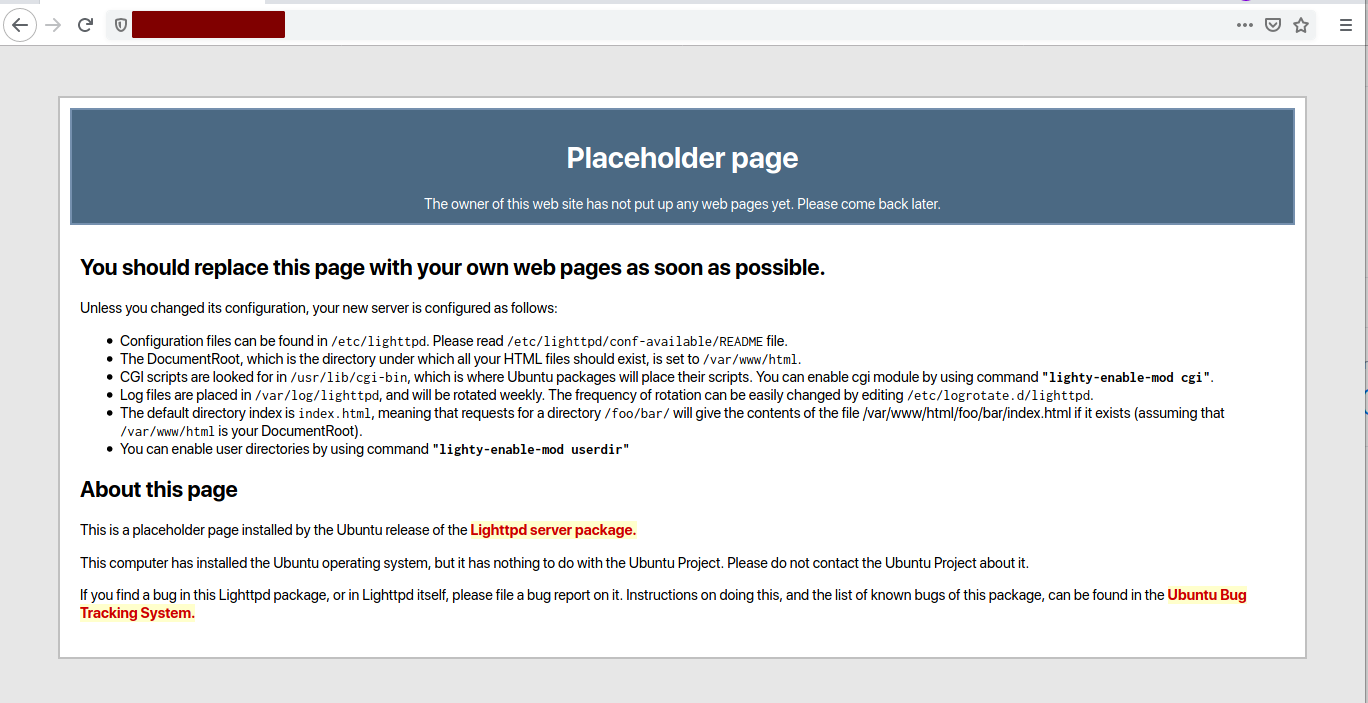
Congratulations, the Lighttpd web server is now installed on your Ubuntu 20.04 system.
Step 2 – Install and Configure MySQL Server
Next, we will install the MySQL database server and configure the root user.
Begin by installing the MySQL server and client:
sudo apt install mysql-server mysql-client
Once installation finishes, start the MySQL service and enable it to start at boot:
systemctl start mysql
systemctl enable mysql
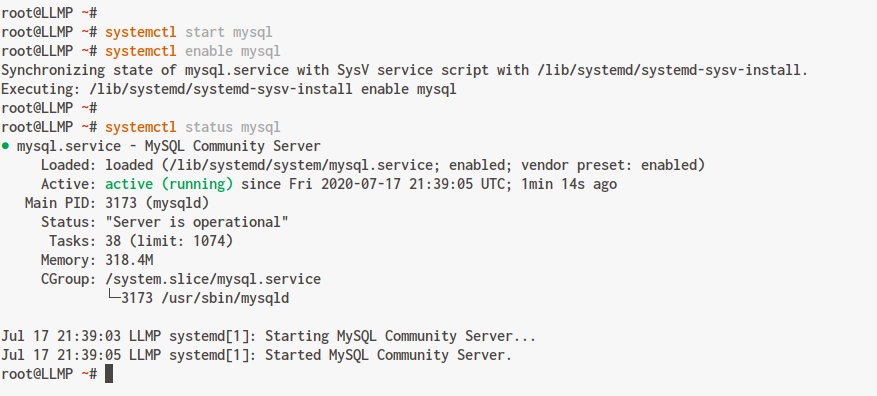
Check the status of the MySQL service:
systemctl status mysql
The expected output:
Enter the following command to secure your MySQL installation:
mysql_secure_installation
During the process, press ‘Enter’ and configure a new password for the MySQL root user. Respond with ‘Y’ to all prompts:
Press y|Y for Yes, any other key for No:
Please set the password for root here.
New password:
Re-enter new password:
Remove anonymous users? (Press y|Y for Yes, any other key for No) : Y
Disallow root login remotely? (Press y|Y for Yes, any other key for No) : Y
Remove test database and access to it? (Press y|Y for Yes, any other key for No) : Y
Reload privilege tables now? (Press y|Y for Yes, any other key for No) : Y
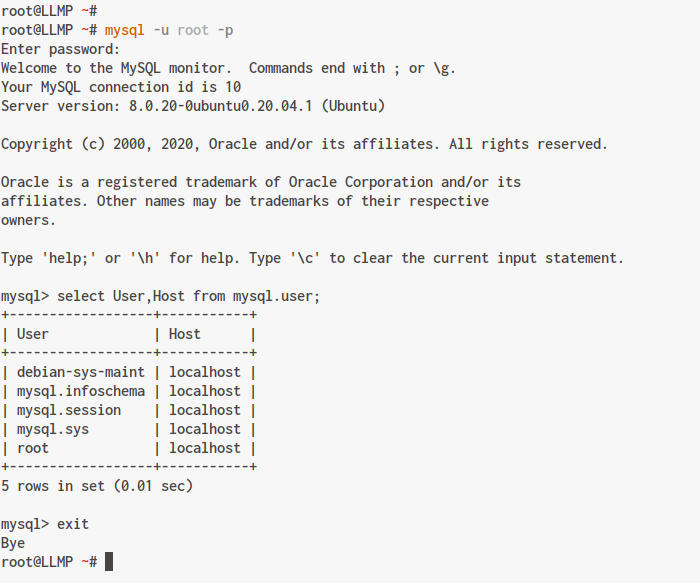
Login to the MySQL shell as the root user:
mysql -u root -p
Check existing MySQL users with the following query:
select User,Host from mysql.user;
Exit the MySQL shell by typing ‘exit’.
The MySQL server installation and configuration is complete.
Step 3 – Install and Configure PHP-FPM
Install PHP-FPM along with the necessary packages:
sudo apt install php-fpm php-cgi php-mysql
Navigate to the PHP-FPM configuration directory and edit ‘php.ini’:
cd /etc/php/7.4/fpm/
vim php.ini
Uncomment the following line to ensure FastCGI support is enabled:
cgi.fix_pathinfo=1
Save and close. Start the PHP-FPM service and enable it at startup:
systemctl start php7.4-fpm
systemctl enable php7.4-fpm

Verify the service is running:
ss -pl | grep php
systemctl status php7.4-fpm
The expected output:

PHP-FPM is active on your Ubuntu 20.04 system, using the ‘/var/run/php/php7.4-fpm.sock’ file path.
Step 4 – Configure Lighttpd and PHP-FPM
Navigate to the Lighttpd configuration directory:
cd /etc/lighttpd/conf-available/
Copy and modify the default PHP FastCGI configuration:
cp 15-fastcgi-php.conf 15-fastcgi-php.conf.orig
vim 15-fastcgi-php.conf
Replace the configuration with this content to ensure Lighttpd uses PHP-FPM:
fastcgi.server += ( ".php" =>
        ((
                "socket" => "/var/run/php/php7.4-fpm.sock",
                "broken-scriptfilename" => "enable"
        ))
)
Save and exit. Enable appropriate Lighttpd modules:
lighttpd-enable-mod fastcgi
lighttpd-enable-mod fastcgi-php
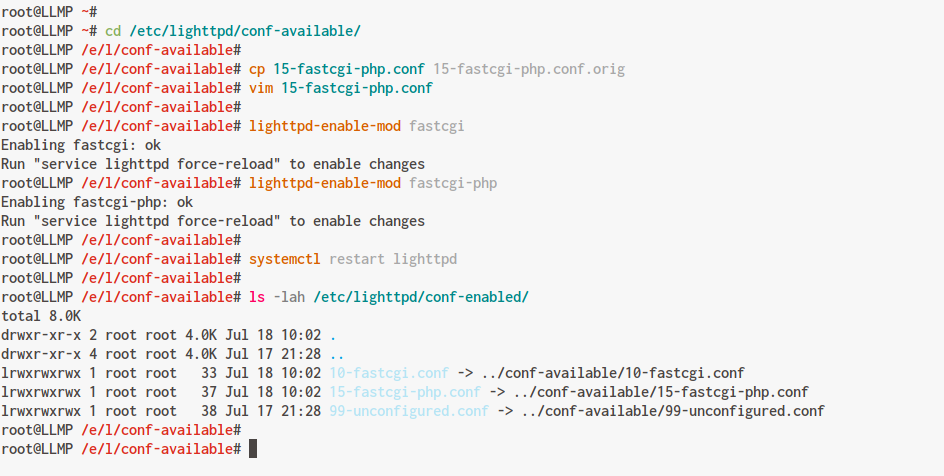
Verify the symlinks in the ‘conf-enabled’ directory:
ls -lah /etc/lighttpd/conf-enabled/
Confirm that both modules are linked:
Restart the Lighttpd service to apply changes:
systemctl restart lighttpd
Step 5 – Testing
Create a PHP file to verify the installation. Navigate to the default document root and create ‘info.php’:
cd /var/www/html/
vim info.php
Add the following content:
<?php
phpinfo();
?>
Save and close. Open your web browser and access:
http://10.10.10.30/info.php
The expected output:
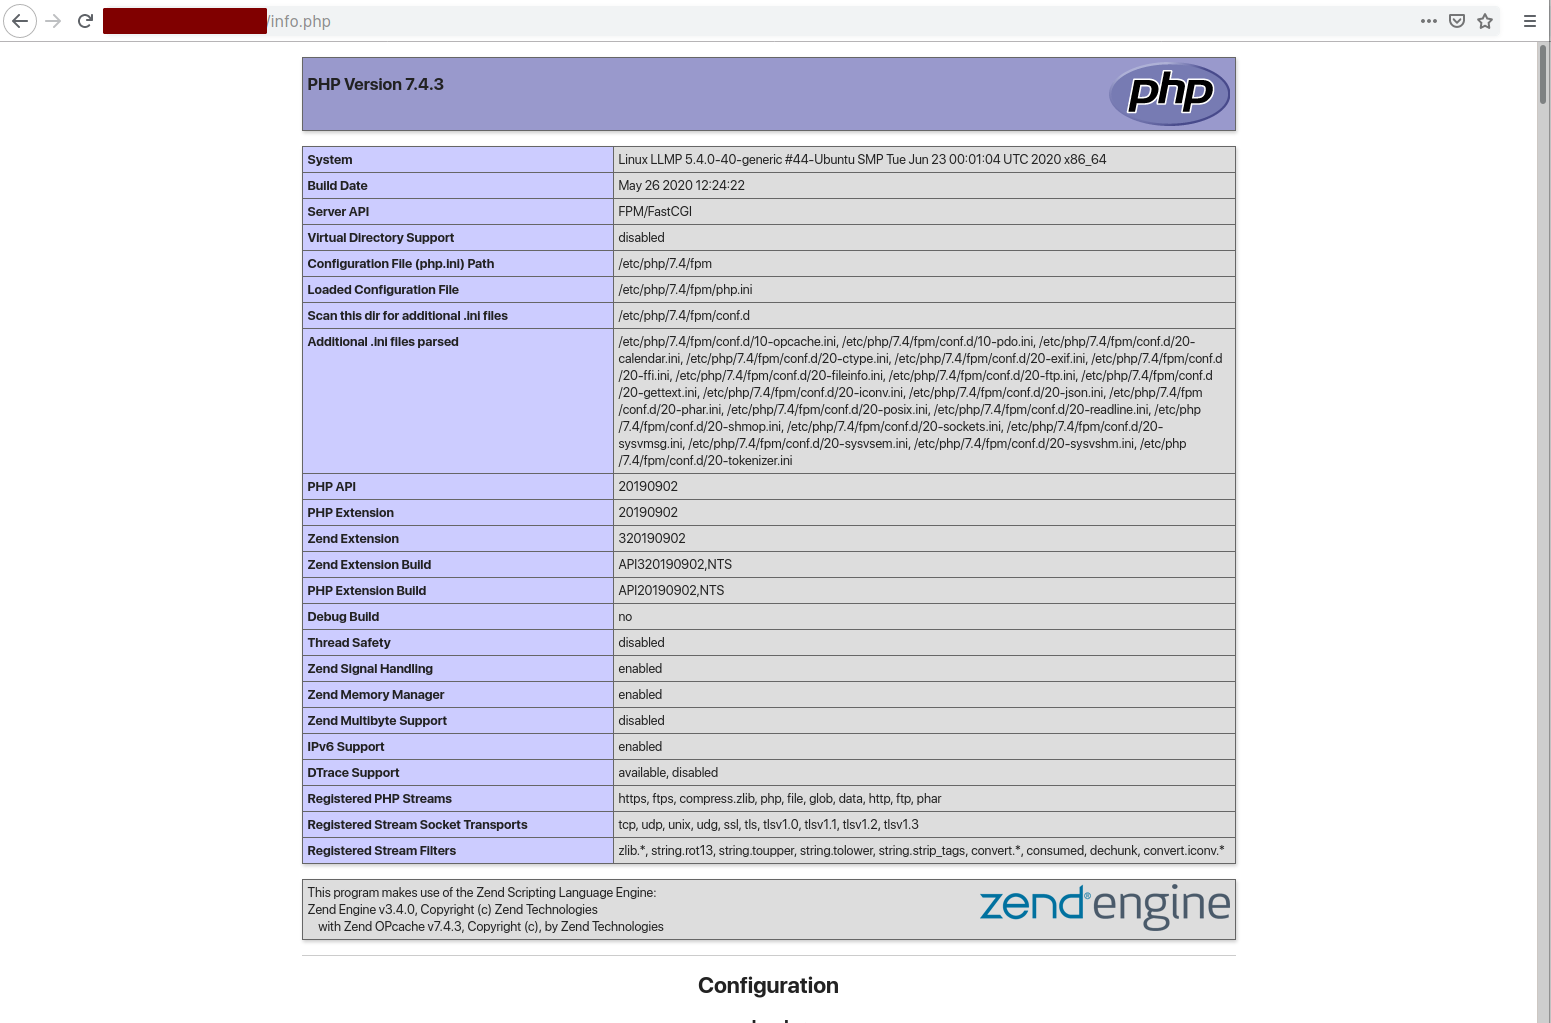
The installation and configuration of the LLMP Stack on Ubuntu 20.04 is complete. Your PHP info page should be accessible, displaying the current setup and configuration details.
FAQ
Q1: What is the LLMP stack?
A1: The LLMP Stack comprises Linux, Lighttpd, MySQL (or MariaDB), and PHP (using PHP-FPM), forming a web server environment.
Q2: Why choose Lighttpd over Apache or Nginx?
A2: Lighttpd is known for its efficiency in resource usage, making it ideal for environments with limited resources or when high performance is a priority.
Q3: Can I use MariaDB instead of MySQL?
A3: Yes, MariaDB is a drop-in replacement for MySQL and can be used interchangeably.
Q4: How do I access my Lighttpd server from the web?
A4: Access your server by entering its IP address in a web browser. For instance, use http:///.
Q5: What if I encounter issues during installation?
A5: Ensure all prerequisite software is installed correctly, check for syntax errors in configuration files, and consult the Lighttpd and Ubuntu documentation for help.
