Apache Tomcat, developed by the Apache Software Foundation, is a robust, open-source Java Servlet implementation. Not only does it serve as a Java Servlet container, but it also supports a range of Java server technologies like JavaServer Pages (JSP), Java Expression Language, and Java WebSocket.
It provides an HTTP web server environment for Java applications and offers support for HTTP/2, OpenSSL for JSSE, and TLS virtual hosting.
In this comprehensive guide, you will learn how to install and configure Apache Tomcat version 9.0.34 alongside Java OpenJDK 11 on Ubuntu Server 20.04.
Prerequisites
This tutorial is designed for installation on a server running Ubuntu 20.04, equipped with at least 1 GB of RAM, 25 GB of free disk space, and 2 CPUs.
What You Will Learn
- Installing Java OpenJDK
- Setting up the JAVA_HOME Environment Variable
- Downloading and Installing Apache Tomcat 9.0.34
- Configuring Apache Tomcat as a Systemd Service
- Enabling Apache Tomcat Authentication
- Testing the Setup
Step 1: Install Java OpenJDK
Let’s begin with the installation of Java OpenJDK on the Ubuntu 20.04 Server. Ubuntu’s repository includes multiple versions of Java, including OpenJDK 11.
Execute the following commands to update your system and install Java OpenJDK 11:
sudo apt update
sudo apt install default-jdk
Verify the installation by checking the Java version:
java -version
openjdk version "11.0.7" 2020-04-14
OpenJDK Runtime Environment (build 11.0.7+10-post-Ubuntu-3ubuntu1)
OpenJDK 64-Bit Server VM (build 11.0.7+10-post-Ubuntu-3ubuntu1, mixed mode, sharing)
Step 2: Setup JAVA_HOME Environment Variable
To set up the JAVA_HOME environment variable, first check all Java versions on your system:
sudo update-alternatives --config java
If your only Java version is OpenJDK 11, you will see:
There is only one alternative in link group java (providing /usr/bin/java): /usr/lib/jvm/java-11-openjdk-amd64/bin/java
Nothing to configure.
The installation directory for Java OpenJDK 11 is /usr/lib/jvm/java-11-openjdk-amd64. Add this directory to your system’s environment variables. Edit /etc/environment:
vim /etc/environment
Append the following line:
JAVA_HOME="/usr/lib/jvm/java-11-openjdk-amd64"
Next, add the JAVA_HOME variable to your ~/.bashrc file:
vim ~/.bashrc
Add these lines:
export JAVA_HOME=/usr/lib/jvm/java-11-openjdk-amd64
export PATH=$JAVA_HOME/bin:$PATH
Reload your ~/.bashrc configuration and verify:
source ~/.bashrc
echo $JAVA_HOME

Step 3: Install and Configure Apache Tomcat
Download and install Apache Tomcat 9.0.34, ensuring it runs under the user ‘tomcat’ in /opt/tomcat.
Create a new ‘tomcat’ user and group:
groupadd tomcat
useradd -s /bin/false -g tomcat -d /opt/tomcat tomcat
Download Apache Tomcat and extract it:
cd /opt/
wget -q https://downloads.apache.org/tomcat/tomcat-9/v9.0.34/bin/apache-tomcat-9.0.34.tar.gz
tar -xf apache-tomcat-9.0.34.tar.gz
mv apache-tomcat-9.*/ tomcat/
Change the ownership of the Tomcat directory:
chown -R tomcat:tomcat /opt/tomcat
chmod +x /opt/tomcat/bin/*

Create and load the ‘CATALINA_HOME’ environment variable:
vim ~/.bashrc
export CATALINA_HOME=/opt/tomcat
Reload and verify:
source ~/.bashrc
echo $CATALINA_HOME
Start Apache Tomcat:
$CATALINA_HOME/bin/startup.sh
Note: Apache Tomcat runs on port ‘8080’. Verify by:
ss -plnt
Stop Tomcat and finalize ownership settings:
$CATALINA_HOME/bin/shutdown.sh
chown -hR tomcat:tomcat /opt/tomcat/
Step 4: Setup Apache Tomcat as a Systemd Service
Create a ‘tomcat.service’ systemd service file:
cd /etc/systemd/system/
vim tomcat.service
Add this configuration:
[Unit]
Description=Apache Tomcat 9 Servlet Container
After=syslog.target network.target

[Service]
User=tomcat
Group=tomcat
Type=forking
Environment=CATALINA_PID=/opt/tomcat/tomcat.pid
Environment=CATALINA_HOME=/opt/tomcat
Environment=CATALINA_BASE=/opt/tomcat
ExecStart=/opt/tomcat/bin/startup.sh
ExecStop=/opt/tomcat/bin/shutdown.sh
Restart=on-failure

[Install]
WantedBy=multi-user.target
Reload the systemd manager and start the service:
systemctl daemon-reload
systemctl start tomcat
systemctl enable tomcat
Check the status:
systemctl status tomcat

Step 5: Enable Apache Tomcat Authentication
Enhance Tomcat security by enabling authentication. Edit the tomcat-users.xml configuration file:
cd /opt/tomcat/conf
vim tomcat-users.xml
Configure as follows (replace with your own credentials):
<role rolename="manager-gui"/>
<user username="yourusername" password="yourpassword" roles="manager-gui,admin-gui"/>
Adjust context.xml to facilitate remote connections:
cd /opt/tomcat/webapps/manager/META-INF/
vim context.xml
<!-- <Valve className="org.apache.catalina.valves.RemoteAddrValve"
 allow="127\.\d+\.\d+\.\d+|::1|0:0:0:0:0:0:0:1" /> -->
Repeat for the host-manager directory. Restart Tomcat to apply changes:
systemctl restart tomcat
Step 6: Testing
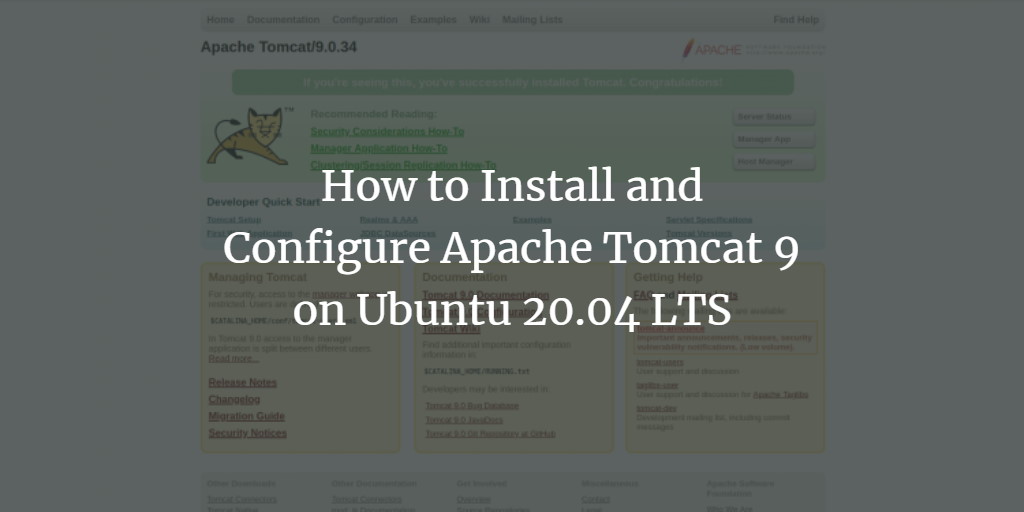
Access the Tomcat server by navigating to your server IP with port 8080. The default page should display:
http://your-server-ip:8080/
Access the manager application for further management:
http://your-server-ip:8080/manager/html
Login with the credentials set earlier to access the Tomcat Manager Dashboard.
Similarly, the virtual host manager can be accessed at:
http://your-server-ip:8080/host-manager/html
FAQ
What is Apache Tomcat used for?
Apache Tomcat is used to host and run Java web applications. It functions as a Java Servlet container that provides a “pure Java” HTTP web server environment for Java code to run.
Why do we need JAVA_HOME?
JAVA_HOME environment variable points to the directory where Java is installed. It’s used by various applications that require Java to access the Java environment correctly.
Can I install Tomcat using yum or apt?
Yes, Tomcat can be installed using package managers like apt on Ubuntu. However, installing manually from the binaries allows greater control over the configuration and installation path.
How do I access the Tomcat manager app?
The Tomcat manager app can be accessed at http://your-server-ip:8080/manager/html. You need to configure a user with manager-gui role in tomcat-users.xml to gain access.
