In this article, we will explore what a Terraform state is and how to efficiently manage it using an S3 Bucket. Additionally, we will discuss the concept of locking in Terraform and demonstrate its implementation. To achieve this, we need to create an S3 Bucket and a DynamoDB Table on AWS.
Before moving forward, let’s first grasp the essentials of Terraform State and Lock.
- Terraform State (terraform.tstate file):
The state file stores data about the resources Terraform has created, organized according to the configurations in your Terraform scripts. For instance, if you deploy an EC2 instance using Terraform, the state file maintains details about that specific resource on AWS. - S3 as a Backend to Store the State File:
When collaborating with a team, storing the Terraform state file remotely is advantageous. This approach ensures that team members have seamless access to the state information. For remote state storage, you’ll need an S3 bucket and Terraform’s S3 backend resource. - Lock:
Storing the state file remotely increases the risk of concurrent modifications. Locking mechanisms prevent this by ensuring that the state is “locked” when being used. This can be implemented via a DynamoDB table that Terraform utilizes to manage these locks.
This guide will walk through every step, from manually creating an S3 Bucket and adding the necessary policies, to setting up a DynamoDB Table using Terraform, and configuring both to handle state and locks for Terraform usage.
Pre-requisites
- Basic understanding of Terraform.
- Basic understanding of S3 Bucket.
- Terraform installed on your system.
- An AWS Account (Create one here if needed).
- ‘access_key’ & ‘secret_key’ for an AWS IAM User. (Learn to create an IAM user with these keys here.)
Project Steps
- Create an S3 Bucket and Attach a Policy to it.
- Create a DynamoDB Table using Terraform.
- Create an EC2 instance using Terraform configuration files.
- Delete the created EC2 instance using Terraform.
Creating an S3 Bucket and Attaching a Policy
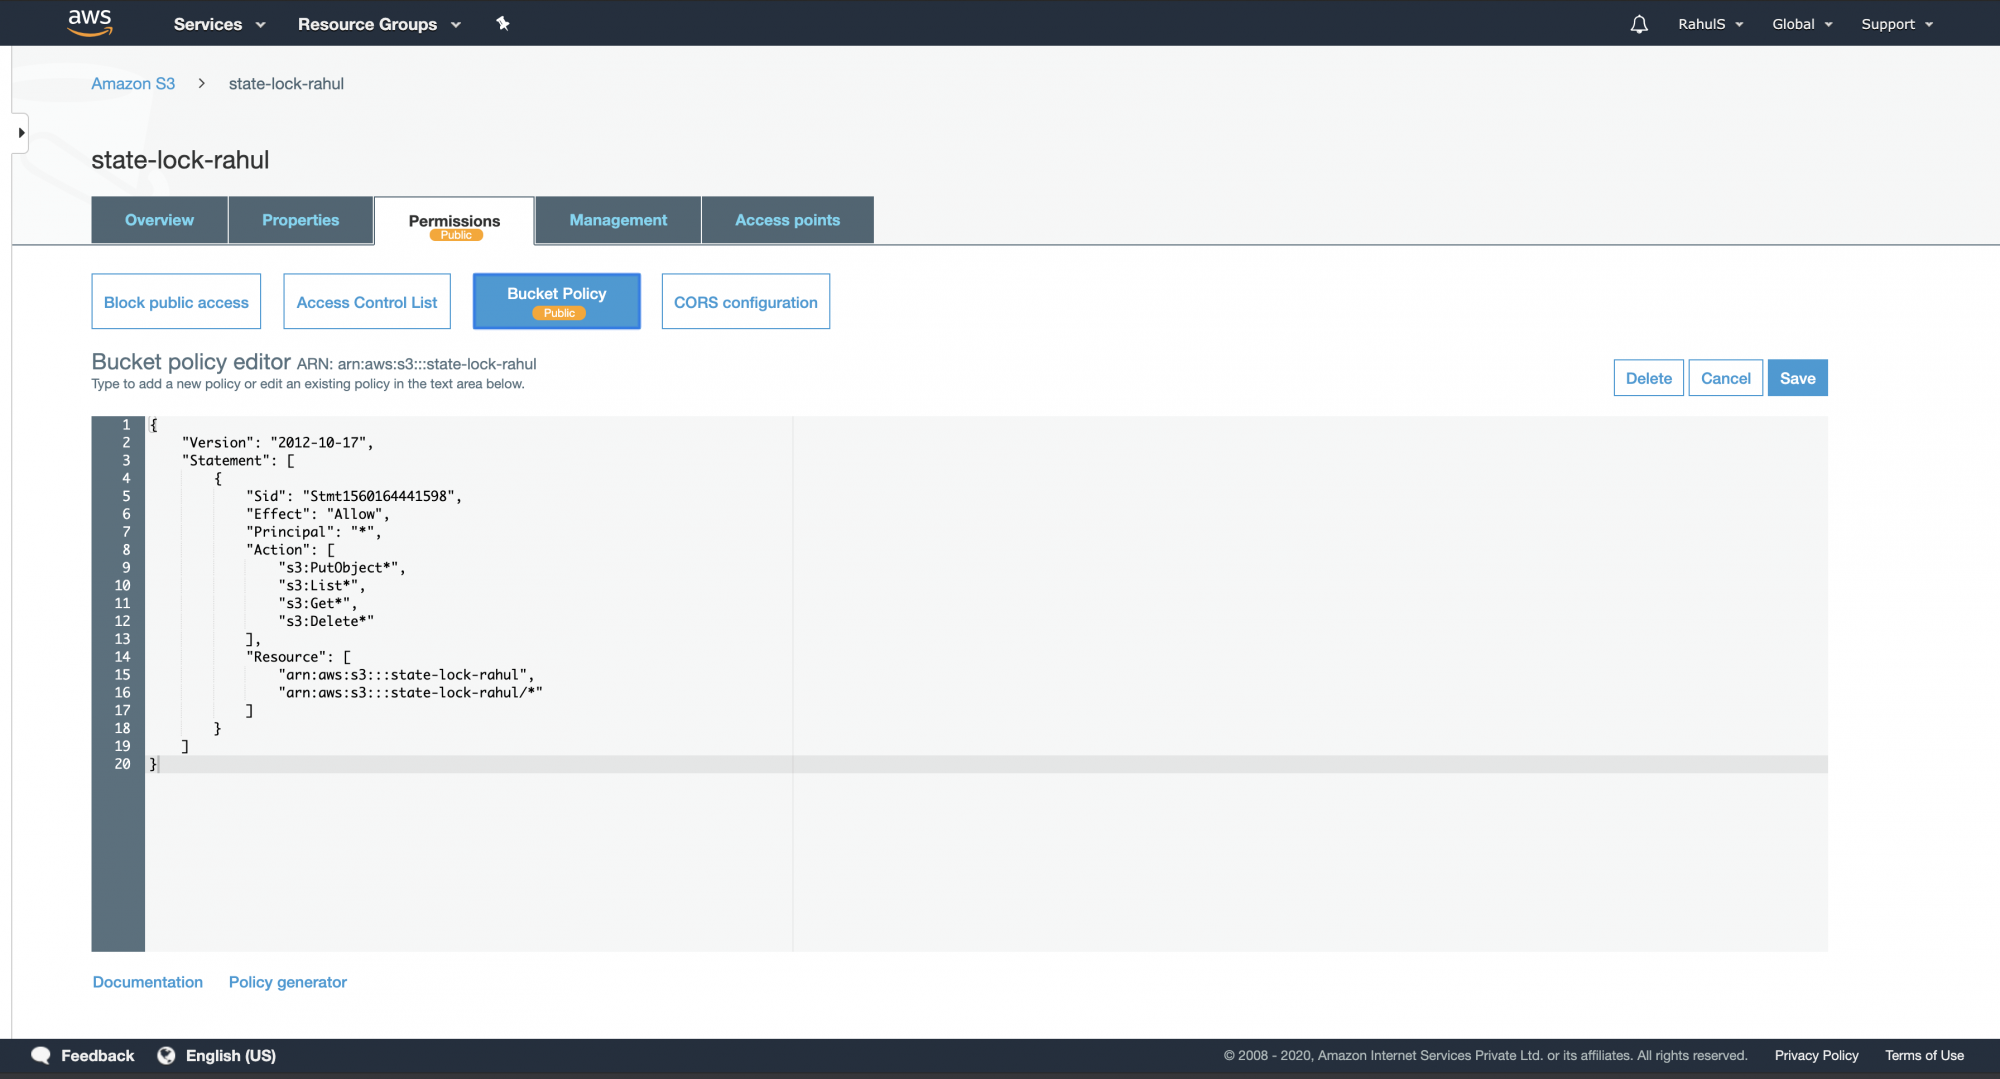
Refer to this guide to create an S3 Bucket in your AWS Account. After creation, apply the policy below to it:
{
    "Version": "2012-10-17",
    "Statement": [
        {
            "Sid": "Stmt1560164441598",
            "Effect": "Allow",
            "Principal": "*",
            "Action": [
                "s3:PutObject*",
                "s3:List*",
                "s3:Get*",
                "s3:Delete*"
            ],
            "Resource": [
                "arn:aws:s3:::state-lock-rahul",
                "arn:aws:s3:::state-lock-rahul/*"
            ]
        }
    ]
}
Configure the “AWS_ACCESS_KEY_ID” and “AWS_SECRET_ACCESS_KEY” environment variables to enable AWS CLI functionality.
Export these credentials using the following commands:
export AWS_ACCESS_KEY_ID=AKIAQ6GAIA5XC2XMMM7W
  export AWS_SECRET_ACCESS_KEY=BqmubAkz1L2OOsxcvJLjl3usE0XIn5WNtY+Qaxfb
  echo $AWS_ACCESS_KEY_ID
  echo $AWS_SECRET_ACCESS_KEY
Test your configuration by listing all S3 buckets with the command:
aws s3 ls

Creating a DynamoDB Table using Terraform
Create ‘variables.tf’ to define the necessary variables.
vim variables.tf
variable "region" {
     description = "Region of AWS VPC"
}

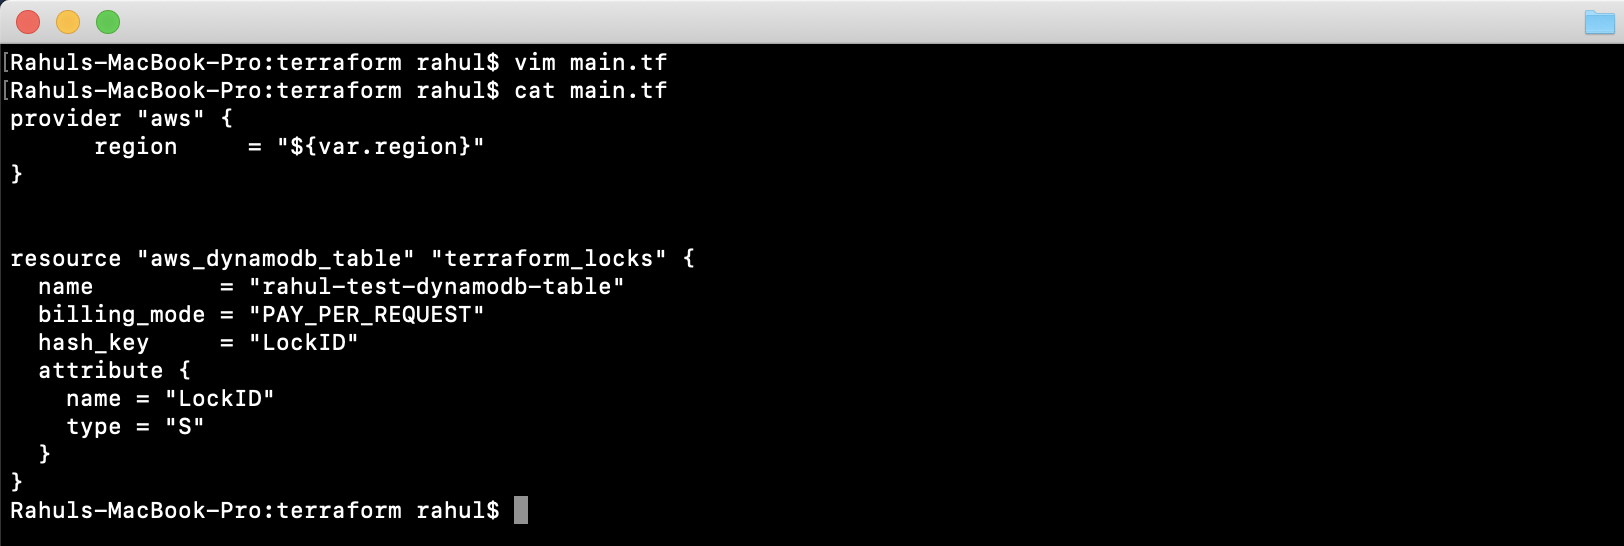
Create ‘main.tf’ to specify the DynamoDB Table creation. This will read values from ‘variables.tf’. This table will provide locking capabilities.
provider "aws" {
      region     = "${var.region}"
}

resource "aws_dynamodb_table" "terraform_locks" {
    name         = "rahul-test-dynamodb-table"
    billing_mode = "PAY_PER_REQUEST"
    hash_key     = "LockID"
    attribute {
        name = "LockID"
        type = "S"
    }
}
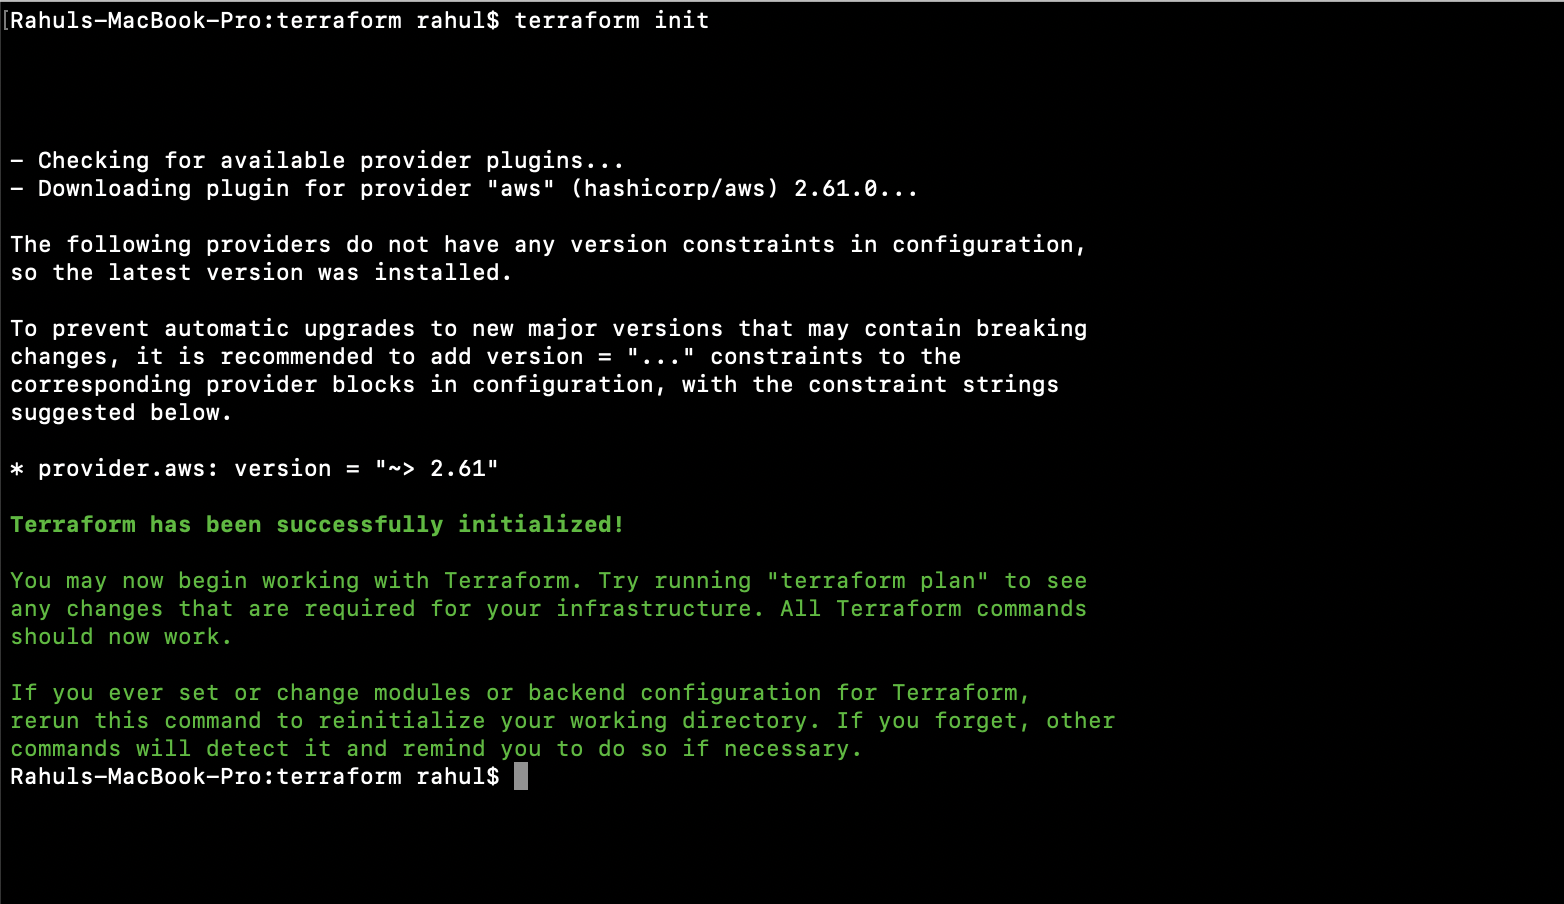
Initialize your Terraform configuration using:
terraform init
Plan your Terraform configuration with:
terraform plan
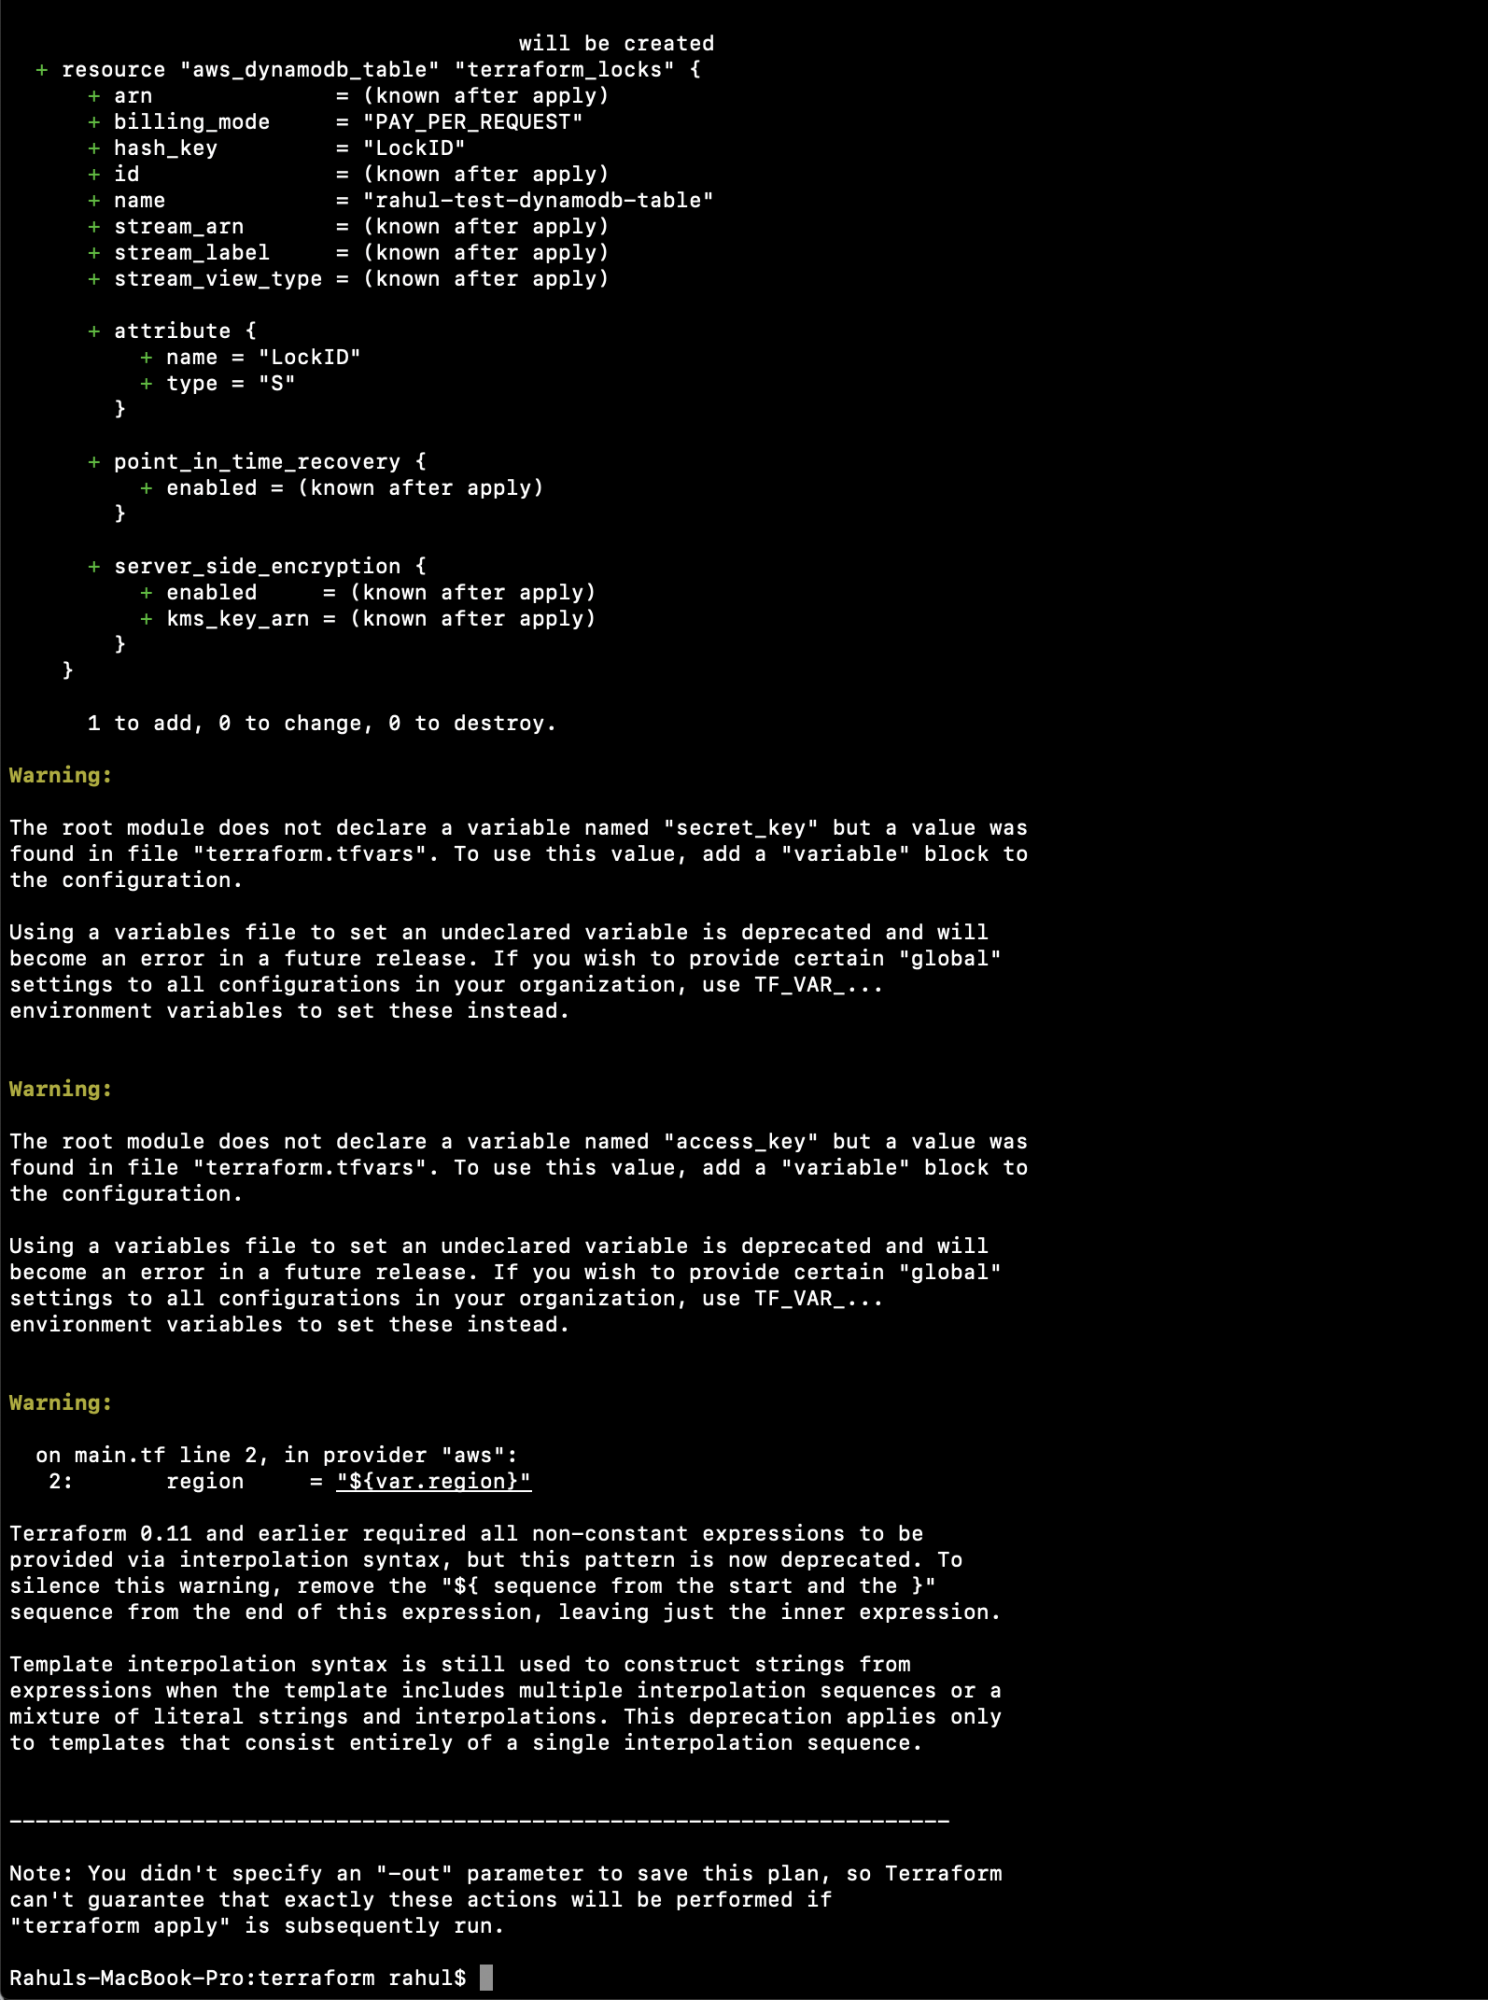
Apply the changes with:
terraform apply
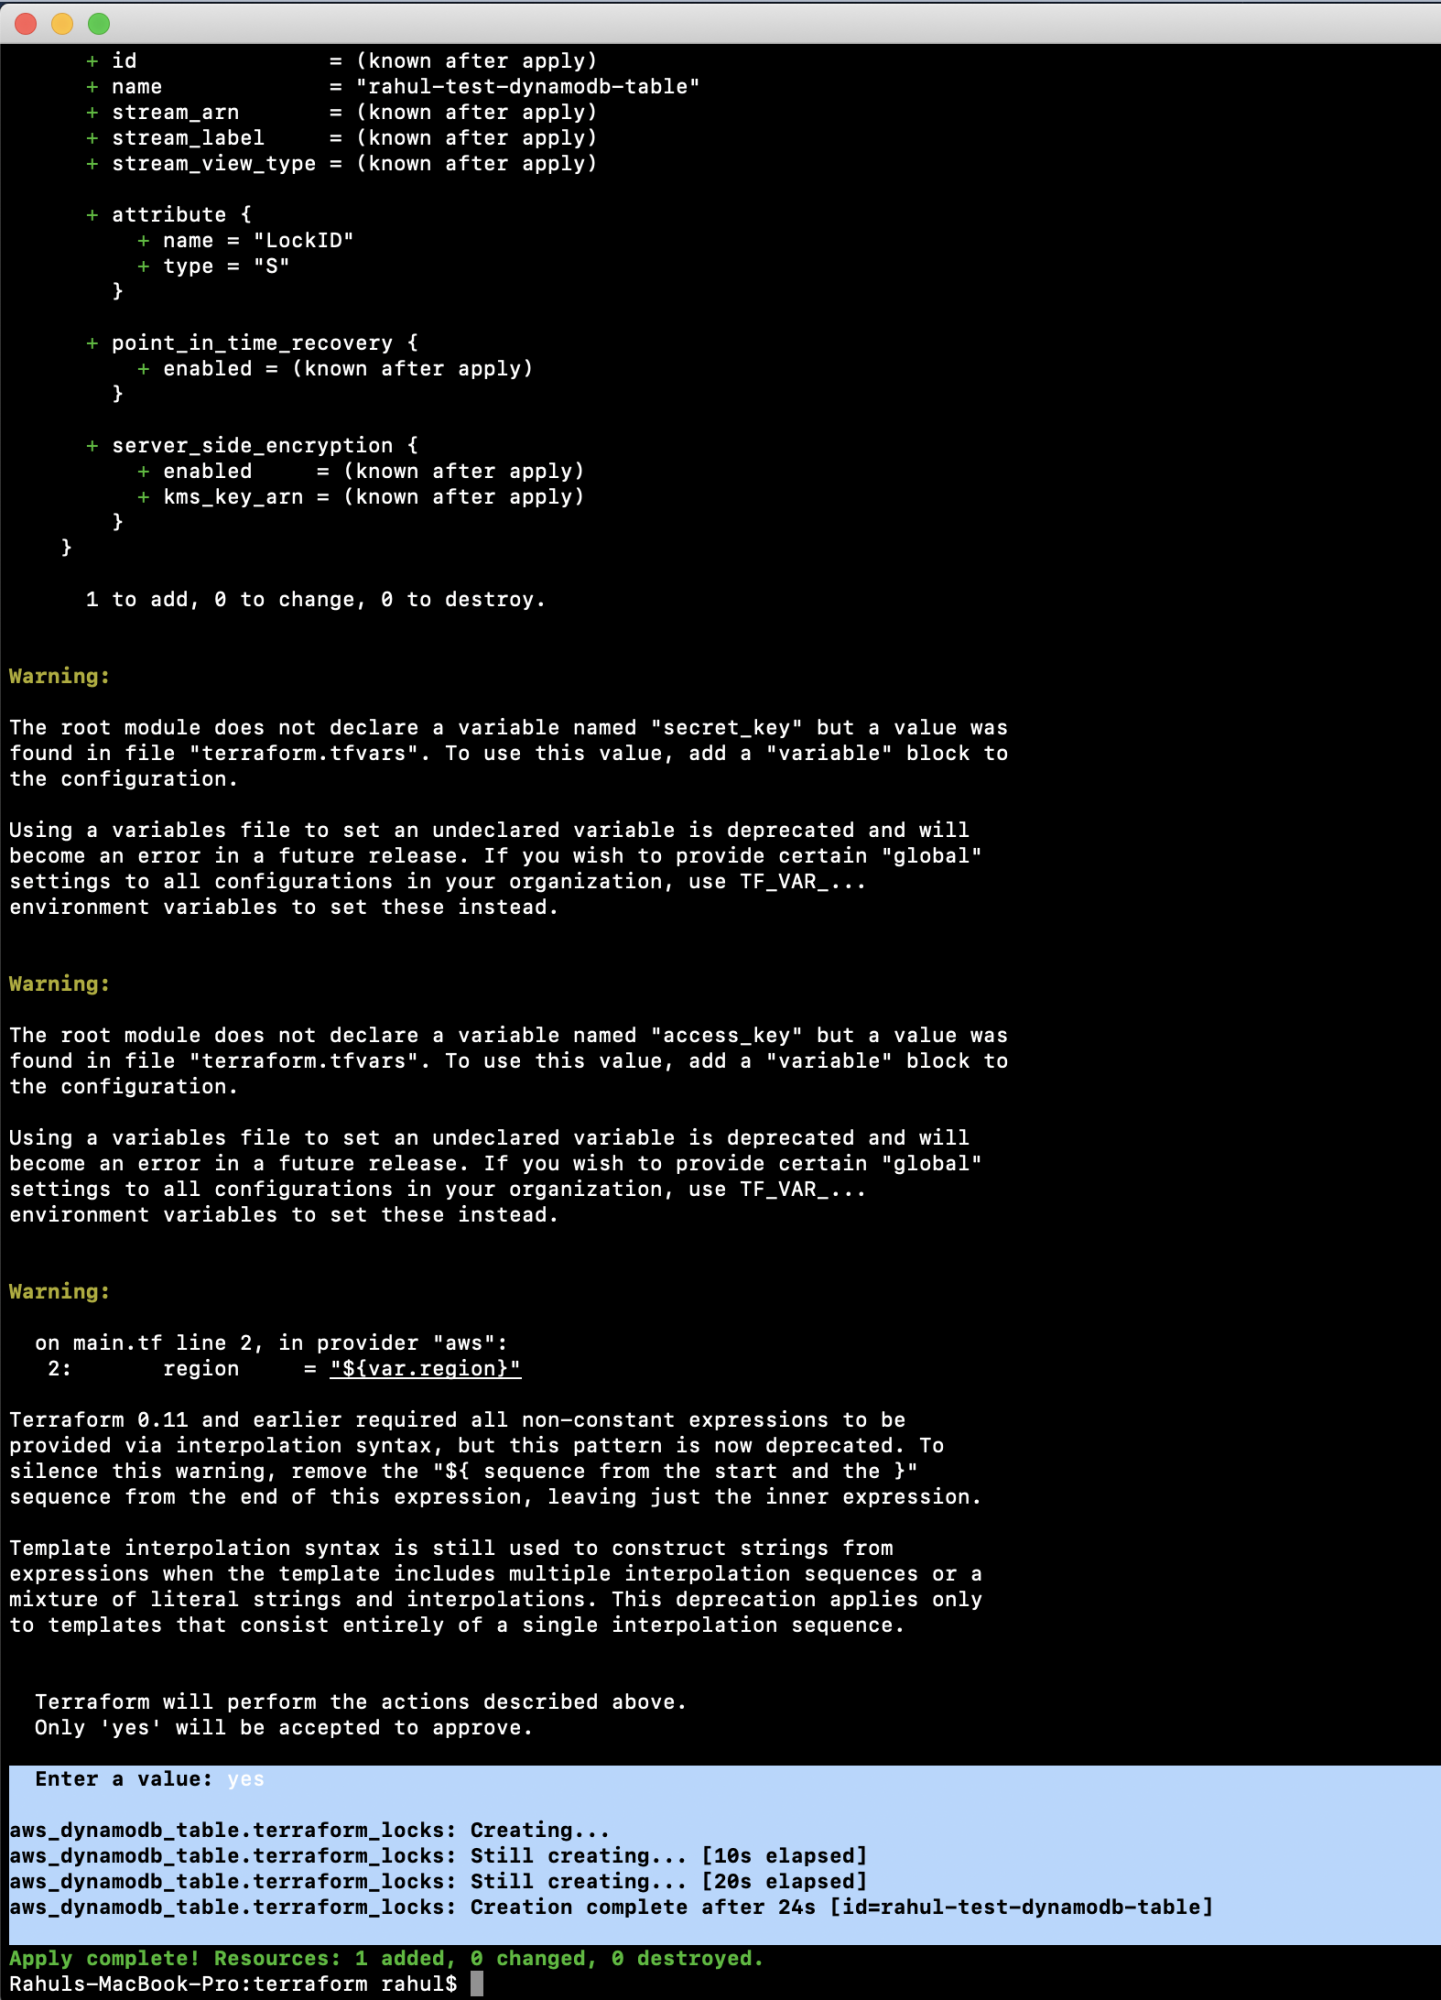
Verify the table creation on the DynamoDB Dashboard.

We have thus far set up an S3 Bucket and a DynamoDB Table. The next step is configuring S3 as a Backend for state storage and DynamoDB for locking:
Modify ‘main.tf’ with the following configuration:
vim main.tf
provider "aws" {
      region     = "${var.region}"
}

terraform {
  backend "s3" {
    bucket         = "state-lock-rahul"
    key            = "test/terraform.tfstate"
    region         = "eu-west-3"
    dynamodb_table = "rahul-test-dynamodb-table"
  }
}

resource "aws_dynamodb_table" "terraform_locks" {
  name         = "rahul-test-dynamodb-table"
  billing_mode = "PAY_PER_REQUEST"
  hash_key     = "LockID"
  attribute {
    name = "LockID"
    type = "S"
  }
}
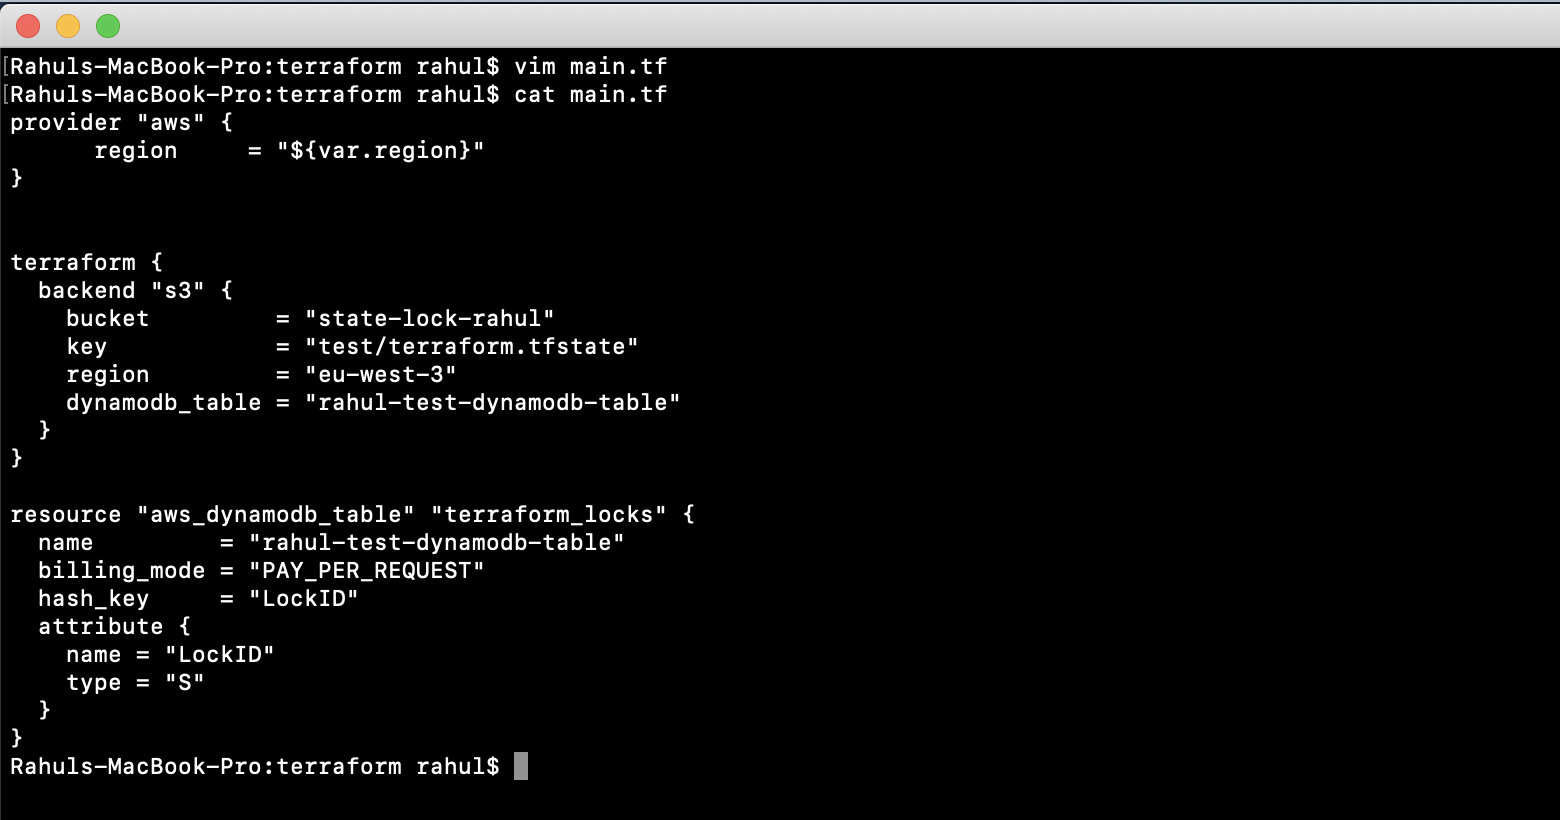
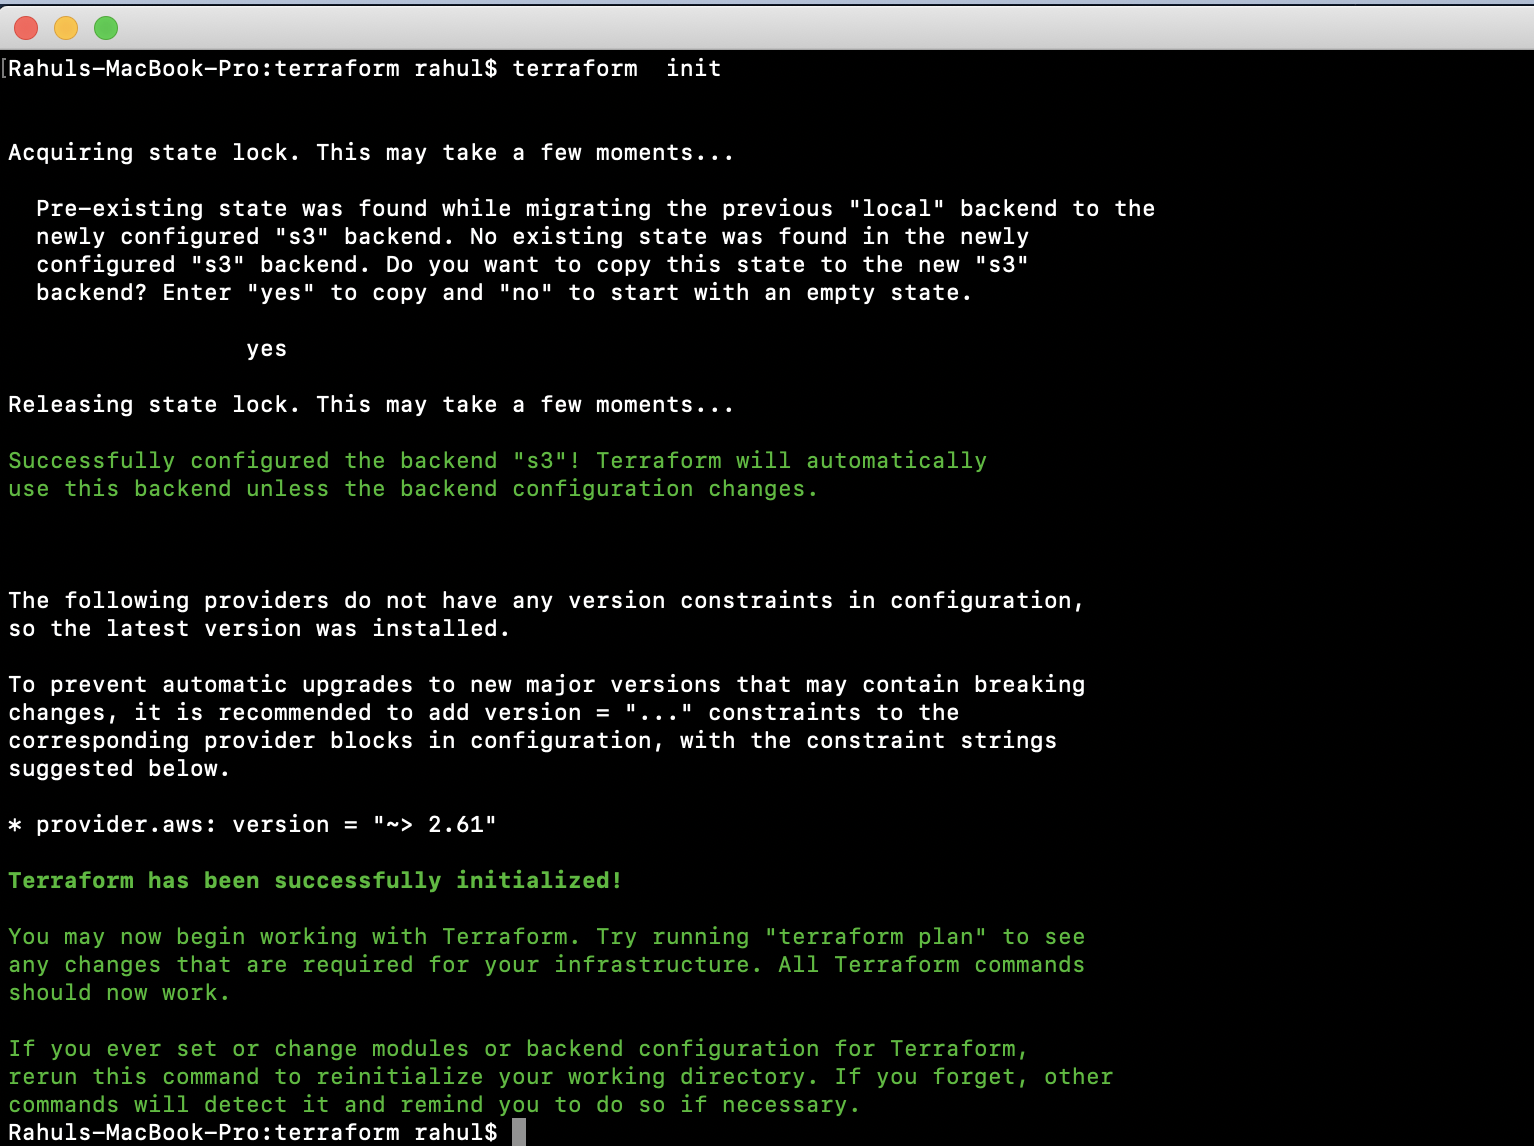
Attempting “terraform plan” will prompt a reinitialization:
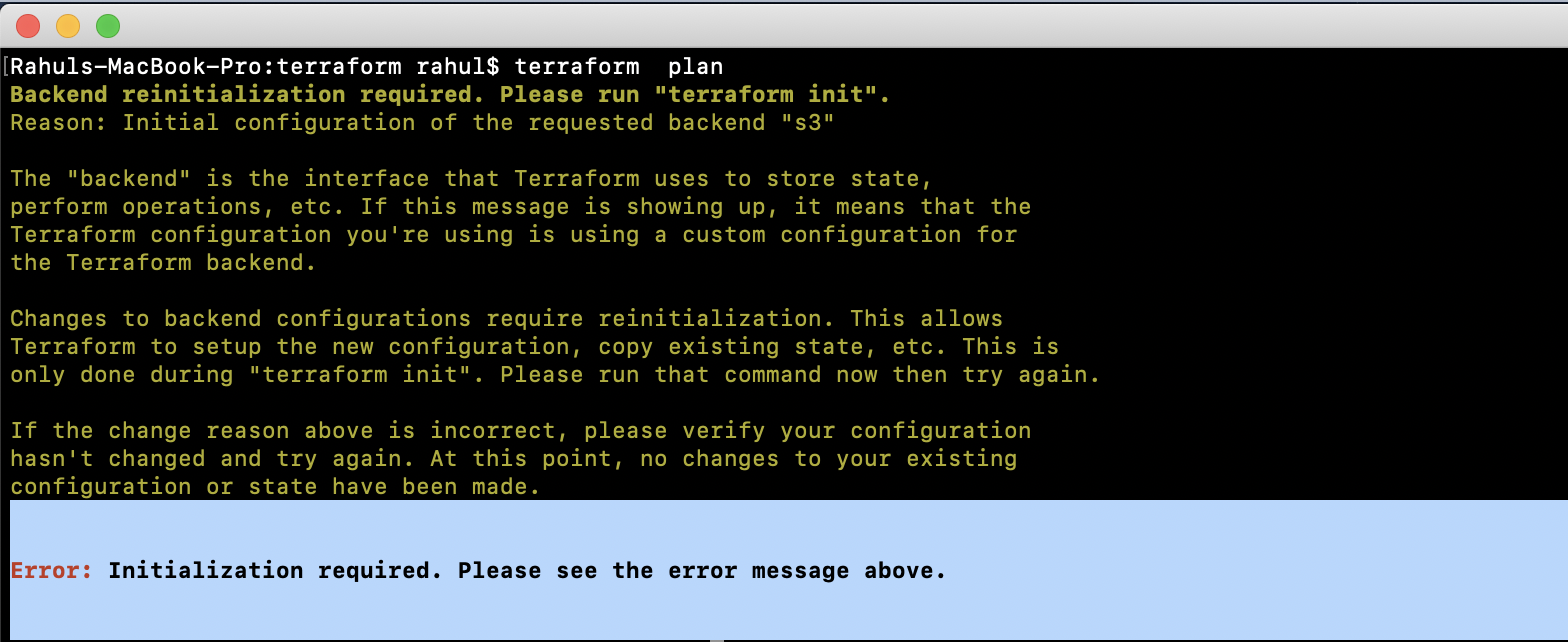
Reinitialize the backend using:
terraform init
Following this, observe the changes where Terraform utilizes the DynamoDB Table for locking. Reinitializing the backend copies the local state file to the S3 Bucket.
Confirm state file presence in the S3 Bucket from the AWS Console.

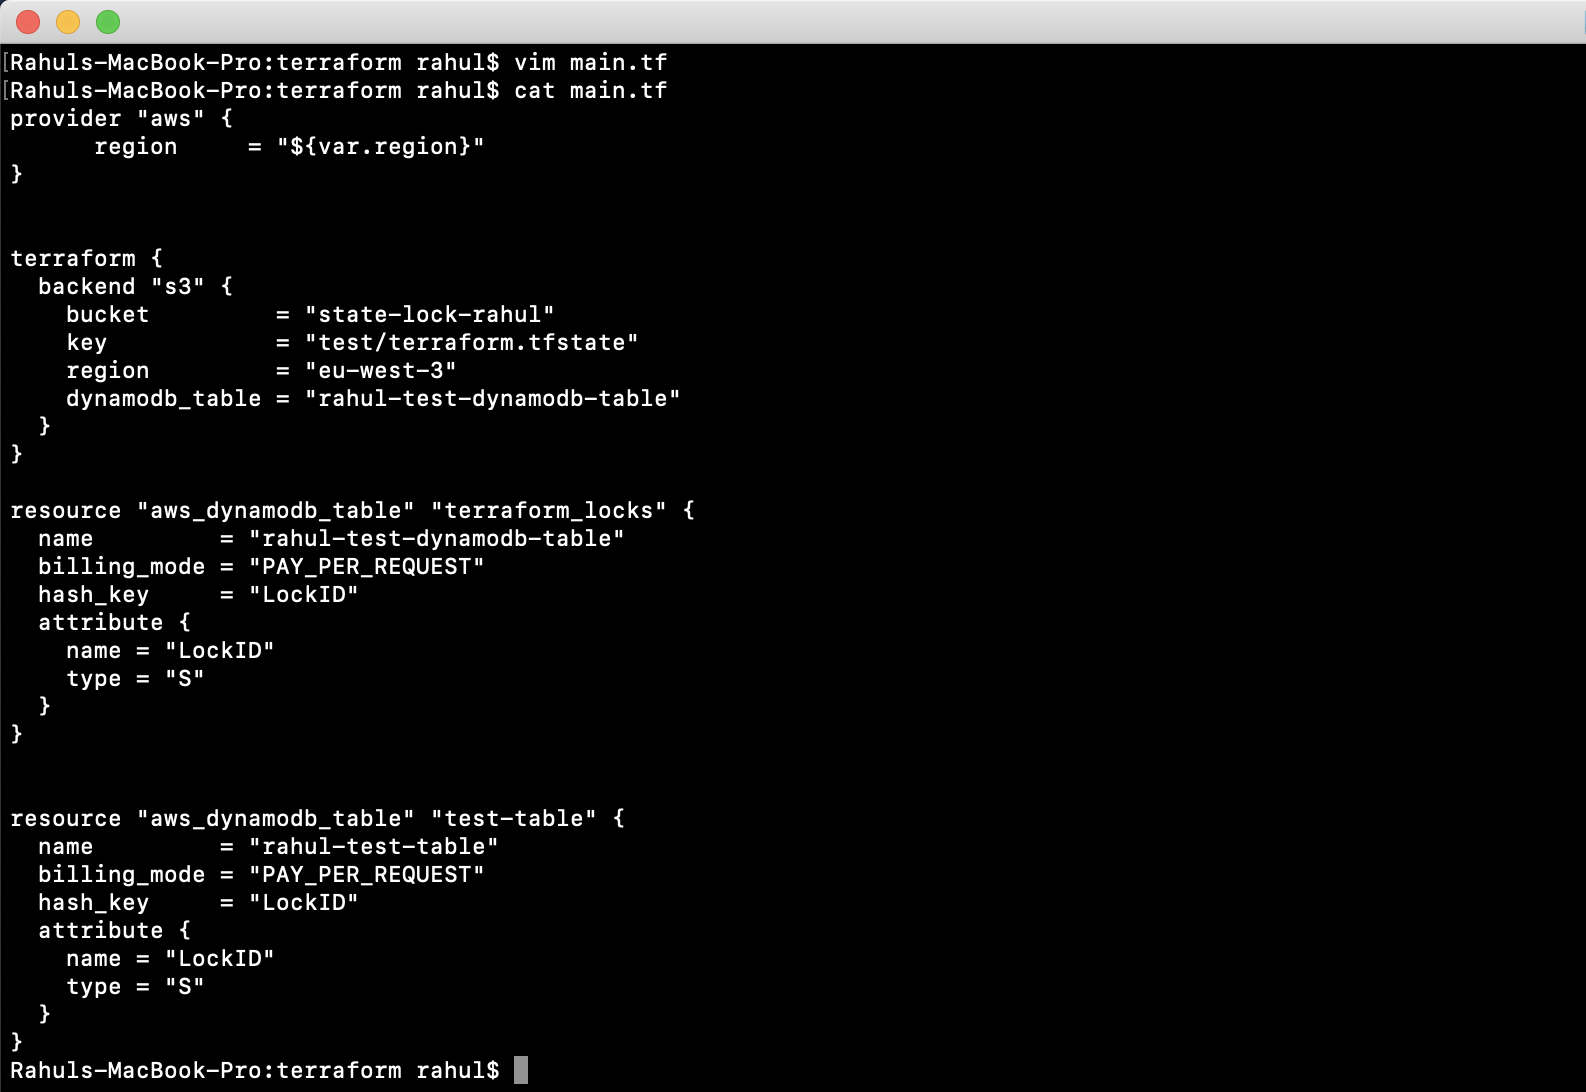
Experiment by creating a new resource, confirming the state is stored in S3. Update the ‘main.tf’ file to create an additional DynamoDB test table:
vim main.tf
variable "region" {
     description = "Region of AWS VPC"
}

provider "aws" {
      region     = "${var.region}"
}

terraform {
  backend "s3" {
    bucket         = "state-lock-rahul"
    key            = "test/terraform.tfstate"
    region         = "eu-west-3"
    dynamodb_table = "rahul-test-dynamodb-table"
  }
}

resource "aws_dynamodb_table" "terraform_locks" {
  name         = "rahul-test-dynamodb-table"
  billing_mode = "PAY_PER_REQUEST"
  hash_key     = "LockID"
  attribute {
    name = "LockID"
    type = "S"
  }
}

resource "aws_dynamodb_table" "test-table" {
  name         = "rahul-test-table"
  billing_mode = "PAY_PER_REQUEST"
  hash_key     = "LockID"
  attribute {
    name = "LockID"
    type = "S"
  }
}
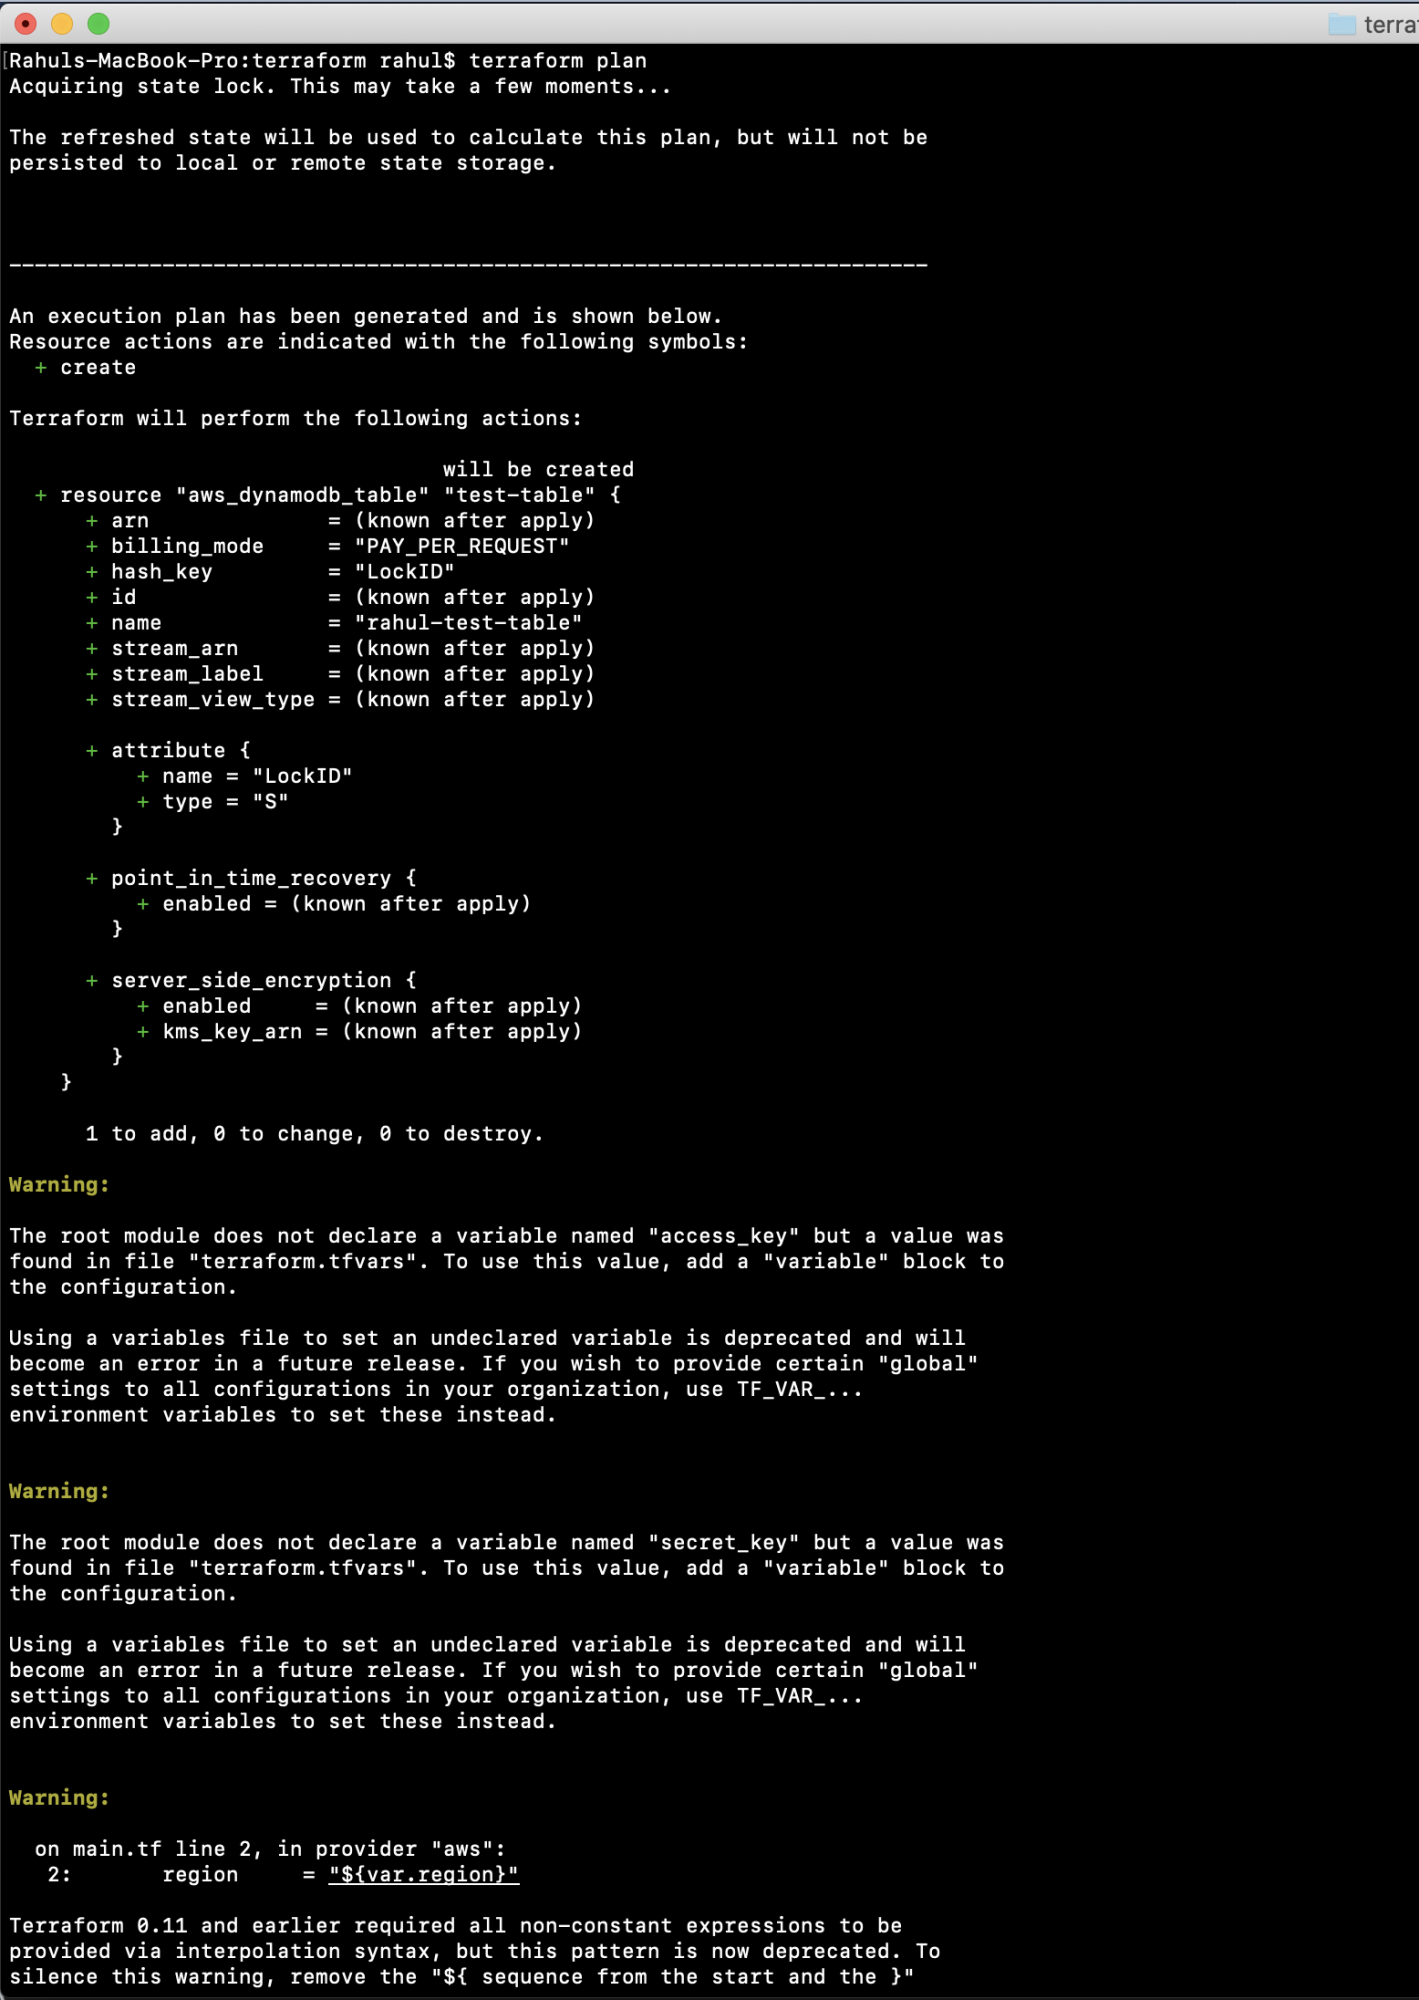
Execute:
terraform plan
Then, apply the configuration to create the DynamoDB Test Table:
terraform apply
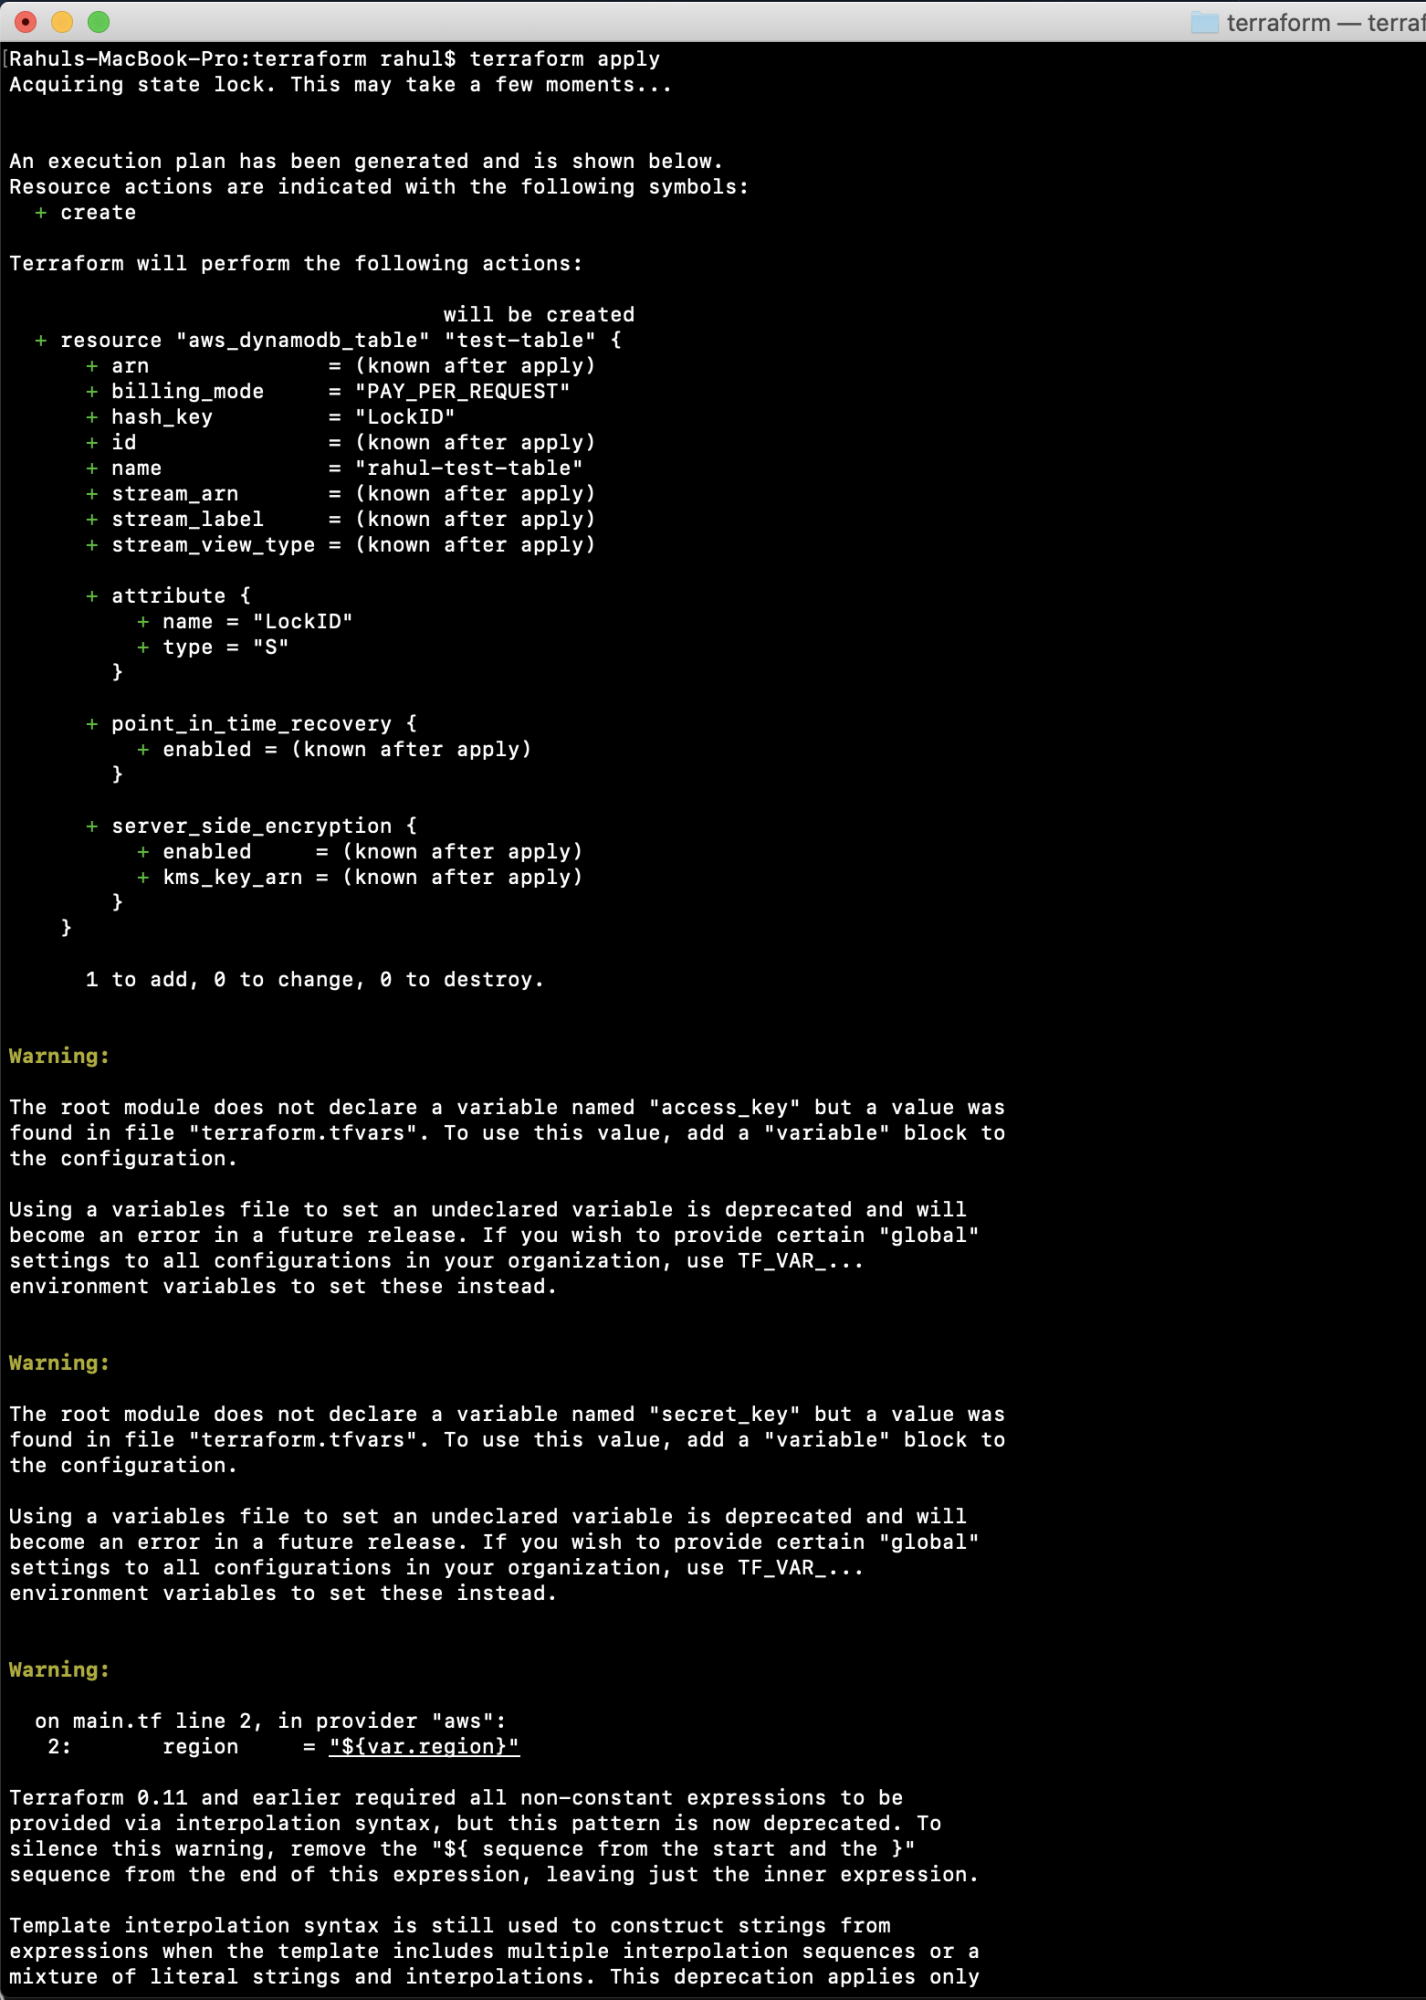
Observe that locking is engaged and the .tfstate file is secured in S3.
Confirm the creation of the new table in the console

If there’s no longer a need for the created resources, remove them by executing:
terraform destroy
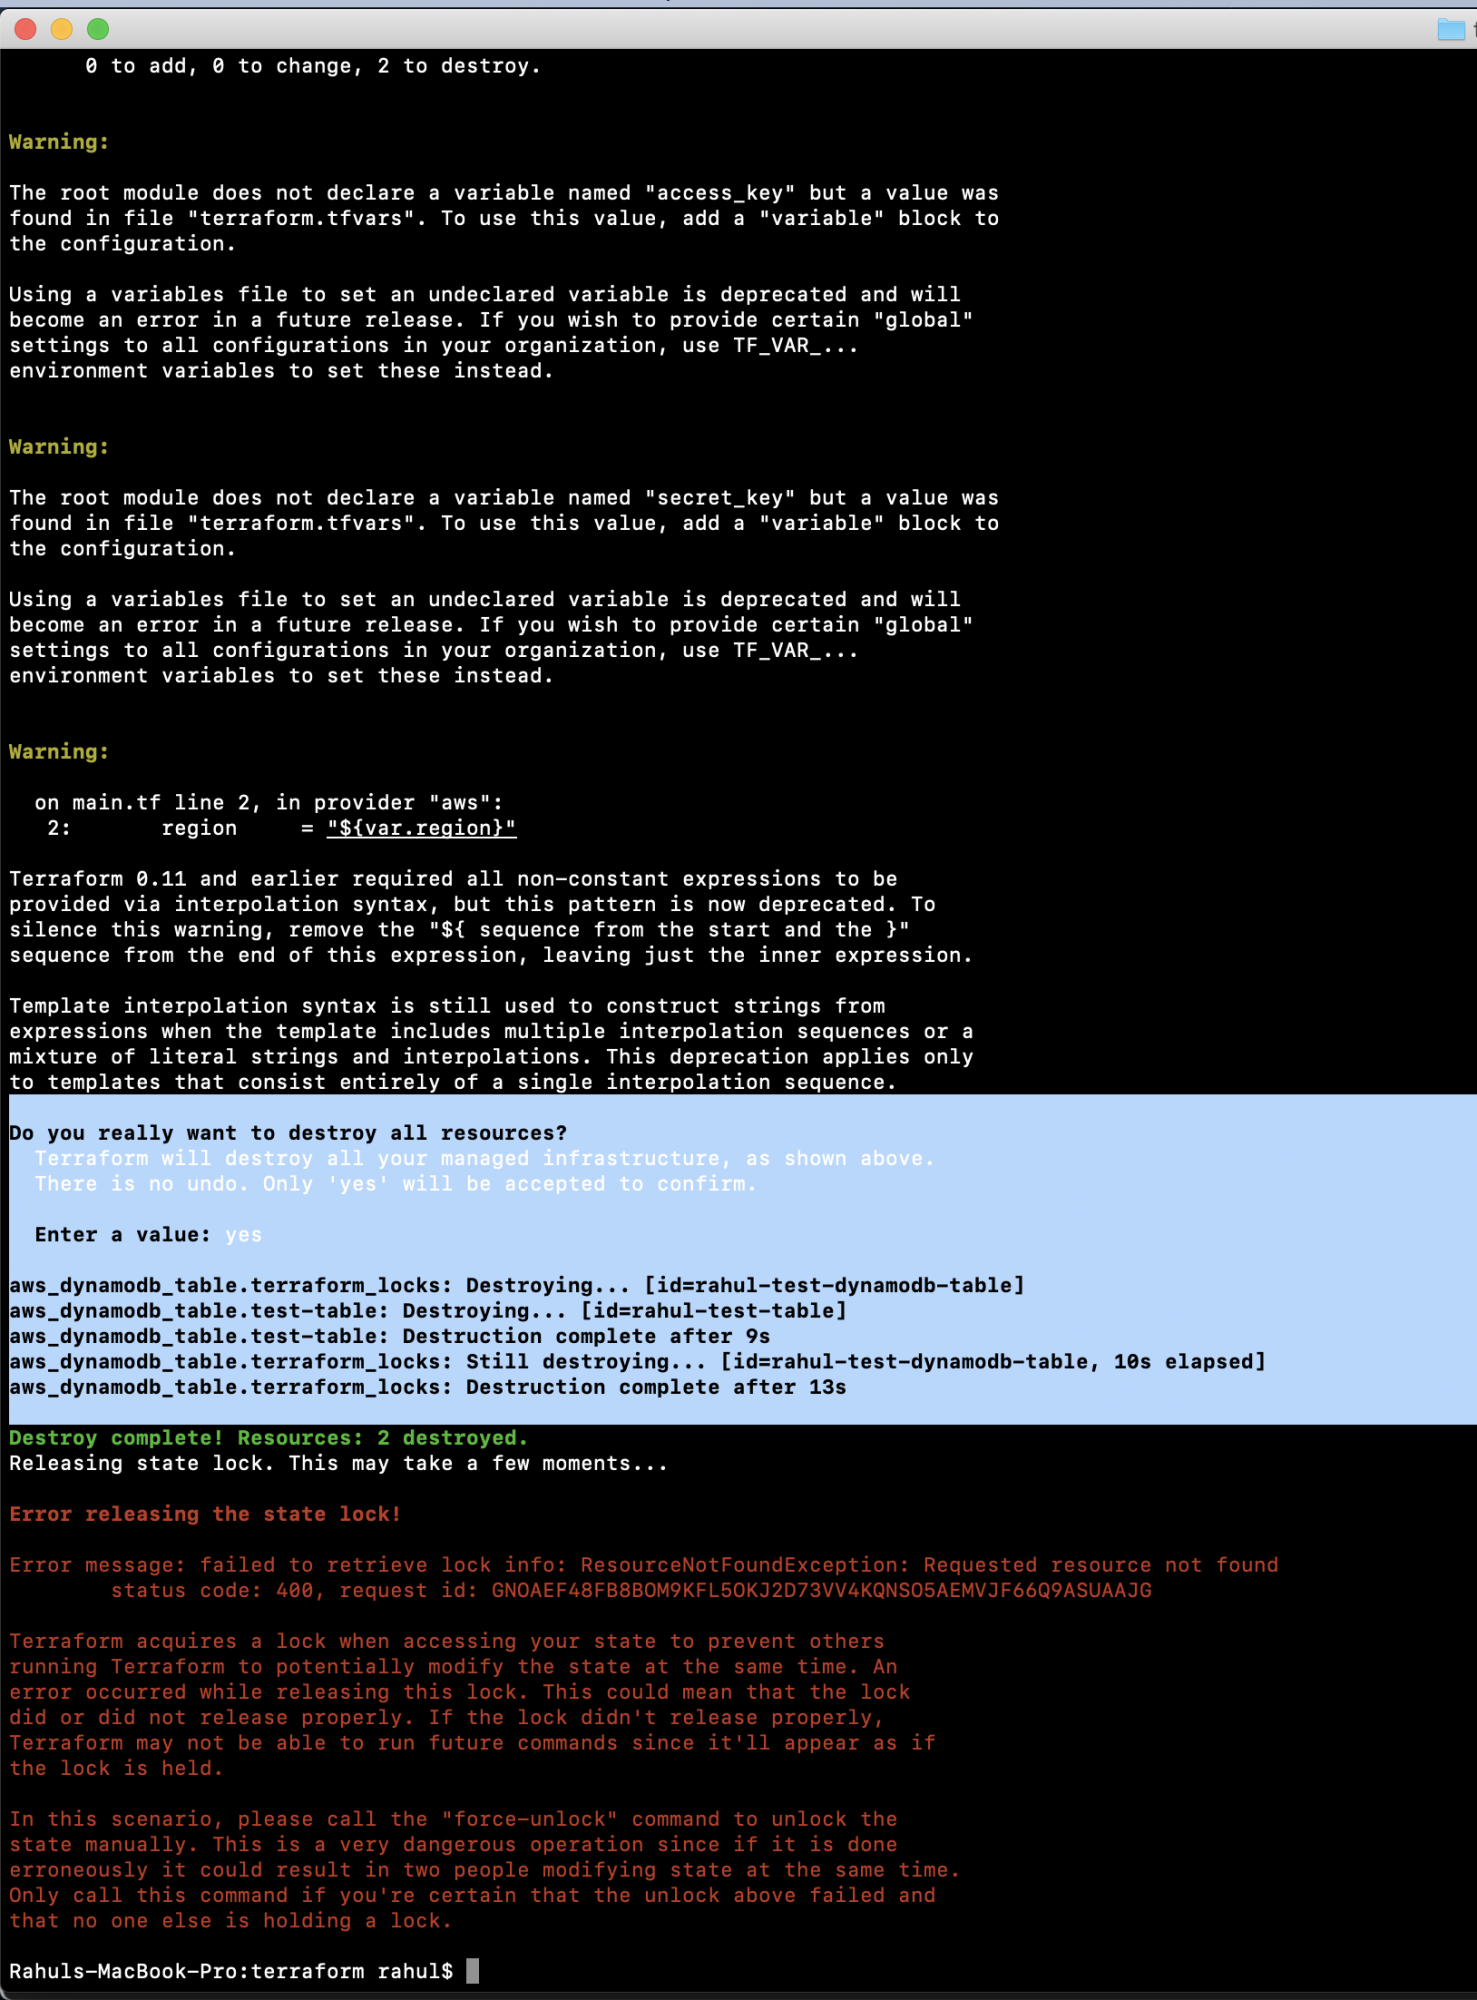
After destruction, verify the deletion of the locking table from DynamoDB. If unnecessary, also delete the S3 Bucket via the AWS Console.
Conclusion
This article demonstrated the importance of using remote state and locking mechanisms with Terraform, utilizing an S3 Bucket as a state backend and a DynamoDB Table for locking.
FAQ
- Why store Terraform state remotely?
Storing the state remotely allows multiple team members to access and manage infrastructure changes without conflicts due to concurrent state changes. - What is the purpose of locking in Terraform?
Locking ensures that the Terraform state file is not modified concurrently, preventing potential resource and configuration conflicts. - Can I use a different backend besides S3?
Yes, Terraform supports various backends, including Azure Blob Storage, Google Cloud Storage, and HashiCorp Consul, among others. - Is it mandatory to use DynamoDB for locking?
While DynamoDB is recommended for AWS users due to its seamless integration and availability, other locking mechanisms are available depending on the backend.
