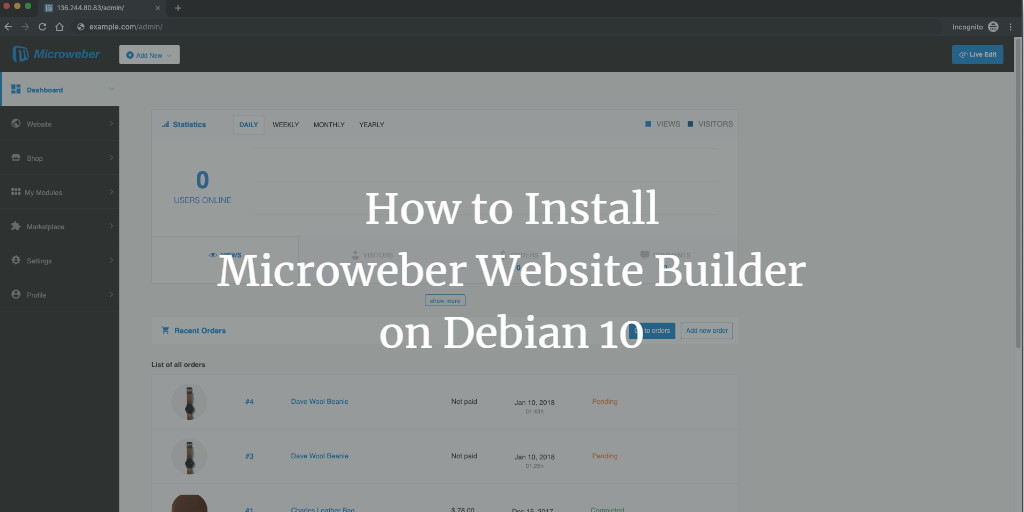
Microweber is a cutting-edge content management system (CMS) and a user-friendly drag-and-drop website builder. Built on the robust PHP Laravel Framework, Microweber is designed to help you effortlessly create any type of website, online store, or blog. Its intuitive drag-and-drop interface allows for easy website construction, even without technical expertise.
Microweber’s fundamental concept is to empower you to craft your own online presence, whether it be a website, an online shop, or a blog. As you embark on this exciting journey, you’ll be supported by various modules, customizations, and features tailored for e-commerce enthusiasts and bloggers alike.
The integration of Microweber’s latest drag-and-drop technology with its innovative Real-Time Text Writing and Editing feature enhances user experience by offering quick and easy content management in a flexible and visually appealing environment.
This tutorial will guide you through installing Microweber on a fresh Debian 10 (Buster) system, using Nginx as the web server and MariaDB as the database engine.
Requirements
To successfully install and run Microweber, your system must meet the following requirements:
- PHP version 5.4 or higher with extensions: gd2, mcrypt, xml, dom, json
- A web server like Nginx or Apache.
- MySQL version 5.0 or higher, or MariaDB equivalent.
- Composer.
Prerequisites
- Debian 10 (Buster) operating system.
- A non-root user account with
sudoprivileges.
Initial Steps
Verify your Debian version:
lsb_release -ds
# Debian GNU/Linux 10 (buster)
Set the system timezone:
sudo dpkg-reconfigure tzdata
Perform a system package update to ensure you have the latest software and security patches:
sudo apt update && sudo apt upgrade -y
Install essential packages required for the Debian system administration:
sudo apt install -y curl wget vim git unzip socat bash-completion apt-transport-https
Step 1 – Install PHP and Necessary PHP Extensions
Microweber requires PHP version 5.4 or later. Use the apt package manager to install PHP and the necessary extensions:
sudo apt install -y php php-cli php-fpm php-common php-gd php-mbstring php-xml php-mysql php-pgsql php-sqlite3 php-zip php-soap php-xmlrpc
List PHP compiled modules:
php -m

ctype
curl
exif
fileinfo
. . .
. . .
Check the PHP version:
php --version
# PHP 7.3.9-1 (cli) (built: Apr 13 2019 19:05:48) ( NTS )
# Copyright (c) 1997-2018 The PHP Group
# Zend Engine v3.3.4, Copyright (c) 1998-2018 Zend Technologies
# with Zend OPcache v7.3.4-2, Copyright (c) 1999-2018, by Zend Technologies
PHP-FPM service is automatically started and enabled on startup in Debian 10, so you can proceed to the next step.
Step 2 – Install Acme.sh and Obtain a Let’s Encrypt Certificate (Optional)
Although optional, securing your site with HTTPS is recommended. The acme.sh client will be used to obtain a TLS certificate from Let’s Encrypt:
sudo su - root
git clone https://github.com/acmesh-official/acme.sh.git
cd acme.sh
./acme.sh --install --accountemail your_email@example.com
source ~/.bashrc
cd ~
Verify the acme.sh version:
acme.sh --version
# v2.8.2
Obtain RSA and ECC/ECDSA certificates for your domain:
# RSA 2048
acme.sh --issue --standalone -d example.com --keylength 2048
# ECDSA
acme.sh --issue --standalone -d example.com --keylength ec-256
For testing with fake certificates, add the --staging flag.
Generated certificates and keys will be stored in:
- RSA:
/home/username/example.com - ECC/ECDSA:
/home/username/example.com_ecc
List issued certificates:
acme.sh --list
Create directories to store your certificates:
mkdir -p /etc/letsencrypt/example.com
sudo mkdir -p /etc/letsencrypt/example.com_ecc
Install/copy certificates to the /etc/letsencrypt directory:
# RSA
acme.sh --install-cert -d example.com --cert-file /etc/letsencrypt/example.com/cert.pem --key-file /etc/letsencrypt/example.com/private.key --fullchain-file /etc/letsencrypt/example.com/fullchain.pem --reloadcmd "sudo systemctl reload nginx.service"
# ECC/ECDSA
acme.sh --install-cert -d example.com --ecc --cert-file /etc/letsencrypt/example.com_ecc/cert.pem --key-file /etc/letsencrypt/example.com_ecc/private.key --fullchain-file /etc/letsencrypt/example.com_ecc/fullchain.pem --reloadcmd "sudo systemctl reload nginx.service"
Certificates will automatically renew every 60 days. Exit the root user after obtaining keys:
exit
Step 3 – Install MariaDB and Create a Database
Install MariaDB:
sudo apt install -y mariadb-server
Verify MariaDB version:
mysql --version
# mysql  Ver 15.1 Distrib 10.3.17-MariaDB, for debian-linux-gnu (x86_64) using readline 5.2
Run the mysql_secure_installation script for MariaDB security enhancements:
sudo mysql_secure_installation
Answer the following prompts:
Would you like to setup VALIDATE PASSWORD plugin? N
New password: your_secure_password
Re-enter new password: your_secure_password
Remove anonymous users? [Y/n] Y
Disallow root login remotely? [Y/n] Y
Remove test database and access to it? [Y/n] Y
Reload privilege tables now? [Y/n] Y
Access MariaDB as the root user:
sudo mysql -u root -p
# Enter password
Create a new MariaDB database and user for Microweber:
mariadb> CREATE DATABASE dbname;
mariadb> GRANT ALL ON dbname.* TO 'username' IDENTIFIED BY 'mypassword';
mariadb> FLUSH PRIVILEGES;
Replace dbname, username, and mypassword accordingly. Exit MariaDB:
mariadb> exit
Step 4 – Install and Configure NGINX
Install NGINX from the Debian repository:
sudo apt install -y nginx
Verify the NGINX version:
sudo nginx -v
# nginx version: nginx/1.14.2
Create or edit the NGINX server block file for your site:
sudo vim /etc/nginx/sites-available/microweber.confAdd the following configuration:
server {
  listen [::]:443 ssl http2;
  listen 443 ssl http2;
  listen [::]:80;
  listen 80;
  server_name example.com;
  root /var/www/microweber;
  index index.php;
  client_max_body_size 100M;
  # RSA
  ssl_certificate /etc/letsencrypt/example.com/fullchain.pem;
  ssl_certificate_key /etc/letsencrypt/example.com/private.key;
  # ECC
  ssl_certificate /etc/letsencrypt/example.com_ecc/fullchain.pem;
  ssl_certificate_key /etc/letsencrypt/example.com_ecc/private.key;
  location / {
    try_files $uri $uri/ /index.php$is_args$args;
  }
  location ~ \.php$ {
    try_files $uri =404;
    include fastcgi_params;
    fastcgi_pass unix:/run/php/php7.3-fpm.sock;
    fastcgi_index index.php;
    fastcgi_param SCRIPT_FILENAME $document_root$fastcgi_script_name;
  }
}
Enable the configuration by linking it to the sites-enabled directory:
sudo ln -s /etc/nginx/sites-available/microweber.conf /etc/nginx/sites-enabled/
Test NGINX for any syntax errors:
sudo nginx -t
Reload NGINX to apply the changes:
sudo systemctl reload nginx.service
Step 5 – Install Microweber
Create the directory to host Microweber:
sudo mkdir -p /var/www/microweber
Navigate to the document root directory:
cd /var/www/microweber
Download and extract the latest Microweber CMS package:
sudo wget https://download.microweberapi.com/ready/core/microweber-latest.zip
sudo unzip microweber-latest.zip
sudo rm microweber-latest.zip
Set ownership of the /var/www/microweber directory to www-data:
sudo chown -R www-data:www-data /var/www/microweber
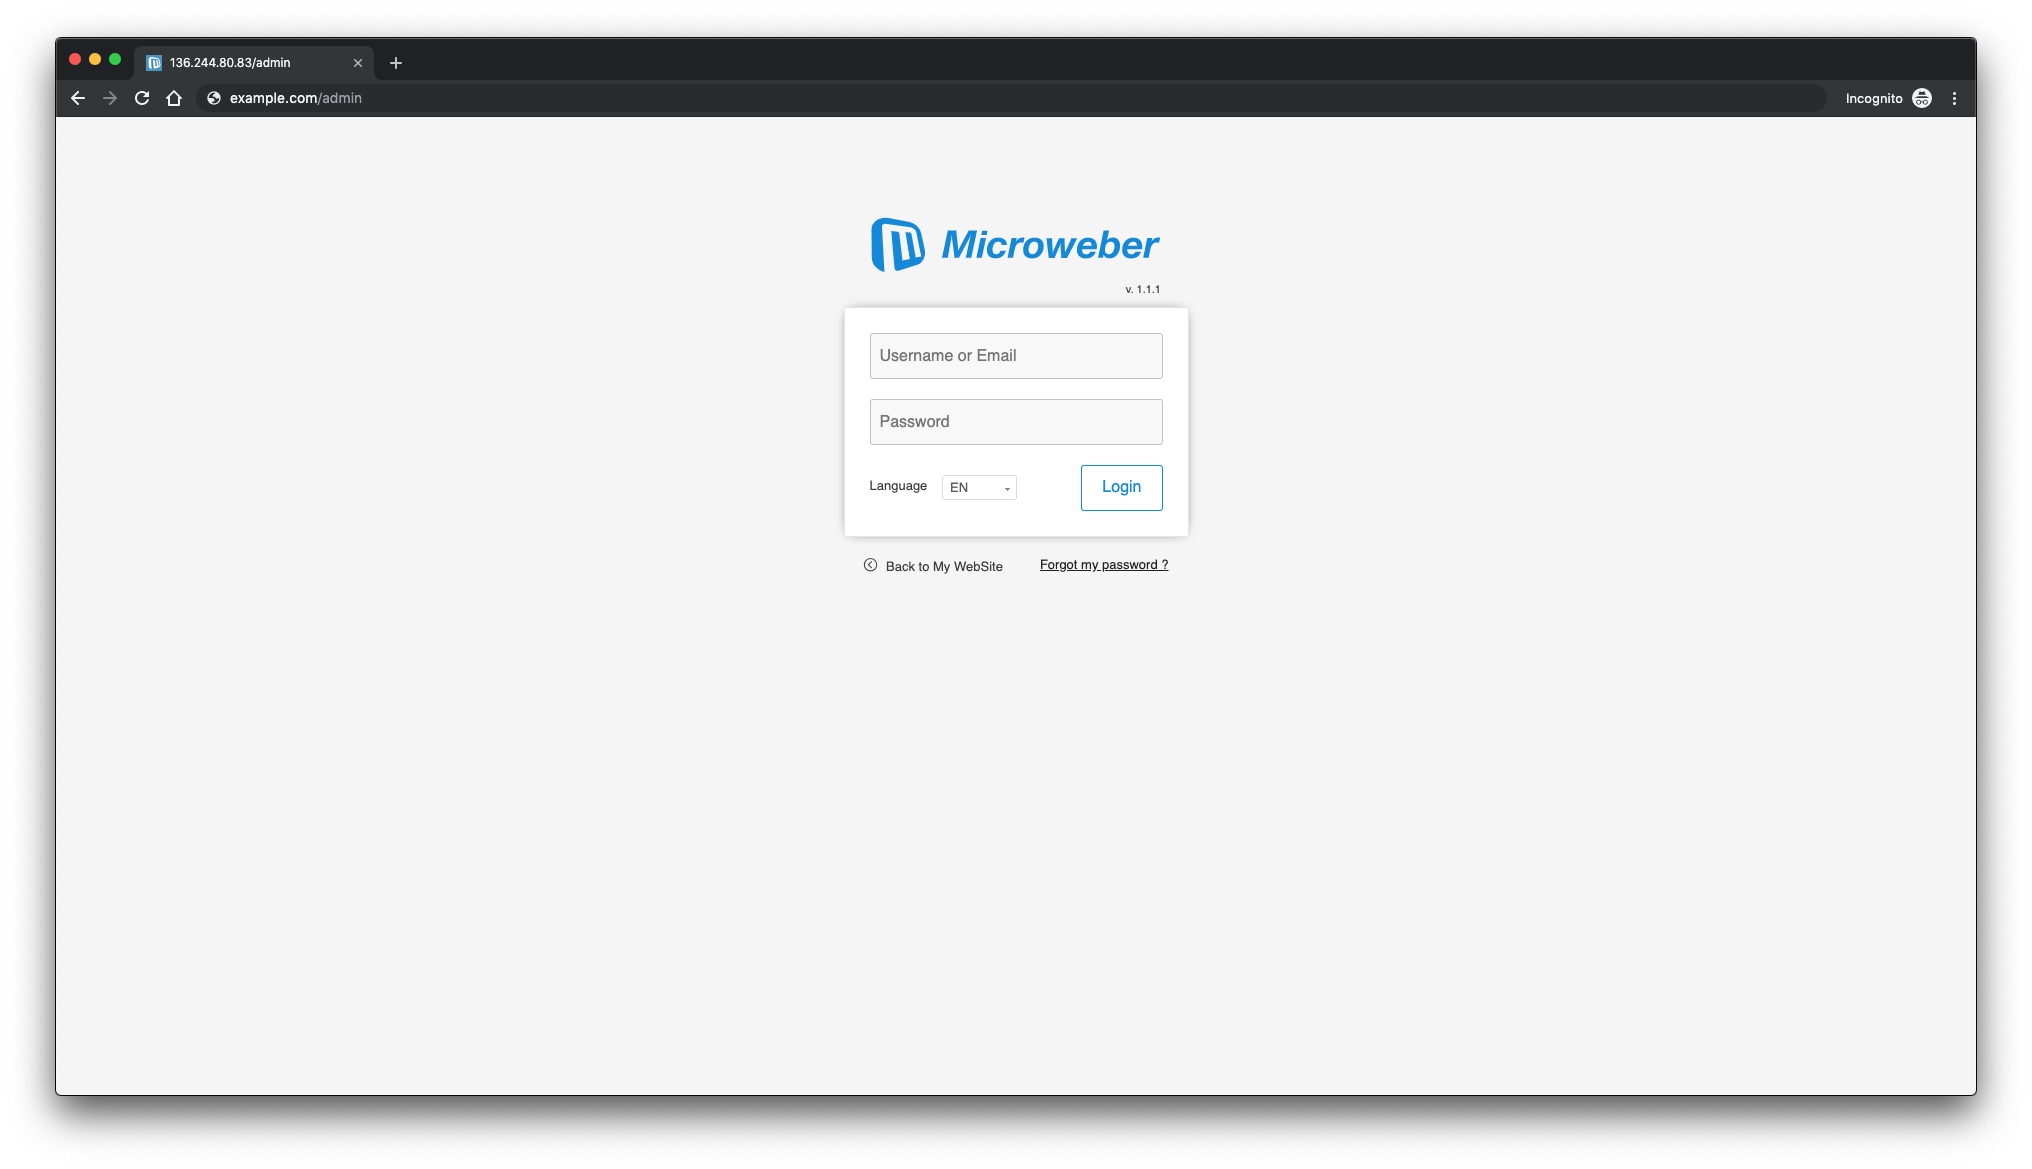
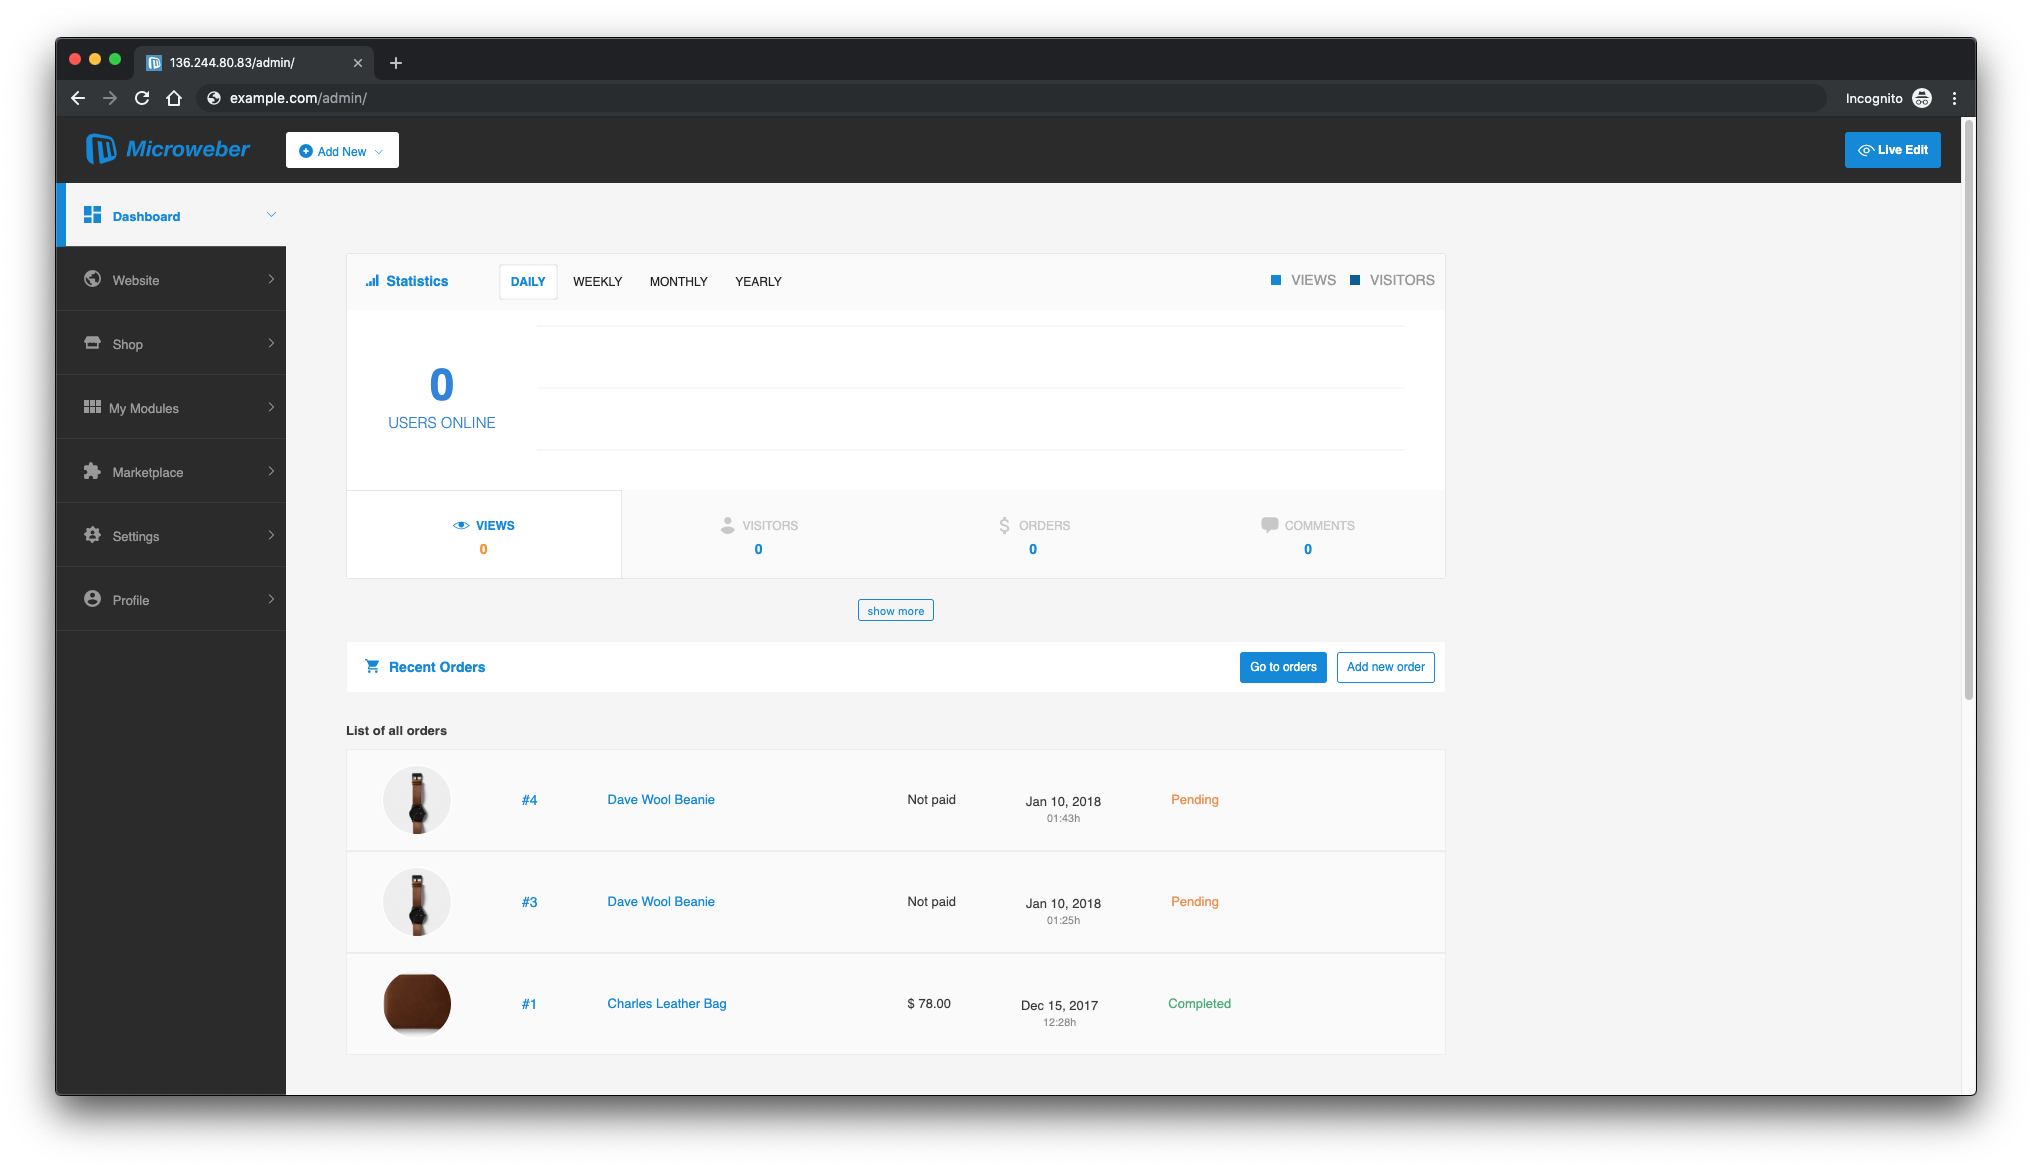
Open your browser and access your website at http://example.com/ to begin the installation. Upon completion, your admin panel will be accessible at http://example.com/admin.
Step 6 – Complete the Microweber Installation
Visit http://example.com in your browser, and you’ll be guided to set up your database. Select your preferred database engine. Below are examples of setup pages:
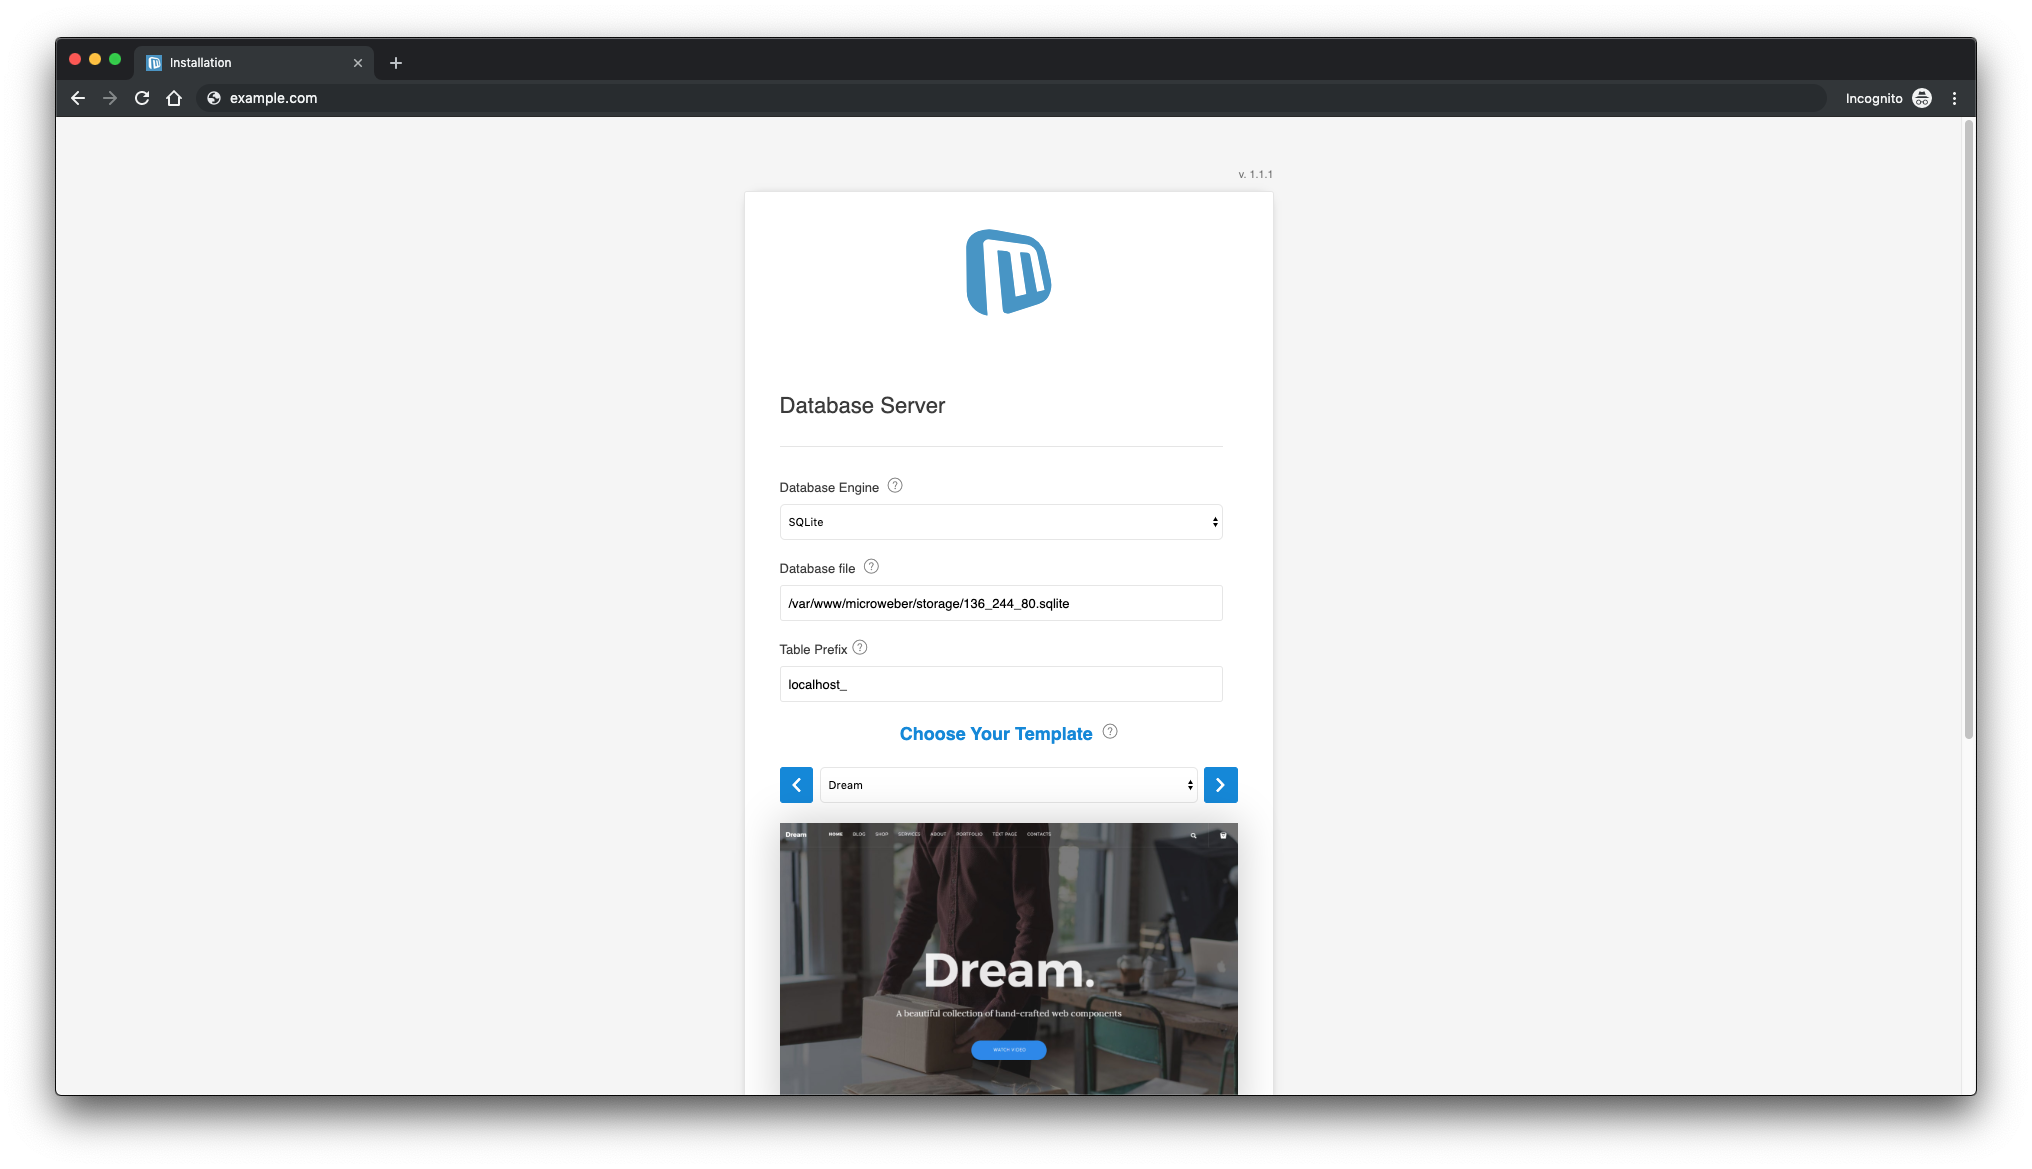
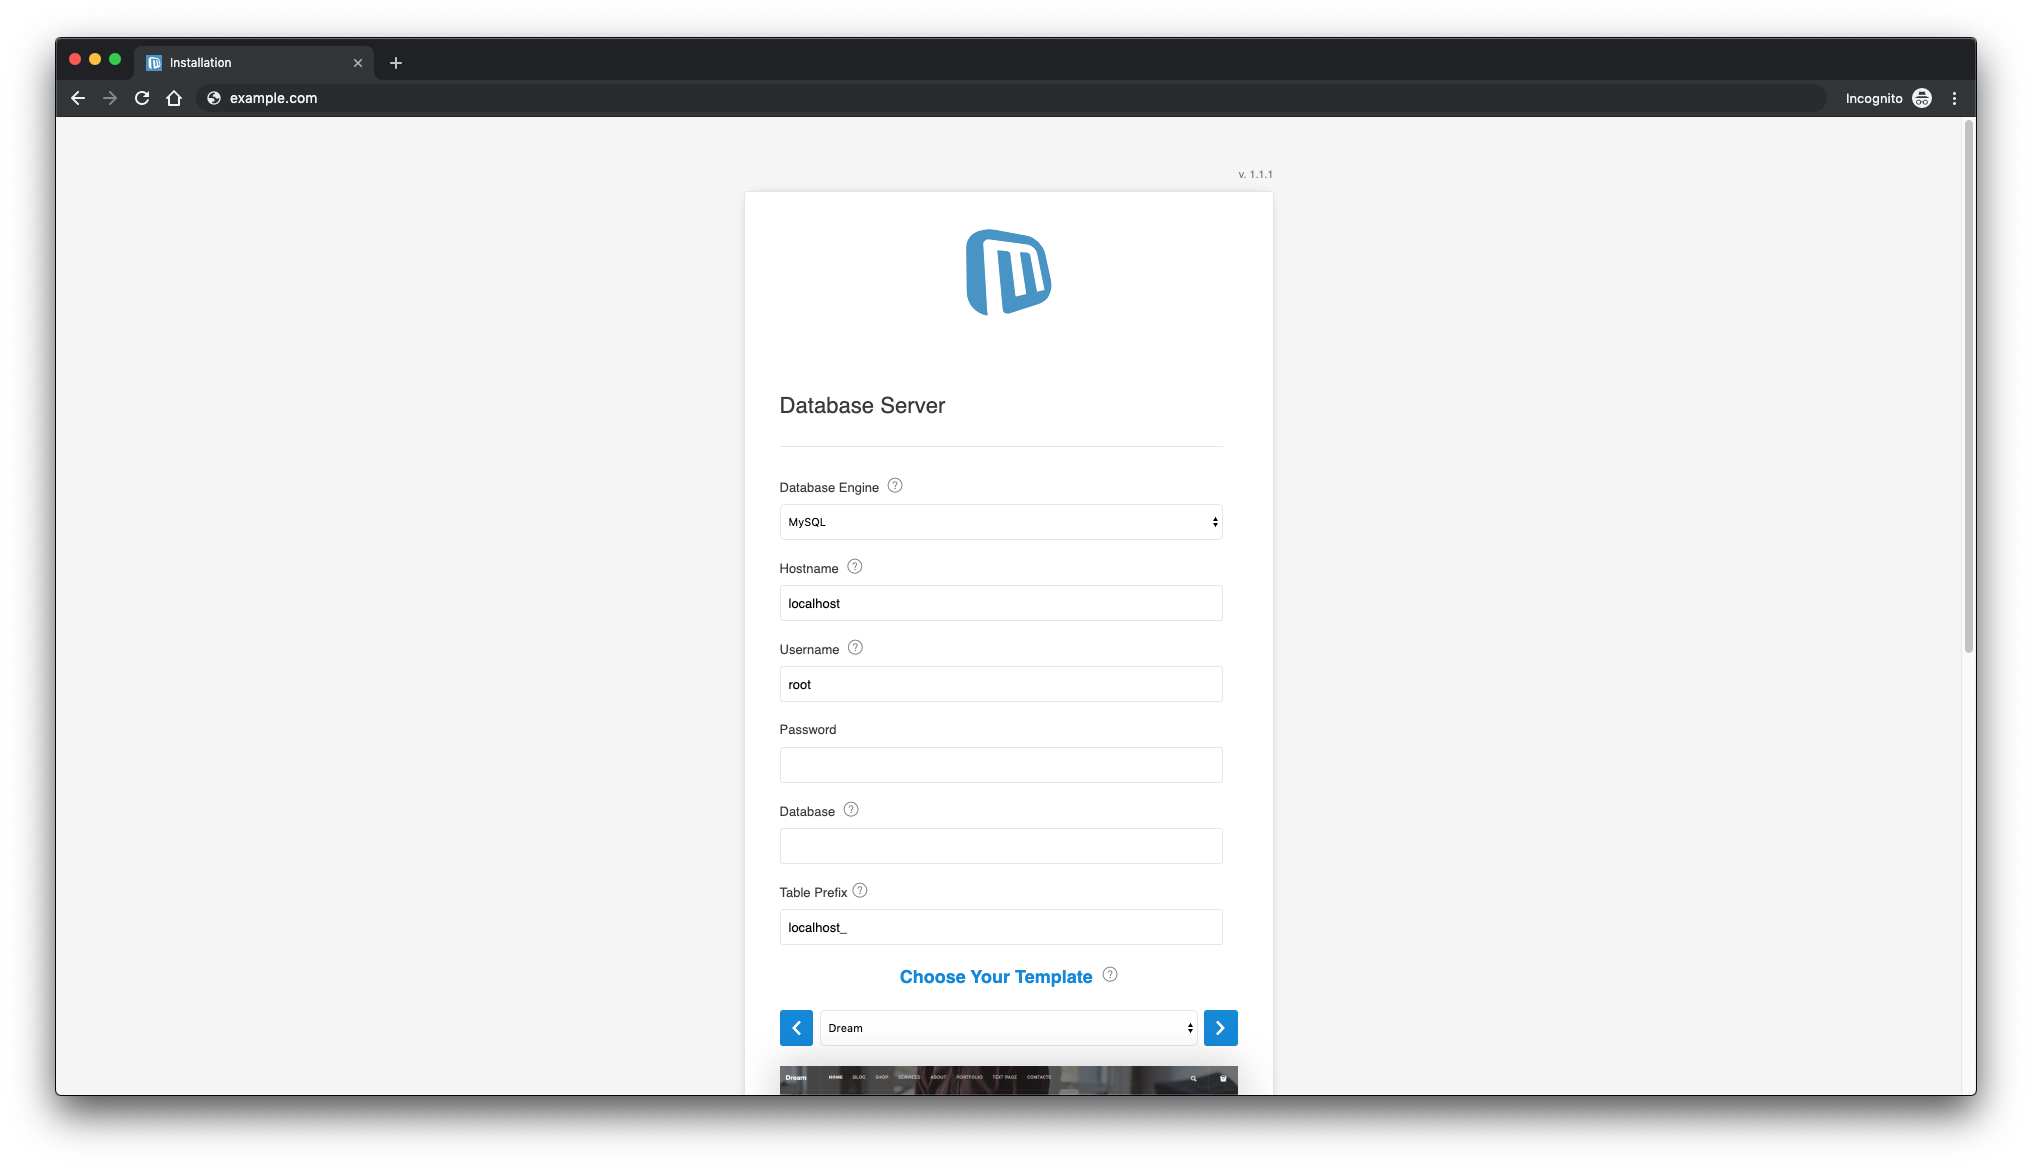
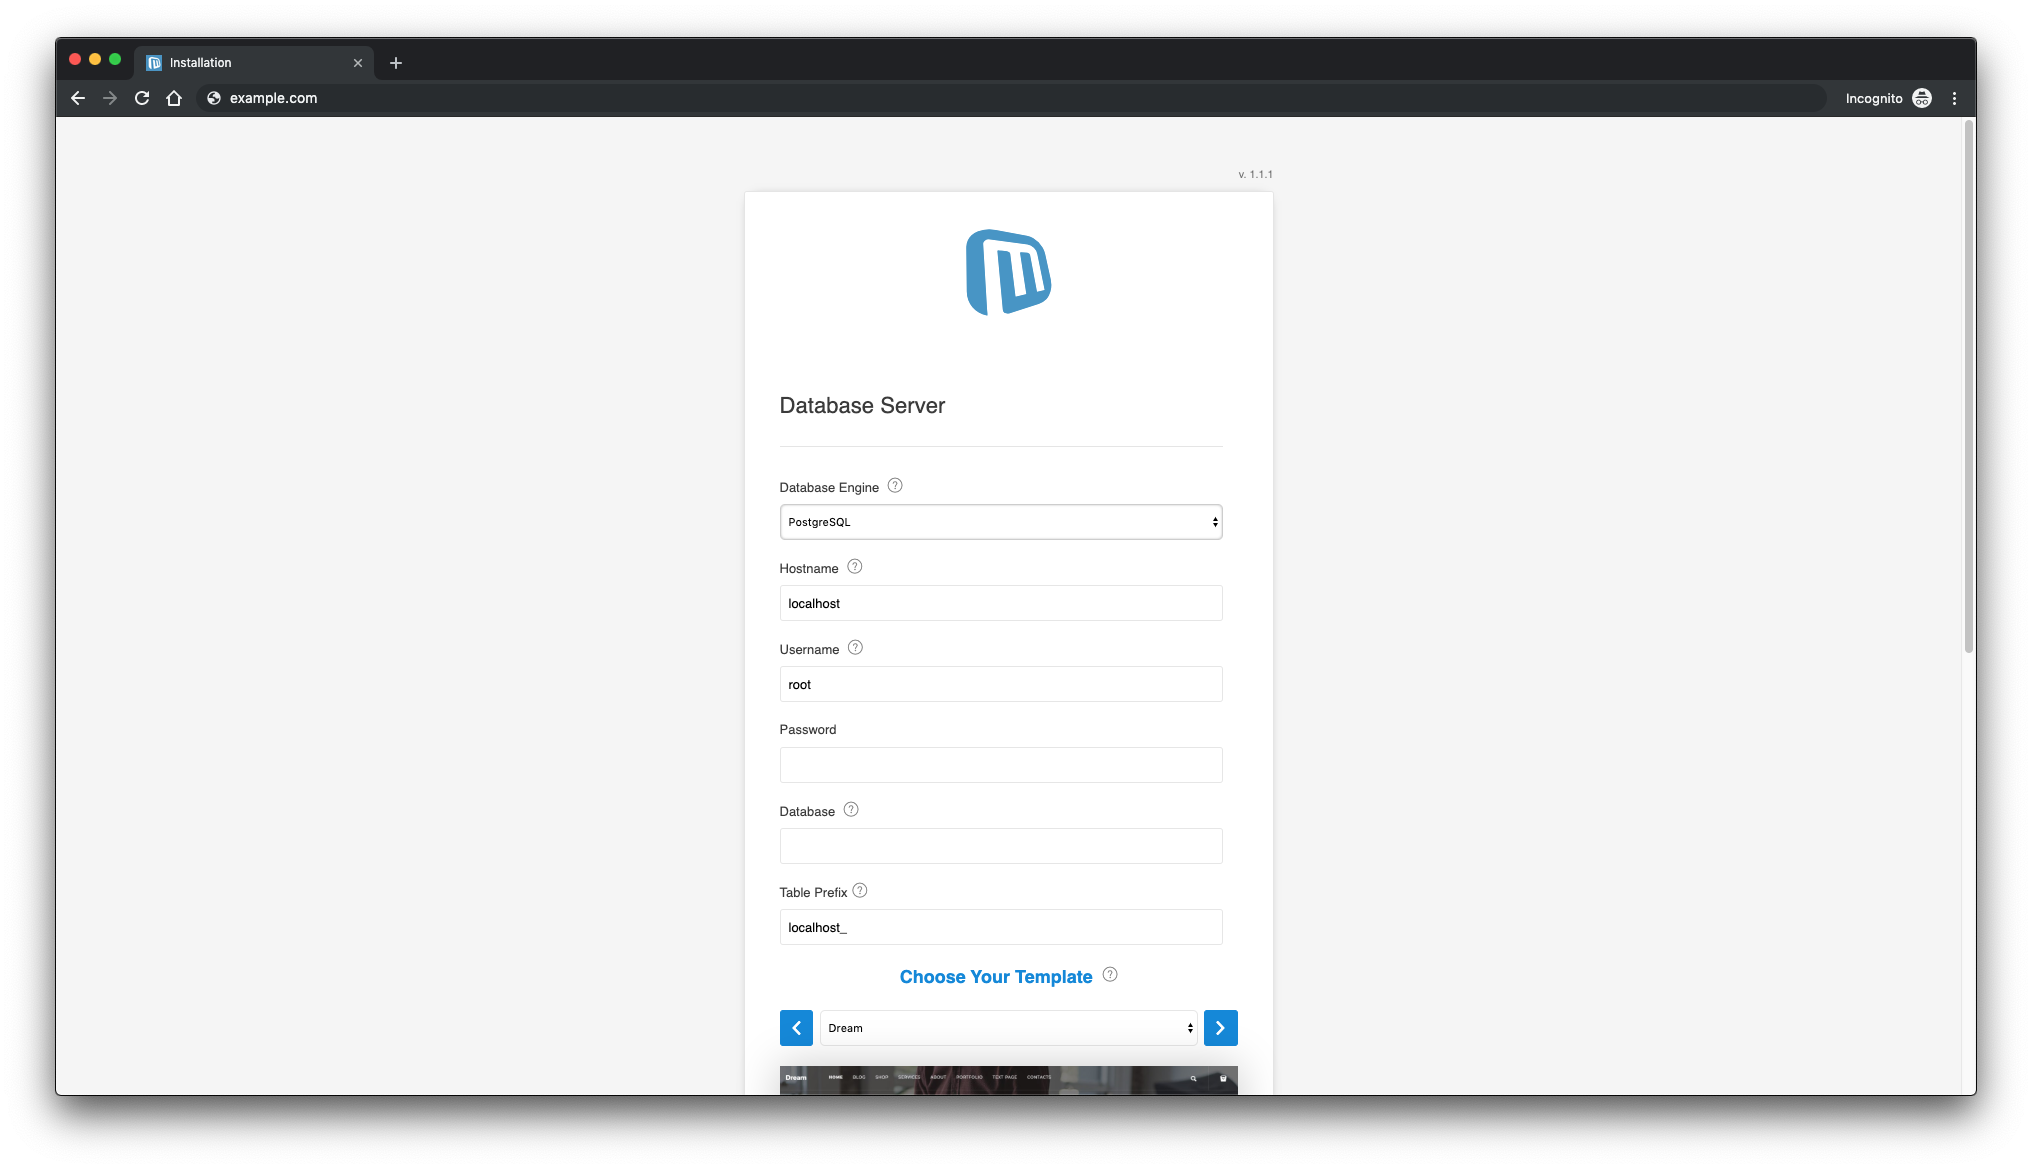
Once configured, complete the Microweber installation to access the admin panel at /admin on your website.
Links
FAQ
What are the system requirements for Microweber?
Microweber requires a PHP version 5.4 or higher, a web server like Nginx or Apache, and a MySQL or MariaDB database. Composer is also necessary for installation.
Can I use Microweber without technical knowledge?
Yes, Microweber’s drag-and-drop functionality allows users to build websites without needing technical expertise.
Why should I use a Let’s Encrypt SSL certificate?
Using a Let’s Encrypt SSL certificate secures your site with HTTPS, enhancing privacy and security for your users.
How do I access the Microweber admin panel?
You can access the admin panel by navigating to /admin on your website once installation is complete.
