Passbolt is an open-source password manager tailored for small to medium-sized organizations, allowing secure storage and sharing of login credentials among team members. The system is self-hosted and available in both community and subscription-based editions.
In this comprehensive guide, we’ll walk you through the process of installing Passbolt with Nginx and securing it with Let’s Encrypt SSL on CentOS 8.
Prerequisites
- Access to a server running CentOS 8.
- A valid domain name pointed to your server’s IP address.
- Root password configured on your server.
Install LEMP Stack
To begin, install the Nginx web server and the MariaDB database server using the command:
dnf install nginx mariadb-server -y
Follow by installing the latest PHP version and necessary PHP extensions, which are not available out-of-the-box in CentOS repositories. This requires adding EPEL and Remi repositories:
dnf install epel-release -y
dnf install https://rpms.remirepo.net/enterprise/remi-release-8.rpm -y
Disable the default PHP repository and enable Remi’s PHP 7.4 repository:
dnf module reset php
dnf module enable php:remi-7.4
Now, install PHP along with its dependencies:
dnf install php php-fpm php-intl php-gd php-mysqli php-json php-pear php-devel php-mbstring php-fpm git make unzip -y
Modify the PHP-FPM configuration to set the user and group to Nginx:
nano /etc/php-fpm.d/www.conf
user = nginx
group = nginx
Save and exit the file, then adjust session directory ownership:
chgrp nginx /var/lib/php/session
Start the Nginx, MariaDB, and PHP-FPM services and enable them to initiate on reboot:
systemctl start mariadb nginx php-fpm
systemctl enable mariadb nginx php-fpm
Install the GNUPG extension:
dnf config-manager --set-enabled powertools
dnf install gpgme-devel
pecl install gnupg
echo "extension=gnupg.so" > /etc/php.d/gnupg.ini
Restart the PHP-FPM service to apply changes:
systemctl restart php-fpm
Install Composer
Composer, the dependency manager for PHP, must be installed:
php -r "copy('https://getcomposer.org/installer', 'composer-setup.php');"
php composer-setup.php --install-dir=/usr/local/bin --filename=composer
Verify Composer installation:
composer -V
Create a Database
Next, create a database and user for Passbolt:
mysql
MariaDB [(none)]> CREATE DATABASE passbolt DEFAULT CHARACTER SET utf8mb4 COLLATE utf8mb4_unicode_ci;
MariaDB [(none)]> GRANT ALL ON passbolt.* TO 'passbolt'@'localhost' IDENTIFIED BY 'password';
MariaDB [(none)]> FLUSH PRIVILEGES;
MariaDB [(none)]> EXIT;
Install and Configure Passbolt
Navigate to the Nginx web root and download Passbolt:
cd /var/www
git clone https://github.com/passbolt/passbolt_api.git passbolt
Change to the Passbolt directory and install dependencies:
cd passbolt
composer install --no-dev
Install and start haveged for GPG key generation:
dnf install haveged
systemctl start haveged
Generate a GPG key:
gpg --full-generate-key
Export the secret key:
gpg --armor --export-secret-keys [your_email@example.com] > /var/www/passbolt/config/gpg/serverkey_private.asc
gpg --armor --export [your_email@example.com] > /var/www/passbolt/config/gpg/serverkey.asc
Set correct ownership for the Passbolt directory:
chown -R nginx:nginx /var/www/passbolt
Initialize the Nginx keyring:
sudo su -s /bin/bash -c "gpg --list-keys" nginx
Rename the configuration file and set database and URL parameters:
cp config/passbolt.default.php config/passbolt.php
nano config/passbolt.php
Install Passbolt:
cd /var/www/passbolt
sudo su -s /bin/bash -c "./bin/cake passbolt install --no-admin" nginx
Configure Nginx for Passbolt
Create an Nginx configuration file for Passbolt:
nano /etc/nginx/conf.d/passbolt.conf
server {
  listen 80;
  server_name passbolt.example.com;
  root /var/www/passbolt;
  location / {
    try_files $uri $uri/ /index.php?$args;
    index index.php;
  }
  location ~ \.php$ {
    fastcgi_index           index.php;
    fastcgi_pass            unix:/var/run/php-fpm/www.sock;
    fastcgi_split_path_info ^(.+\.php)(.+)$;
    include                 fastcgi_params;
    fastcgi_param           SCRIPT_FILENAME $document_root$fastcgi_script_name;
    fastcgi_param           SERVER_NAME $http_host;
  }
  location ~* \.(jpe?g|woff|woff2|ttf|gif|png|bmp|ico|css|js|json|pdf|zip|htm|html|docx?|xlsx?|pptx?|txt|wav|swf|svg|avi|mp\d)$ {
    access_log off;
    log_not_found off;
    try_files $uri /webroot/$uri /index.php?$args;
  }
}
Check for syntax errors and restart Nginx:
nginx -t
systemctl restart nginx
Secure Passbolt with Let’s Encrypt SSL
Install Certbot and obtain SSL certificates:
dnf install letsencrypt python3-certbot-nginx
certbot --nginx -d passbolt.example.com
Register a User for Passbolt
Register a user:
cd /var/www/passbolt
sudo su -s /bin/bash -c "./bin/cake passbolt register_user -u [your_email@example.com] -f Firstname -l Lastname -r admin" nginx
Configure Firewall
Allow ports 80 and 443 through the firewall:
firewall-cmd --permanent --add-port=80/tcp
firewall-cmd --permanent --add-port=443/tcp
firewall-cmd --reload
Access Passbolt Web UI
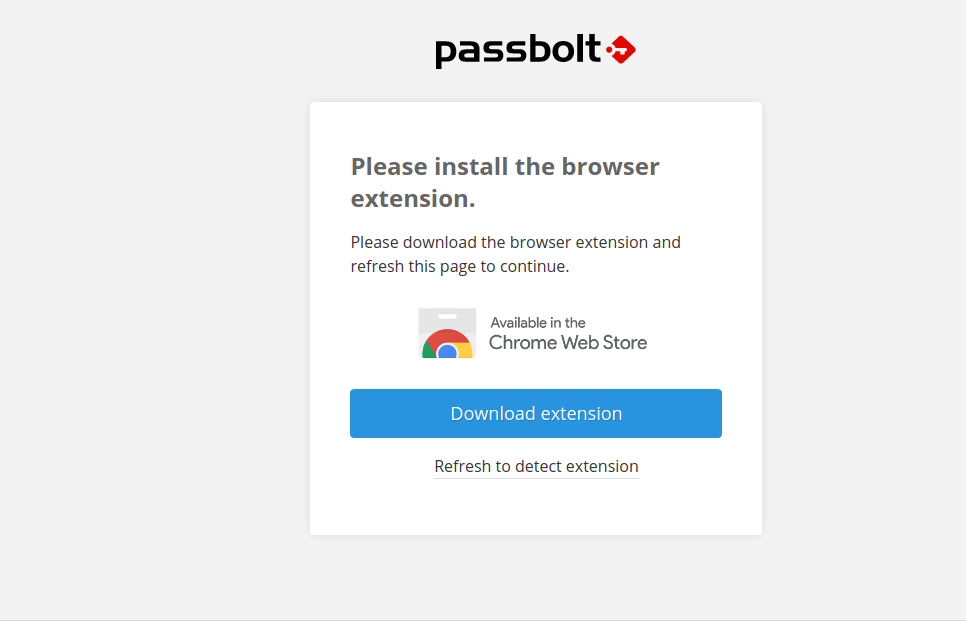
Open your browser and navigate to https://passbolt.example.com/setup/install/[unique_id]. Follow the prompts to complete the setup:

Conclusion
Congratulations on successfully installing Passbolt with Nginx and securing it with Let’s Encrypt SSL on CentOS 8. You can now use Passbolt within your organization for secure password management and sharing.
Frequently Asked Questions (FAQ)
- What is Passbolt?
- Passbolt is an open-source password manager for teams, designed to securely store and share login credentials.
- Is Passbolt self-hosted?
- Yes, Passbolt is self-hosted, offering both community and paid editions.
- What are the prerequisites for installing Passbolt?
- You need a CentOS 8 server, a valid domain name, and root access.
- How do I secure Passbolt with SSL?
- Use Certbot to obtain and install a free SSL certificate from Let’s Encrypt.
- What should I do if the Passbolt installation fails?
- Review the error messages for guidance, and ensure all commands complete successfully, especially those related to database configuration and GPG keys.
