Cacti is a powerful, free, open-source, web-based network monitoring solution written in PHP. It serves as a front-end application for RRDtool, utilizing the SNMP protocol to track network device bandwidth utilization and traffic. Displaying this data in a graph format fetched from a MySQL database, Cacti provides easy-to-decipher insights into CPU load and network bandwidth usage.
This guide will walk you through the installation of Cacti on an Ubuntu 20.04 server.
Prerequisites
- Ubuntu 20.04 server
- Root access to the server
Getting Started
Start by ensuring that all system packages are up-to-date:
apt-get update -y
After the packages have been updated, install the necessary dependencies:
apt-get install snmp php-snmp rrdtool librrds-perl unzip curl git gnupg2 -y
Proceed once the dependencies are installed.
Install LAMP Server
Next, install Apache web server, MariaDB, and PHP, along with the required extensions:
apt-get install apache2 mariadb-server php php-mysql libapache2-mod-php php-xml php-ldap php-mbstring php-gd php-gmp -y
Configure PHP settings by editing php.ini files:
nano /etc/php/7.4/apache2/php.ini
memory_limit = 512M
max_execution_time = 60
date.timezone = Asia/Kolkata
nano /etc/php/7.4/cli/php.ini
memory_limit = 512M
max_execution_time = 60
date.timezone = Asia/Kolkata
After saving the changes, restart Apache:
systemctl restart apache2
Configure MariaDB Server
MariaDB is used by Cacti for database storage. Update its configuration:
nano /etc/mysql/mariadb.conf.d/50-server.cnf
collation-server = utf8mb4_unicode_ci
max_heap_table_size = 128M
tmp_table_size = 64M
join_buffer_size = 64M
innodb_file_format = Barracuda
innodb_large_prefix = 1
innodb_buffer_pool_size = 512M
innodb_flush_log_at_timeout = 3
innodb_read_io_threads = 32
innodb_write_io_threads = 16
innodb_io_capacity = 5000
innodb_io_capacity_max = 10000
Restart the MariaDB service:
systemctl restart mariadb
Create a database and user for Cacti:
mysql
MariaDB [(none)]> create database cactidb;
MariaDB [(none)]> GRANT ALL ON cactidb.* TO cactiuser@localhost IDENTIFIED BY 'password';
MariaDB [(none)]> flush privileges;
MariaDB [(none)]> exit;
Import timezone data:
mysql mysql < /usr/share/mysql/mysql_test_data_timezone.sql
Grant privileges:
mysql
MariaDB [(none)]> GRANT SELECT ON mysql.time_zone_name TO cactiuser@localhost;
MariaDB [(none)]> flush privileges;
MariaDB [(none)]> exit;
Install and Configure Cacti
Download Cacti:
wget https://www.cacti.net/downloads/cacti-latest.tar.gz
Extract and move the directory:
tar -zxvf cacti-latest.tar.gz
mv cacti-1* /var/www/html/cacti
Import the database:
mysql cactidb < /var/www/html/cacti/cacti.sql
Edit the Cacti configuration:
nano /var/www/html/cacti/include/config.php
$database_type     = 'mysql';
$database_default  = 'cactidb';
$database_hostname = 'localhost';
$database_username = 'cactiuser';
$database_password = 'password';
$database_port     = '3306';
Create a log file and set permissions:
touch /var/www/html/cacti/log/cacti.log
chown -R www-data:www-data /var/www/html/cacti/
chmod -R 775 /var/www/html/cacti/
Create a cron job:
nano /etc/cron.d/cacti
*/5 * * * * www-data php /var/www/html/cacti/poller.php > /dev/null 2>&1
Configure Apache for Cacti
Create a virtual host file:
nano /etc/apache2/sites-available/cacti.conf
Alias /cacti /var/www/html/cacti

  <Directory /var/www/html/cacti>
      Options +FollowSymLinks
      AllowOverride None
      <IfVersion >= 2.3>
      Require all granted
      </IfVersion>
      <IfVersion < 2.3>
      Order Allow,Deny
      Allow from all
      </IfVersion>

   AddType application/x-httpd-php .php

<IfModule mod_php.c>
      php_flag magic_quotes_gpc Off
      php_flag short_open_tag On
      php_flag register_globals Off
      php_flag register_argc_argv On
      php_flag track_vars On
      # this setting is necessary for some locales
      php_value mbstring.func_overload 0
      php_value include_path .
 </IfModule>

  DirectoryIndex index.php
</Directory>
Enable the virtual host and restart Apache:
a2ensite cacti
systemctl restart apache2
Verify Apache status:
systemctl status apache2
Access Cacti Web Interface
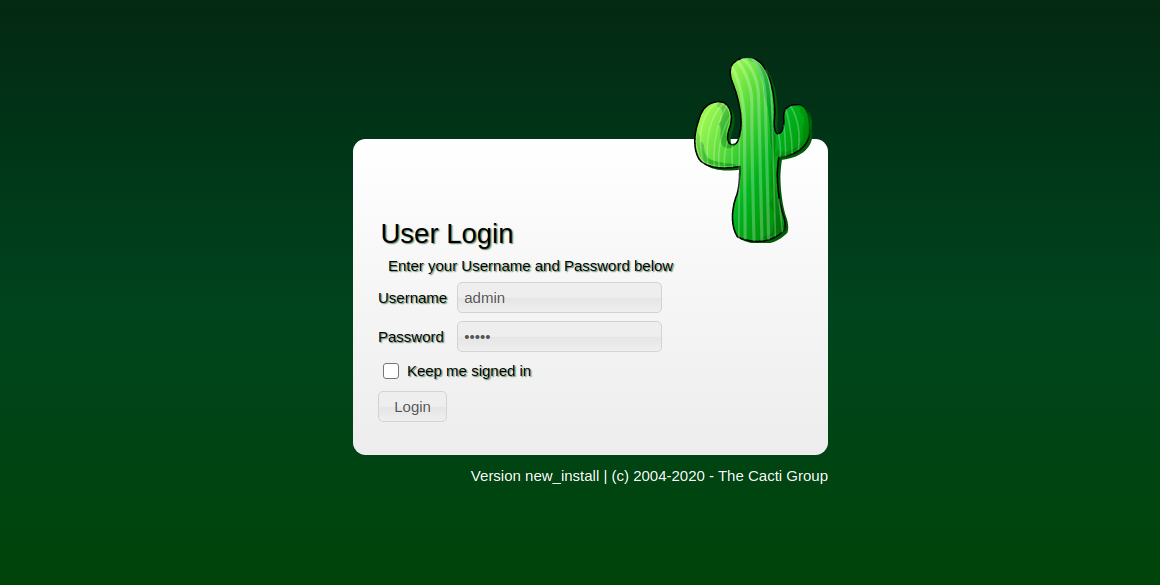
Using a web browser, navigate to http://your-server-ip/cacti. Log in with the default credentials:
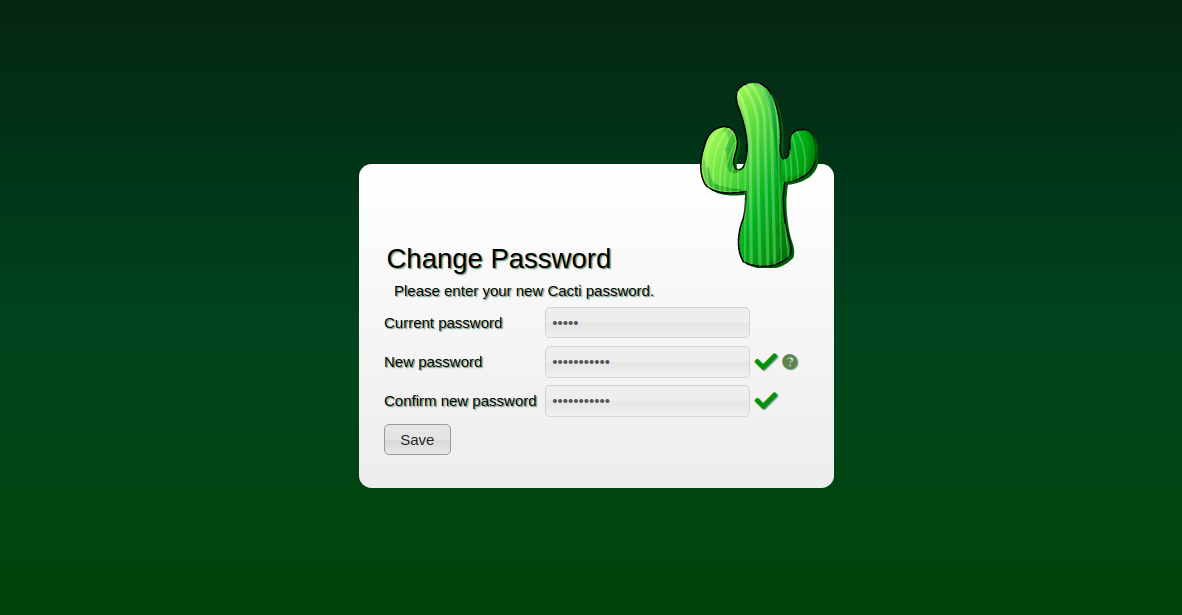
Change the default password and continue through the setup:
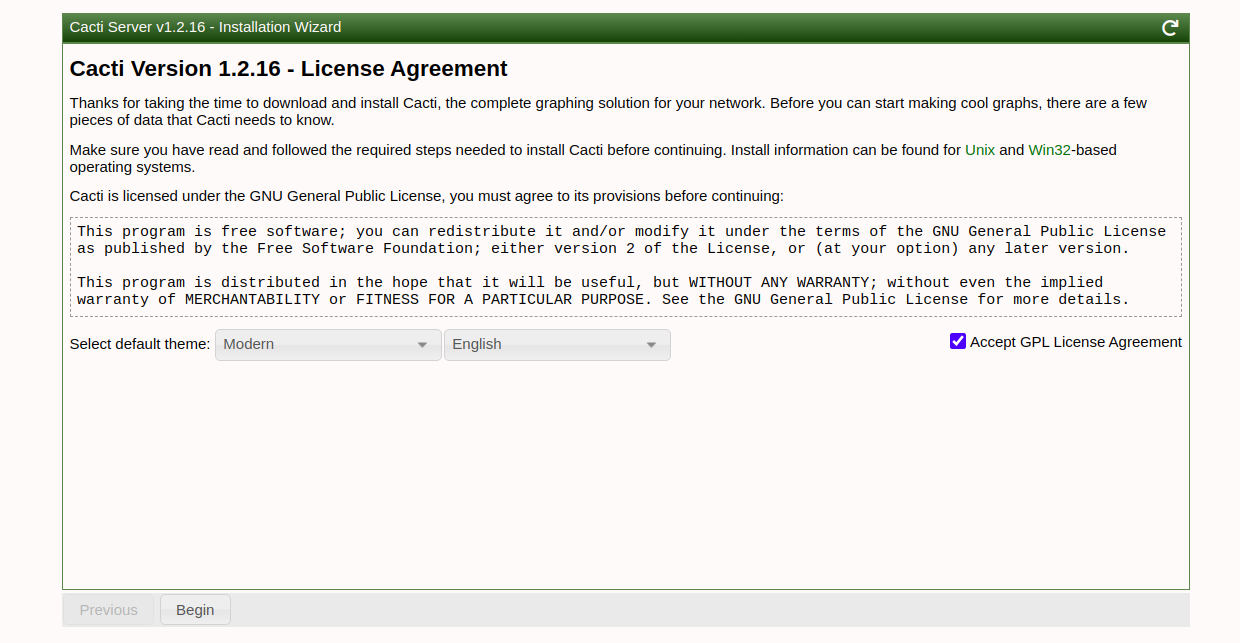
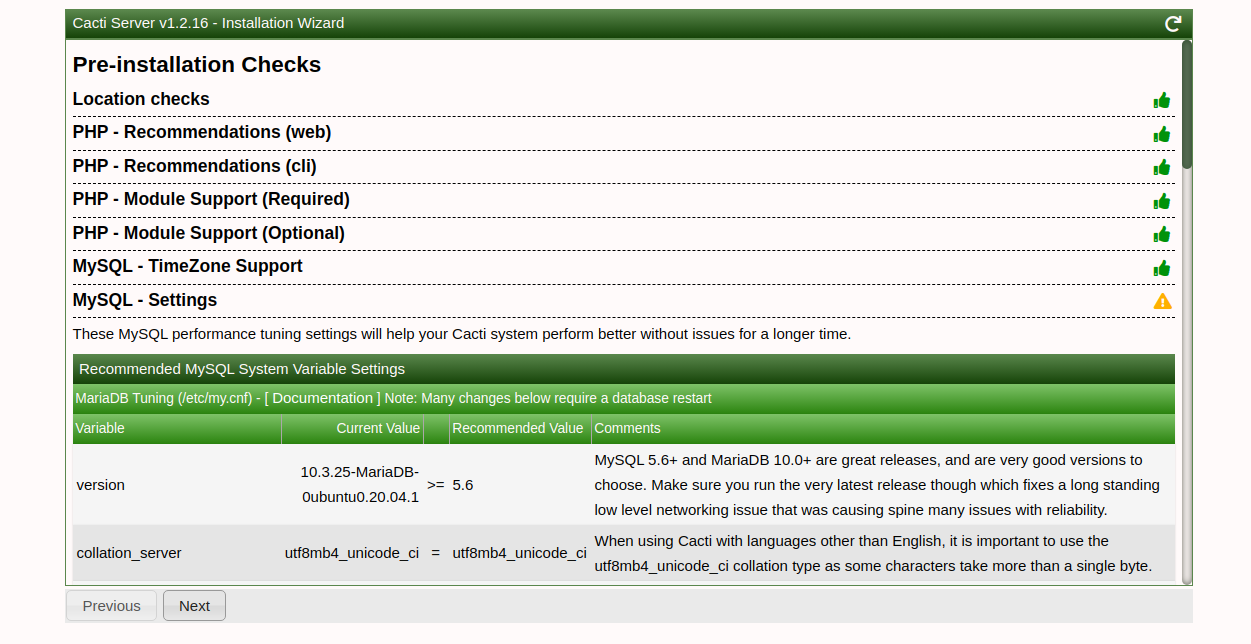
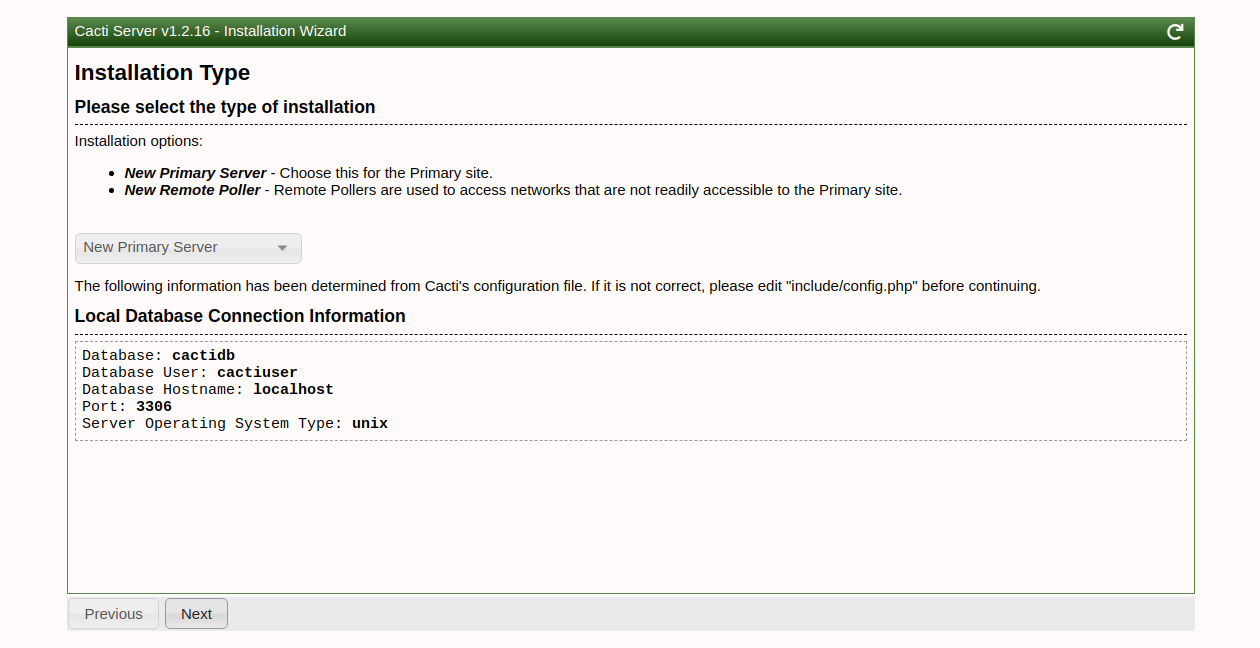
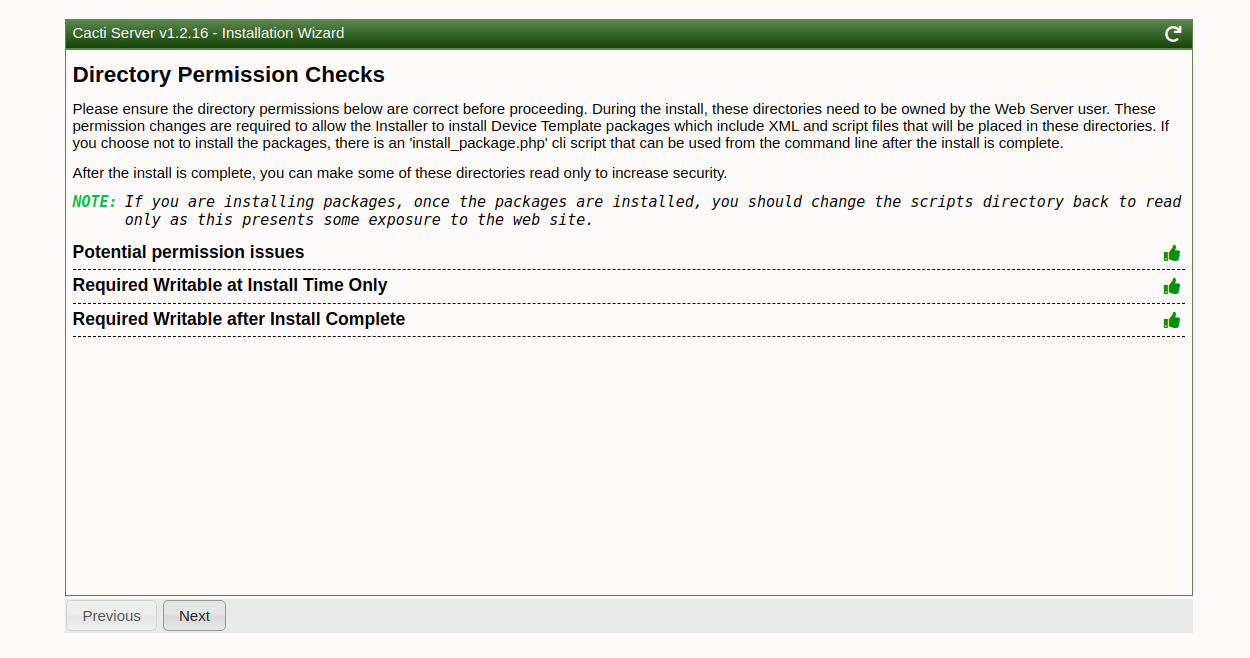
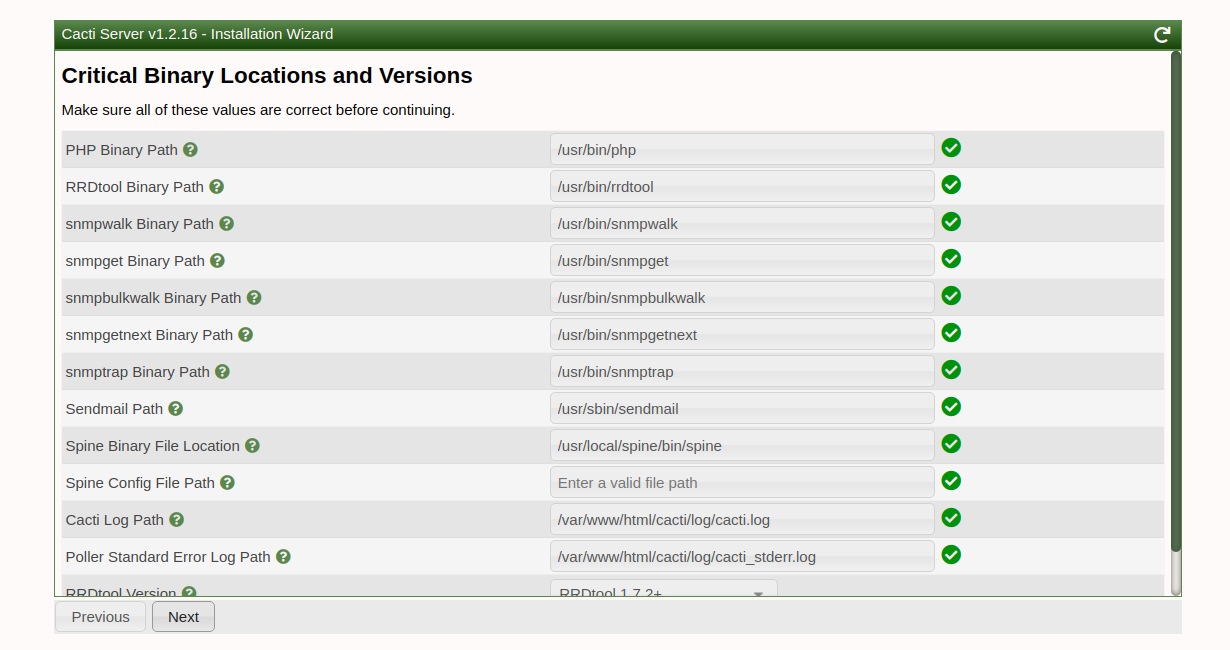
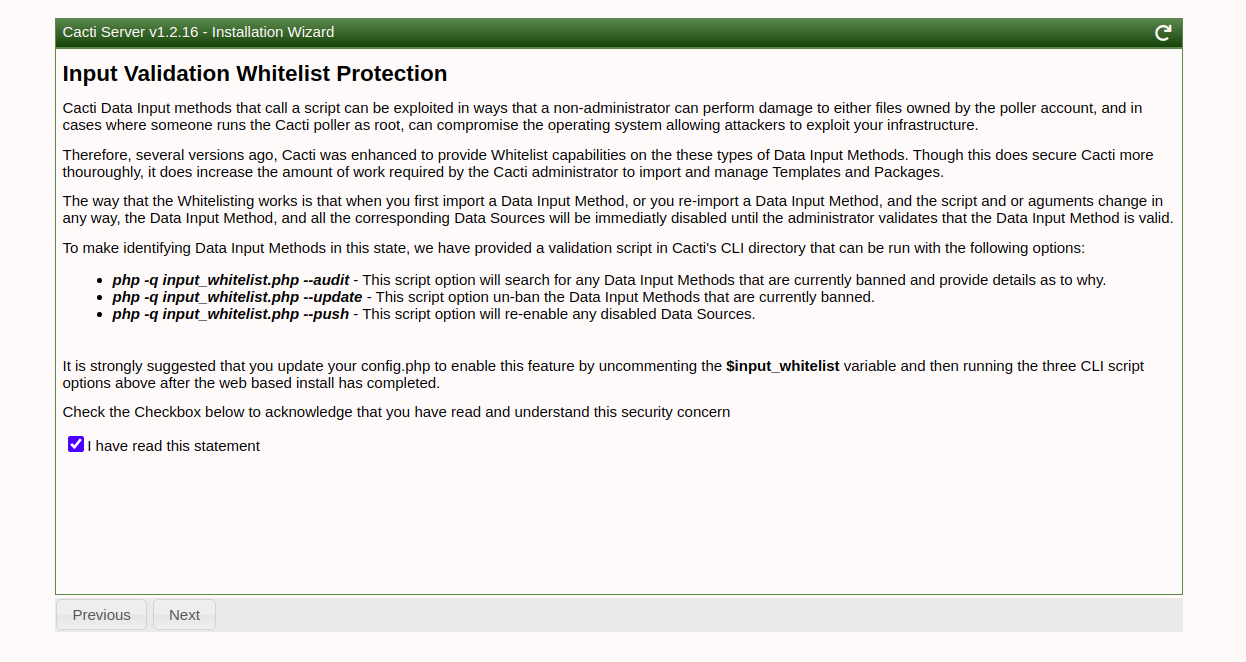
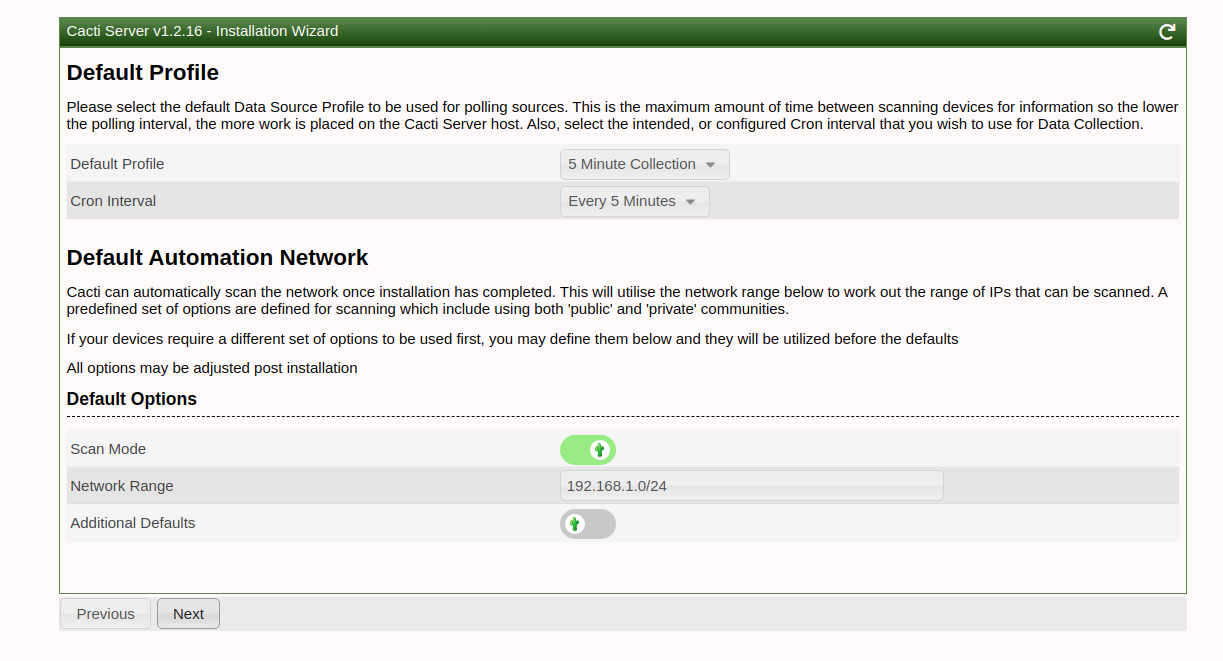
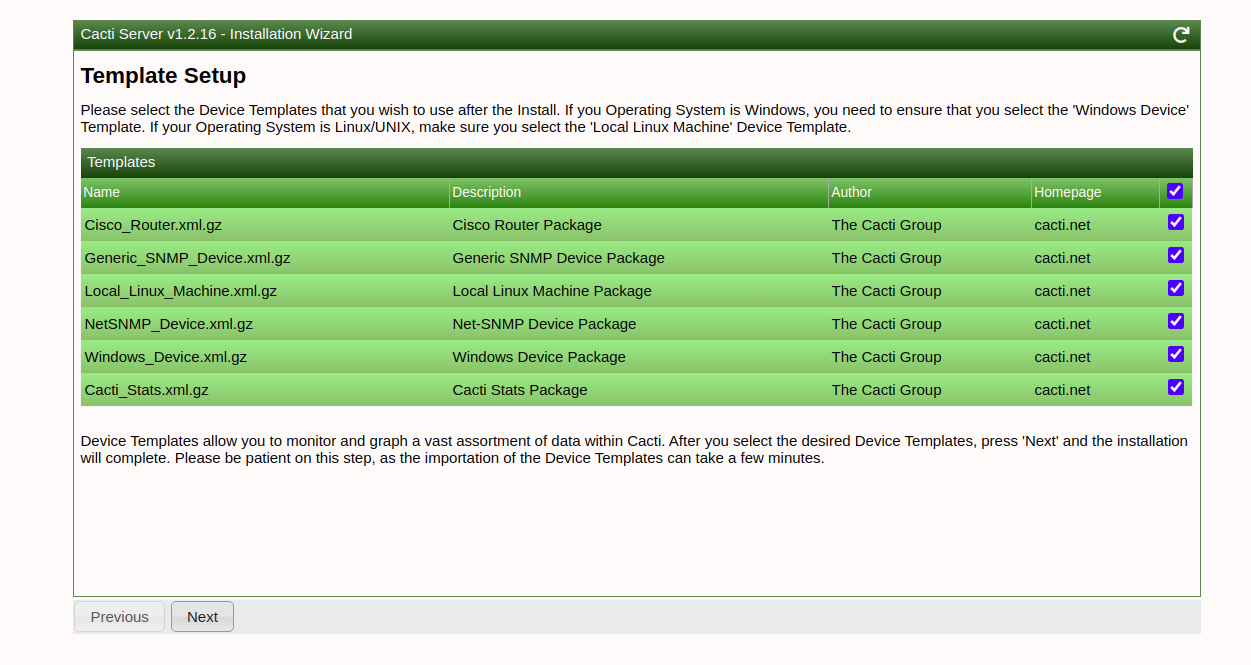
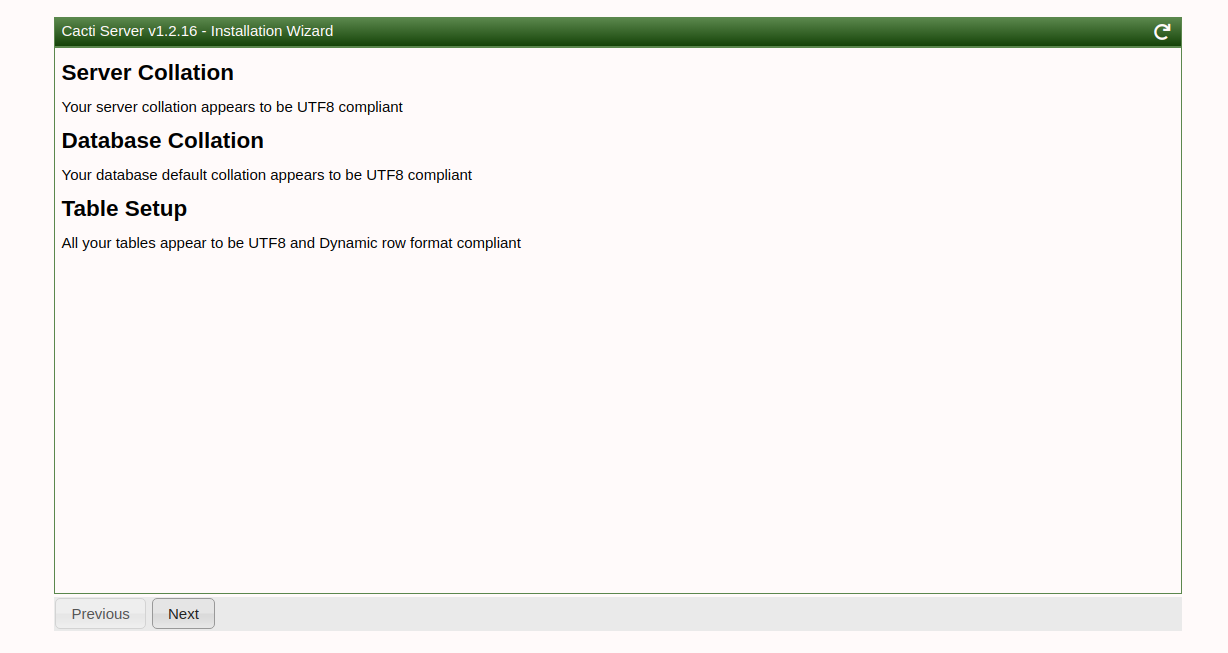
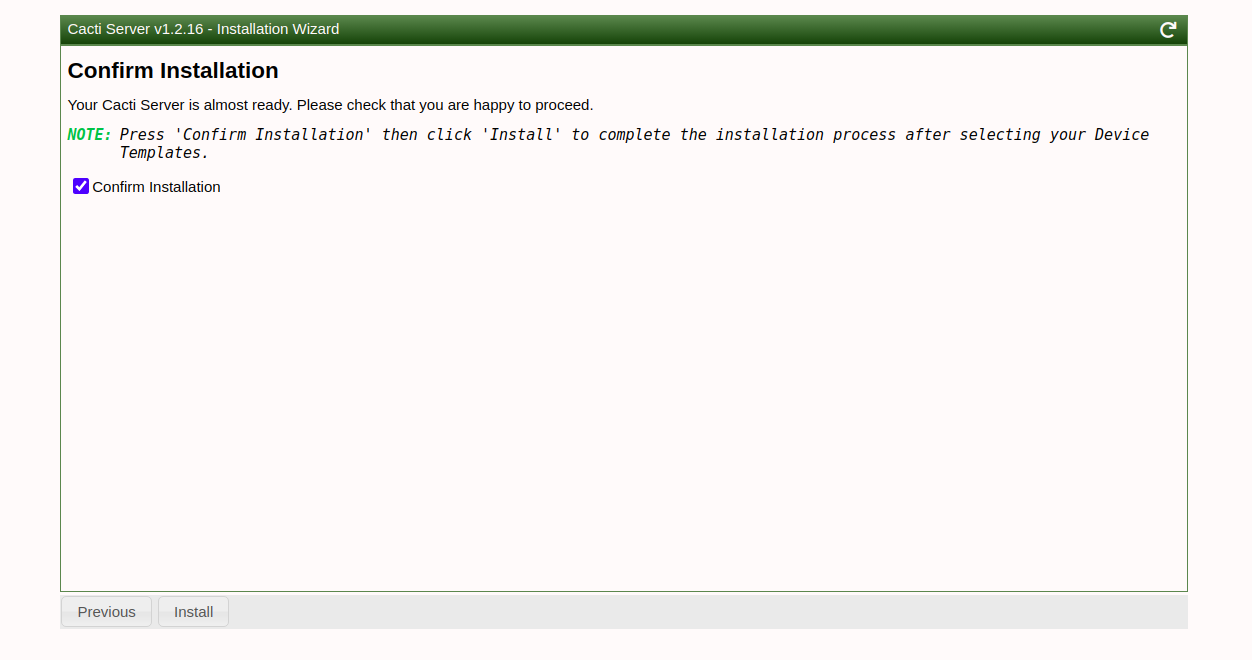
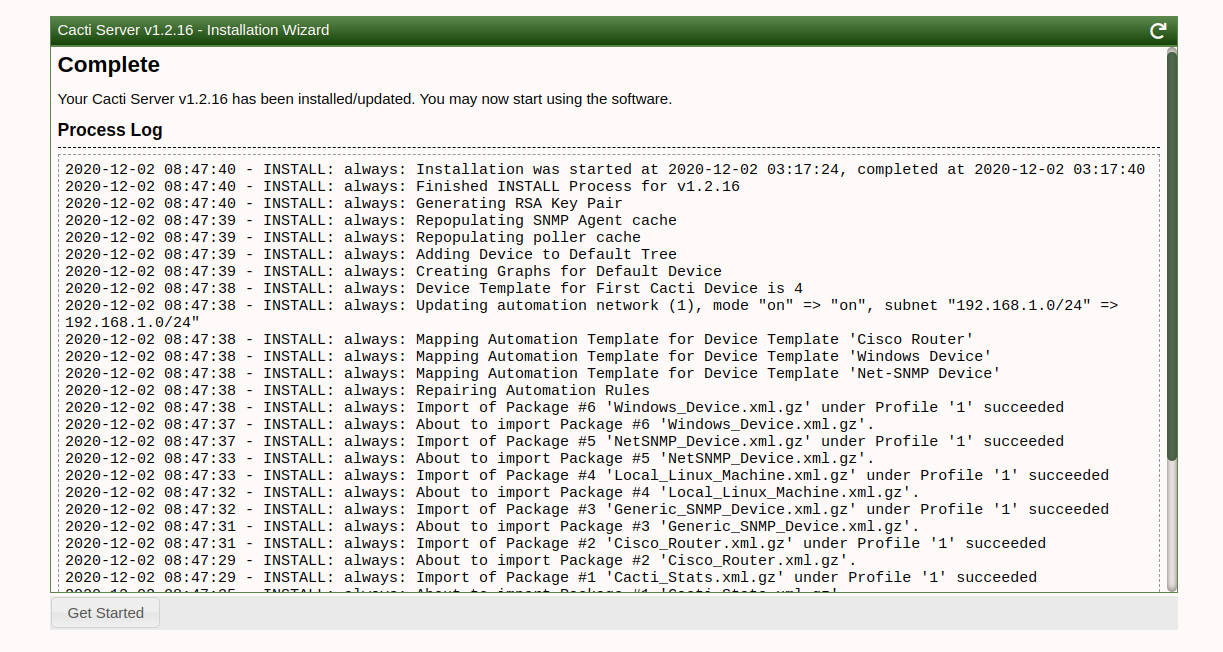
Walk through the installation wizard, configuring according to your preferences:
Follow these screenshots to complete the setup:
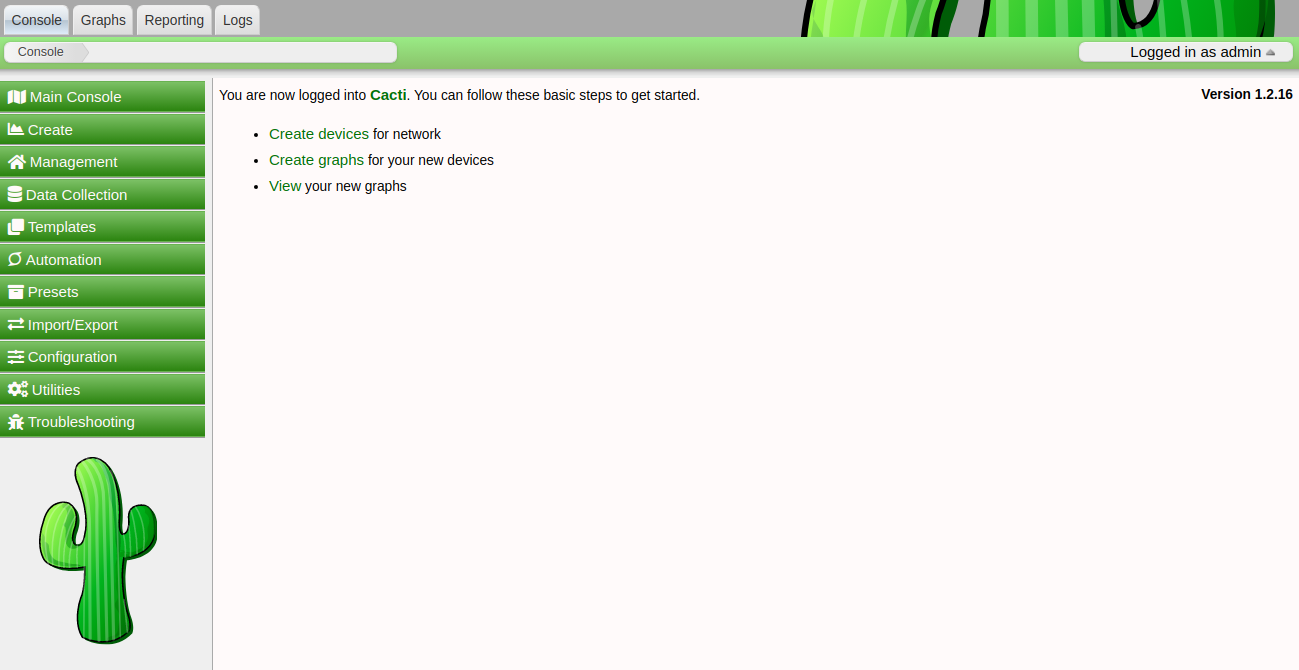
Upon successful installation, access the Cacti dashboard:
Conclusion
Congratulations! You have successfully installed and configured Cacti on Ubuntu 20.04 server. You can now use the Cacti dashboard to monitor network devices via a web interface. If you have any questions or encounter any issues, feel free to reach out.
FAQ
- What is Cacti?
- Cacti is a web-based network monitoring and graphing tool designed to harness the power of RRDTool’s data storage and graphing functionality. It provides users with a web interface to manage RRDTool’s data collection and graphing processes, significantly simplifying setup and maintenance over standalone RRDTool implementations.
- Can Cacti monitor my entire network?
- Yes, Cacti is capable of monitoring multiple devices within a network. By leveraging SNMP, Cacti can collect data across an array of network metrics, including bandwidth utilization, CPU load, and more.
- Is it possible to configure Cacti on operating systems other than Ubuntu?
- Absolutely. Cacti is a versatile tool that can be installed on various Unix-based operating systems, including different Linux distributions and BSD variants. The installation steps might vary slightly, but the official documentation provides guidance for multiple platforms.
- How do I add devices in Cacti?
- You can add devices easily through the Cacti web interface. Navigate to the ‘Devices’ section in the Cacti console, and follow the prompts to add a new device, entering its IP address, SNMP version, and community string as needed.
- Can I customize Cacti graphs?
- Yes, Cacti allows for extensive customization of graphs. You can define custom graphs and templates, manipulate data sources, and tailor presentation preferences to suit your monitoring requirements.
