Brackets Code Editor is an open-source application specifically designed to assist web developers and designers in both front-end development and back-end scripting. Known for its lightweight configuration, Brackets is compatible with a variety of operating systems, including macOS, Windows, and Linux.
Key features of Brackets include the ability to work on multiple files simultaneously and support for numerous extensions. The editor is capable of handling almost all file types, making it an ideal choice for developers dealing with large volumes of code.
In this tutorial, you will learn how to install Brackets Editor on Ubuntu 20.04 through two different methods:
- Using the terminal
- Using the Ubuntu Software Center
Install Brackets Code Editor through the Terminal
You can install Brackets Code Editor via the terminal using the snap command, which automatically updates the application to the latest version whenever it’s available.
First, update your system packages. Use the sudo command to check for updates. If any updates are available, apply them with the following command:
$ sudo apt update
This command will refresh the package list and update any outdated packages. You will need to provide your sudo account password for authentication.
Next, upgrade the system with:
$ sudo apt upgrade
This will ensure that all packages are updated properly. If snap is not already installed, you can add it with:
$ sudo apt install snapd
During installation, you’ll be notified of the disk space required. If satisfied, enter “y” to proceed.
![]()
Finally, install Brackets using Snap:
$ sudo snap install brackets --classic

The download process will start automatically and display the progress. Once completed, Brackets version 1.14.1 will be installed.
![]()
Install Brackets Code Editor from Ubuntu Software Repository
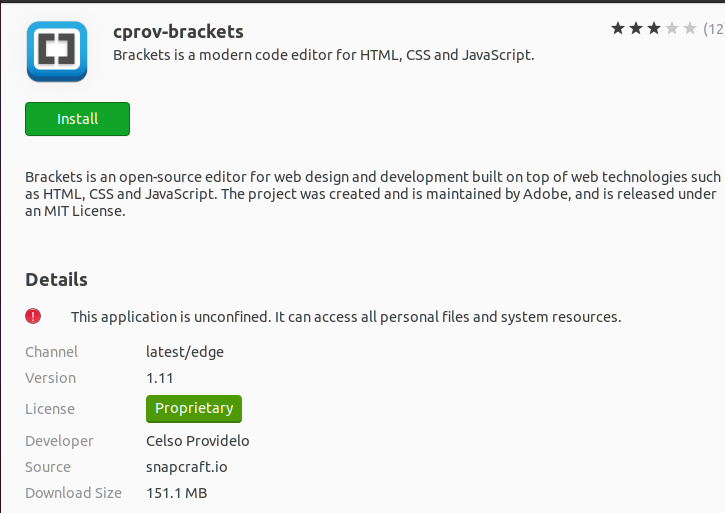
Alternatively, you can install Brackets using the graphical user interface available via the Ubuntu Software Center. Open the software center from the main menu.
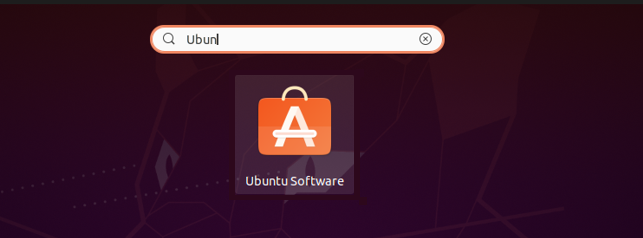
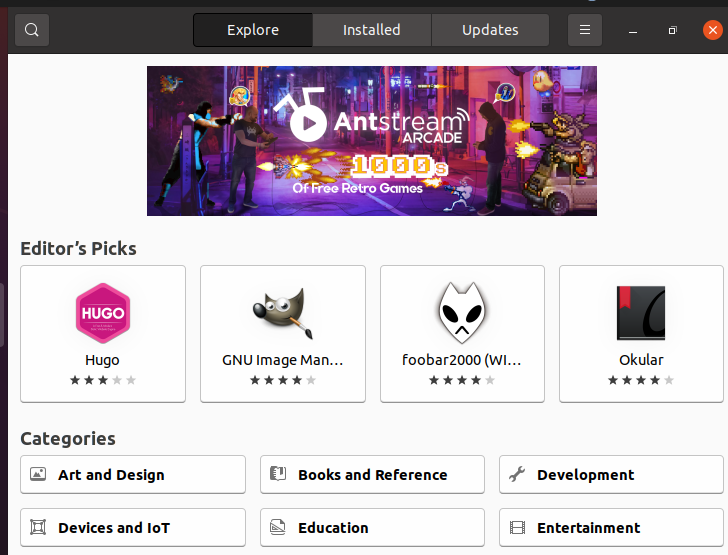
The software center operates like the Windows Microsoft Store or Google Play Store on Android devices.
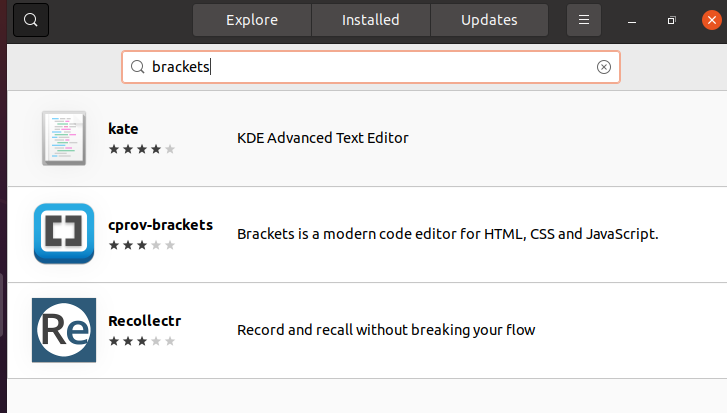
Use the search functionality to find “Brackets” and select the option from the results.
Click “Install” on the software page to initiate the download and installation process.
Launch Brackets Code Editor
Once installed, launch Brackets from the main application menu. The default HTML file will load, providing information about the application.
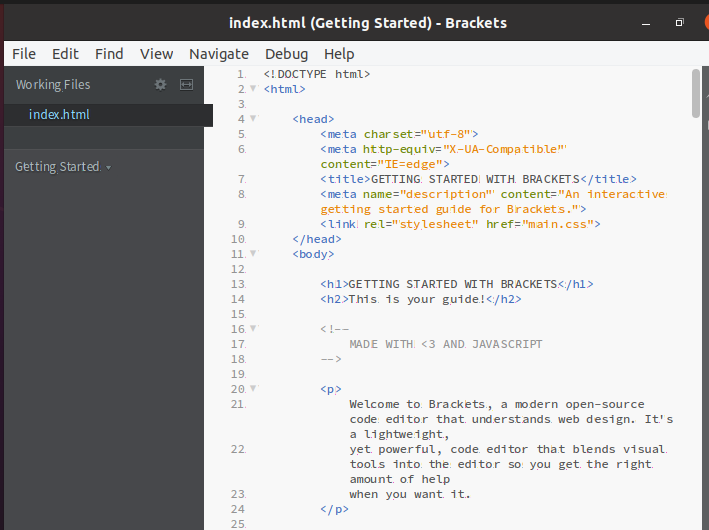
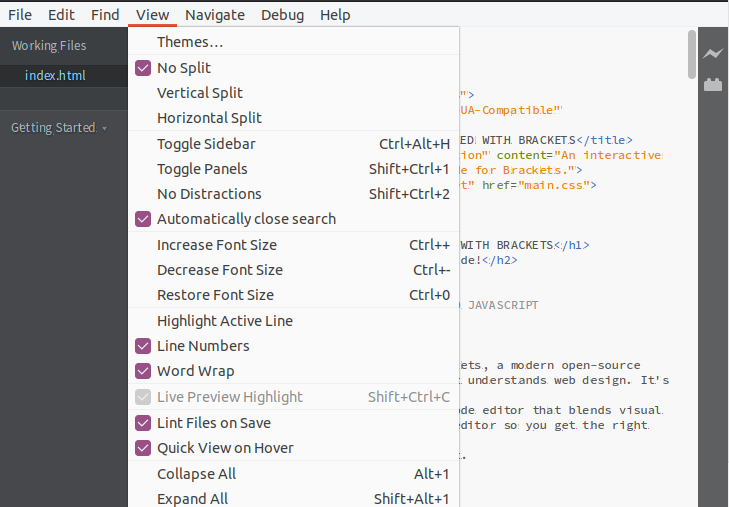
Brackets features a menu bar and a navigation bar on the left, where the file names are displayed. To change the theme, go to “View” in the menu bar and select the theme option.
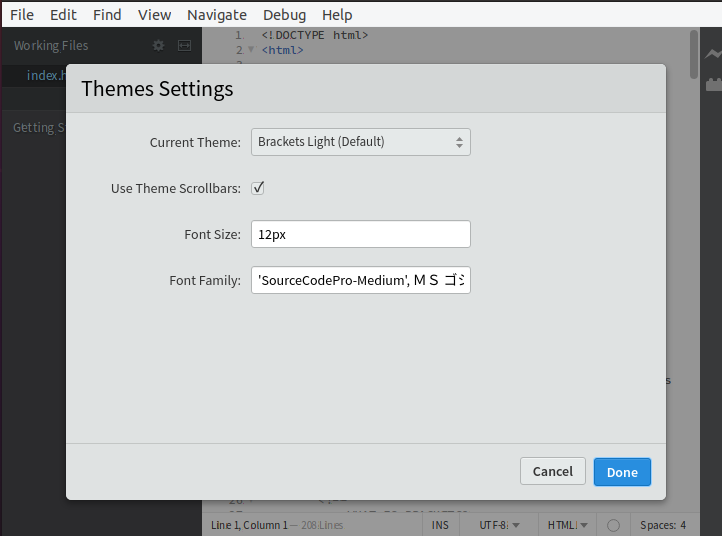
A dialog box will appear, allowing you to adjust the theme and modify font size and style.
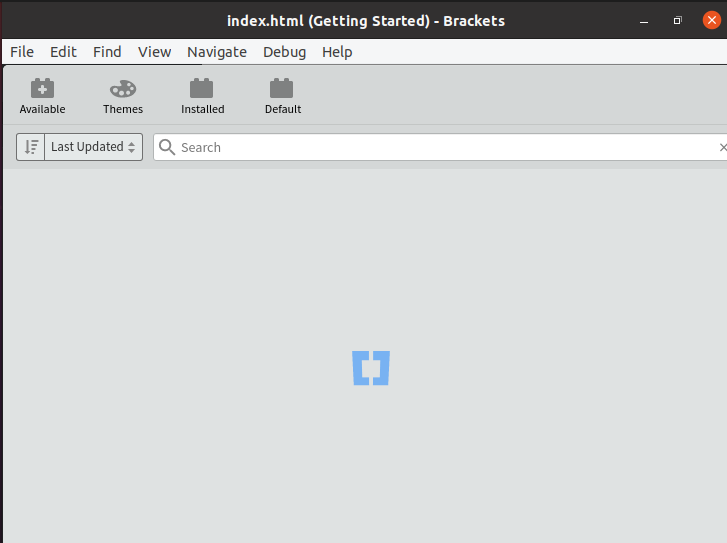
For extra functionality, use the “Extension Manager” on the right side to download additional extensions.
Uninstall the Application
To uninstall Brackets, use the snap-remove command:
$ sudo snap remove brackets
Provide the sudo password when prompted, and the application will be successfully removed.
FAQ
- What are the benefits of using Brackets Code Editor?
- Brackets offers a lightweight, flexible environment for web development, supporting multiple file formats and extensions, which enhances the productivity of developers working on both front-end and back-end projects.
- Is Brackets suitable for both beginners and advanced developers?
- Yes, Brackets is designed to be user-friendly with a straightforward interface, making it accessible for beginners, while its advanced features cater to experienced developers’ needs.
- How often is Brackets updated?
- Using Snap for installation ensures that Brackets receives automatic updates to the latest version.
- Can I customize the appearance of Brackets Editor?
- Yes, you can change themes and modify font styles using the theme settings in the application.
- Why choose the terminal installation method over the Ubuntu Software Center?
- The terminal method using Snap is beneficial for users who prefer command-line processing and require automated updates and installations.
