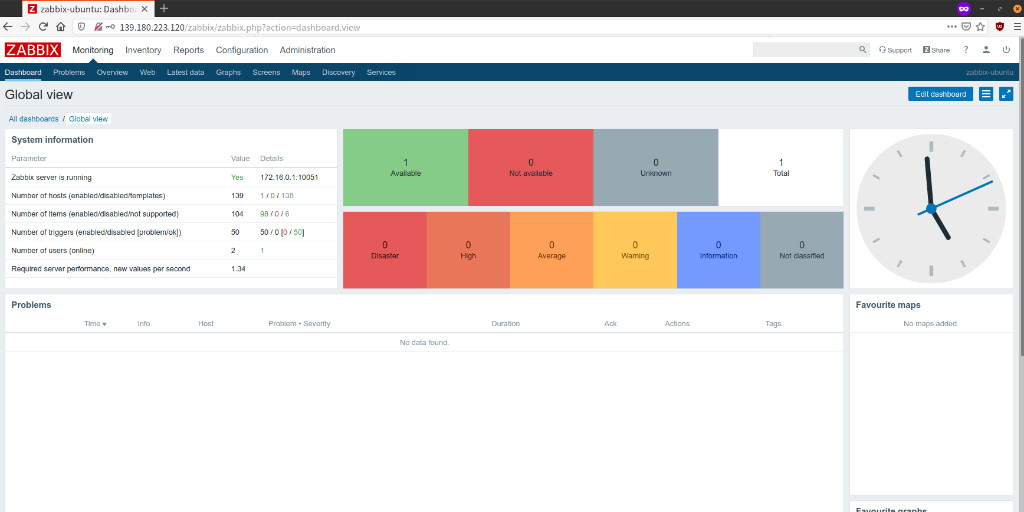
Zabbix is a robust open-source monitoring solution designed for tracking and monitoring the status of various network services, hardware, servers, and applications. It offers support for diverse database systems like MySQL, PostgreSQL, SQLite, and IBM DB2 for data storage. The Zabbix backend is developed in C, while the frontend utilizes PHP.
This tutorial will guide you through installing Zabbix 4.4 on an Ubuntu 18.04 server. We will integrate Zabbix with Apache web server, PHP, and MariaDB server on an existing Ubuntu 18.04 setup.
Requirements
This guide focuses on installing Zabbix on an Ubuntu 18.04 Bionic Beaver system configured with 4 GB RAM, 50 GB disk space, and 4 CPUs. Root privileges are required.
Summary
- Install Apache Web Server
- Install and Configure PHP Packages
- Install and Configure MariaDB Server
- Install and Configure Zabbix
- Complete Zabbix Frontend Post-Installation
Step 1 – Install Apache Web Server
We’ll begin by installing the Apache web server on Ubuntu 18.04.
Update Ubuntu’s repository lists and install the Apache packages using the following command:
sudo apt update
sudo apt install apache2
Proceed to start the Apache service and ensure it launches during system boot:
systemctl start apache2
systemctl enable apache2
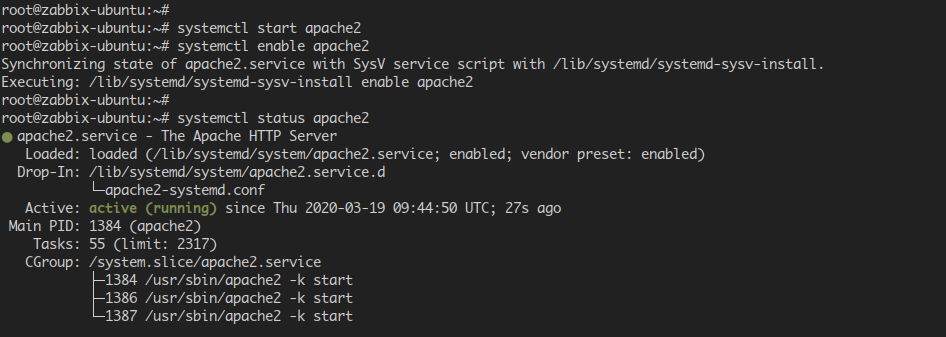
Verify Apache is running with:
systemctl status apache2
The Apache web server installation is now complete on Ubuntu 18.04.
Step 2 – Install PHP Packages
Next, we’ll install PHP to meet Zabbix’s requirements. We’ll use the default PHP 7.2 version from the Ubuntu repository. Install the PHP packages with:
sudo apt install php-cli php-common php-dev php-pear php-gd php-mbstring php-mysql php-xml php-bcmath libapache2-mod-php
After installation, modify the ‘php.ini’ files in the PHP configuration directory. Navigate to:
cd /etc/php/7.2/
Edit both PHP configurations for Apache2 and CLI:
vim apache2/php.ini
vim cli/php.ini
Adjust configurations as follows:
date.timezone = Asia/Jakarta
max_execution_time = 600
max_input_time = 600
memory_limit = 256M
post_max_size = 32M
upload_max_filesize = 16M
Save the changes and restart Apache:
systemctl restart apache2
The PHP installation and configuration for Zabbix is complete.

Step 3 – Install and Configure MariaDB Server
This step involves installing MariaDB, setting up its root password, and creating a new database for Zabbix.
Install MariaDB server packages using:
sudo apt install mariadb-server mariadb-client
Start the MariaDB service and configure it to launch on boot:
systemctl start mariadb
systemctl enable mariadb
Secure your MariaDB installation with:
mysql_secure_installation
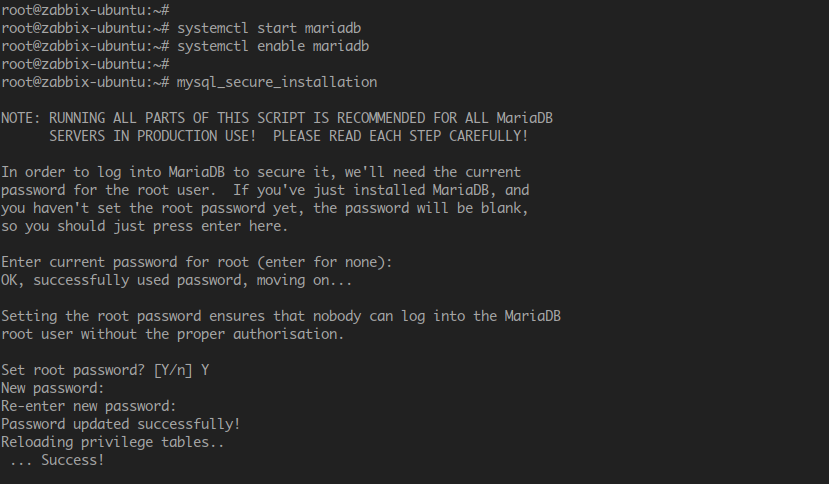
Follow the prompts to establish a strong root password and allow only authorized access:
Set a root password? [Y/n] Y
Remove anonymous users? [Y/n] Y
Disallow root login remotely? [Y/n] Y
Remove test database and access to it? [Y/n] Y
Reload privilege tables now? [Y/n] Y
Login to the MySQL shell to create the database:
mysql -u root -p
Create a new database and user for Zabbix:
create database zabbix character set utf8 collate utf8_bin;
grant all privileges on zabbix.* to zabbix@'localhost' identified by 'hakase-labs@';
grant all privileges on zabbix.* to zabbix@'%' identified by 'hakase-labs@';
flush privileges;
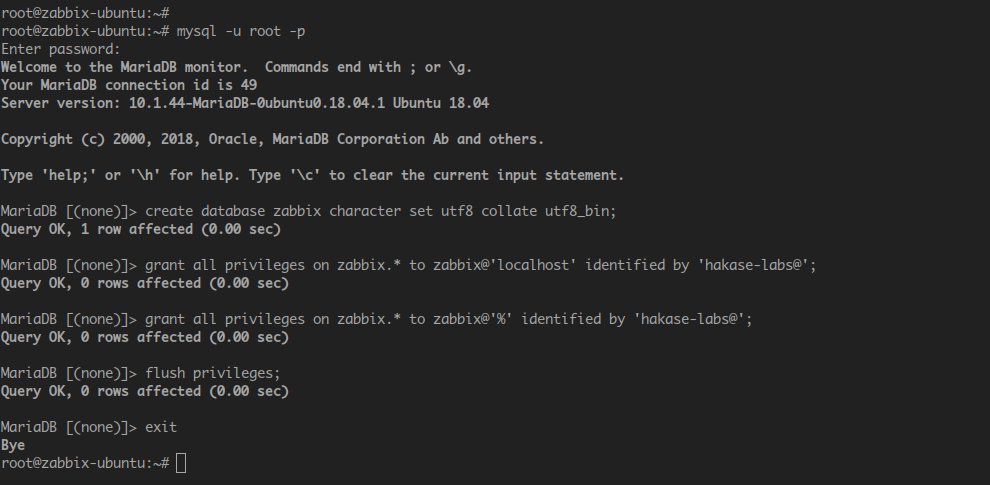
Type ‘exit’ to log out from the MySQL shell. MariaDB setup is complete, along with a configured database for Zabbix.
Step 4 – Install and Configure Zabbix
We’ll proceed with installing Zabbix using the database and user we’ve created.
Add Repository and Install Zabbix
Add the Zabbix Repository for Ubuntu 18.04 Bionic Beaver:
wget https://repo.zabbix.com/zabbix/4.4/ubuntu/pool/main/z/zabbix-release/zabbix-release_4.4-1+bionic_all.deb
dpkg -i zabbix-release_4.4-1+bionic_all.deb
Update repositories and install Zabbix:
sudo apt update
sudo apt install zabbix-server-mysql zabbix-frontend-php zabbix-apache-conf zabbix-agent
Zabbix packages are installed successfully on Ubuntu 18.04.
Import Zabbix Database Scheme
Import the sample Zabbix database scheme:
zcat /usr/share/doc/zabbix-server-mysql*/create.sql.gz | mysql -uzabbix -p zabbix
Enter the password for user ‘zabbix’.

The Zabbix database scheme is successfully imported.
Configure Zabbix Server
Edit the server configuration:
vim /etc/zabbix/zabbix_server.conf
Uncomment and modify the following options:
DBHost = localhost
DBPassword = hakase-labs@
Save the changes and start the Zabbix Server service:
systemctl start zabbix-server
systemctl enable zabbix-server
Verify the Zabbix Server status:
systemctl status zabbix-server

Configure Zabbix Agent
Setup the Zabbix agent by editing:
vim /etc/zabbix/zabbix_agentd.conf
Uncomment and set the following values:
Server = 127.0.0.1
ServerActive = 127.0.0.1
Hostname = zabbix18
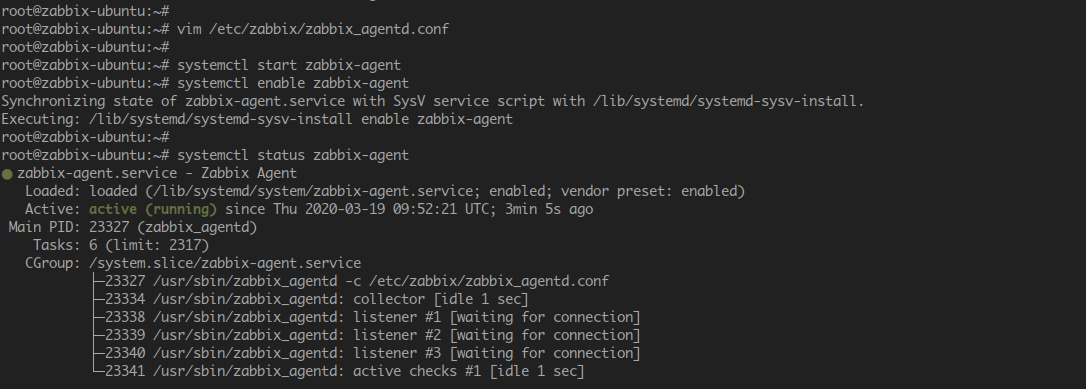
Start the Zabbix Agent service:
systemctl start zabbix-agent
systemctl enable zabbix-agent
Confirm the Zabbix Agent status:
systemctl status zabbix-agent
Restart Apache2 Web Server
Finally, restart Apache to apply all configurations:
systemctl restart apache2
The Zabbix installation and initial configuration on Ubuntu 18.04 are complete.
Step 5 – Zabbix Frontend Post-Installation
Open a web browser and enter the server IP address followed by ‘/zabbix’:
http://10.5.5.30/zabbix/
You should see the Zabbix installation welcome page.
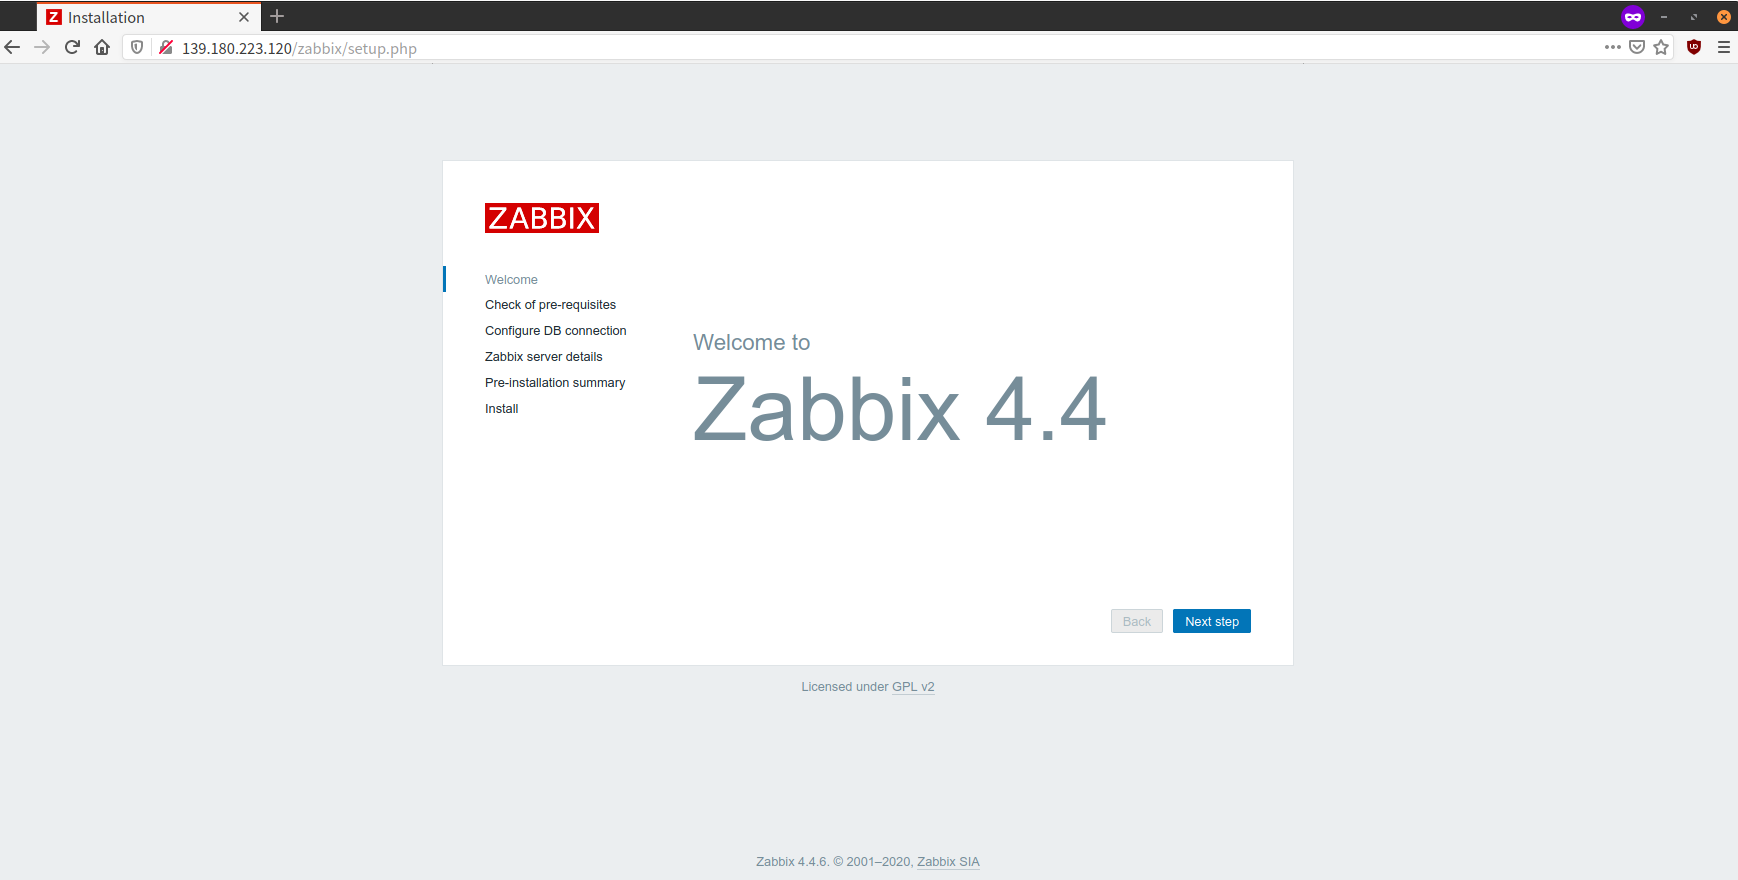
Continue through the next steps, confirming system requirements and database configurations, until you reach the Congratulations screen.
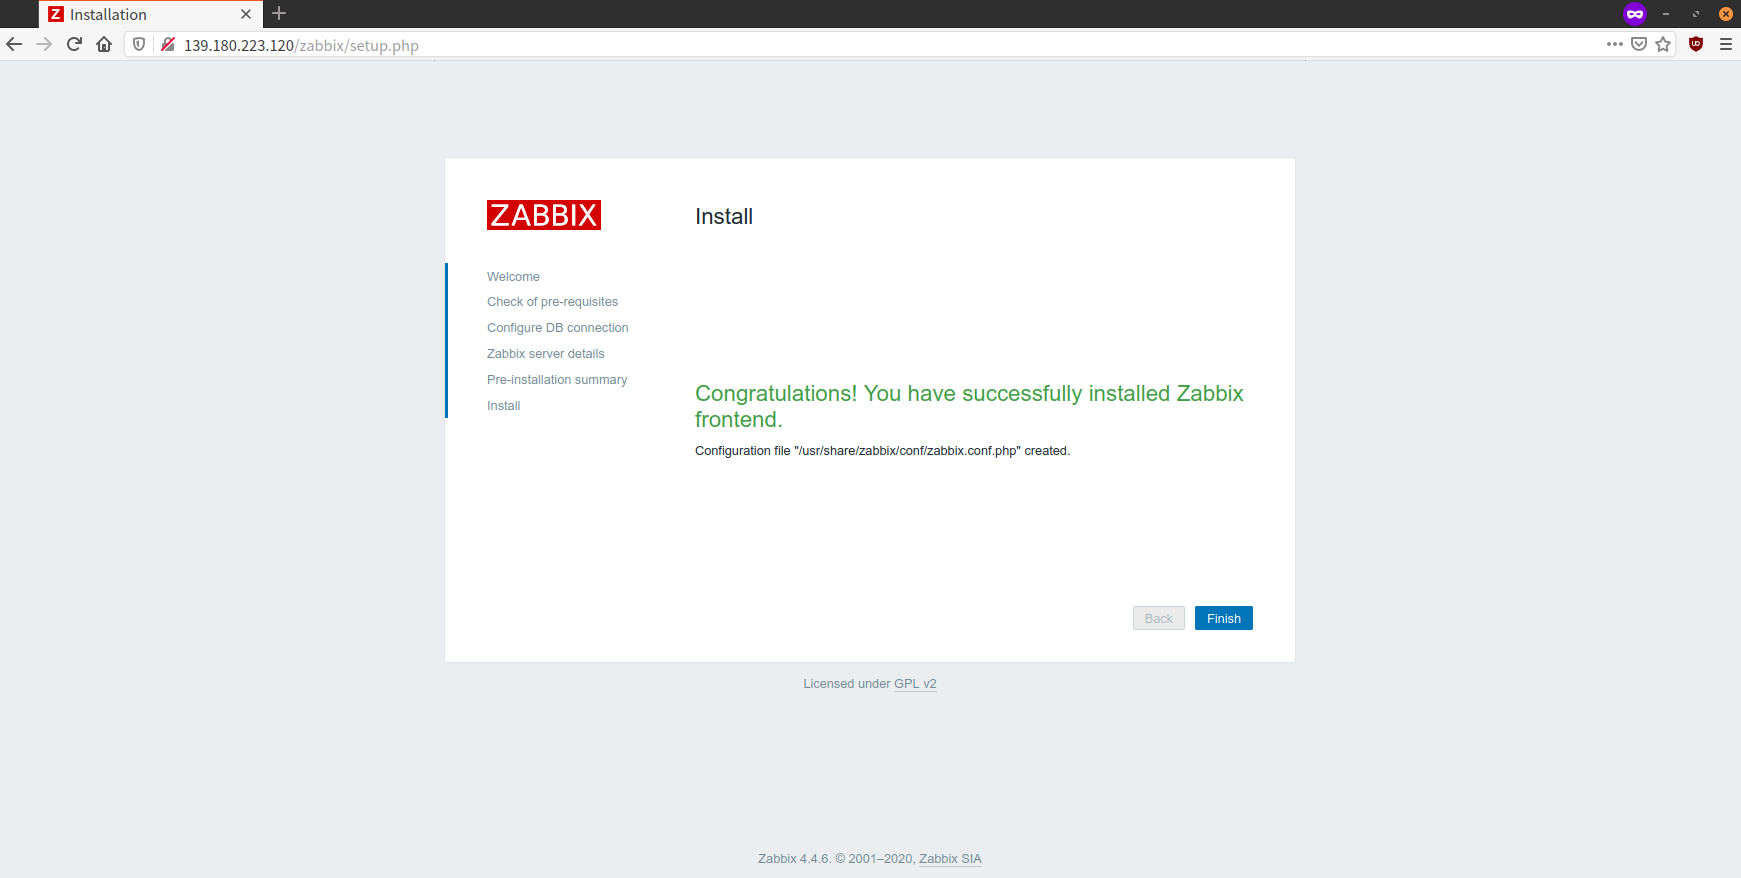
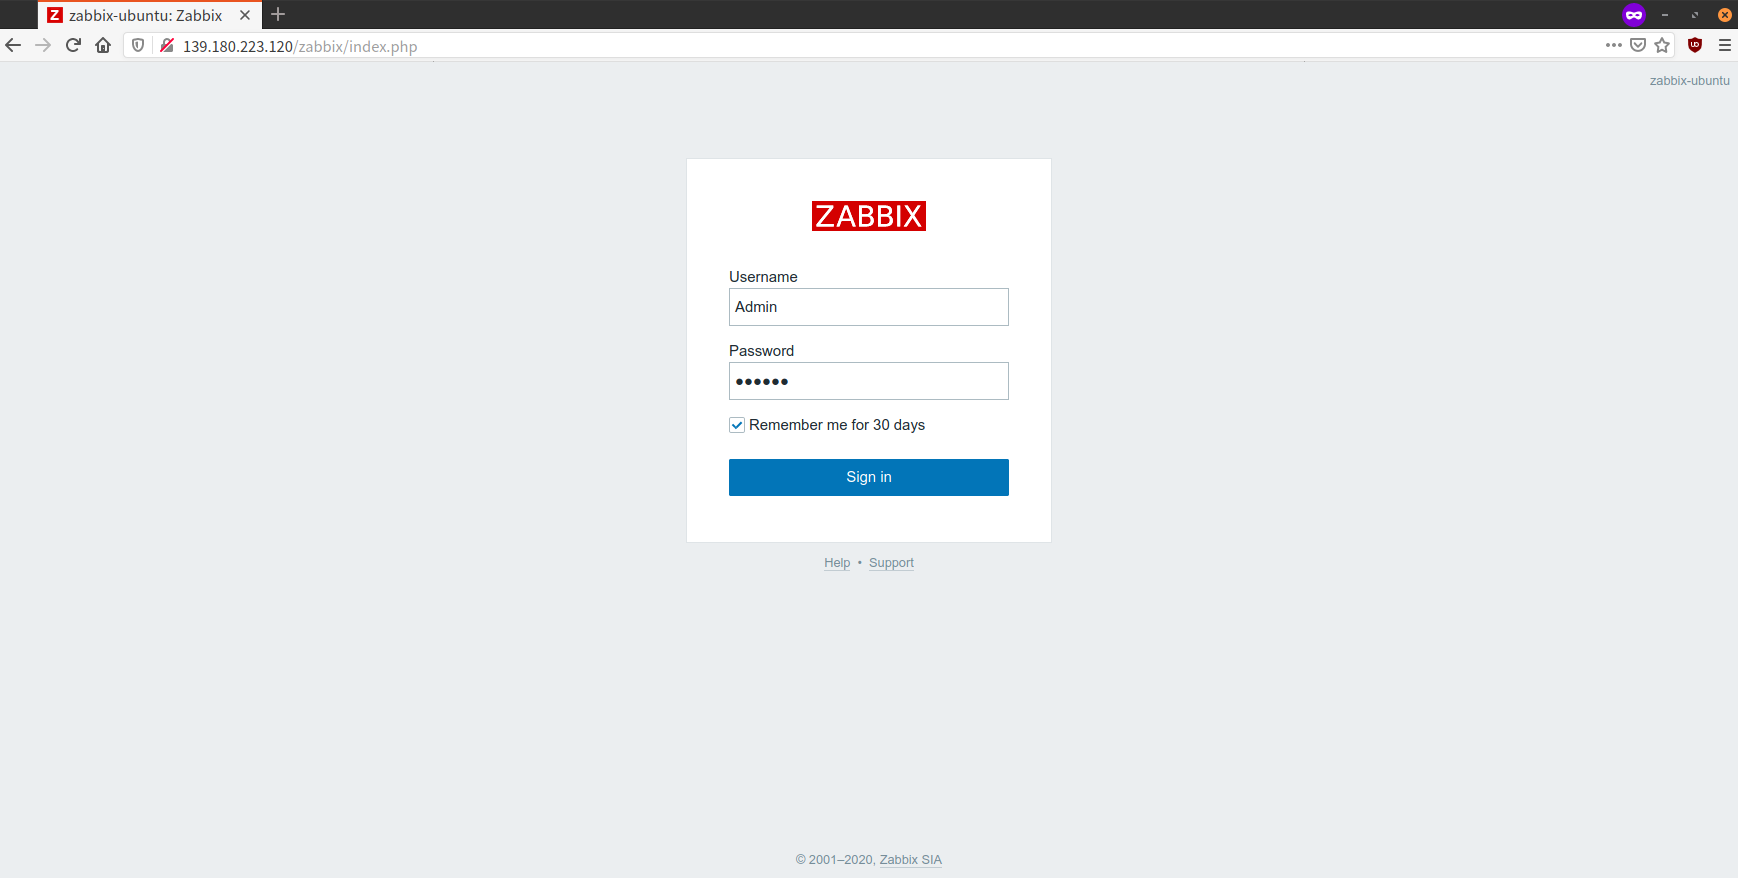
Complete the setup and you will be redirected to the Zabbix login page.
Credentials for the initial login are:
User: Admin
Password: zabbix
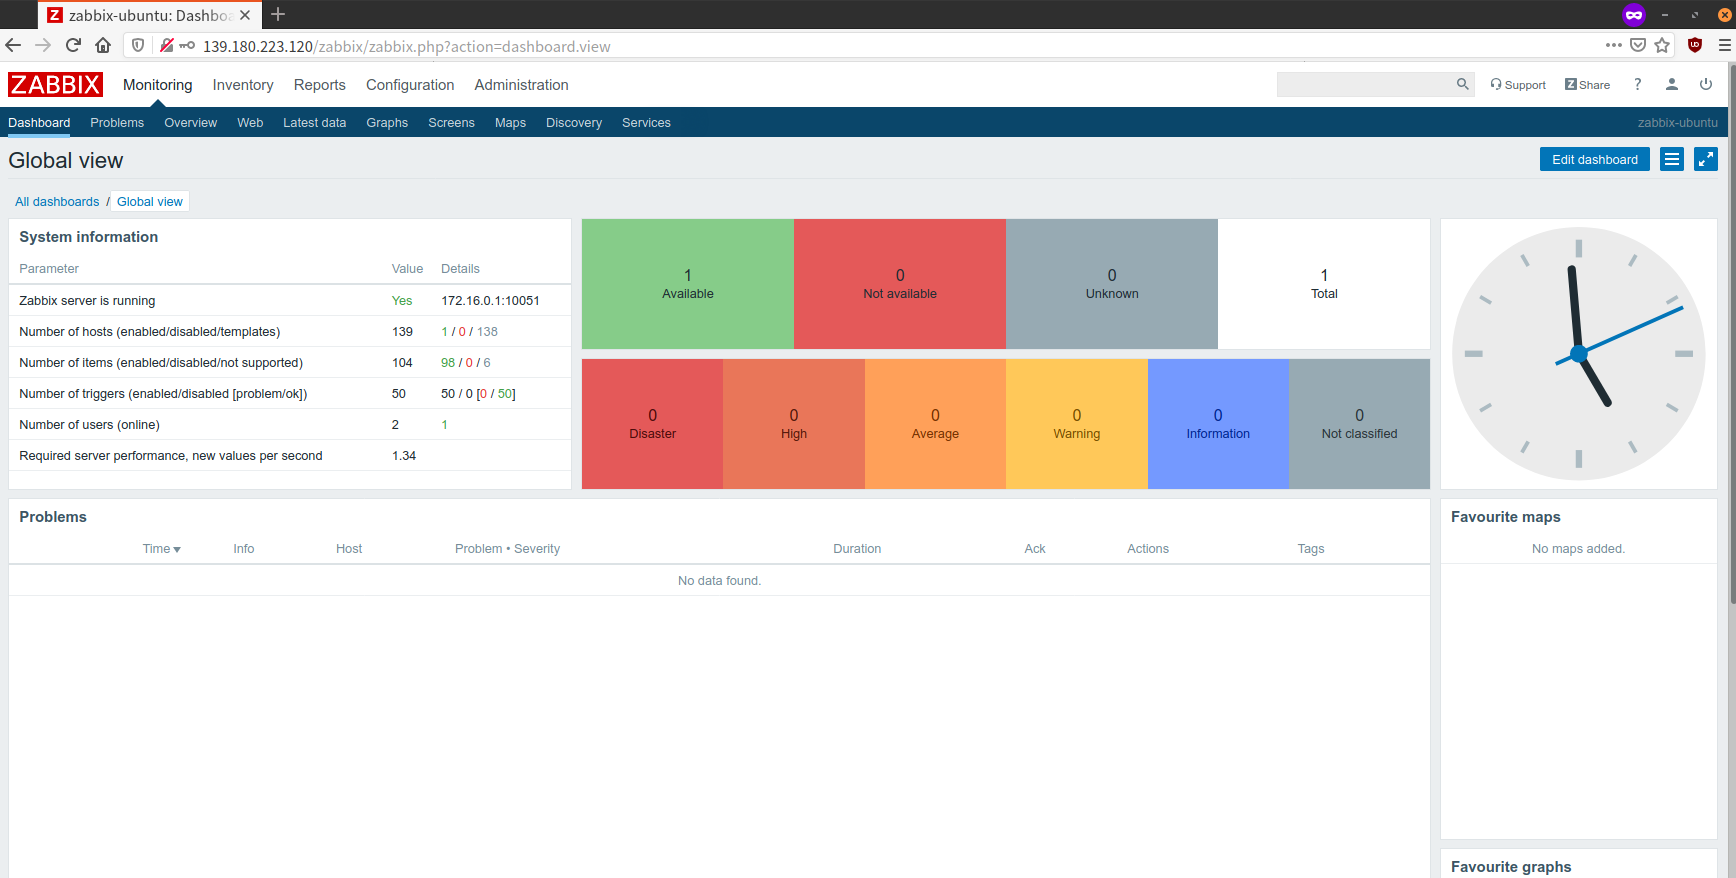
Once logged in, the Zabbix Dashboard will be accessible, confirming successful installation.
Reference
FAQ
Can I install Zabbix on a different version of Ubuntu?
Yes, but be sure to check the specific requirements and repository links for your Ubuntu version. The process may vary slightly due to differences in package versions and dependencies.
How do I change the default Zabbix login credentials?
Once logged into the Zabbix Dashboard with your admin account, you can navigate to the Administration area and update user credentials as needed.
What should I do if my Zabbix frontend doesn’t load after installation?
Ensure that the Apache server is running and there are no firewall rules blocking access. Check error logs in Apache and Zabbix for any configuration issues.
Can I use a different database instead of MariaDB?
Yes, Zabbix supports MySQL, PostgreSQL, and other database systems. Ensure that you modify the installation steps to add the correct repository and configure database access accordingly.
