Joomla is a versatile and open-source content management system used for creating websites and online publications. Powered by PHP, Joomla can be adapted for various applications such as forums, photo galleries, e-commerce platforms, and other web-based solutions.
Follow this tutorial to install Joomla CMS on an AlmaLinux 9 server using the LAMP Stack (Apache/Httpd, MariaDB, and PHP).
Prerequisites
Ensure your environment meets the following requirements before starting:
- An AlmaLinux 9 server
- A non-root user with administrator privileges
- SELinux set to permissive
- A domain name configured to point to the server’s IP address
Install LAMP Stack Dependencies
Joomla is a PHP-based content management system that uses MySQL/MariaDB databases. Install the necessary dependencies using the LAMP Stack on your AlmaLinux 9 server.
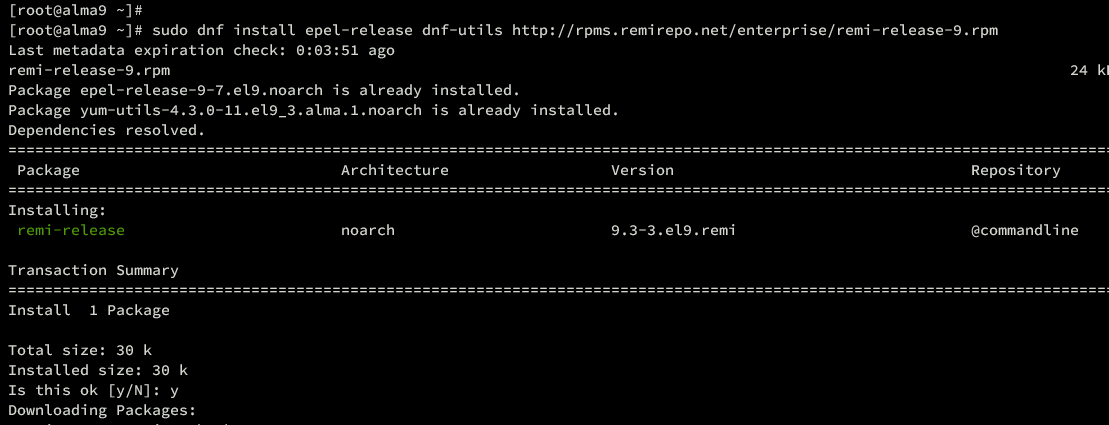
Begin by adding the EPEL and Remi repository to your AlmaLinux server, essential for additional dependencies and PHP packages:
sudo dnf install epel-release dnf-utils http://rpms.remirepo.net/enterprise/remi-release-9.rpm
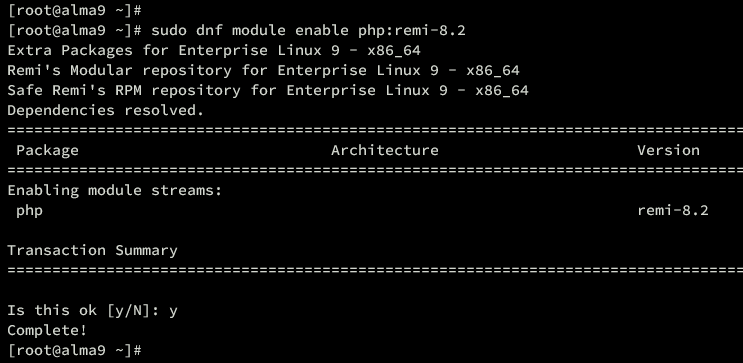
Next, reset the PHP repository module and enable the Remi PHP module using the following command:
sudo dnf module reset php
sudo dnf module enable php:remi-8.2
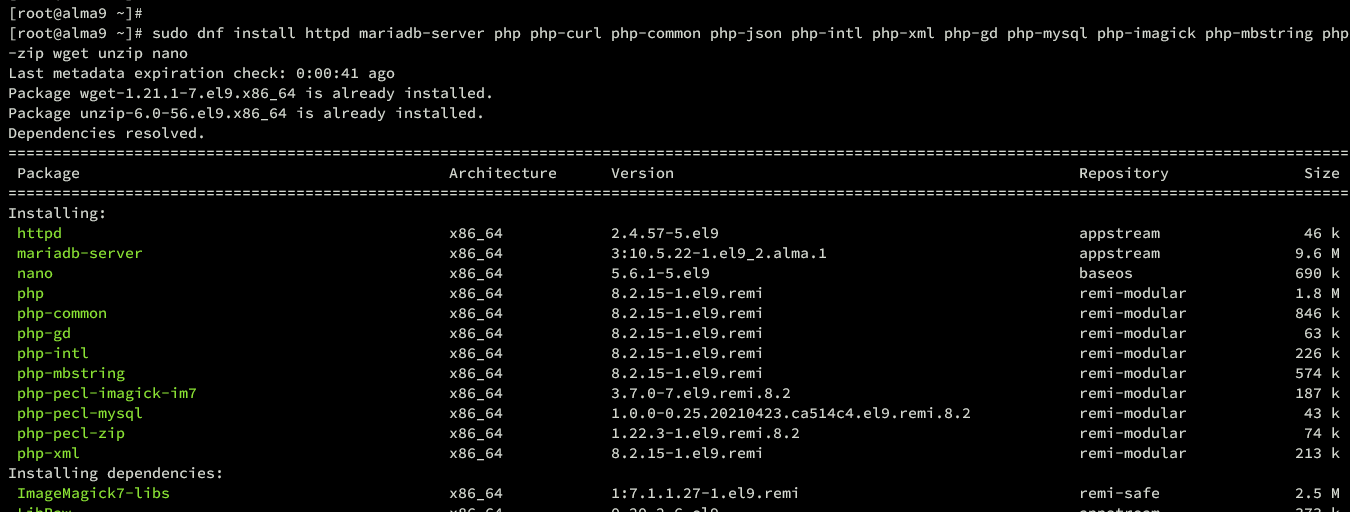
With the repositories added, install the LAMP stack and additional dependencies:
sudo dnf install httpd mariadb-server php php-curl php-common php-json php-intl php-xml php-gd php-mysql php-imagick php-mbstring php-zip wget unzip nano
Confirm when prompted and accept the GPG key if required.

After installation, start and enable the httpd service with:
sudo systemctl start httpd
sudo systemctl enable httpd
Verify that the httpd service is running:
sudo systemctl status httpd
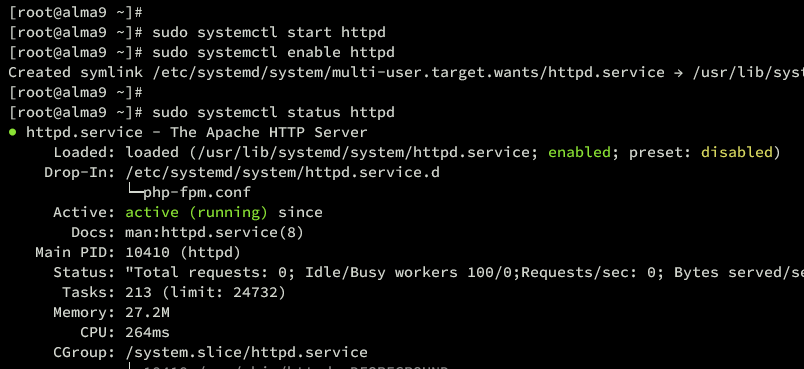
For the MariaDB service, use the following to start and enable it:
sudo systemctl start mariadb
sudo systemctl enable mariadb
Verify that MariaDB is running:
sudo systemctl status mariadb
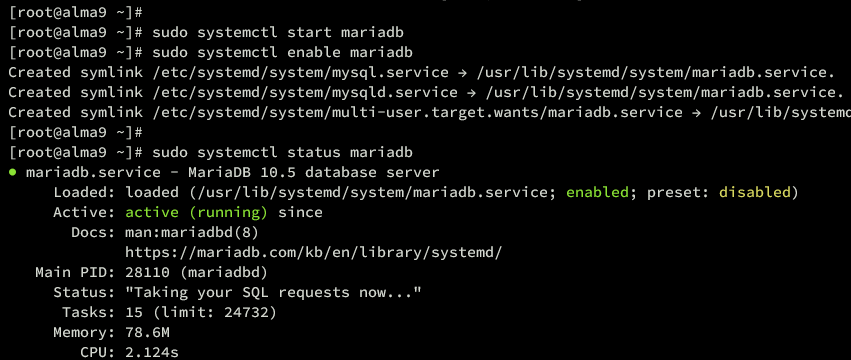
Finally, verify your PHP version and extensions:
php -v
php -m
You should see PHP 8.2 installed:
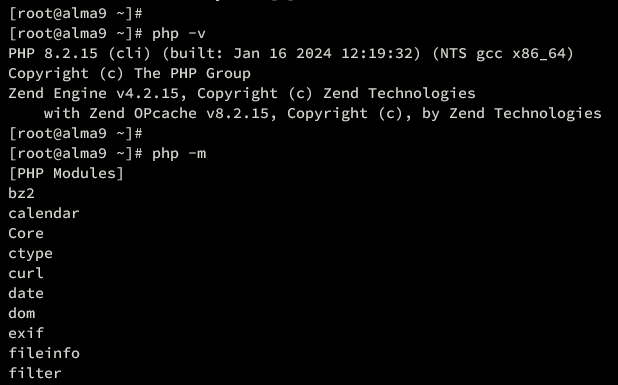
Setting Up PHP
Configure PHP to suit Joomla requirements by editing the /etc/php.ini file:
sudo nano /etc/php.ini
Update the following values, adjusting memory_limit as necessary for your server:
memory_limit=512M
upload_max_filesize=64M
post_max_size=64M
max_execution_time=60
output_buffering = Off
Save your changes and restart the httpd service:
sudo systemctl restart httpd
Setting Up MariaDB Server
After configuring PHP, secure and configure the MariaDB server:
Run the following to secure your MariaDB server:
sudo mariadb-secure-installation
Follow the prompts to secure your installation, setting a root password and removing any unnecessary access.
Create a new database and user for Joomla:
sudo mariadb -u root -p
Then execute the following queries:
CREATE DATABASE joomladb;
CREATE USER joomla@localhost IDENTIFIED BY 'p4ssword';
GRANT ALL PRIVILEGES ON joomladb.* TO joomla@localhost;
FLUSH PRIVILEGES;
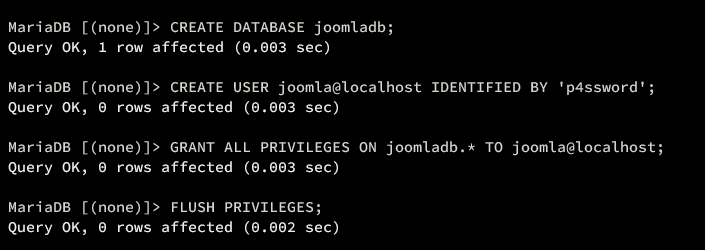
Verify privileges for the user:
SHOW GRANTS FOR joomla@localhost;
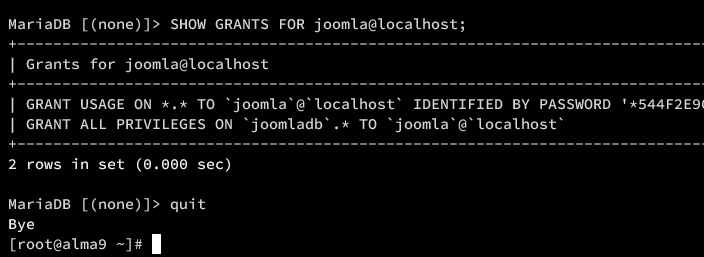
Exit MariaDB:
exit;
Setting Up Firewalld
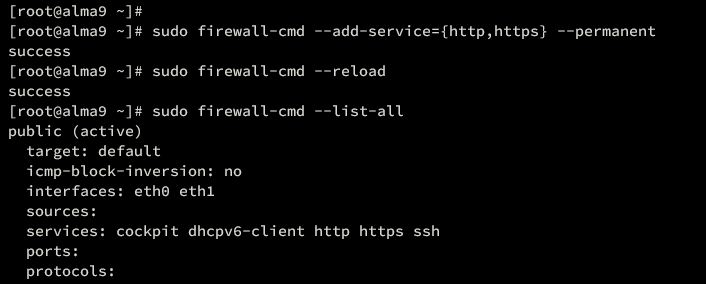
Open HTTP and HTTPS ports in the firewall:
sudo firewall-cmd --add-service={http,https} --permanent
sudo firewall-cmd --reload
Verify firewall rules:
sudo firewall-cmd --list-all
Downloading Joomla
Download and set up Joomla’s source code:
cd /var/www/
wget https://downloads.joomla.org/cms/joomla5/5-0-2/Joomla_5-0-2-Stable-Full_Package.zip
unzip Joomla_5-0-2-Stable-Full_Package.zip -d joomla
Set the proper ownership with:
sudo chown -R apache:apache /var/www/joomla
Setting Up Httpd Virtual Host
Create a virtual host for Joomla:
sudo nano /etc/httpd/conf.d/joomla.conf
Insert the following configuration, replacing domain details:
<VirtualHost *:80>
ServerAdmin webmaster@hwdomain.io
ServerName hwdomain.io
DocumentRoot /var/www/joomla
<Directory /var/www/joomla/>
Options FollowSymlinks
AllowOverride All
Require all granted
</Directory>
ErrorLog /var/log/httpd/hwdomain.io_error.log
CustomLog /var/log/httpd/hwdomain.io_access.log combined
</VirtualHost>
Save and verify your configuration:
sudo apachectl configtest
Restart the httpd service:
sudo systemctl restart httpd

Secure with Certbot and Letsencrypt
Secure your Joomla installation with SSL certificates:
Install Certbot:
sudo dnf install certbot python3-certbot-apache -y
Generate an SSL certificate:
sudo certbot --apache --agree-tos --redirect --hsts --staple-ocsp --email alice@hwdomain.io -d hwdomain.io
Installing Joomla
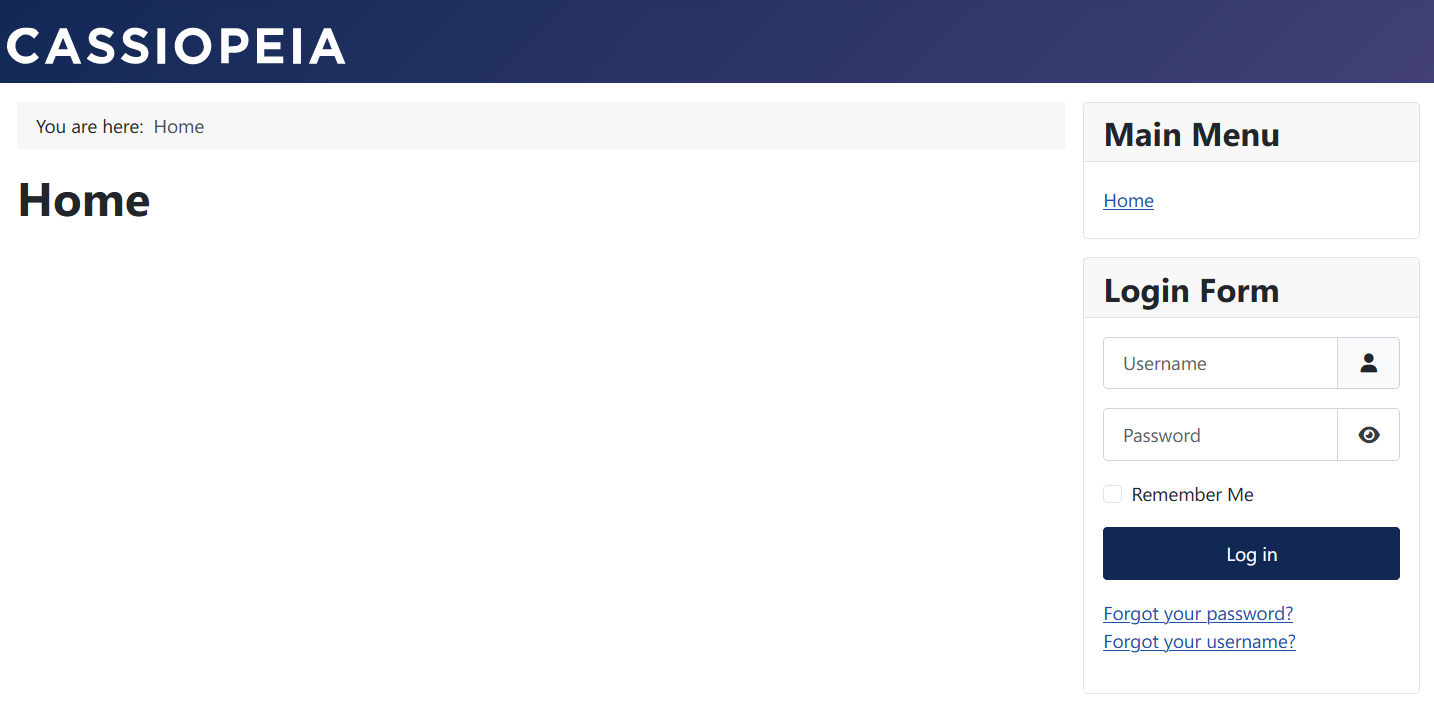
Visit your Joomla domain to start the installation. Follow these steps:
- Select English as the default language and provide your site name, then click Setup Login Data.
- Enter your Joomla admin details.
- Provide your MariaDB database credentials and start the installation.
Completion of installation will display your site and admin access URLs.
Conclusion
Congratulations! You have successfully installed Joomla on an AlmaLinux 9 server with a LAMP stack. Your website is secure with SSL via Let’s Encrypt, and your firewall is configured for web traffic.
Frequently Asked Questions (FAQ)
What is Joomla?
Joomla is an open-source content management system used for creating and managing websites and online content.
What is required to install Joomla on AlmaLinux 9?
You need an AlmaLinux 9 server, a non-root user with admin privileges, SELinux set to permissive, and a domain name configured to point to your server.
What is a LAMP Stack?
LAMP is an acronym for Linux, Apache, MySQL/MariaDB, and PHP, representing a stack of software for web server setup and running server-side applications.
How do I secure my Joomla site with SSL?
You can secure your Joomla site using Let’s Encrypt SSL certificates and Certbot. Follow the steps outlined in the tutorial to configure HTTPS for your domain.
