Shopware represents the future of open-source e-commerce technology. It’s built using cutting-edge frameworks like Symfony 3, Doctrine 2, and Zend Framework. With its powerful architecture, Shopware is an excellent choice for your next e-commerce project. This guide provides a comprehensive step-by-step tutorial on installing the Shopware Community Edition (CE) on a FreeBSD 12 system, utilizing NGINX as the web server.
Requirements
Before proceeding, ensure your system complies with these minimum prerequisites:
- An OS based on Linux with an installed web server like NGINX or Apache 2.x (featuring mod_rewrite).
- PHP version 5.6.4 or above with essential extensions: ctype, gd, curl, dom, hash, iconv, zip, json, mbstring, openssl, session, simplexml, xml, zlib, fileinfo, and pdo/mysql. PHP 7.1 or newer is advisable.
- MySQL 5.5.0 or greater.
- Capability to establish cron jobs.
- At least 4 GB available storage space.
- Optional: IonCube Loader version 5.0.0 or later.
NOTE: Shopware 5 is compatible up to PHP 7.2.x.
Prerequisites
- Running FreeBSD 12 operating system.
- A non-root user equipped with sudo privileges.
This guide employs the placeholder domain name example.com. Replace ‘example.com’ with your domain wherever it appears, such as in the Nginx configuration or Let’s encrypt commands.
Initial steps
Verify your FreeBSD version:
uname -ro
# FreeBSD 12.0-RELEASE
Configure the timezone:
tzsetup
Make sure to update your OS packages to receive the latest updates and security patches for default software packages:
freebsd-update fetch install
pkg update && pkg upgrade -y
Install crucial packages needed for basic FreeBSD 12.0 administration:
pkg install -y sudo vim unzip wget bash socat
Step 1 – Install PHP and PHP extensions
Install PHP along with the necessary extensions for Shopware:
sudo pkg install -y php72 php72-ctype php72-curl php72-dom php72-hash php72-iconv php72-gd php72-json php72-mbstring php72-openssl php72-session php72-simplexml php72-xml php72-zip php72-zlib php72-pdo php72-pdo_mysql php72-filter php72-ftp php72-tokenizer php72-calendar php72-pecl-APCu php72-opcache
To view the compiled PHP modules, execute:
php -m
...
Check the PHP version:
php --version
# PHP 7.2.16 (cli) (built: Apr 30 2019 08:37:17) ( NTS )
Enable and start PHP-FPM service:
sudo sysrc php_fpm_enable=yes
sudo service php-fpm start
Step 2 – Install IonCube Loader (optional)
Although Shopware functions without IonCube, installing it can be beneficial for some extensions or themes. Begin by downloading IonCube Loader:
cd /tmp && wget https://downloads.ioncube.com/loader_downloads/ioncube_loaders_fre_11_x86-64.tar.gz
Extract the loader:
tar xfz ioncube_loaders_fre_*.tar.gz
Identify the PHP extensions directory by running:
php -i | grep extension_dir
# extension_dir => /usr/local/lib/php/20170718
Move IonCube Loader to the identified PHP extensions directory:
sudo cp /tmp/ioncube/ioncube_loader_fre_7.2.so /usr/local/lib/php/20170718
Edit the PHP configuration to include the loader:
sudo vim /usr/local/etc/php.ini
Below the [PHP] line, add:
zend_extension = /usr/local/lib/php/20170718/ioncube_loader_fre_7.2.so
Save and restart PHP-FPM:
sudo service php-fpm restart
Step 3 – Install MariaDB and create a database for Shopware
Install MariaDB server:
sudo pkg install -y mariadb102-client mariadb102-server
Verify MariaDB version:
mysql --version
# mysql  Ver 15.1 Distrib 10.2.23-MariaDB
Enable and start MariaDB:
sudo sysrc mysql_enable="yes"
sudo service mysql-server start
Run security script to enhance MariaDB’s security:
sudo mysql_secure_installation
Follow the prompts and set your password for the root user.
Login to MariaDB shell as root:
sudo mysql -u root -p
# Enter password
Create a MariaDB database and user for Shopware:
mysql> CREATE DATABASE dbname;
mysql> GRANT ALL ON dbname.* TO 'username' IDENTIFIED BY 'password';
mysql> FLUSH PRIVILEGES;
Exit the MariaDB shell:
mysql> exit
Remember to replace dbname, username, and password with actual values.
Step 4 – Install Acme.sh client and obtain Let’s Encrypt certificate (optional)
Obtaining a TLS certificate from Let’s Encrypt ensures secure site traffic. Acme.sh is a simple Unix shell script used to obtain such certificates without external dependencies.
Install acme.sh:
sudo pkg install -y acme.sh
Check acme.sh version:
acme.sh --version
# v2.8.2
Obtain certificates for your domain:
# RSA 2048
acme.sh --issue --standalone -d example.com --keylength 2048
# ECDSA
acme.sh --issue --standalone -d example.com --keylength ec-256
Add --staging flag for test certificates. Certificates are saved in:
- RSA:
/home/username/example.com - ECC:
/home/username/example.com_ecc
List issued certificates:
acme.sh --list
Create directories to store certificates:
sudo mkdir -p /etc/letsencrypt/example.com /etc/letsencrypt/example.com_ecc
Install the certificates:
# RSA
acme.sh --install-cert -d example.com --cert-file /etc/letsencrypt/example.com/cert.pem --key-file /etc/letsencrypt/example.com/private.key --fullchain-file /etc/letsencrypt/example.com/fullchain.pem --reloadcmd "sudo service nginx reload"
# ECDSA
acme.sh --install-cert -d example.com --ecc --cert-file /etc/letsencrypt/example.com_ecc/cert.pem --key-file /etc/letsencrypt/example.com_ecc/private.key --fullchain-file /etc/letsencrypt/example.com_ecc/fullchain.pem --reloadcmd "sudo service nginx reload"
Certificates renew automatically every 60 days.
Exit the root user:
exit
Step 5 – Install and configure NGINX
Install NGINX web server:
sudo pkg install -y nginx
Check NGINX version:
nginx -v
# nginx version: nginx/1.14.2
Enable and start NGINX:
sudo sysrc nginx_enable=yes
sudo service nginx start
Set up Nginx for Shopware:
sudo vim /usr/local/etc/nginx/shopware.conf
Add the following configuration:
server {
    listen 80;
    listen [::]:80;

    server_name example.com;
    root /usr/local/www/shopware;

    index shopware.php index.php;

    location / {
        try_files $uri $uri/ /shopware.php$is_args$args;
    }

    location /recovery/install {
      index index.php;
      try_files $uri /recovery/install/index.php$is_args$args;
    }

    location ~ \.php$ {
        include fastcgi.conf;
        fastcgi_pass 127.0.0.1:9000;
    }
}
Link this configuration in NGINX setup:
sudo vim /usr/local/etc/nginx/nginx.conf
Add inside http {}:
include shopware.conf;Check configuration for errors:
sudo nginx -t
Reload NGINX to apply changes:
sudo service nginx reload
Step 6 – Install Shopware
Create a document root for Shopware:
sudo mkdir -p /usr/local/www/shopware
Navigate to the document root:
cd /usr/local/www/shopware
Download and unpack Shopware:
sudo wget https://releases.shopware.com/install_5.5.8_d5bf50630eeaacc6679683e0ab0dcba89498be6d.zip?_ga=2.141661361.269357371.1556739808-1418008019.1556603459 -O shopware.zip
sudo unzip shopware.zip
sudo rm shopware.zip
NOTE: Update the download URL if a newer release is available.
Set the correct ownership:
sudo chown -R www:www /usr/local/www/shopware
Adjust PHP settings for better performance in /usr/local/etc/php.ini:
memory_limit = 256M
upload_max_filesize = 6M
allow_url_fopen = On
Reload PHP-FPM to apply changes:
sudo service php-fpm reload
Open your domain/IP in a web browser to follow the Shopware installation wizard. The backend is accessible at /backend (e.g., http://example.com/backend).
Step 7 – Complete the Shopware setup
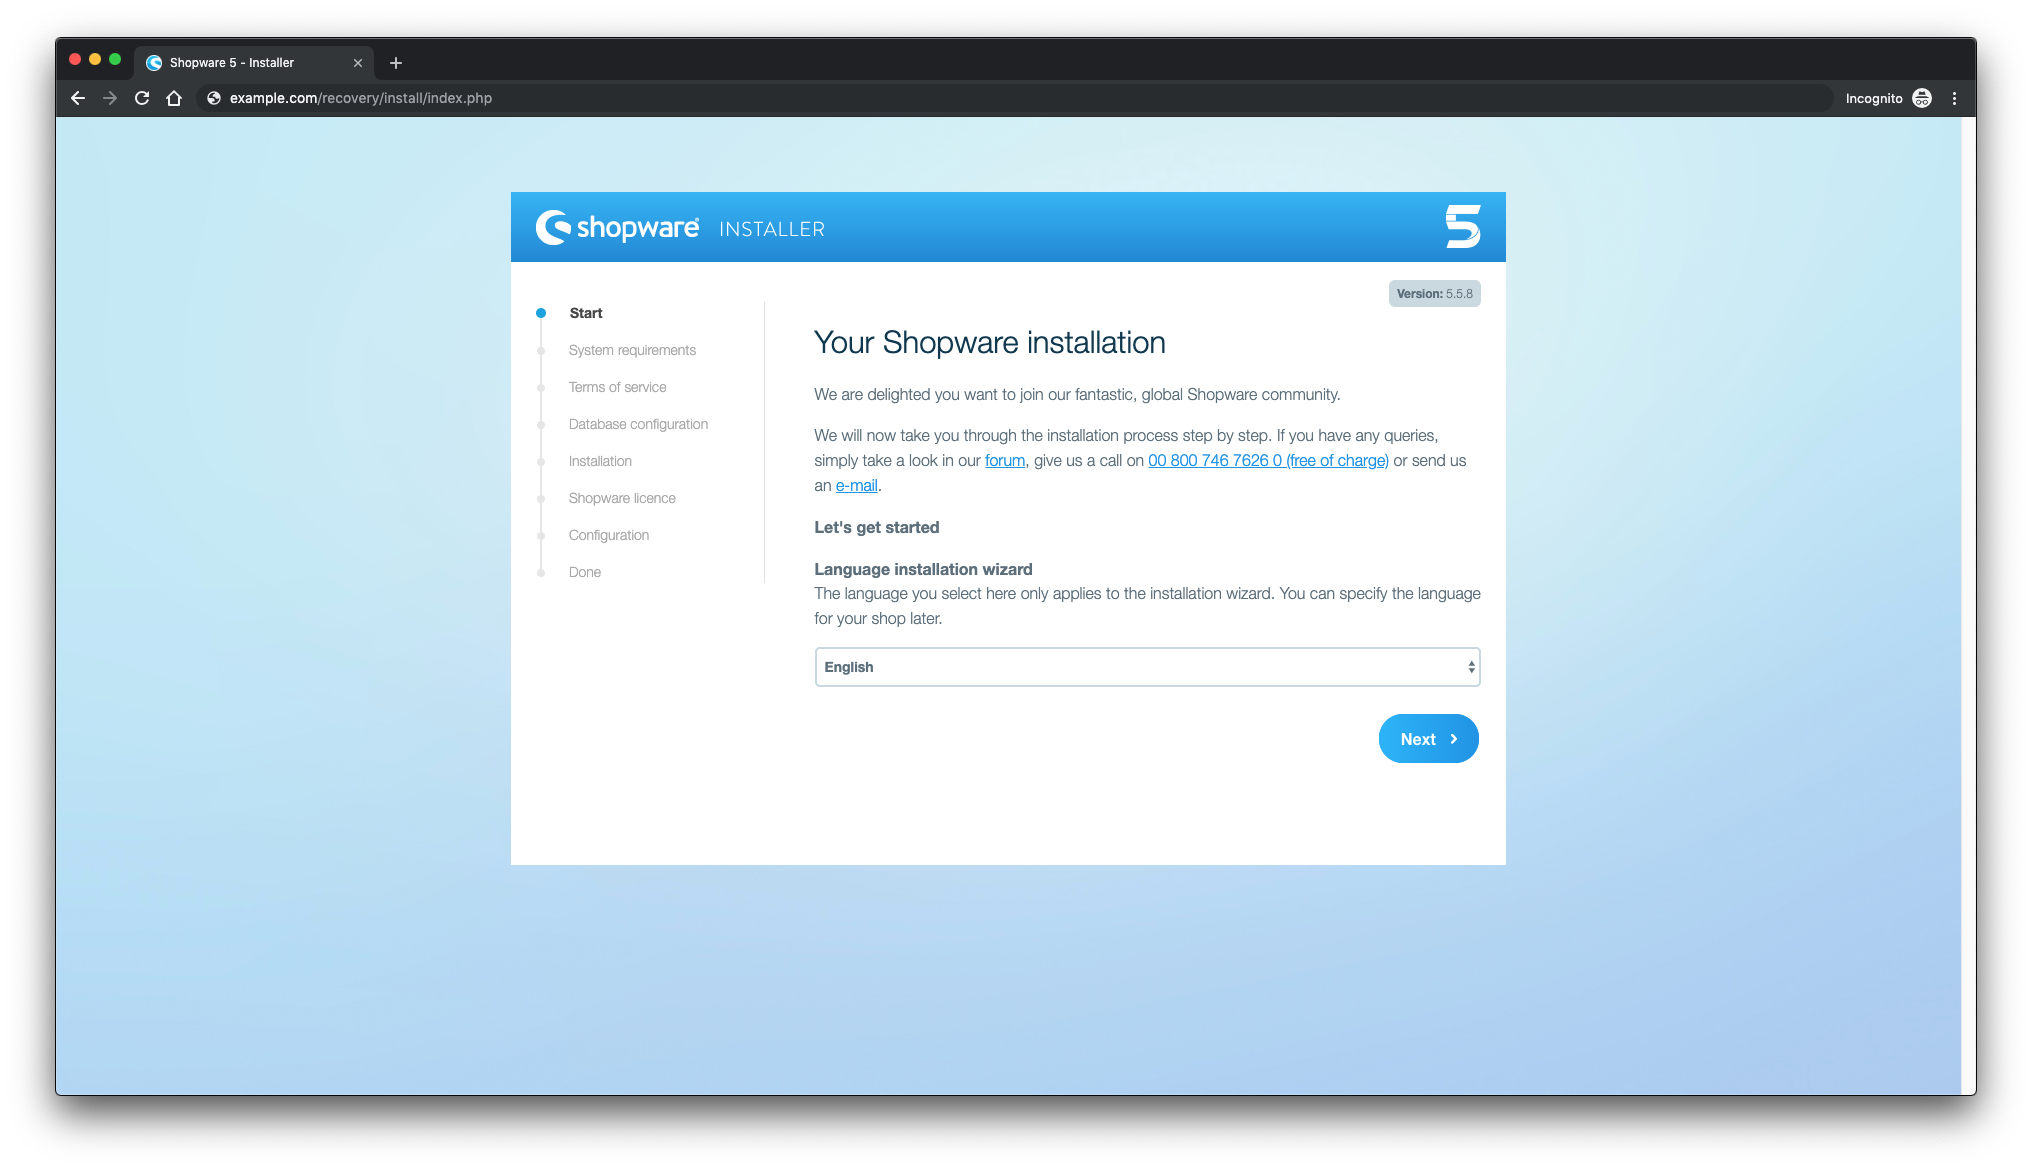
Select your language, then click Next:
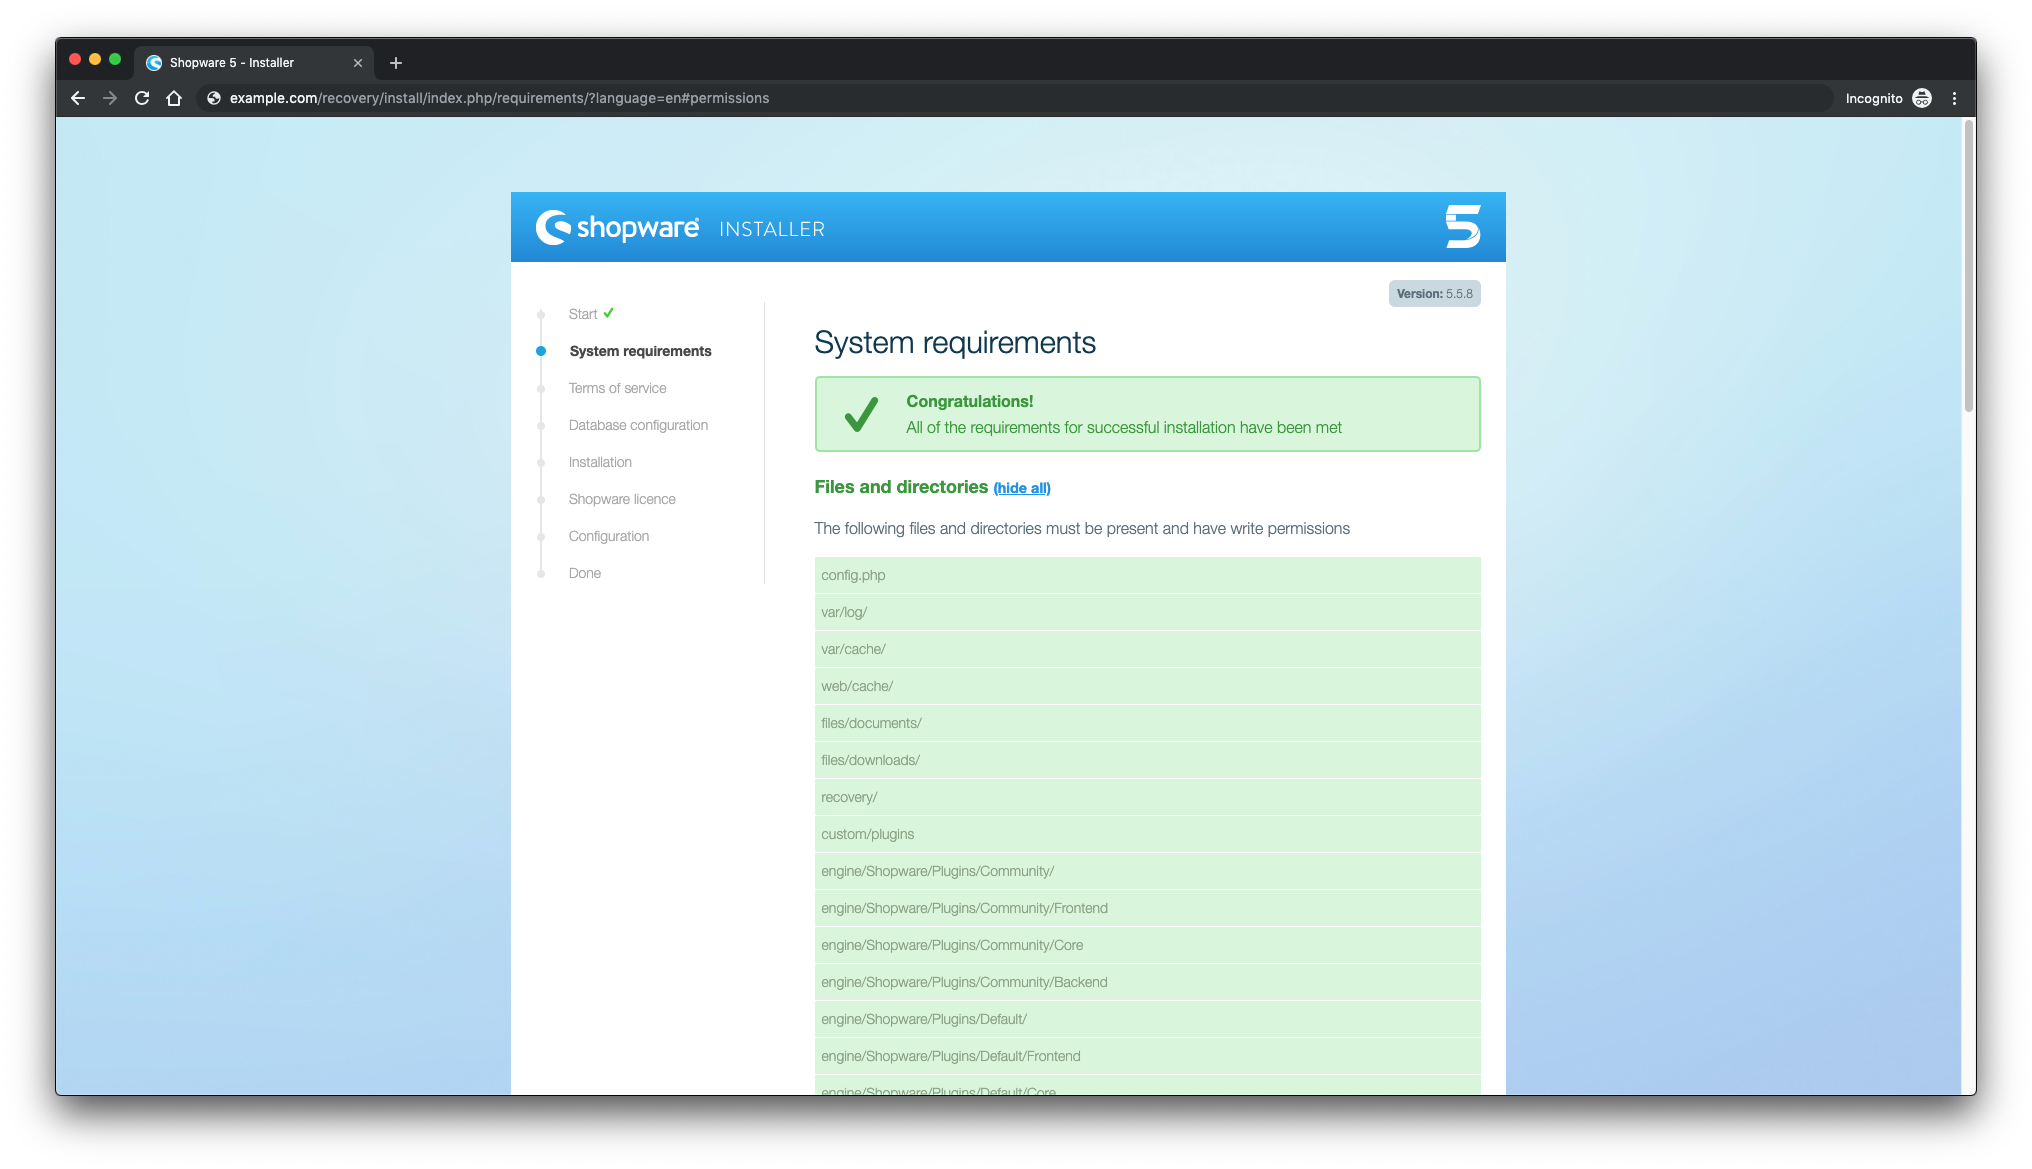
Verify your system meets all requirements:
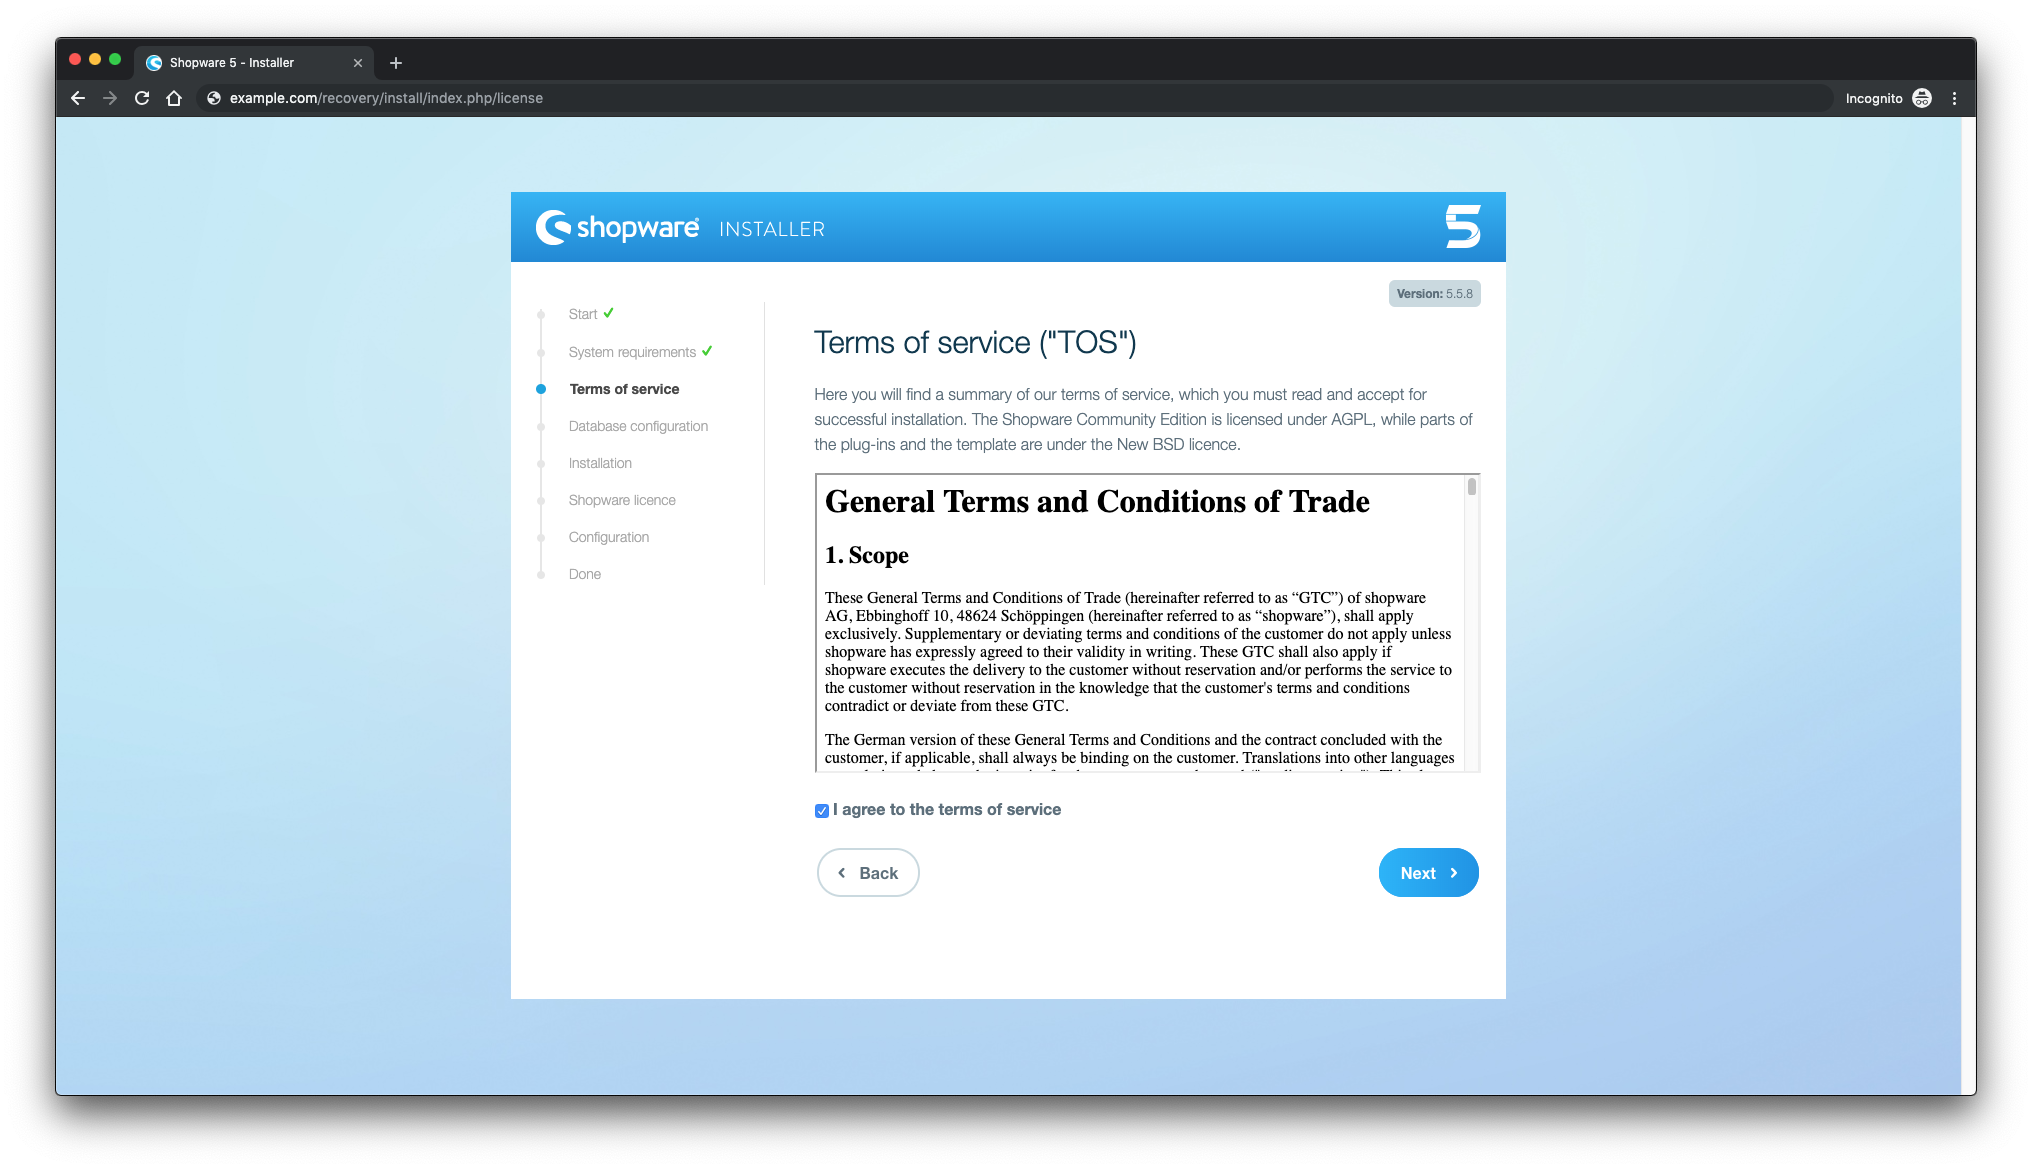
Agree to the terms of service, then click Next:
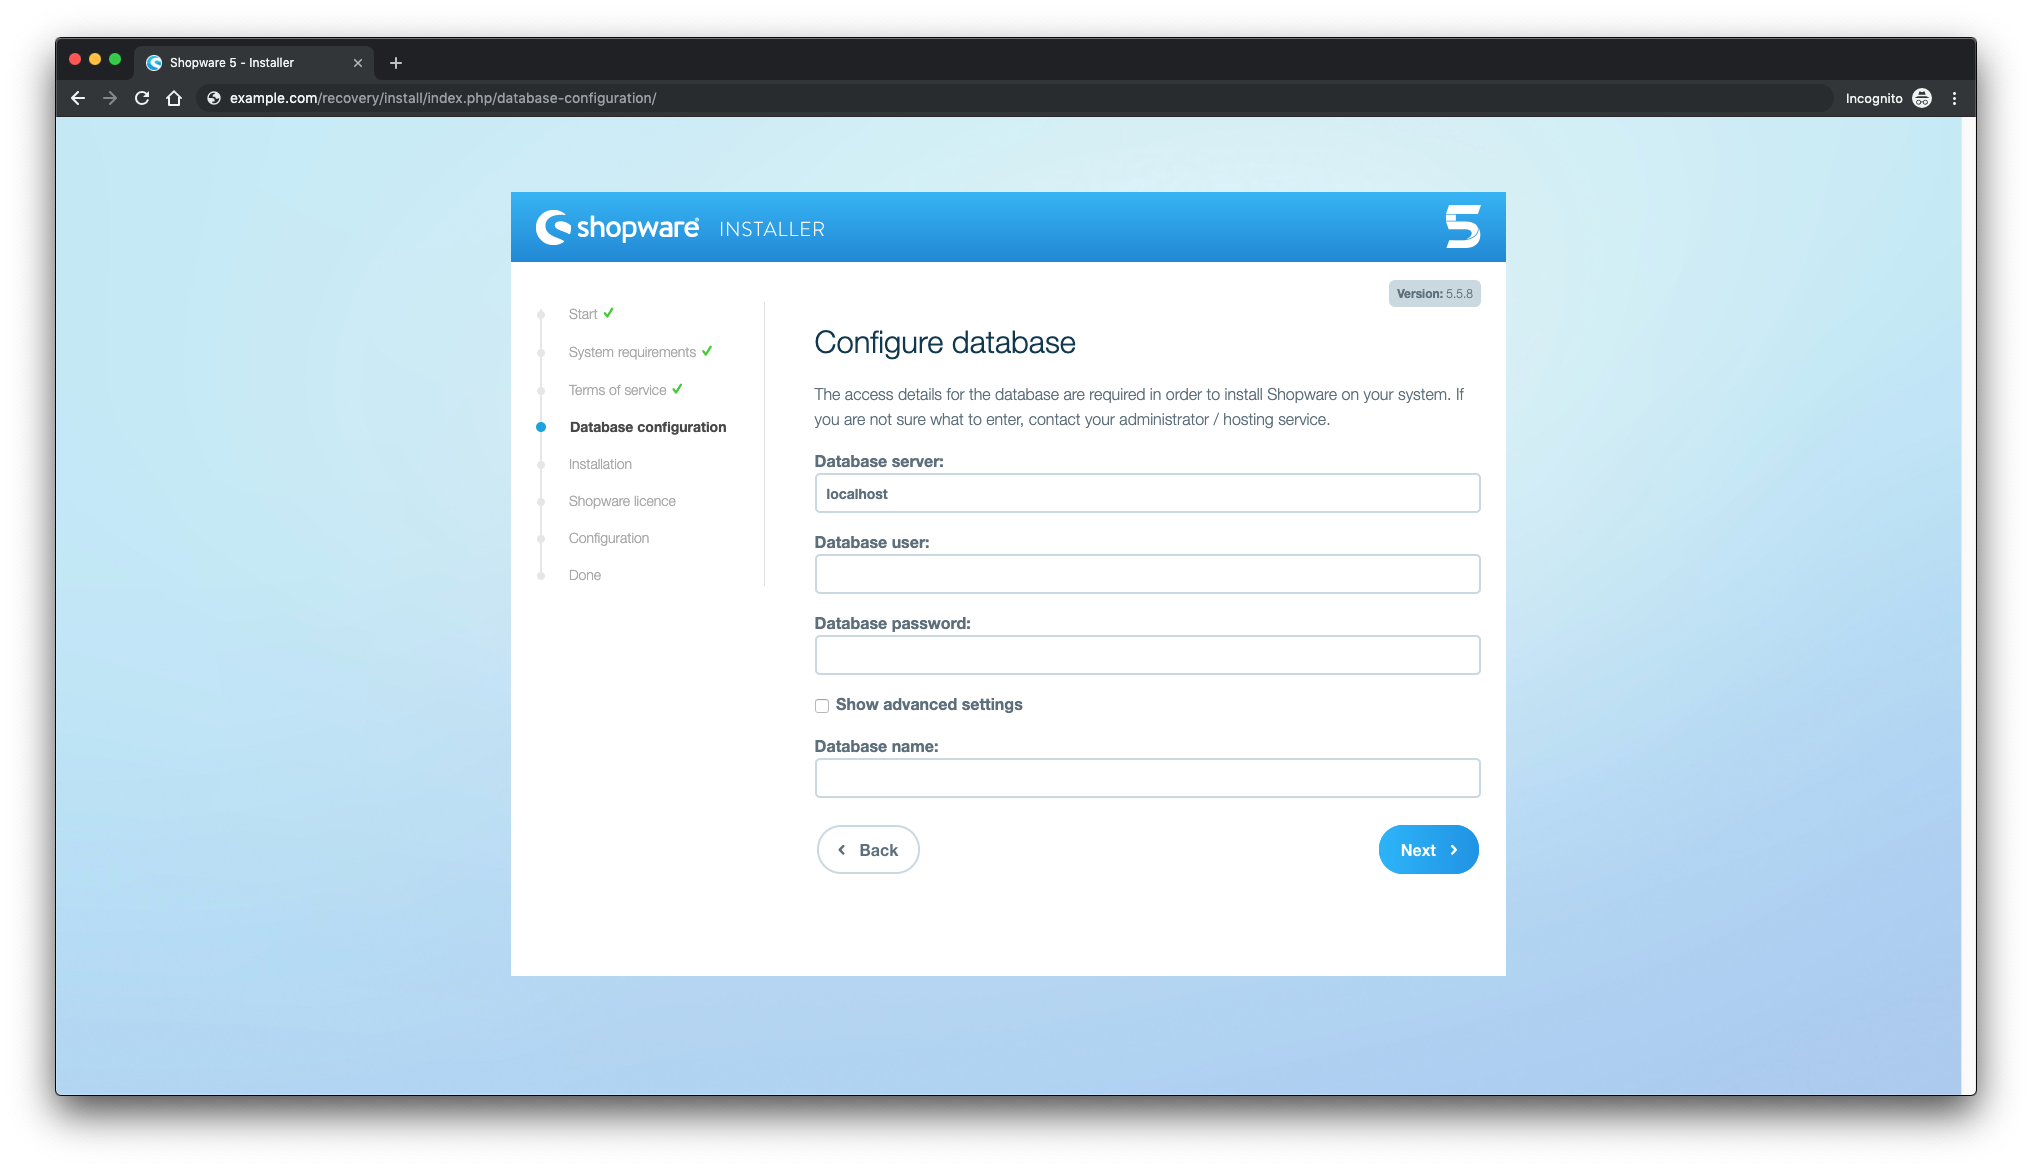
Input your database credentials, click Next:
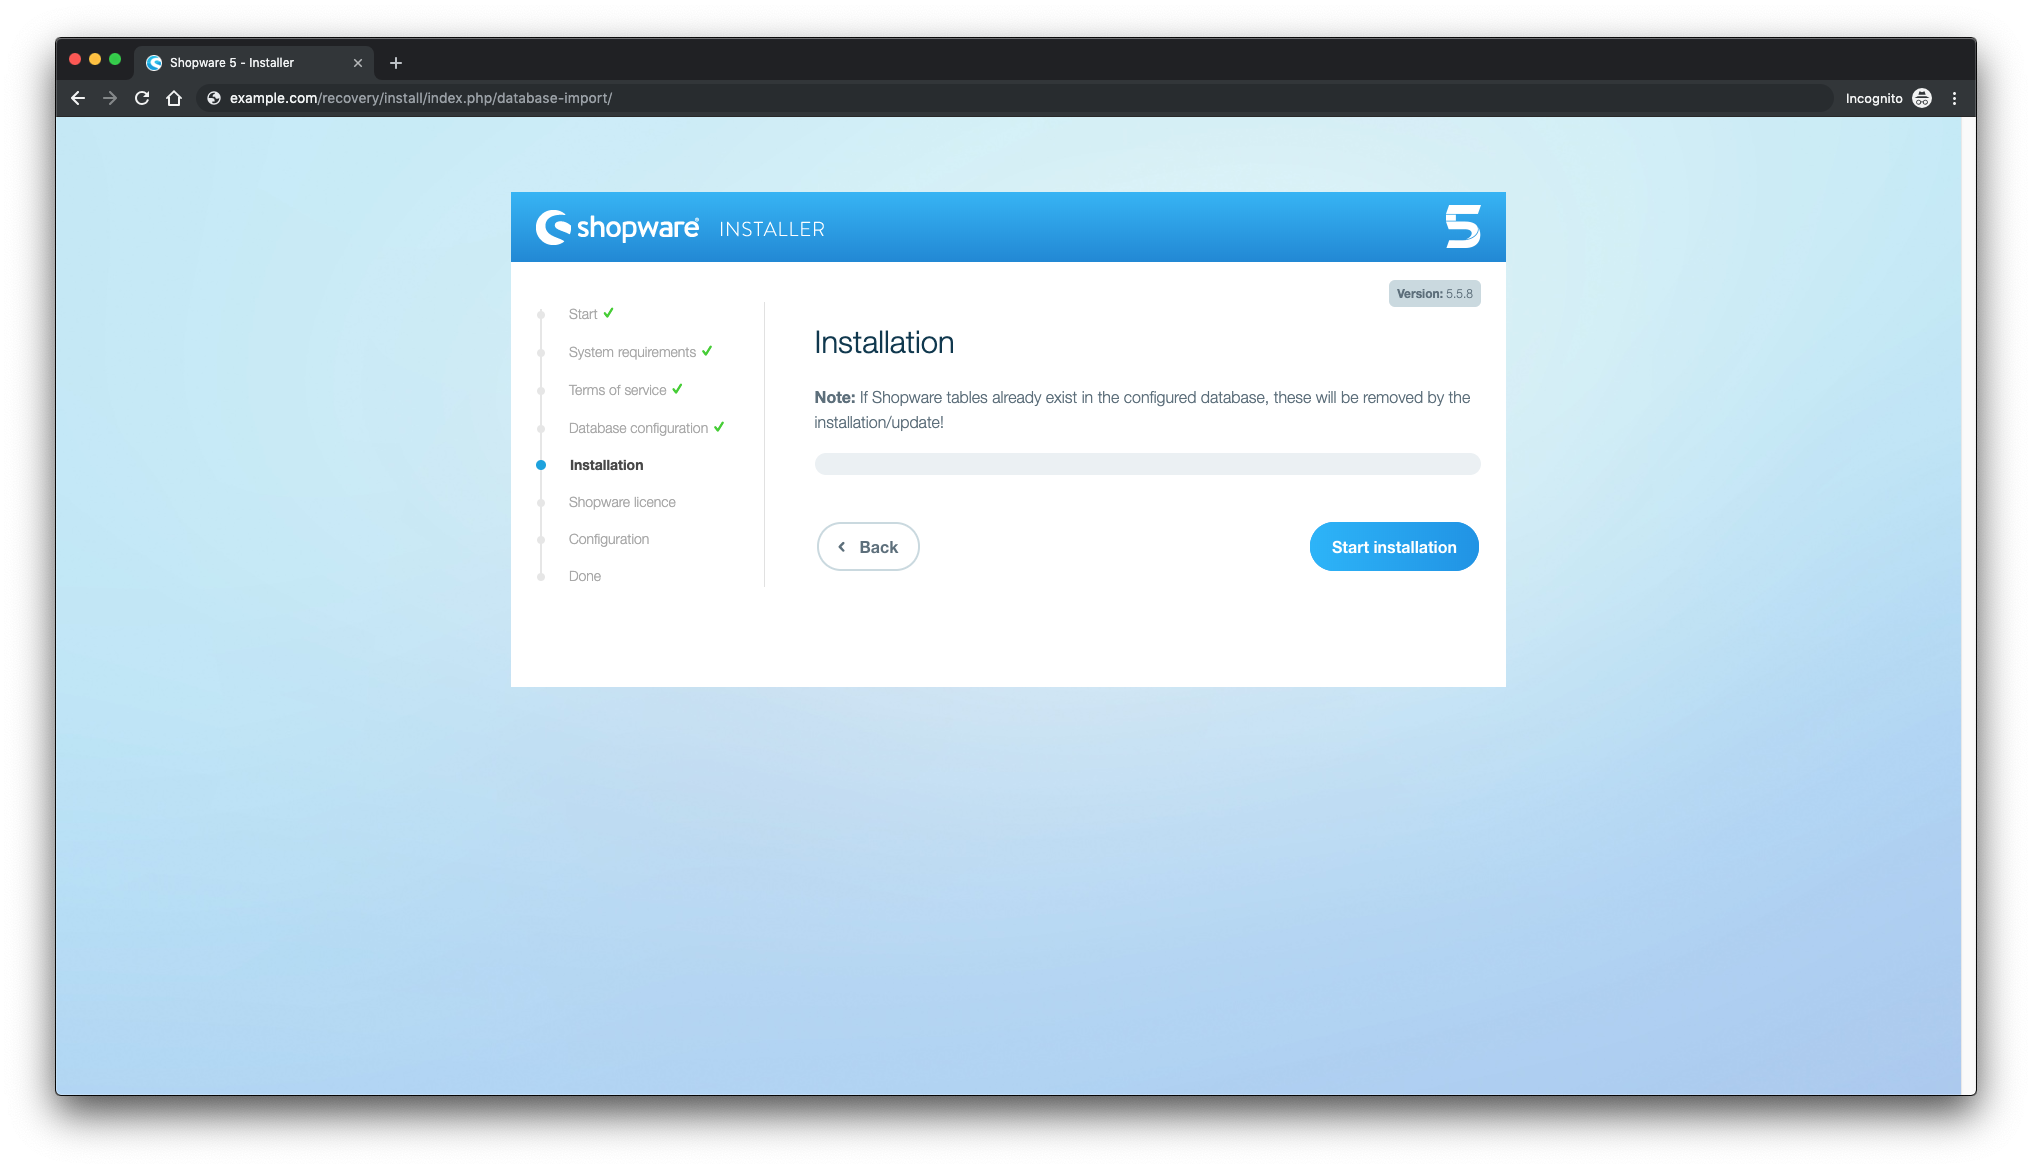
Begin installation to create database tables:
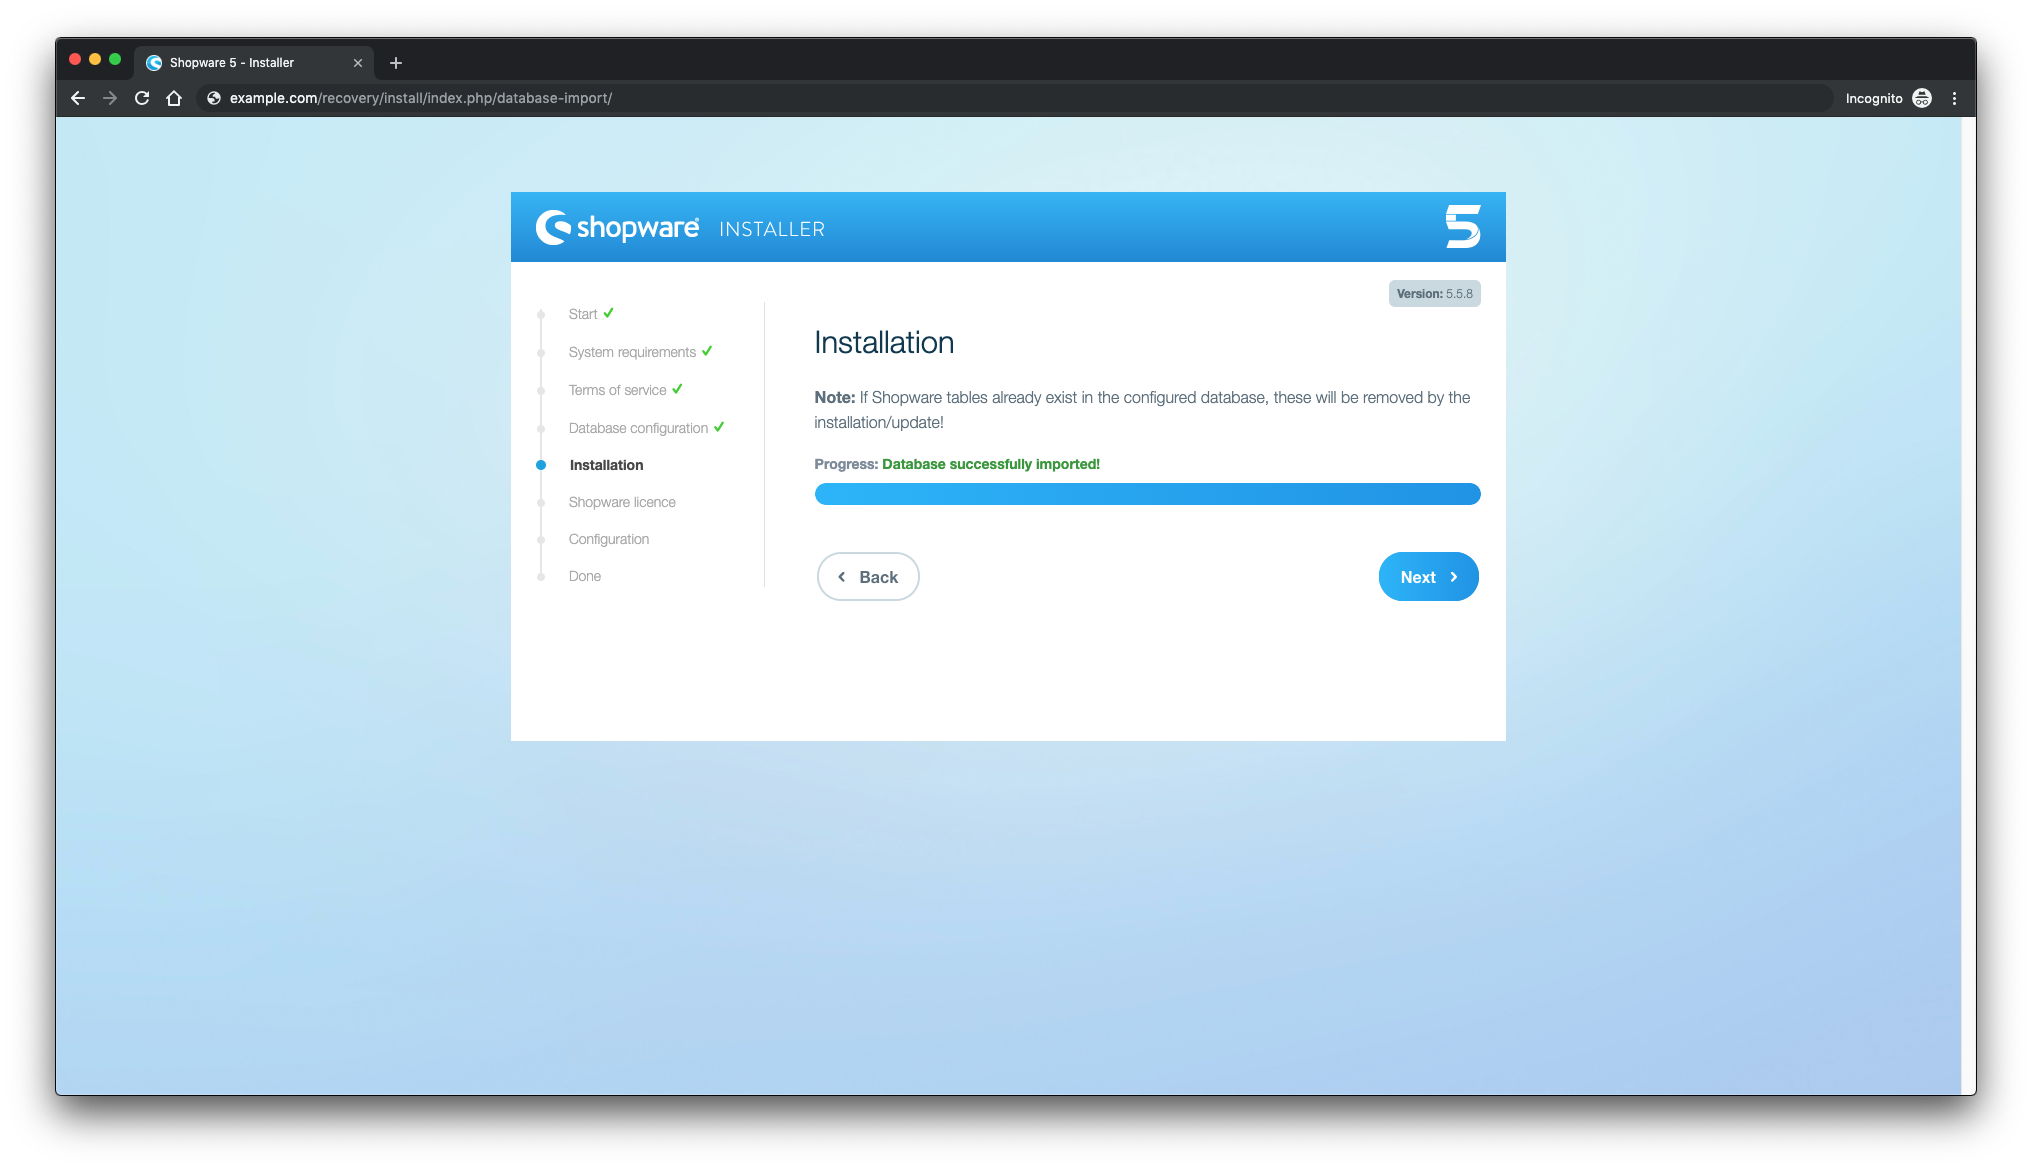
A success message confirms the database import:
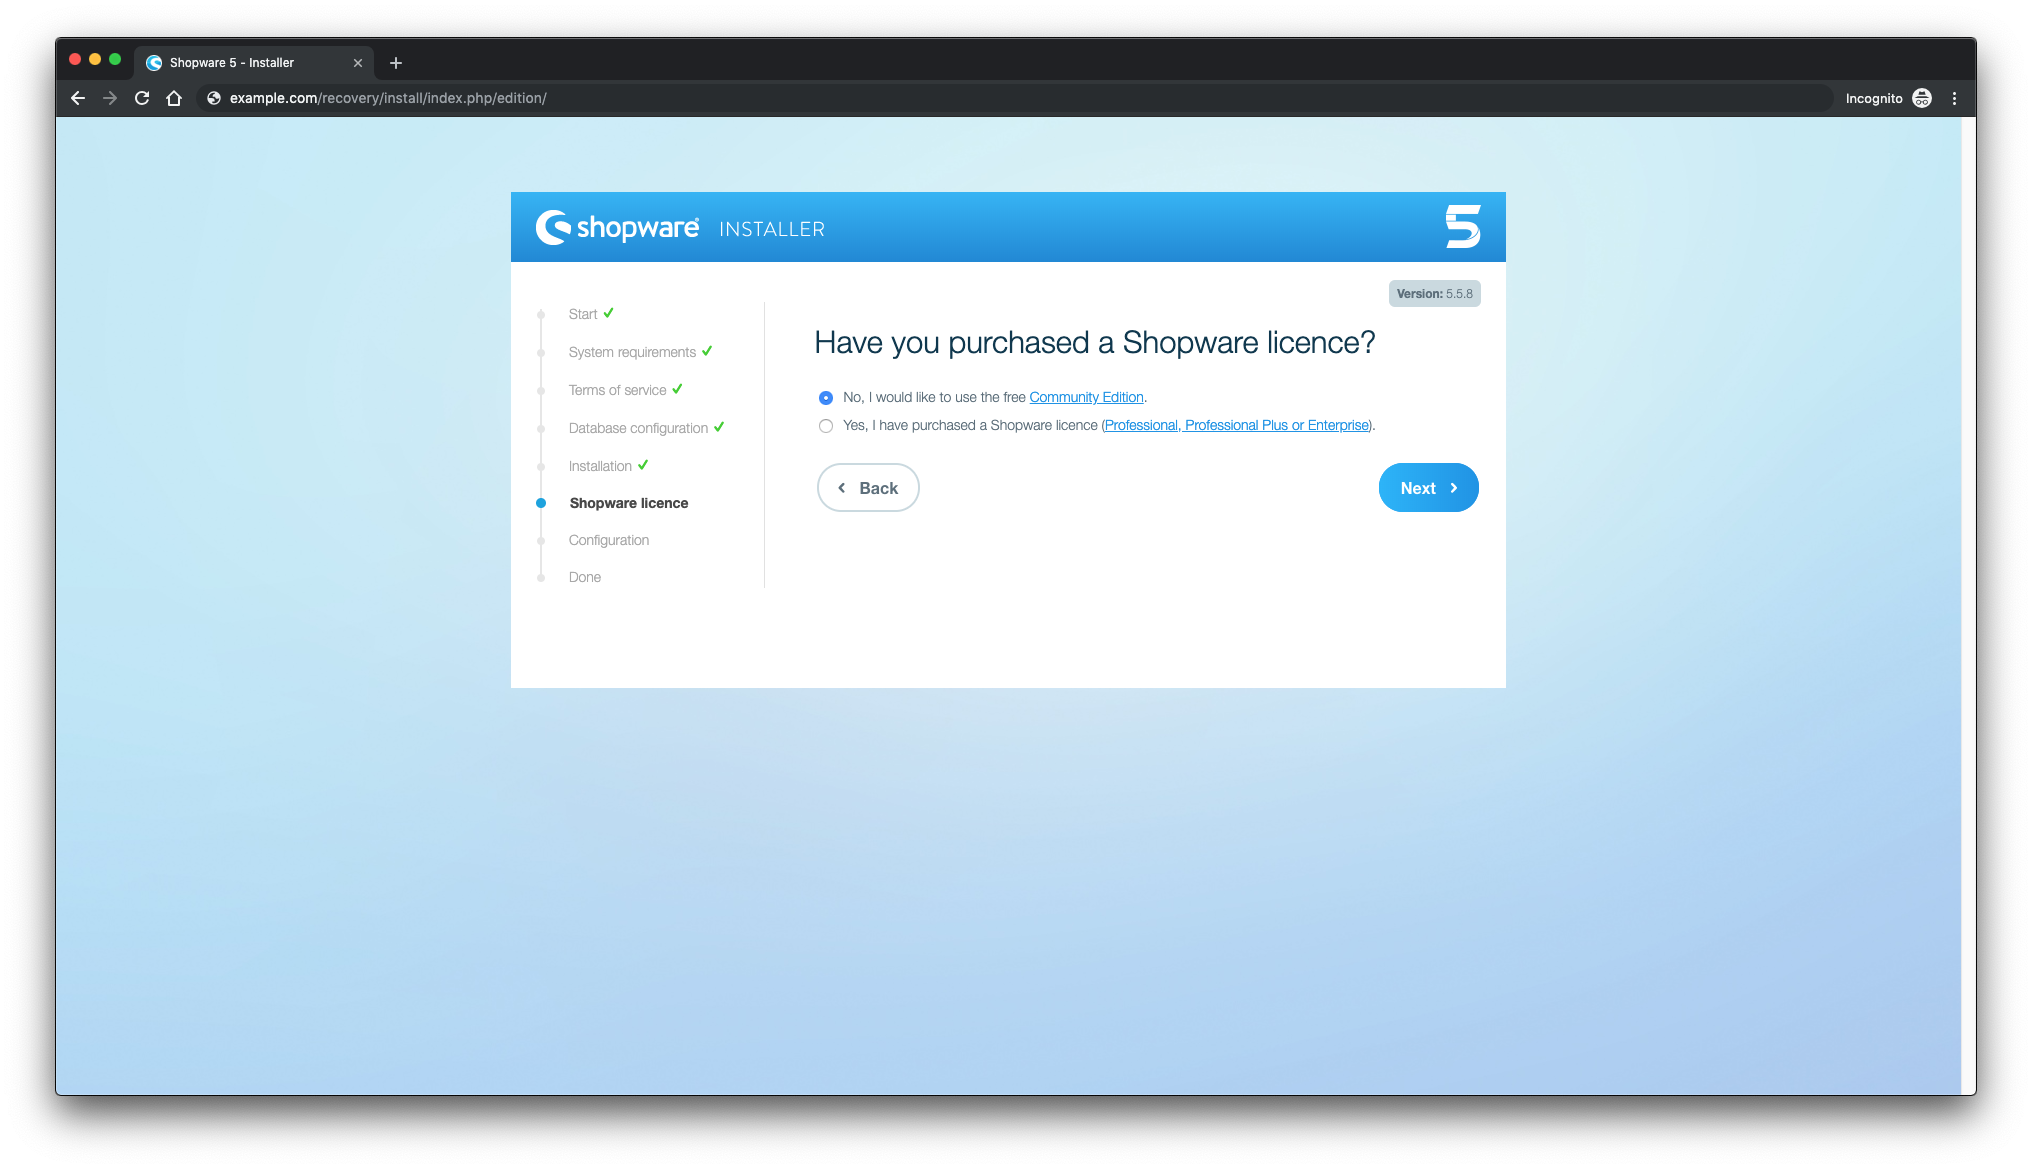
Choose your license, click Next:
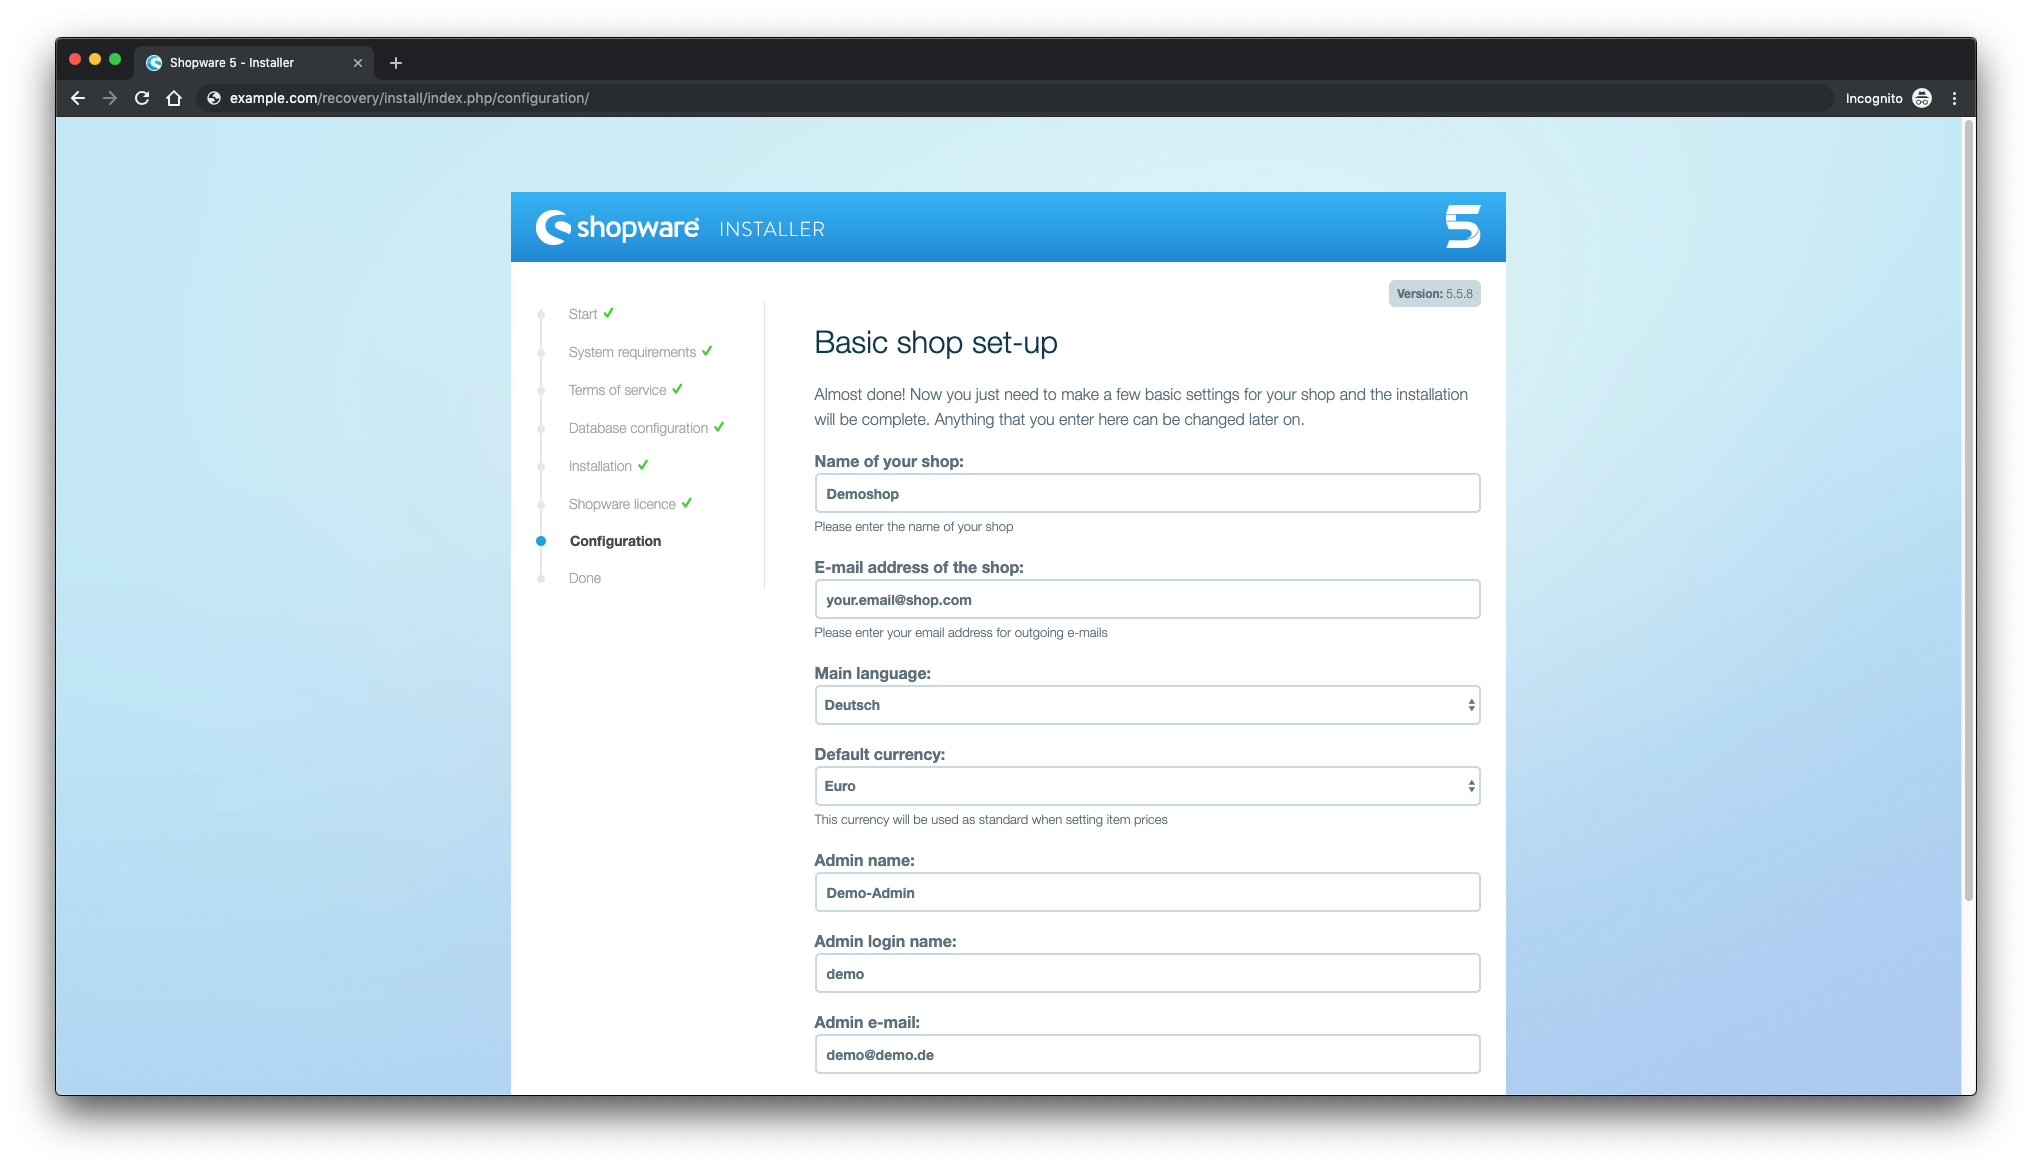
Provide basic shop settings, click Next:
Installation is complete!
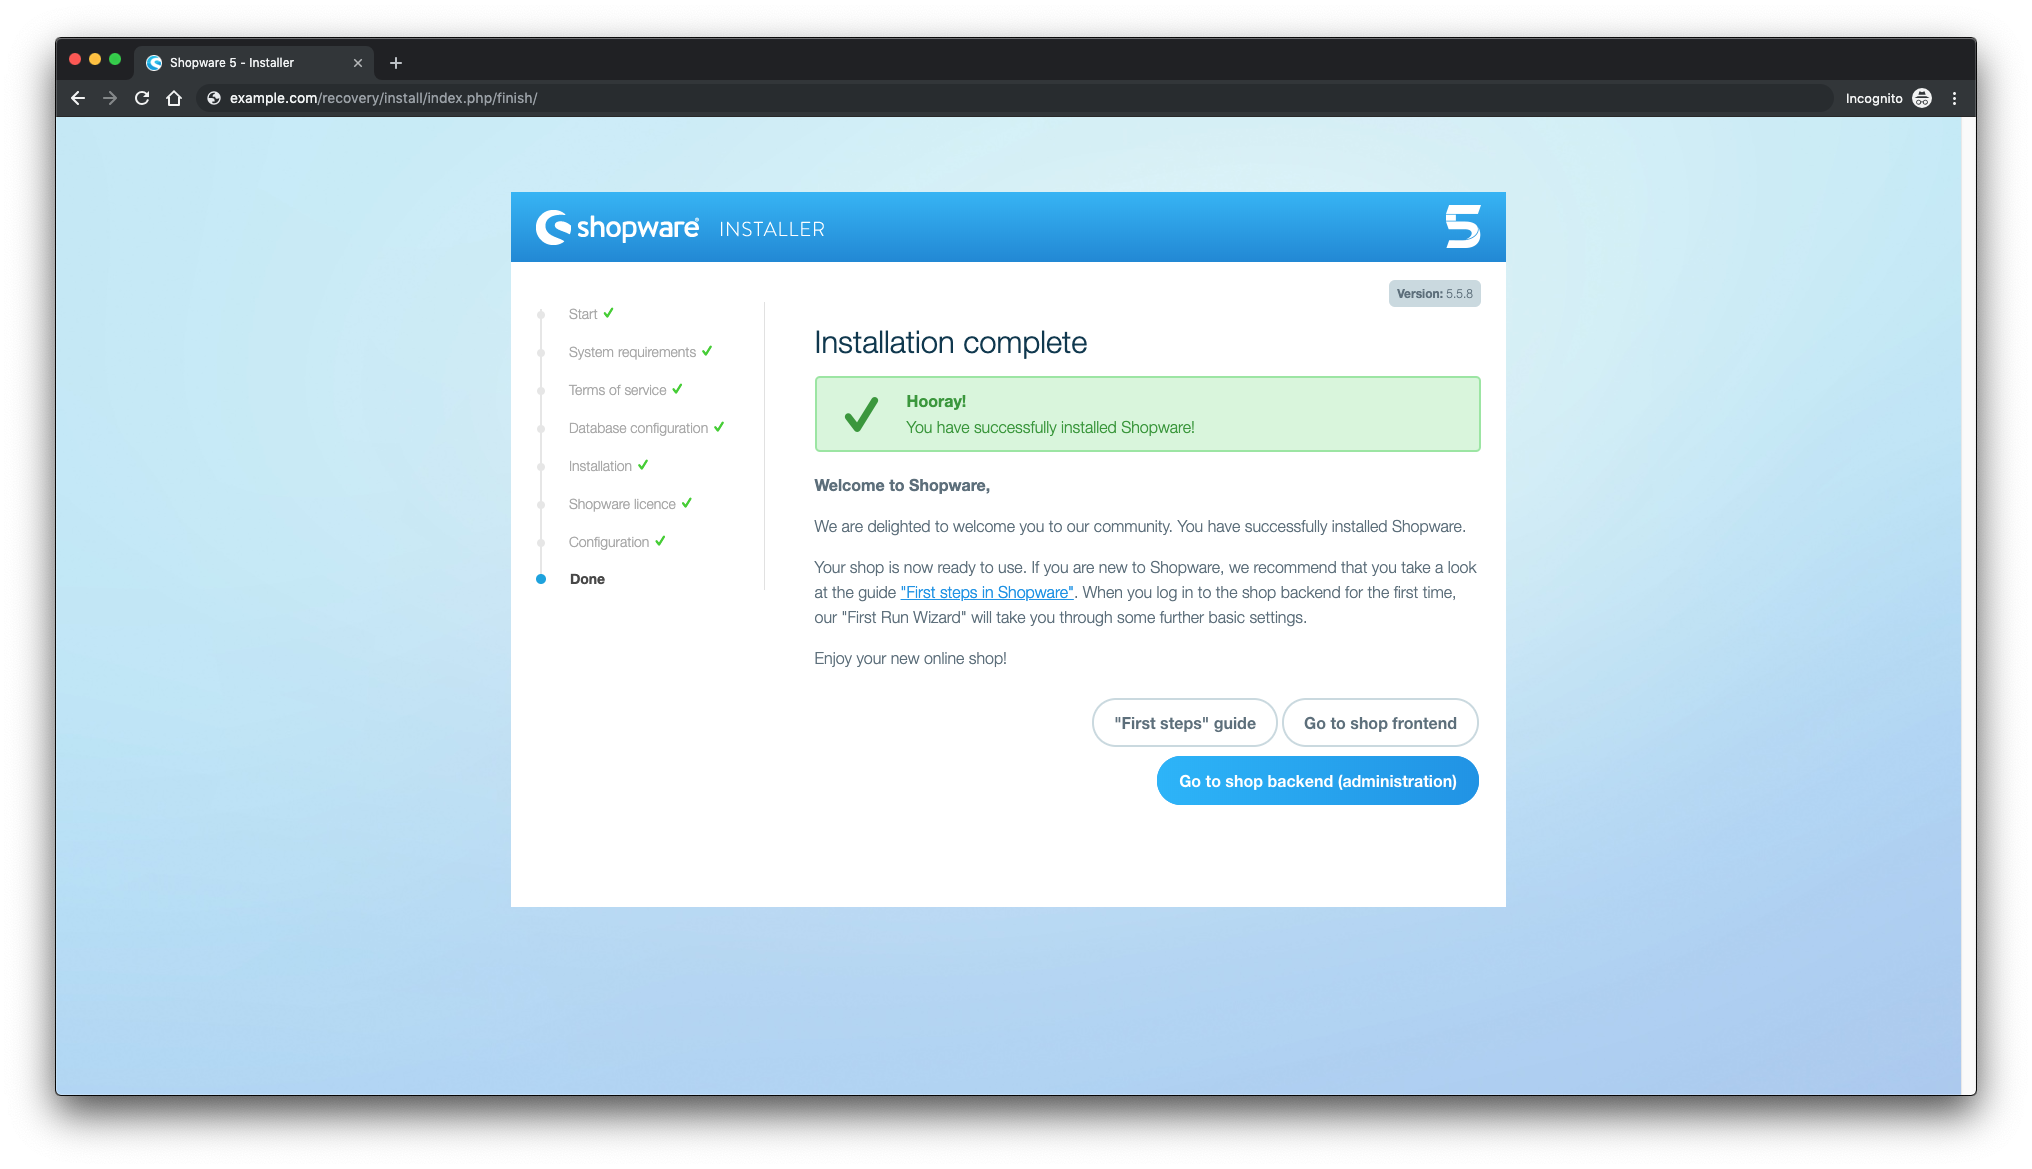
Access the admin area by appending /backend to your URL.
Congratulations on successfully installing Shopware! Enjoy your new online shop.
Links
Frequently Asked Questions (FAQ)
- What platforms does Shopware support?
Shopware supports Linux-based platforms with either NGINX or Apache as the web server. PHP 5.6.4 or higher is required. - Where can I download the latest version of Shopware?
You can download the latest Shopware versions from their official website or GitHub repository. - Do I need IonCube Loader to run Shopware?
Installing IonCube Loader is optional, as Shopware functions without it. However, some extensions may require it. - Is HTTPS necessary for Shopware?
While not mandatory, using HTTPS is a good practice to ensure secure data transmission on your Shopware site. - How can I access the Shopware backend?
To access the Shopware backend, append “/backend” to your site’s URL (e.g., http://example.com/backend). - How frequently are Let’s Encrypt certificates renewed?
Let’s Encrypt certificates obtained via acme.sh are automatically renewed every 60 days.
