Nginx (pronounced “engine x”) is a highly efficient, open-source HTTP server renowned for its impressive speed, stability, simple configuration, and minimal resource usage. This guide walks you through the installation of Nginx on an Ubuntu 20.04 LTS server, complete with PHP 7.4 support via PHP-FPM and MySQL support, forming a LEMP stack (Linux + Nginx + MySQL + PHP).
Prerequisites
- Ubuntu 20.04 LTS Server
- Root privileges
Overview
- Install Nginx
- Install MySQL
- Install PHP-FPM
- Configure Nginx and PHP-FPM
- Install PhpMyAdmin
- Configure PhpMyAdmin
- Testing
Step 1 – Install Nginx
Nginx is favored by major websites like Netflix, Pinterest, and GitHub for its efficiency. Begin the installation by updating the repositories and installing Nginx:
sudo apt update
sudo apt install nginx
Once installed, start and enable it to run at boot:
systemctl start nginx
systemctl enable nginx
Verify the installation:
systemctl status nginx
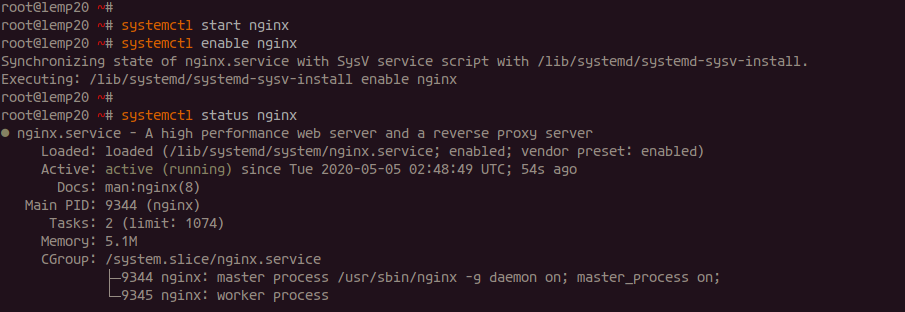
Check the HTTP port usage:
ss -plt4

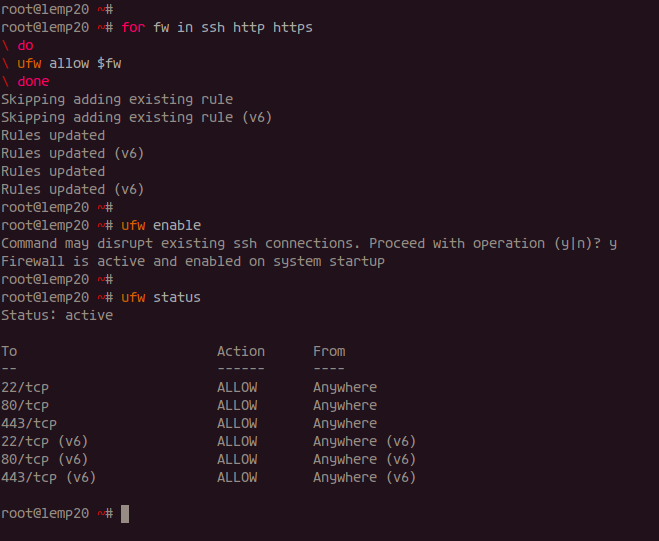
Ensure Nginx uses the HTTP protocol. To secure it, update UFW:
for fw in ssh http https
do
ufw allow $fw
done
Enable and check UFW status:
ufw enable
ufw status numbered
Step 2 – Install MySQL
This guide helps you set up MySQL, a crucial LEMP component. To install the latest version from Ubuntu’s repository:
sudo apt install mysql-server mysql-client
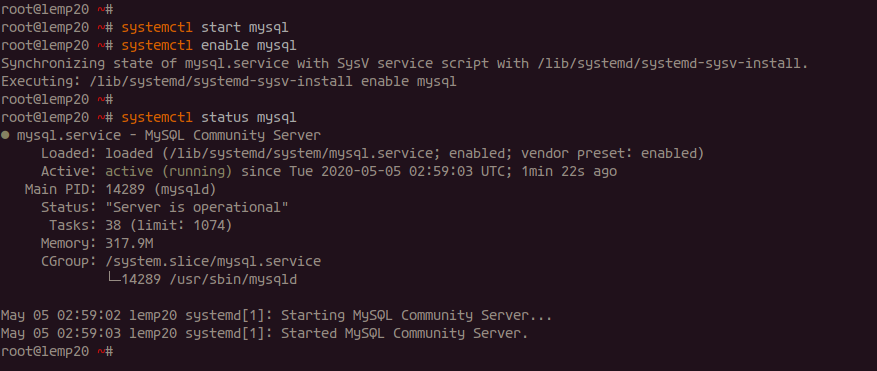
Start the MySQL service and make sure it runs on boot:
systemctl start mysql
systemctl enable mysql
Check its status:
systemctl status mysql
Secure the MySQL installation by setting a root password:
mysql_secure_installation
For configurations, follow the prompts and ensure the root password is strong. Respond ‘Y’ to the following prompts for optimal security setups.
Step 3 – Install and Configure PHP-FPM
PHP-FPM is a more effective and efficient alternative to older PHP processes. To install PHP 7.4-FPM along with additional extensions:
sudo apt install php-fpm php-cli php-curl php-mysql php-curl php-gd php-mbstring php-pear -y
Modify the configuration for better performance:
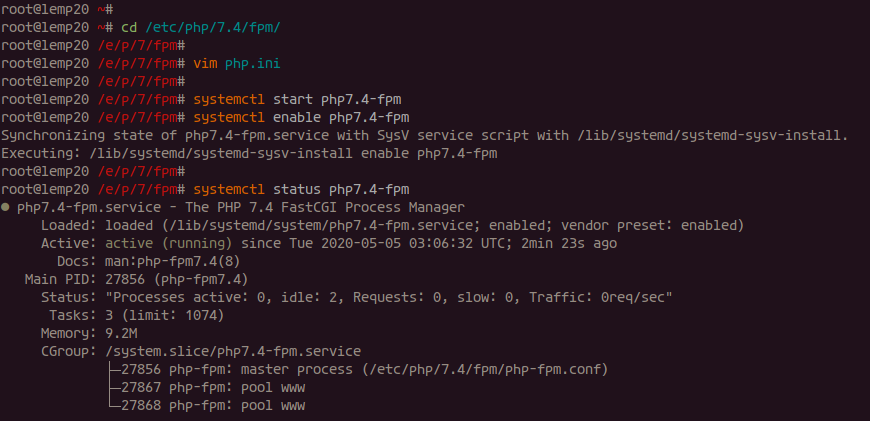
cd /etc/php/7.4/fpm/
vim php.ini
In the file, update the following parameter to prevent security issues:
cgi.fix_pathinfo = 0
Save changes, and start the service:
systemctl start php7.4-fpm
systemctl enable php7.4-fpm
Verify it’s running:
systemctl status php7.4-fpm
Step 4 – Configure Nginx and PHP-FPM
Integrate Nginx with PHP-FPM for a functional server setup:
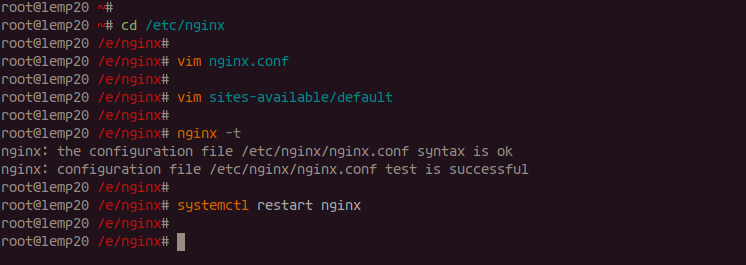
cd /etc/nginx/
vim nginx.conf
To improve security, add:
server_tokens off;
Edit the default virtual host for PHP execution:
vim sites-available/default
Ensure the PHP block is configured to use the PHP-FPM socket:
location ~ \.php$ {
    include snippets/fastcgi-php.conf;
    fastcgi_pass unix:/run/php/php7.4-fpm.sock;
}
Test and reload Nginx to apply changes:
nginx -t
systemctl restart nginx
Step 5 – Install phpMyAdmin
phpMyAdmin is a web-based management tool for MySQL databases. Proceed with installation:
sudo apt install phpmyadmin
Select ‘None’ for the web server configuration:
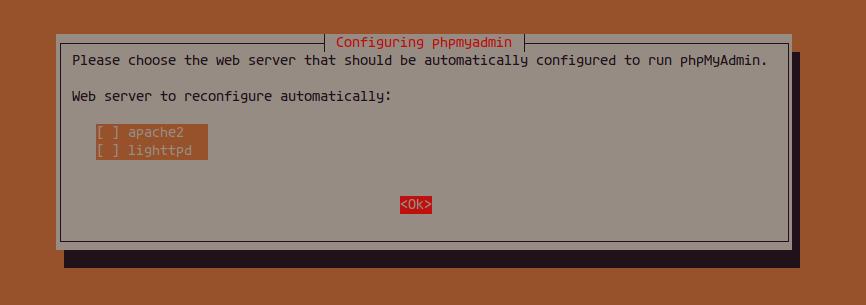
Allow the setup to configure the database and set a strong password for phpMyAdmin:

Step 6 – Configure phpMyAdmin with Nginx and MySQL
Configure phpMyAdmin for Nginx:
cd /etc/nginx/sites-available/
vim default
Add this configuration to allow phpMyAdmin to run under Nginx:
location /phpmyadmin {
    root /usr/share/;
    index index.php;
    try_files $uri $uri/ =404;
    location ~ ^/phpmyadmin/(doc|sql|setup)/ {
      deny all;
    }
    location ~ /phpmyadmin/(.+\.php)$ {
      fastcgi_pass unix:/run/php/php7.4-fpm.sock;
      fastcgi_param SCRIPT_FILENAME $document_root$fastcgi_script_name;
      include fastcgi_params;
      include snippets/fastcgi-php.conf;
    }
}
Test the configuration and reload Nginx:
nginx -t
systemctl reload nginx
Let’s set up a MySQL user for phpMyAdmin access:
mysql -u root -p
create user 'hakase'@'localhost' identified by 'Hakaselabs001@#';
grant all privileges on *.* to 'hakase'@'localhost';
flush privileges;
Exit the MySQL shell:
exit
The new MySQL user for phpMyAdmin is ready.
Step 7 – Testing
Let’s test the components installed:
Test PHP File
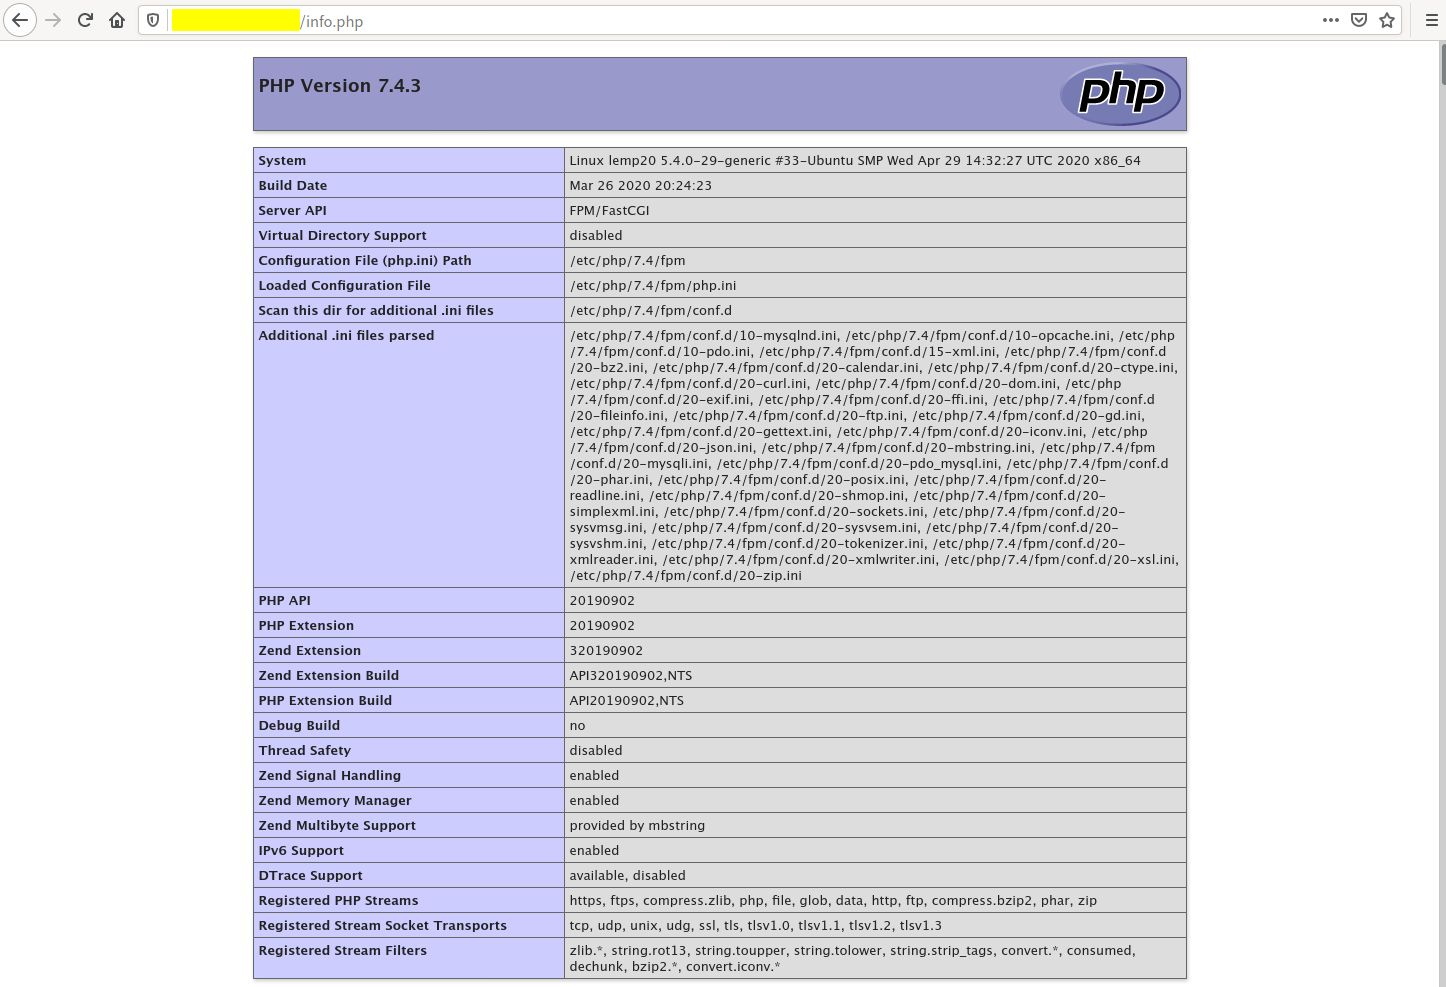
Create a PHP info file:
cd /var/www/html
vim info.php
Add the following content:
<?php
phpinfo();
?>
Access the file in a web browser:
http://server-ip/info.php
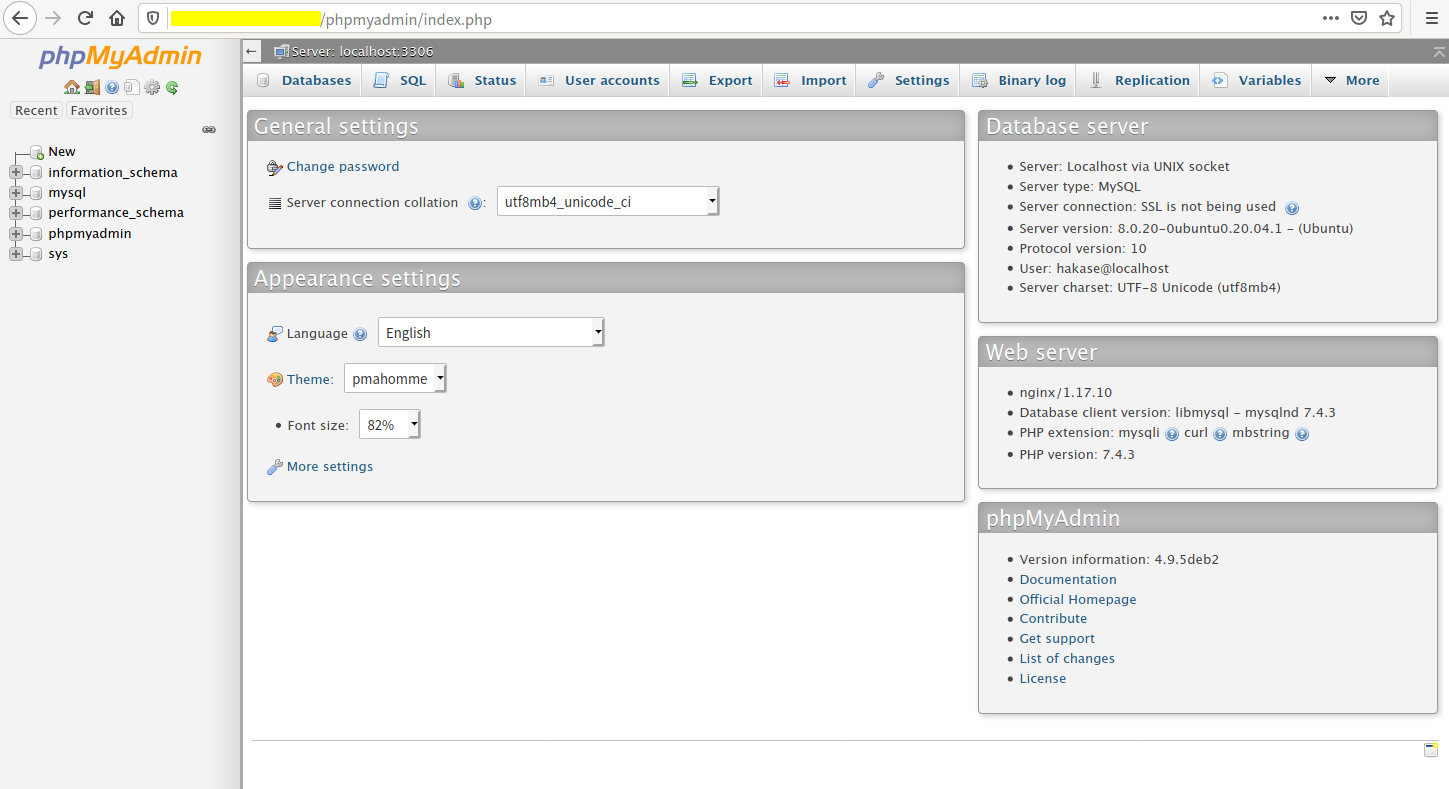
Test phpMyAdmin
Check the phpMyAdmin via your browser:
http://server-ip/phpmyadmin/
Log in with the MySQL credentials you’ve set:
Username: hakase
Password: Hakaselabs001@#
FAQs
Do I need root access for these installations?
Yes, root or sudo privileges are required for installing and configuring Nginx, MySQL, PHP, and phpMyAdmin.
Can I use a different version of PHP?
Yes, you can install newer versions of PHP by updating `apt` package manager repositories accordingly, but the guide specifics might need adjustments.
What should I do if I encounter installation errors?
Ensure your system is updated, validate package sources, and check for any dependency issues. Consult logs for specific errors, and search for solutions based on the error messages.
How do I secure phpMyAdmin further?
Consider using HTTPS, setting up an authentication gateway, and restricting access by server IP or password protection.
