Etherpad is a versatile, open-source collaborative text editor offering real-time editing capabilities from anywhere at any time. It’s web-based, which means it’s accessible across various platforms. With support for versioning, built-in formatting, and a multitude of plugins, Etherpad is customizable to suit the needs of any team. It also supports a range of document formats, including doc, pdf, odt, and markdown.
This guide will take you through the installation of the Etherpad collaborative editor on an Ubuntu 24.04 server. We will set up Etherpad with MariaDB as the database server, use Nginx as a reverse proxy, and secure your installation with HTTPS using Certbot and Let’s Encrypt.
Prerequisites
Before beginning, ensure you have the following:
- An Ubuntu 24.04 server.
- A non-root user with administrative privileges.
- A domain name pointed to your server’s IP address.
Installing Dependencies
Etherpad is written in Node.js, so you’ll need to install dependencies like Node.js, NPM, and Git. Additionally, Etherpad requires Python3 and MySQL/MariaDB for database operations.
Update your Ubuntu repository with:
sudo apt update

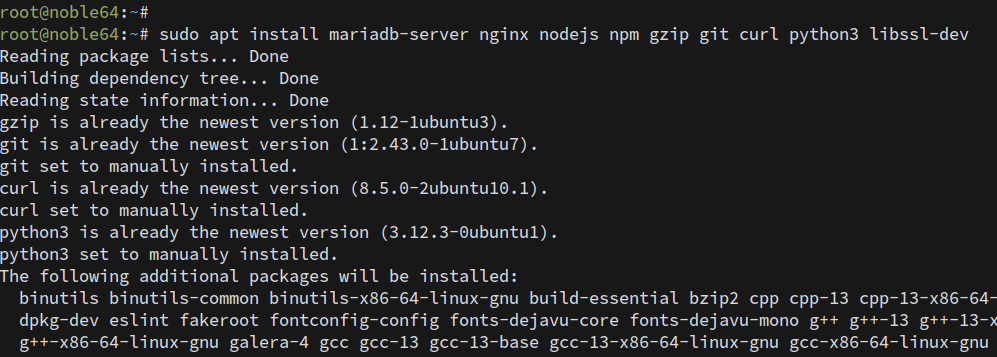
Install the required packages, including MariaDB, Nginx, Node.js, and others, with:
sudo apt install mariadb-server nginx nodejs npm gzip git curl python3 libssl-dev
Confirm the installation by typing Y when prompted.
Check the status of MariaDB and Nginx to ensure they are running:
sudo systemctl is-enabled mariadb
sudo systemctl status mariadb

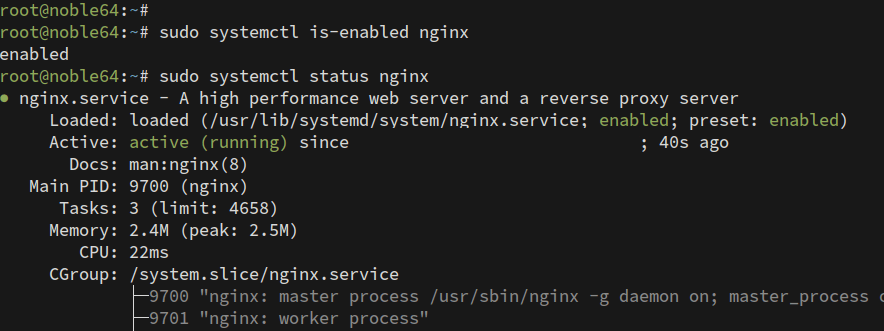
For Nginx:
sudo systemctl is-enabled nginx
sudo systemctl status nginx
Verify Node.js is version 18.x or later:
node -v

Setting up the MariaDB Server
Secure and configure MariaDB, then create a database and user for Etherpad.
Secure MariaDB:
sudo mariadb-secure-installation
Follow the prompts to configure your MariaDB installed security settings.
Create a new Etherpad database and user:
sudo mariadb -u root -p
    CREATE DATABASE etherpad_db;
    CREATE USER etherpad@localhost IDENTIFIED BY 'StrongPasswordEtherpadDB';
    GRANT CREATE,ALTER,SELECT,INSERT,UPDATE,DELETE on etherpad_db.* to etherpad@localhost;
    FLUSH PRIVILEGES;

Verify user privileges:
SHOW GRANTS FOR etherpad@localhost;

Installing Etherpad Lite
Download Etherpad, install dependencies with pnpm, and configure it to use MariaDB.
Install pnpm globally:
npm install pnpm -g
Create a system user for Etherpad:
sudo adduser --system --no-create-home --home=/opt/etherpad-lite --group etherpad
Download Etherpad source code and change ownership:
cd /opt && git clone --branch master https://github.com/ether/etherpad-lite.git
sudo chown -R etherpad:etherpad /opt/etherpad-lite
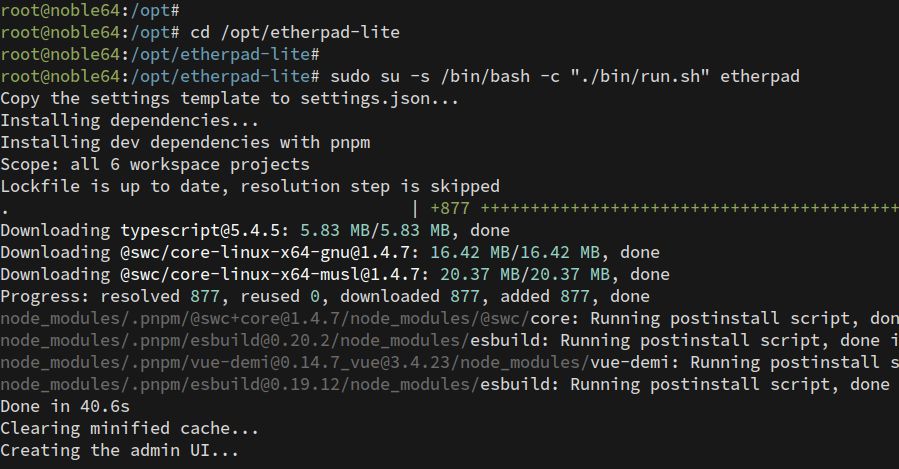
Install Node.js dependencies:
cd /opt/etherpad-lite
sudo su -s /bin/bash -c "./bin/run.sh" etherpad
Configure Etherpad with MariaDB:
nano settings.json
    "title": "Etherpad Ubuntu 24",
    "ip": "127.0.0.1",
    "port": 9001,
    /* "dbType": "dirty",
       "dbSettings": {
       "filename": "var/dirty.db"
    }, */
    "dbType" : "mysql",
    "dbSettings" : {
        "user": "etherpad",
        "host": "127.0.0.1",
        "port": 3306,
        "password": "StrongPasswordEtherpadDB",
        "database": "etherpad_db",
        "charset": "utf8mb4"
    },
Running Etherpad as a Systemd Service
Create a systemd service file so Etherpad runs in the background, and manage it using systemctl.
Create the service file:
sudo nano /etc/systemd/system/etherpad.service
    [Unit]
    Description=Etherpad-lite, the collaborative editor.
    After=syslog.target network.target mariadb.service

    [Service]
    Type=simple
    User=etherpad
    Group=etherpad
    WorkingDirectory=/opt/etherpad-lite
    ExecStart=/usr/local/bin/pnpm run prod
    Restart=always

    [Install]
    WantedBy=multi-user.target
Enable and start the service:
    sudo systemctl daemon-reload
    sudo systemctl start etherpad
    sudo systemctl enable etherpad
Check service status:
sudo systemctl status etherpad
Verify that Etherpad’s default port 9001 is in use:
ss -tulpn | grep 9001
Setting up Nginx as a Reverse Proxy
Create the Nginx server block configuration for Etherpad:
sudo nano /etc/nginx/sites-available/etherpad.conf
    server {
        listen 80;
        server_name etherpad.yourdomain.com;

        access_log /var/log/nginx/eplite.access.log;
        error_log /var/log/nginx/eplite.error.log;

        location / {
            proxy_pass http://127.0.0.1:9001;
            proxy_buffering off;
            proxy_set_header Host $host;
            proxy_pass_header Server;
            proxy_set_header X-Real-IP $remote_addr;
            proxy_set_header X-Forwarded-For $remote_addr;
            proxy_set_header X-Forwarded-Proto $scheme;
            proxy_http_version 1.1;
            proxy_set_header Upgrade $http_upgrade;
            proxy_set_header Connection "upgrade";
        }
    }
Enable the server block and verify Nginx syntax:
sudo ln -s /etc/nginx/sites-available/etherpad.conf /etc/nginx/sites-enabled/
sudo nginx -t
Restart Nginx to apply changes:
sudo systemctl restart nginx
Securing Etherpad with HTTPS
Use Certbot and Let’s Encrypt to secure Etherpad:
Install Certbot:
sudo apt install certbot python3-certbot-nginx
Generate SSL/TLS certificates:
sudo certbot --nginx --agree-tos --redirect --hsts --staple-ocsp --email user@yourdomain.com -d etherpad.yourdomain.com
Accessing Etherpad
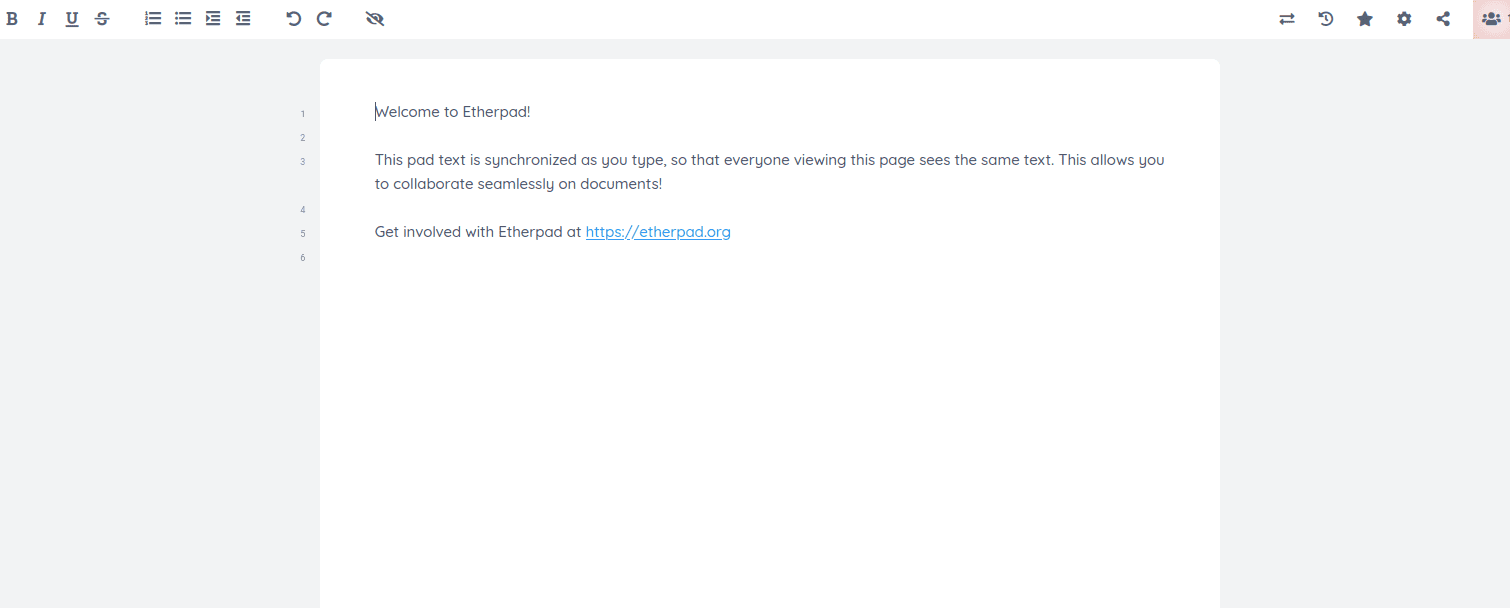
Visit your Etherpad using the domain https://etherpad.yourdomain.com. Create your first pad and start collaborating.

Conclusion
Congratulations on setting up Etherpad on Ubuntu 24.04 with MariaDB and Nginx. Your Etherpad installation is now secured with HTTPS through Certbot and Let’s Encrypt.
FAQ
- What is Etherpad?
Etherpad is an open-source web-based collaborative text editor enabling real-time editing by multiple users. - Why use MariaDB with Etherpad?
MariaDB provides a reliable and scalable database solution for storing Etherpad’s data. - Can I use a different web server instead of Nginx?
Yes, while this guide uses Nginx, you can configure Apache or another server as a reverse proxy for Etherpad. - What is Certbot?
Certbot is a tool that simplifies the process of setting up SSL/TLS certificates with Let’s Encrypt. - How do I enable additional Etherpad plugins?
Etherpad plugins can be managed via npm and configured in the settings files for extended functionality.
