GitLab Community Edition (CE) is a powerful open-source application designed to host your Git repositories. Self-hosting your repositories grants you full control over your data, while offering an intuitive interface for you and your team to collaborate effectively.
This guide walks you through the installation process of GitLab CE on an Ubuntu 18.04 server. For advanced features such as Merge approvals, Roadmaps, Portfolio Management, and more, consider upgrading to the Enterprise Edition.
Prerequisites
- An Ubuntu 18.04 server with a non-root sudo user.
- A VPS with at least 2 CPU cores and 8GB RAM as per the GitLab CE hardware requirements. Note that although swap space can be used instead of RAM, it is not recommended as it may slow down performance.
Installation Steps
Step 1 – Install Dependencies
Ensure your server has the required software for GitLab. Execute the following commands:
  $ sudo apt update
  $ sudo apt install ca-certificates curl openssh-server ufw apt-transport-https -y
Step 2 – Change System’s SSH Port
GitLab uses port 22 for SSH, which can conflict with your server’s SSH. We recommend changing the server’s SSH port. Edit the /etc/ssh/sshd_config file:
$ sudo nano /etc/ssh/sshd_config
Change 22 to 6622 and remove the comment symbol (#). Save and restart SSH:
$ sudo systemctl restart sshd
Reconnect using the new port:
$ ssh non-root-sudo-user@192.0.2.2 -p 6622
Step 3 – Configure Firewall
Allow necessary ports through the firewall:
  $ sudo ufw allow OpenSSH
  $ sudo ufw allow 6622
  $ sudo ufw enable
  $ sudo ufw allow http
  $ sudo ufw allow https
Check the firewall status:
$ sudo ufw status
Step 4 – Install Docker
Add Docker’s GPG key and repository:
  $ curl -fsSL https://download.docker.com/linux/ubuntu/gpg | sudo apt-key add -
  $ sudo add-apt-repository "deb [arch=amd64] https://download.docker.com/linux/ubuntu $(lsb_release -cs) stable"
Update and install Docker:
  $ sudo apt update
  $ sudo apt install docker-ce -y
Verify Docker installation:
$ sudo systemctl status docker
Step 5 – Install Docker Compose
Install Docker Compose for easier GitLab management:
  $ sudo curl -L "https://github.com/docker/compose/releases/download/1.24.1/docker-compose-$(uname -s)-$(uname -m)" -o /usr/local/bin/docker-compose
  $ sudo chmod +x /usr/local/bin/docker-compose
  $ sudo curl -L https://raw.githubusercontent.com/docker/compose/1.24.1/contrib/completion/bash/docker-compose -o /etc/bash_completion.d/docker-compose
Verify the installation:
$ docker-compose --version
Step 6 – Install GitLab
Download GitLab’s Docker image:
$ docker pull gitlab/gitlab-ee:latest
Step 7 – Run GitLab
Create a docker-compose.yml file and paste the specified configuration to set up GitLab.
Launch GitLab:
$ docker-compose up -d
Check for the startup process to complete using:
$ docker logs -f gitlab-howtoforge-tutorial
Once ready, access GitLab via browser and proceed with configuration.
Additional Setup Steps
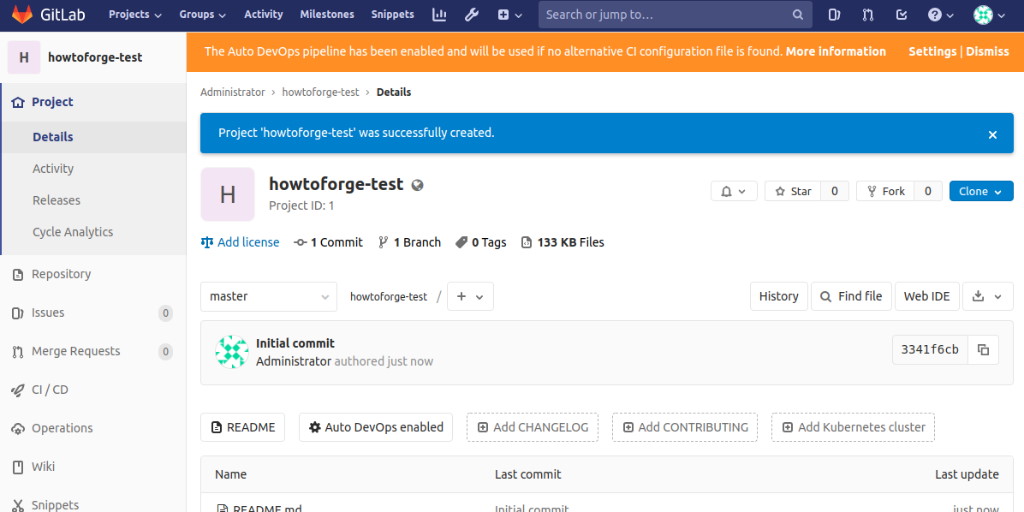
For configuring GitLab and adding SSH keys, follow the on-screen instructions after logging in to your GitLab instance. Create your first project and manage your GitLab instance using Docker commands as needed.
FAQ
Why change the SSH port?
Changing the SSH port avoids conflicts with GitLab’s SSH handling, improving security.
Is the data safe during upgrades?
Yes, as long as your volumes are correctly set, data remains safe when stopping or removing containers.
Can I use GitLab Enterprise features?
GitLab CE runs like the Enterprise Edition but requires a license for exclusive Enterprise features.
How can I confirm Docker is working?
You can verify Docker functionality by running the “Hello World” container, which tests the setup.
