PrestaShop is a powerful, open-source shopping cart software written in PHP, ideal for anyone looking to create and manage their online business. Its user-friendly interface and extensive features—ranging from multiple payment gateways like PayPal and Google Checkout to mobile-responsive design, multi-lingual support, and comprehensive analytics—make it an excellent choice for setting up an online store swiftly.
In this guide, we’ll walk through the steps needed to install PrestaShop with Apache and secure it using a free Let’s Encrypt SSL certificate on CentOS 8.
Prerequisites
- A server running CentOS 8.
- A valid domain name pointing to your server’s IP address.
- Root access to your server.
Install LAMP Server
Having a LAMP server installed is essential before proceeding. You can install it along with other necessary PHP extensions using:
dnf install httpd mariadb-server php php-cli php-bcmath php-mysqli php-gd php-pdo php-xmlrpc php-intl php-posix php-json php-curl php-zip unzip -y
After the installation, modify the PHP configuration file to adjust default settings:
nano /etc/php.ini
Update the following values:
max_input_vars = 3000
post_max_size = 64M
upload_max_filesize = 64M
max_execution_time = 600
memory_limit = 256M
date.timezone = Asia/Kolkata
Save the file, then start and enable Apache and MariaDB to run at startup:
systemctl start httpd
systemctl start mariadb
systemctl enable httpd
systemctl enable mariadb
Your LAMP server setup is now complete.
Create a Database for PrestaShop
PrestaShop utilizes a MySQL/MariaDB database for data storage. You’ll need to create a database and user specifically for PrestaShop.
Start by logging in to MariaDB:
mysql
Create the database and user with these commands:
MariaDB [(none)]> CREATE DATABASE prestashopdb;
MariaDB [(none)]> CREATE USER 'prestashopuser'@'localhost' IDENTIFIED BY 'securepassword';
Grant all necessary privileges to the user for the PrestaShop database:
MariaDB [(none)]> GRANT ALL PRIVILEGES ON prestashopdb. * TO 'prestashopuser'@'localhost';
Flush the privileges and exit MariaDB:
MariaDB [(none)]> FLUSH PRIVILEGES;
MariaDB [(none)]> EXIT;
Install PrestaShop
Next, download the latest version of PrestaShop directly from the official site:
wget https://download.prestashop.com/download/releases/prestashop_1.7.7.3.zip
Once the download is complete, extract the files into the Apache web root directory:
unzip prestashop_1.7.7.3.zip -d /var/www/html/prestashop
Set the appropriate permissions for the PrestaShop directory:
chown -R apache:apache /var/www/html/prestashop
Configure Apache for PrestaShop
Create an Apache virtual host configuration file for PrestaShop:
nano /etc/httpd/conf.d/prestashop.conf
Add the following configuration:
<VirtualHost *:80>
    ServerAdmin admin@example.com
    ServerName prestashop.example.com
    DocumentRoot /var/www/html/prestashop

    <Directory /var/www/html/prestashop>
        Options +FollowSymlinks
        AllowOverride All
        Require all granted
    </Directory>

    ErrorLog /var/log/httpd/prestashop-error_log
    CustomLog /var/log/httpd/prestashop-access_log common
</VirtualHost>
Save the file and then restart Apache:
systemctl restart httpd
Verify the Apache service status:
systemctl status httpd
The service should now be active and running.
Configure Firewall
Open ports 80 and 443 in the firewall for HTTP and HTTPS access:
firewall-cmd --zone=public --permanent --add-service=http
firewall-cmd --zone=public --permanent --add-service=https
Reload the firewall settings:
firewall-cmd --reload
Access PrestaShop
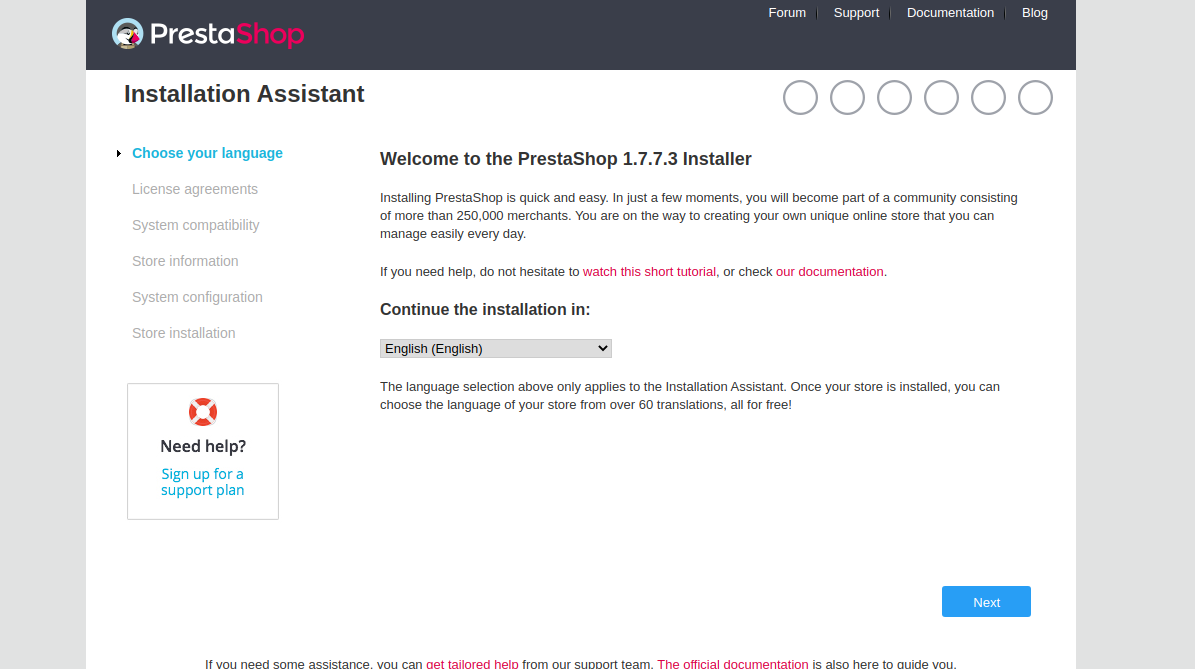
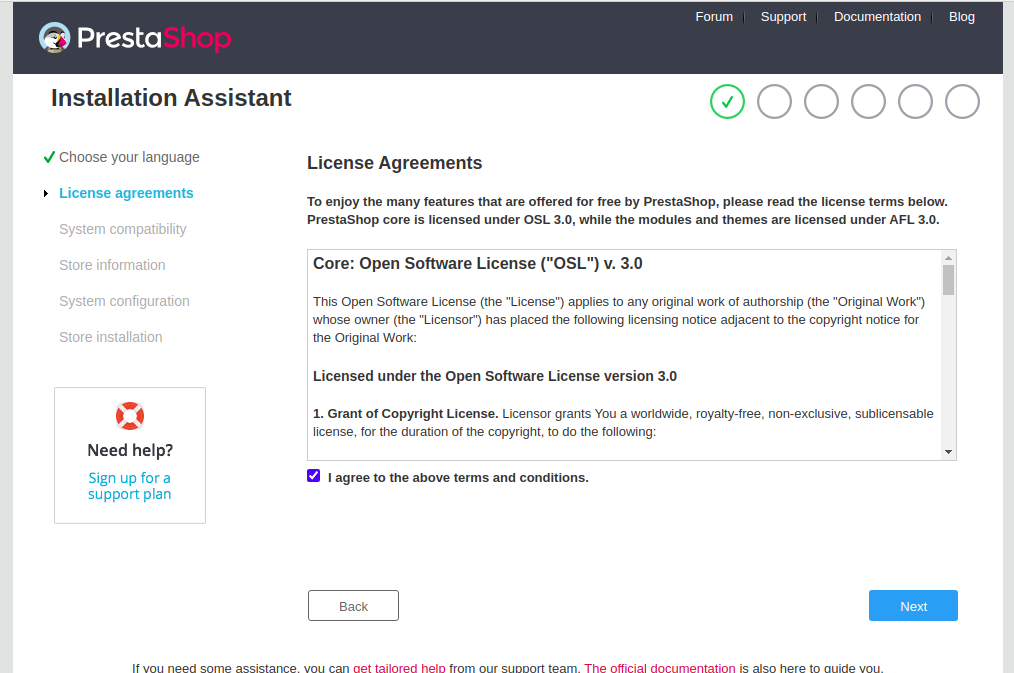
Use your web browser to access PrestaShop’s web interface at http://prestashop.example.com. Follow the onscreen steps to complete the installation:


Upon completing the configuration and installation steps:

…
Secure PrestaShop with Let’s Encrypt SSL
Install Certbot to acquire a Let’s Encrypt SSL certificate:
dnf install letsencrypt python3-certbot-apache
Run Certbot to obtain and install the certificate:
certbot --apache -d prestashop.example.com
Follow the prompts to enter your email address and agree to the terms.
After this process, your website will be accessible securely at https://prestashop.example.com.
Conclusion
Congratulations! You have successfully installed PrestaShop with Apache and secured it with Let’s Encrypt SSL on CentOS 8. You are now ready to add products and begin selling online. If you encounter any issues, feel free to reach out for support.
FAQ
1. What is PrestaShop?
PrestaShop is an open-source e-commerce platform that allows you to create and manage an online store with ease. It supports a wide array of features, including numerous payment gateways, multi-language support, and responsive web design.
2. What is required to install PrestaShop on CentOS 8?
Make sure your server is running CentOS 8, with a domain name pointing to your server’s IP address. You’ll also need root access to perform installations and configurations.
3. How do I access the PrestaShop dashboard?
Complete the installation steps outlined above, then log in to the admin URL (provided at the end of setup) using the administrator credentials you configured during installation.
4. Why should I use Let’s Encrypt SSL?
Let’s Encrypt SSL provides free and automated security for your website by encrypting data transferred between your server and users, thereby safeguarding it from eavesdropping and tampering.
5. Can I use a different database other than MariaDB for PrestaShop?
While this guide uses MariaDB due to its compatibility and ease of use with CentOS 8, PrestaShop also supports MySQL. It is recommended to stick to these options for stability and reliability purposes.
