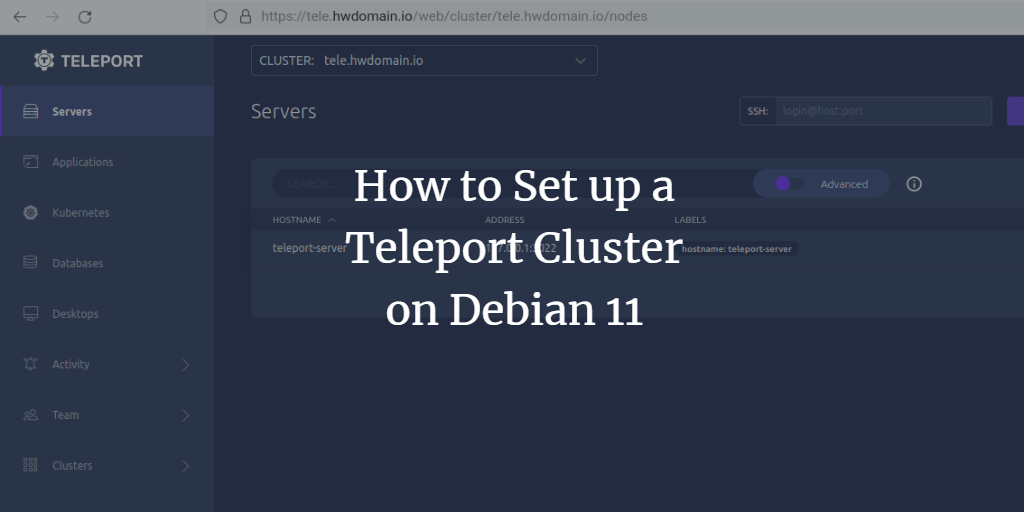
Teleport is a powerful open-source tool designed to serve as an access plane for your global infrastructure. It provides zero-trust access to various services including servers, Kubernetes clusters, database servers, DevOps applications such as AWS Management Console, CI/CD, version control, and desktops. Teleport acts as the single source of truth for access control, ensuring synchronization across your infrastructure.
Teleport can replace VPNs by providing a unified gateway to your entire computing ecosystem. As an Identity-Native Access Proxy, it offers a secure and centralized way to manage infrastructure access. Recognized for its security, Teleport has been audited by firms like Cure53 and Doyensec and is trusted by major companies such as Samsung, NASDAQ, IBM, and Epic Games.
This guide provides step-by-step instructions on installing and configuring Teleport as the access plane for your infrastructure on a Debian 11 server. You’ll learn how to initialize a secure Teleport Cluster, set up Teleport users, and add nodes to the Teleport Cluster using two different methods.
Prerequisites
- A Debian 11 server with hostname teleport-server and IP address 192.168.5.100.
- A non-root user with sudo/root privileges.
- A domain name pointing to the server IP address.
- SSL Letsencrypt certificates for your domain.
- Two-Factor Authentication apps such as KeepassXC, Aegis, or Google Authenticator.
Additional nodes to be added to the Teleport server with different Linux distributions can be used. This guide uses two servers client1 and client2, both Debian-based.
Installing Teleport on Debian Server
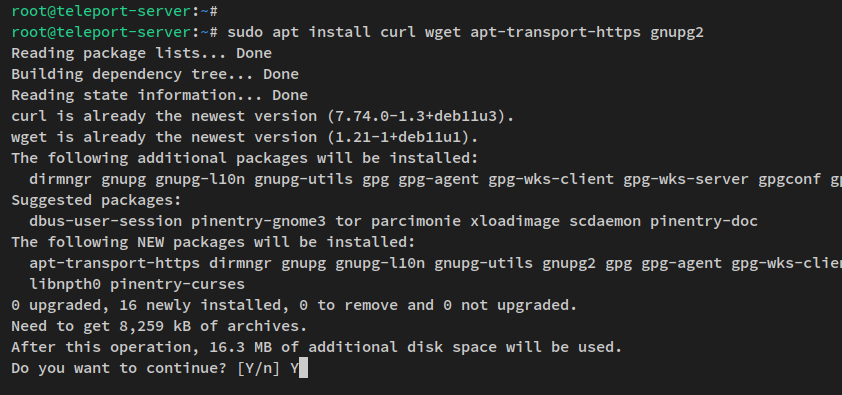
To begin, you’ll install Teleport packages on the ‘teleport-server’. Teleport provides DEB packages for Debian-based distributions. Start by installing basic dependencies:
sudo apt install curl wget apt-transport-https gnupg2

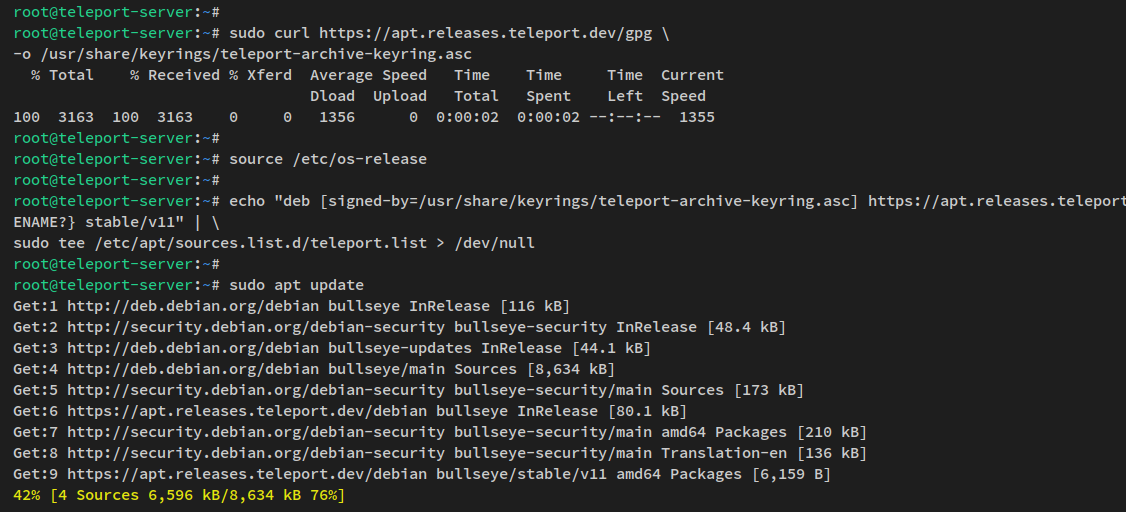
Next, load your environment variables with:
source /etc/os-release
Download and add the Teleport repository:
sudo curl https://apt.releases.teleport.dev/gpg \
-o /usr/share/keyrings/teleport-archive-keyring.asc
echo "deb [signed-by=/usr/share/keyrings/teleport-archive-keyring.asc] https://apt.releases.teleport.dev/${ID?} ${VERSION_CODENAME?} stable/v11" | \
sudo tee /etc/apt/sources.list.d/teleport.list > /dev/null
Update the package manager cache:
sudo apt update

Install Teleport:
sudo apt install teleport

Configuring Teleport Server
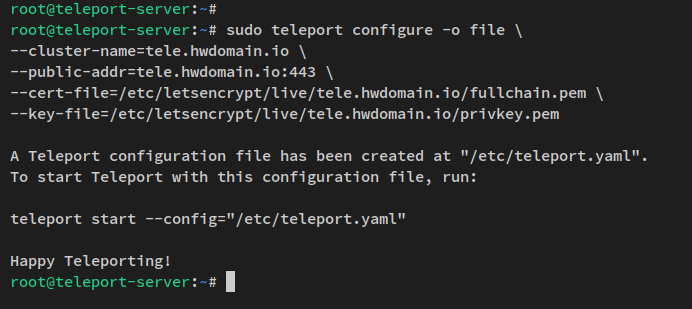
Configure your Teleport deployment with a domain name and SSL certificates. Initialize Teleport and configure it is as follows:
sudo teleport configure -o file \
--cluster-name=tele.howtoforge.local \
--public-addr=tele.howtoforge.local:443 \
--cert-file=/etc/letsencrypt/live/tele.howtoforge.local/fullchain.pem \
--key-file=/etc/letsencrypt/live/tele.howtoforge.local/privkey.pem

Edit the Teleport config file to enable the web service
app_service:
  enabled: yes
  apps:
  - name: "teleport-webapp"
    uri: "http://localhost:9000"
    public_addr: "tele.howtoforge.local"
Start and enable the Teleport service:
sudo systemctl start teleport
sudo systemctl enable teleport

Setting up Teleport User
Before you log in, add a new Teleport user with two-factor authentication enabled:
sudo tctl users add teleport-admin --roles=editor,access --logins=root,debian,ec2-user

Managing Teleport Cluster via Command Line
Teleport provides tsh and tctl command line tools for cluster management. Use tsh for user-level operations, and tctl with root privileges for administrative tasks.
su - debian
tsh login --proxy=tele.howtoforge.local --user=teleport-admin

Adding Nodes to the Teleport Cluster
Nodes can be added to the Teleport Cluster either via a web-generated installer script or manually. To add client1 via the Installer Script:

Add client2 Manually
Generate a token and use the CA pin to join client2 manually:
sudo tctl nodes add --ttl=30m --roles=node
Conclusion
By following this guide, you have securely set up your Teleport Cluster on a Debian 11 server. You can now manage user access with strong security practices such as two-factor authentication and effectively control node/server access through centralized Teleport management using both web and command-line interfaces.
FAQ
What is Teleport?
Teleport is an open-source tool providing zero-trust access to infrastructure via a unified gateway, serving as a secure access plane for your computing environment.
What platforms does Teleport support?
Teleport is compatible with a wide range of platforms including Kubernetes clusters, database servers, Linux servers, and cloud service consoles like AWS.
Can Teleport replace traditional VPNs?
Yes, Teleport can replace traditional VPNs by providing a secure, identity-based access proxy without the need for a VPN.
What are the main command line tools for Teleport?
The primary command line tools for managing Teleport clusters are tsh for user operations and tctl for administrative tasks.
