Azure Virtual Network is a crucial resource for establishing private networks in Azure. It securely facilitates communication between various Azure services and can also connect to on-premises networks, akin to the setup found in private data centers.
Before creating such a network, it’s important to grasp the fundamental concepts involved:
- Address space: This is an IP range used for assigning IPs to resources within the network. For example, a Virtual Machine created in a network with address space 10.0.0.0/24 might receive an IP like 10.0.0.5.
- Subnets: These divide the address space into smaller segments, increasing the efficiency of IP assignment.
- Regions: A Virtual Network is confined to a single region but can connect with networks in other regions via Virtual Network Peering.
When setting up a Virtual Network, ensure there’s no overlap in address space, and avoid assigning an entire address space to a single subnet.
Azure Virtual Networks allow private access to integrated Azure services, enabling secure internal operations.
Azure Virtual Network usage is free, though related resources like Peering and IP Addresses may incur charges. Learn more about Virtual Network pricing here.
This guide demonstrates creating a Virtual Network, adding a subnet, and utilizing Resource Groups for logical resource collection.
Pre-requisites
- Azure Account (Create one if necessary).
Steps Overview
- Login to Azure.
- Create a Virtual Network.
- Delete the Virtual Network.
Login to Azure
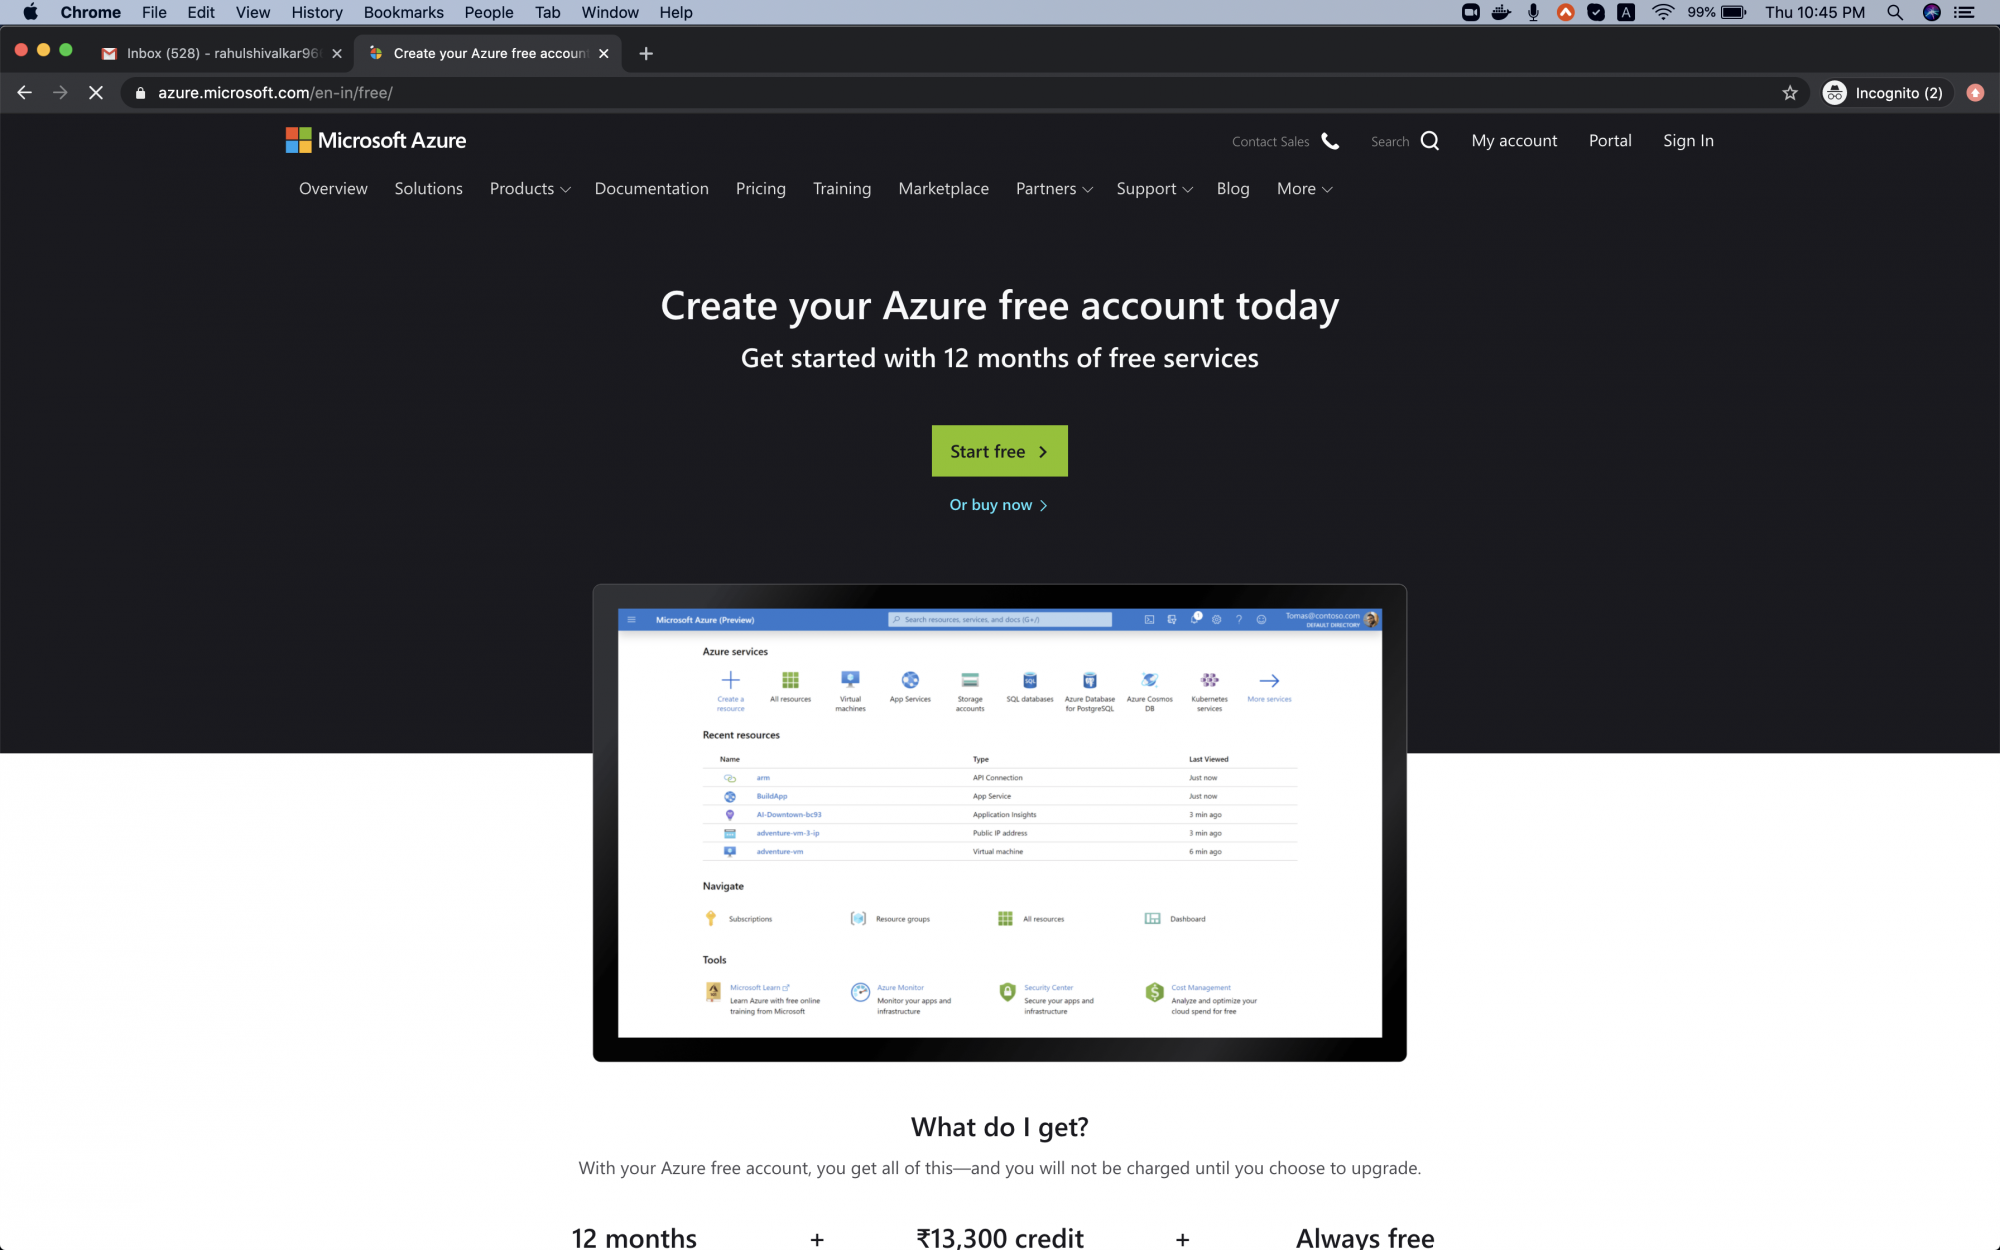
Visit the Azure portal and click on Sign in.
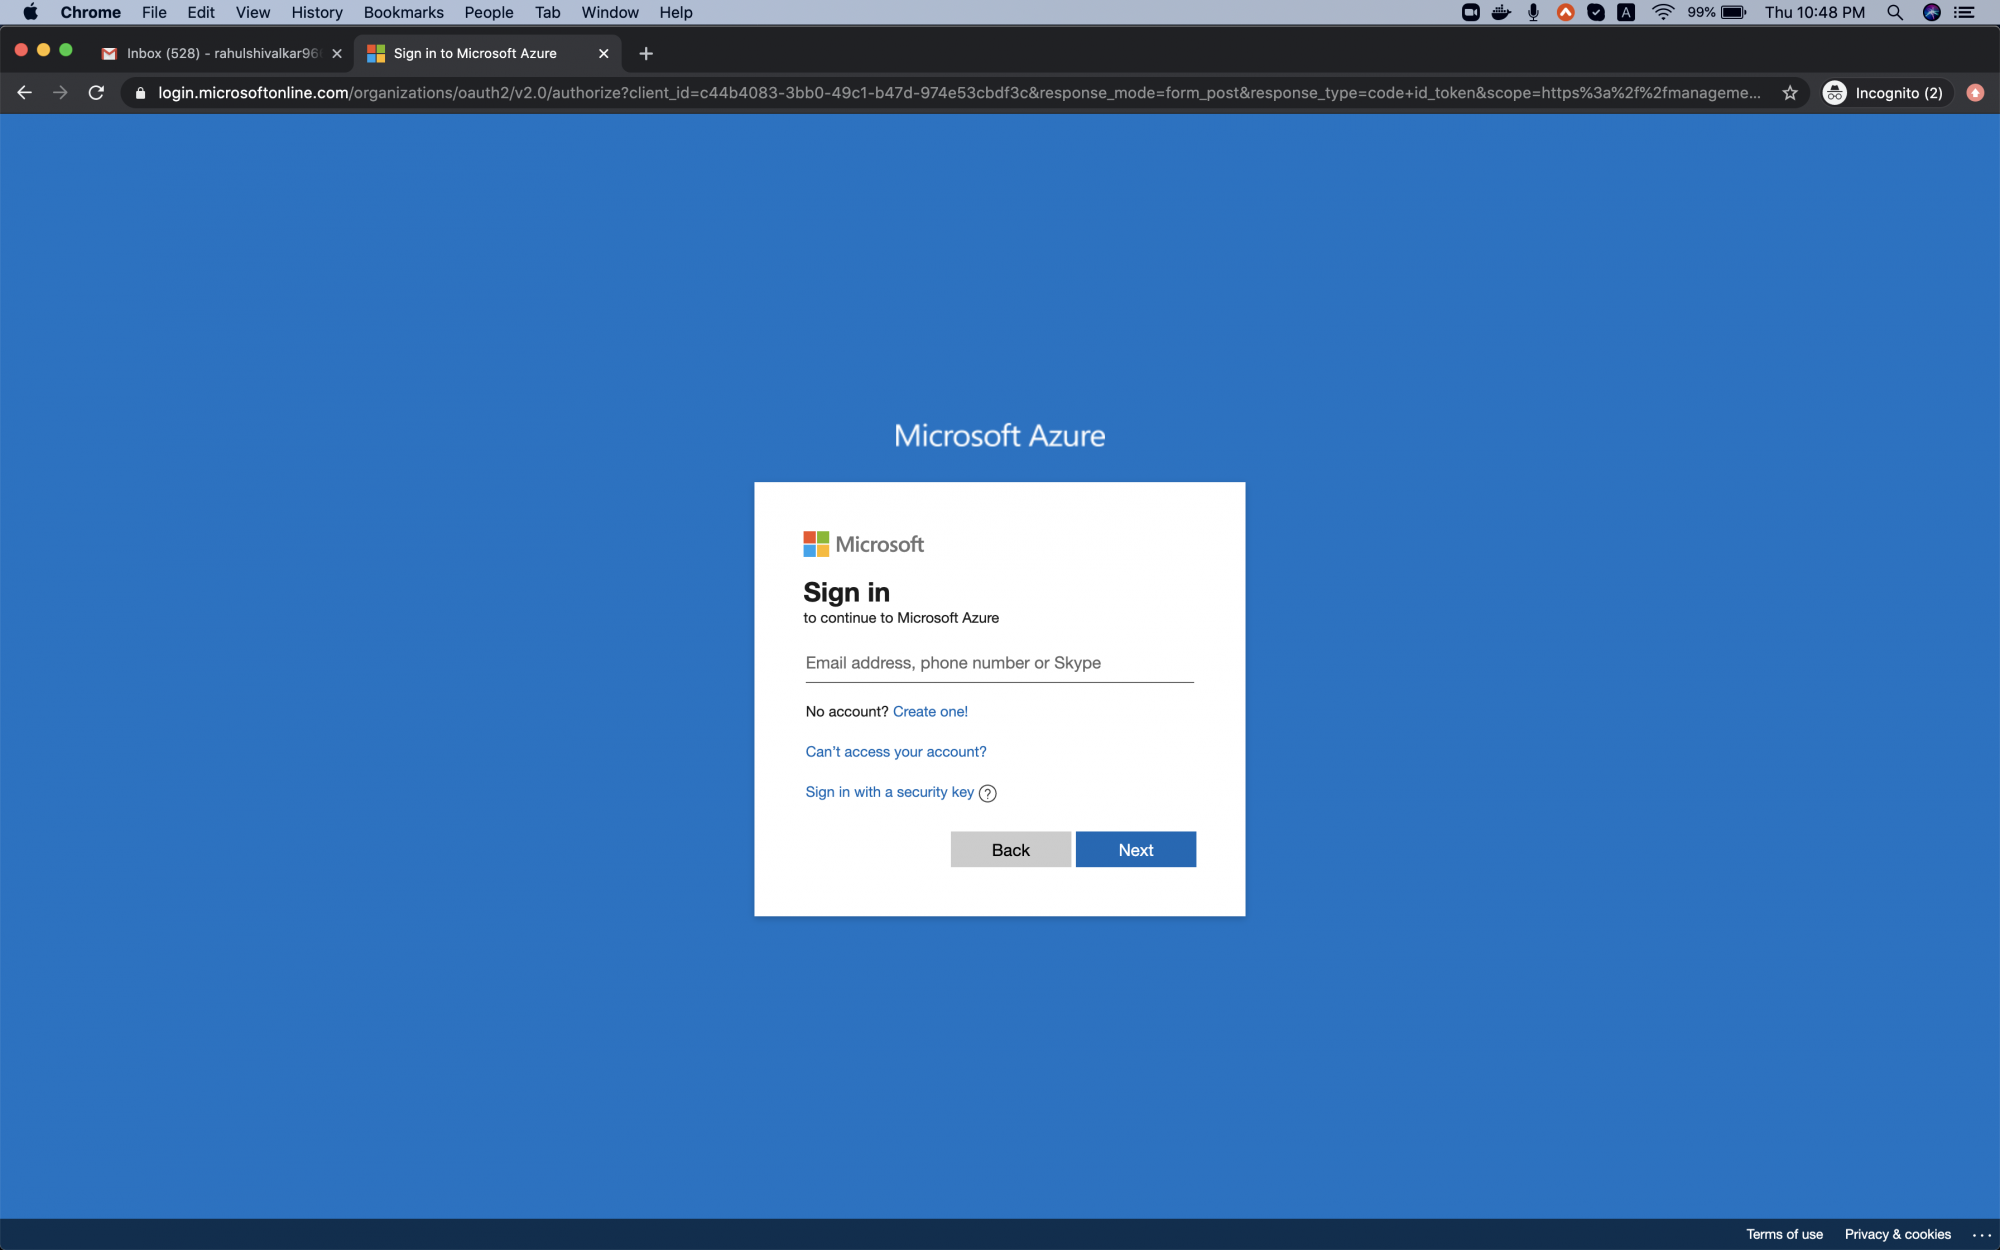
Log in with your credentials.
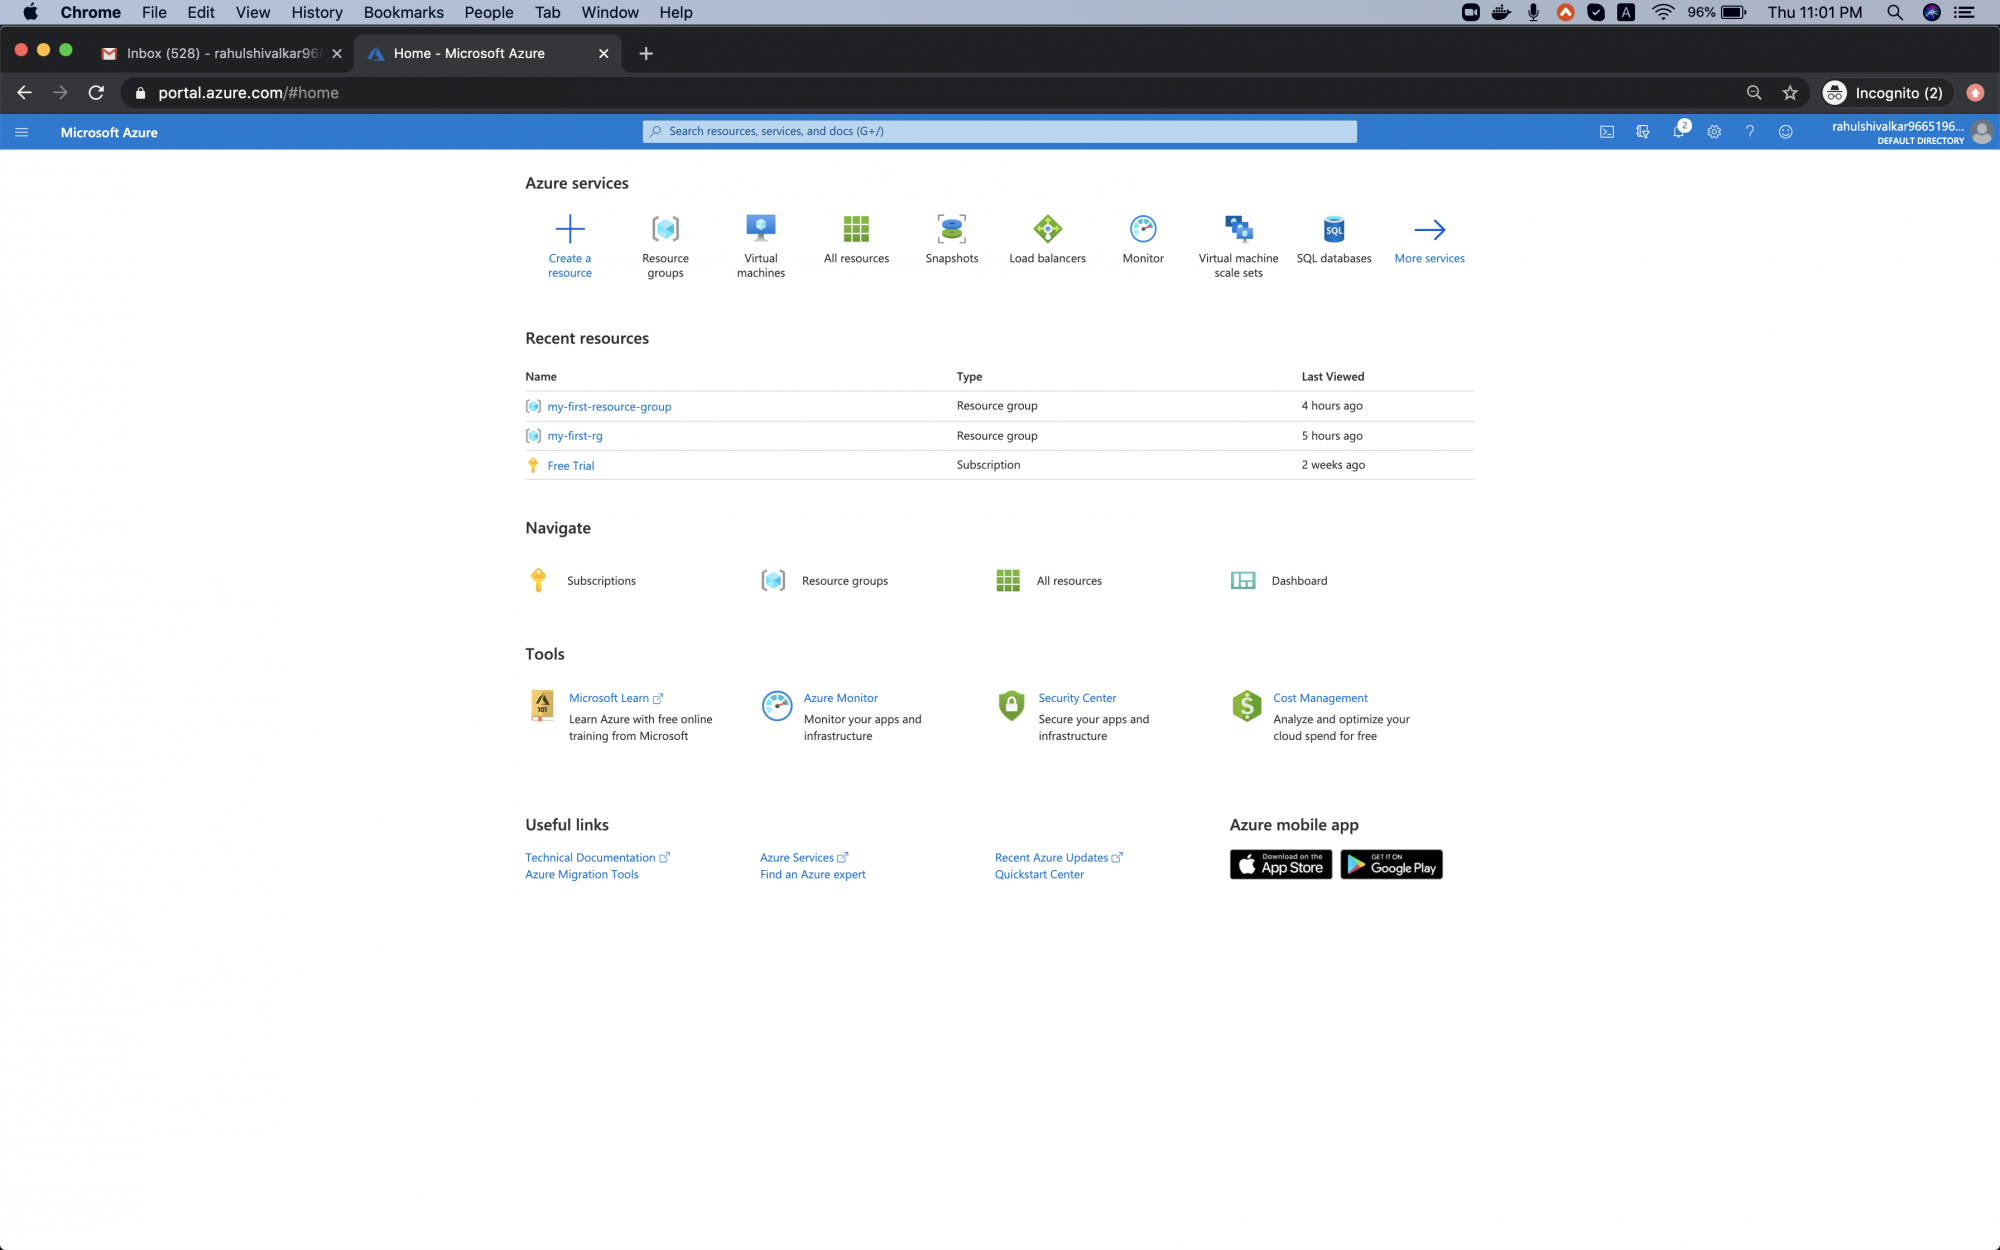
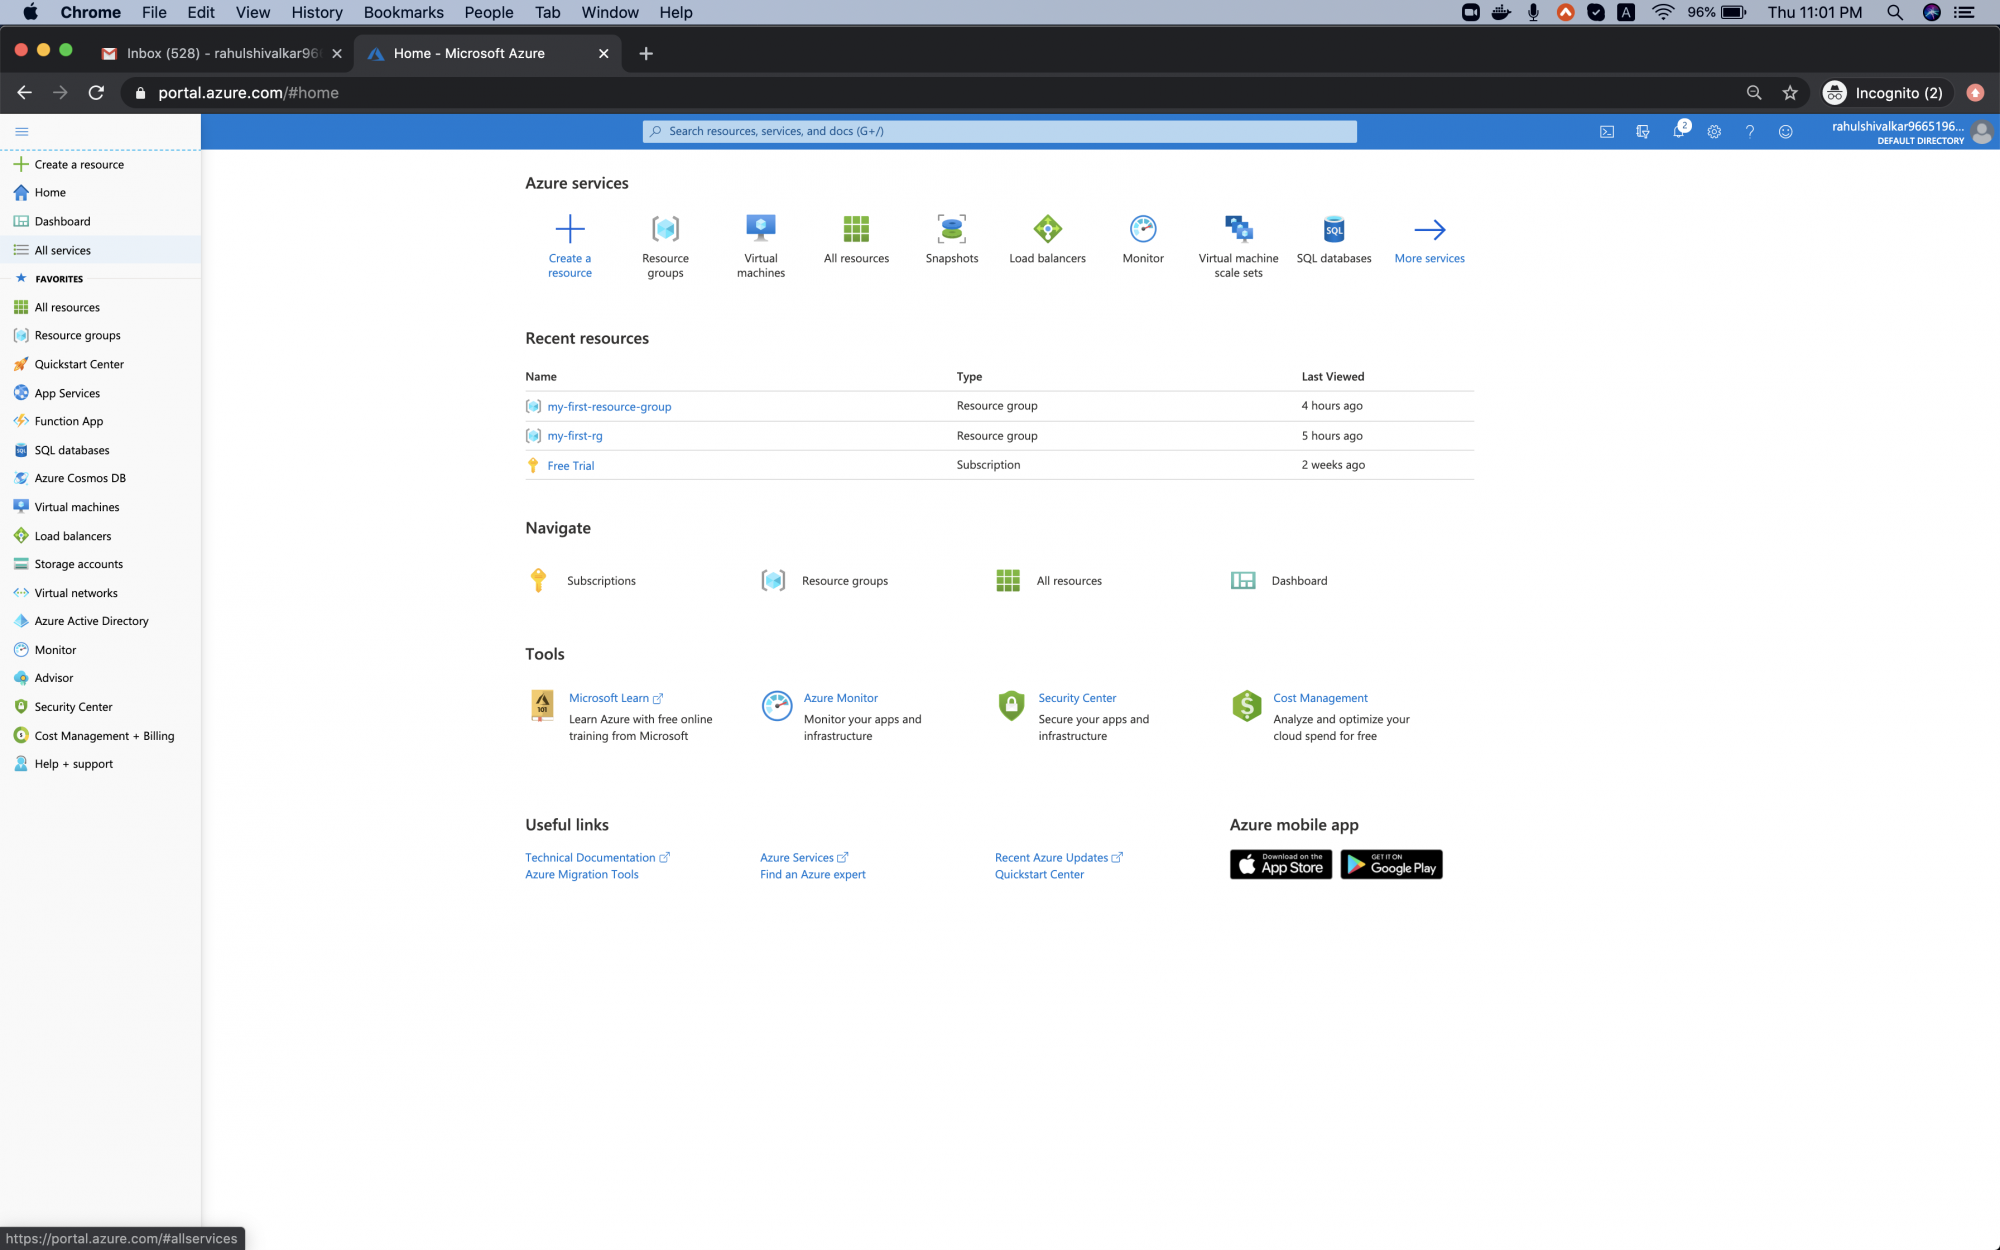
Upon successful login, you’ll see the main page. Click the three bars near “Microsoft Azure” in the top-left corner to access the portal menu.
Create a Virtual Network
Select “All services” from the left panel.
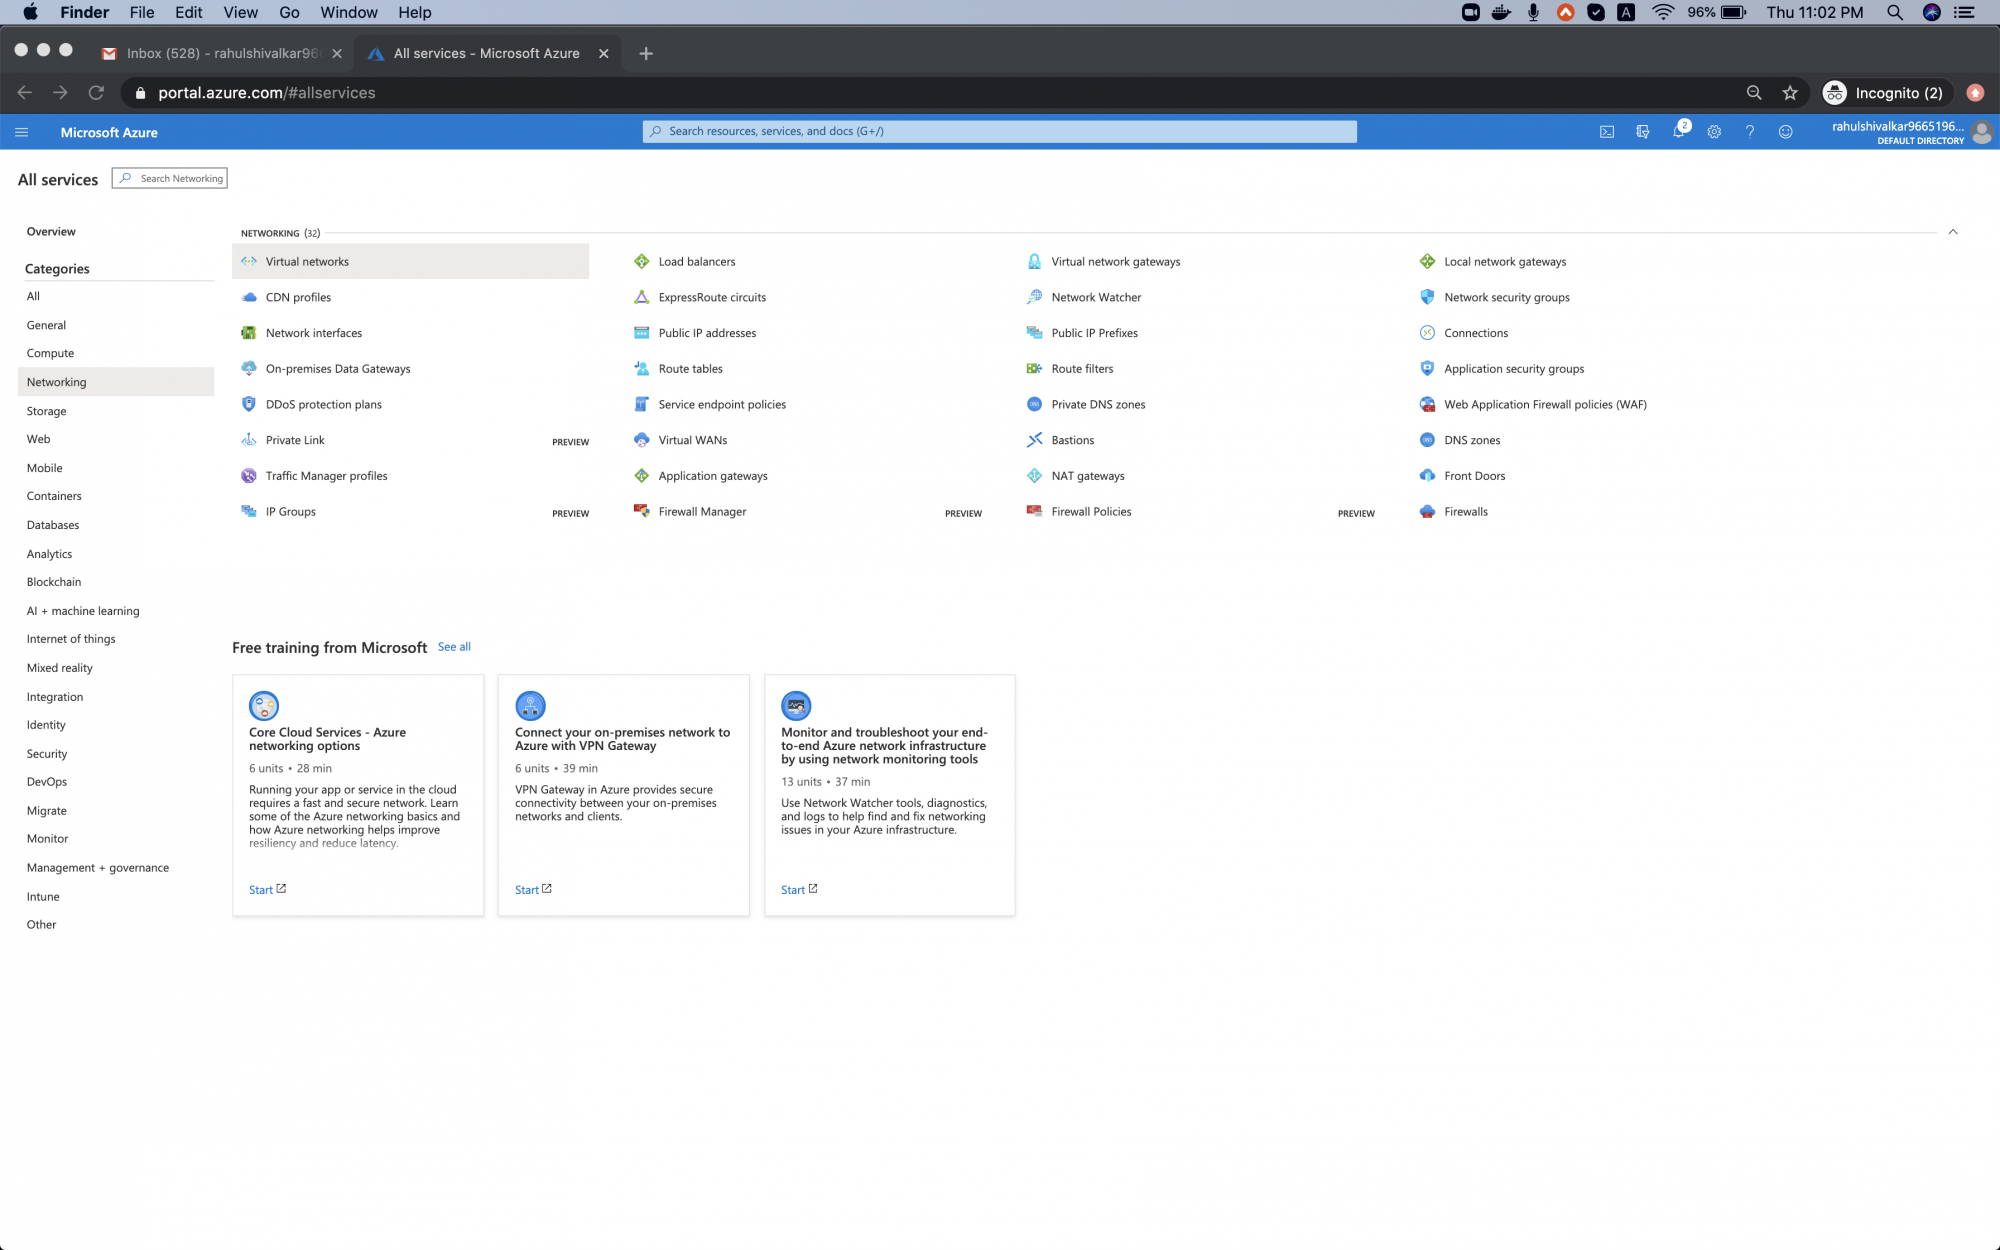
Navigate to Networking -> Virtual Network.
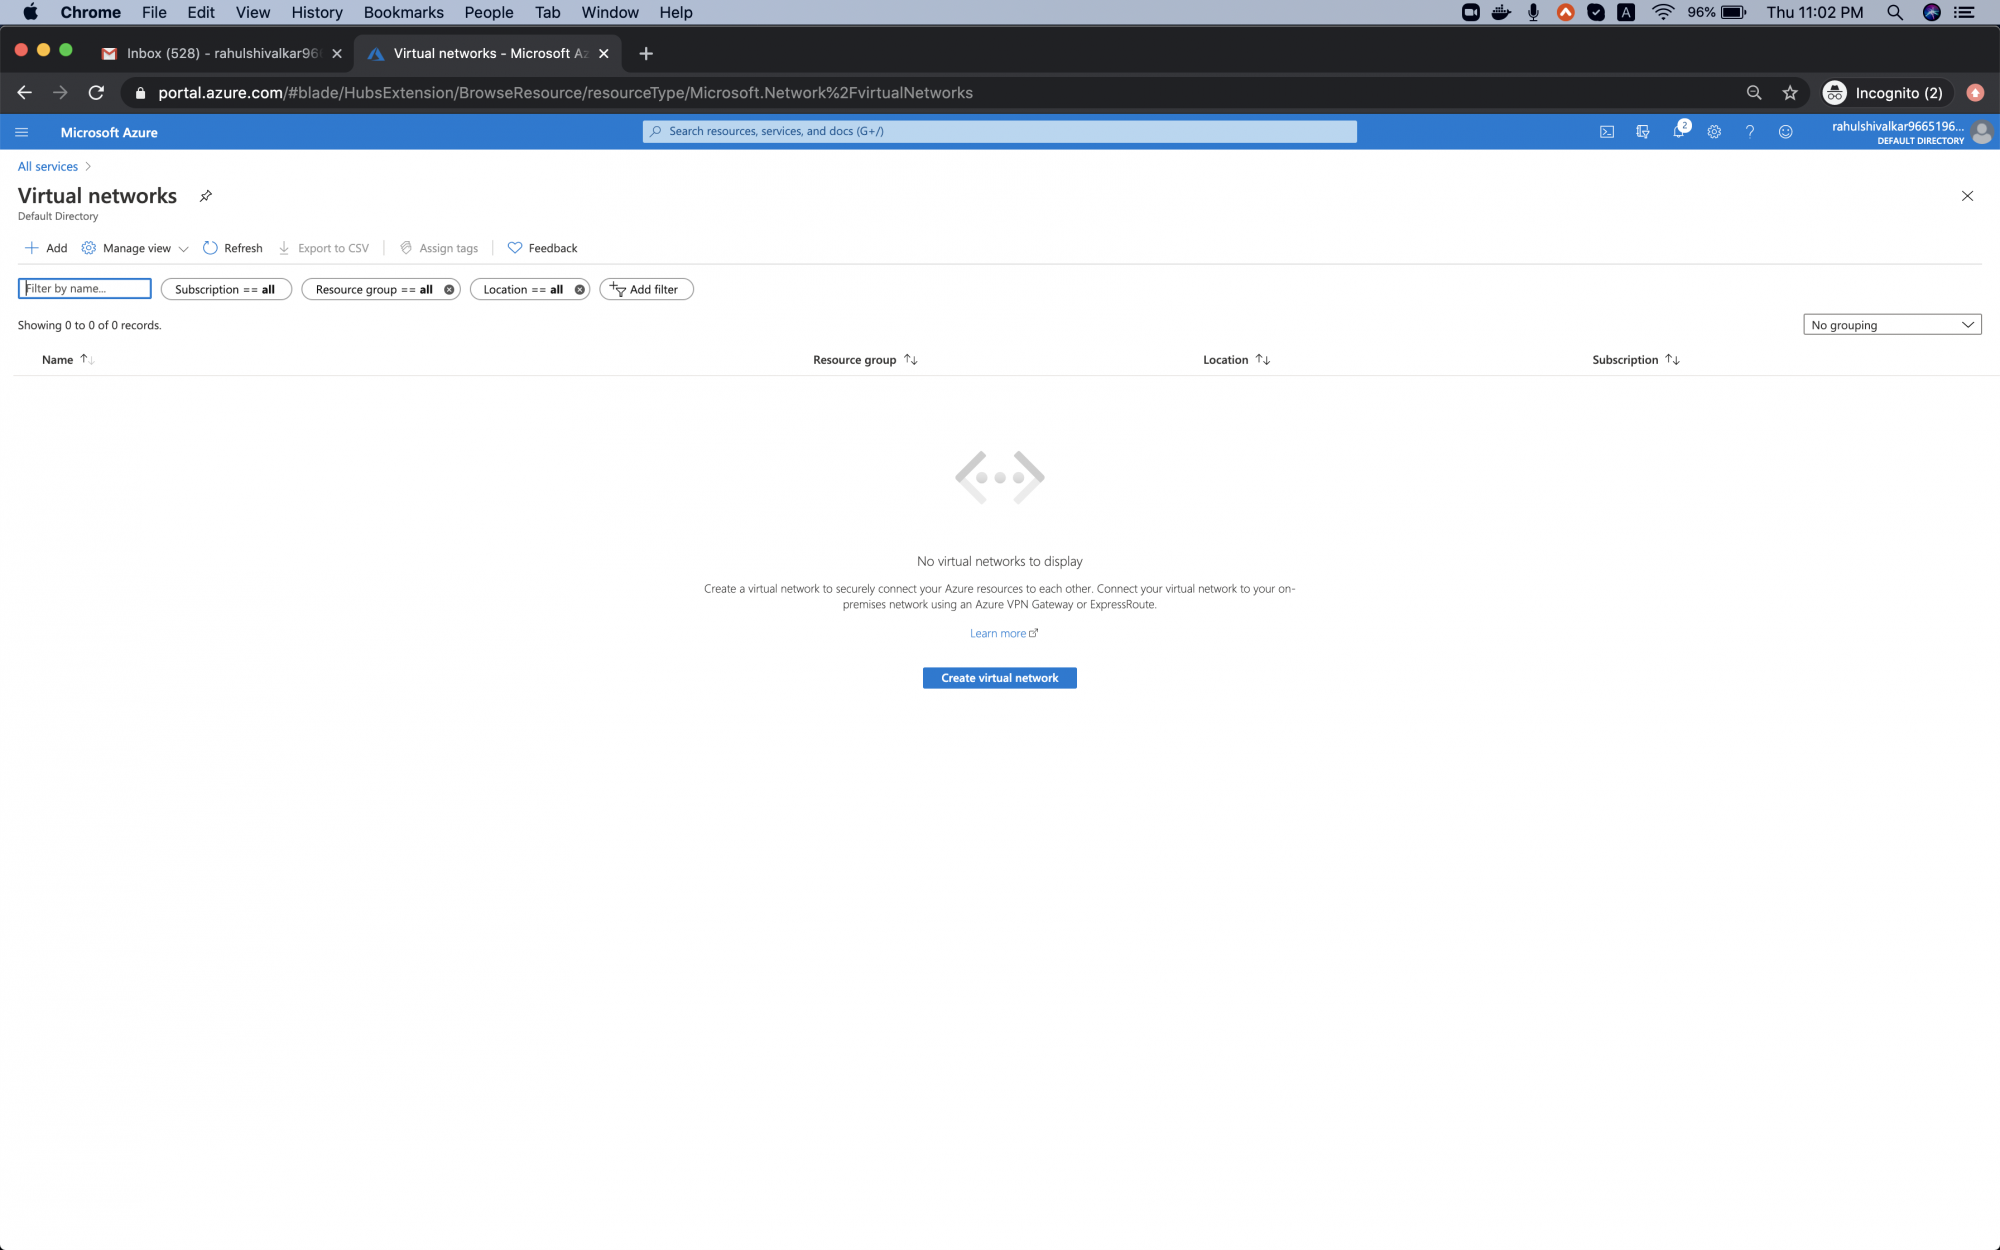
Click “Add” to initiate your first Virtual Network setup.
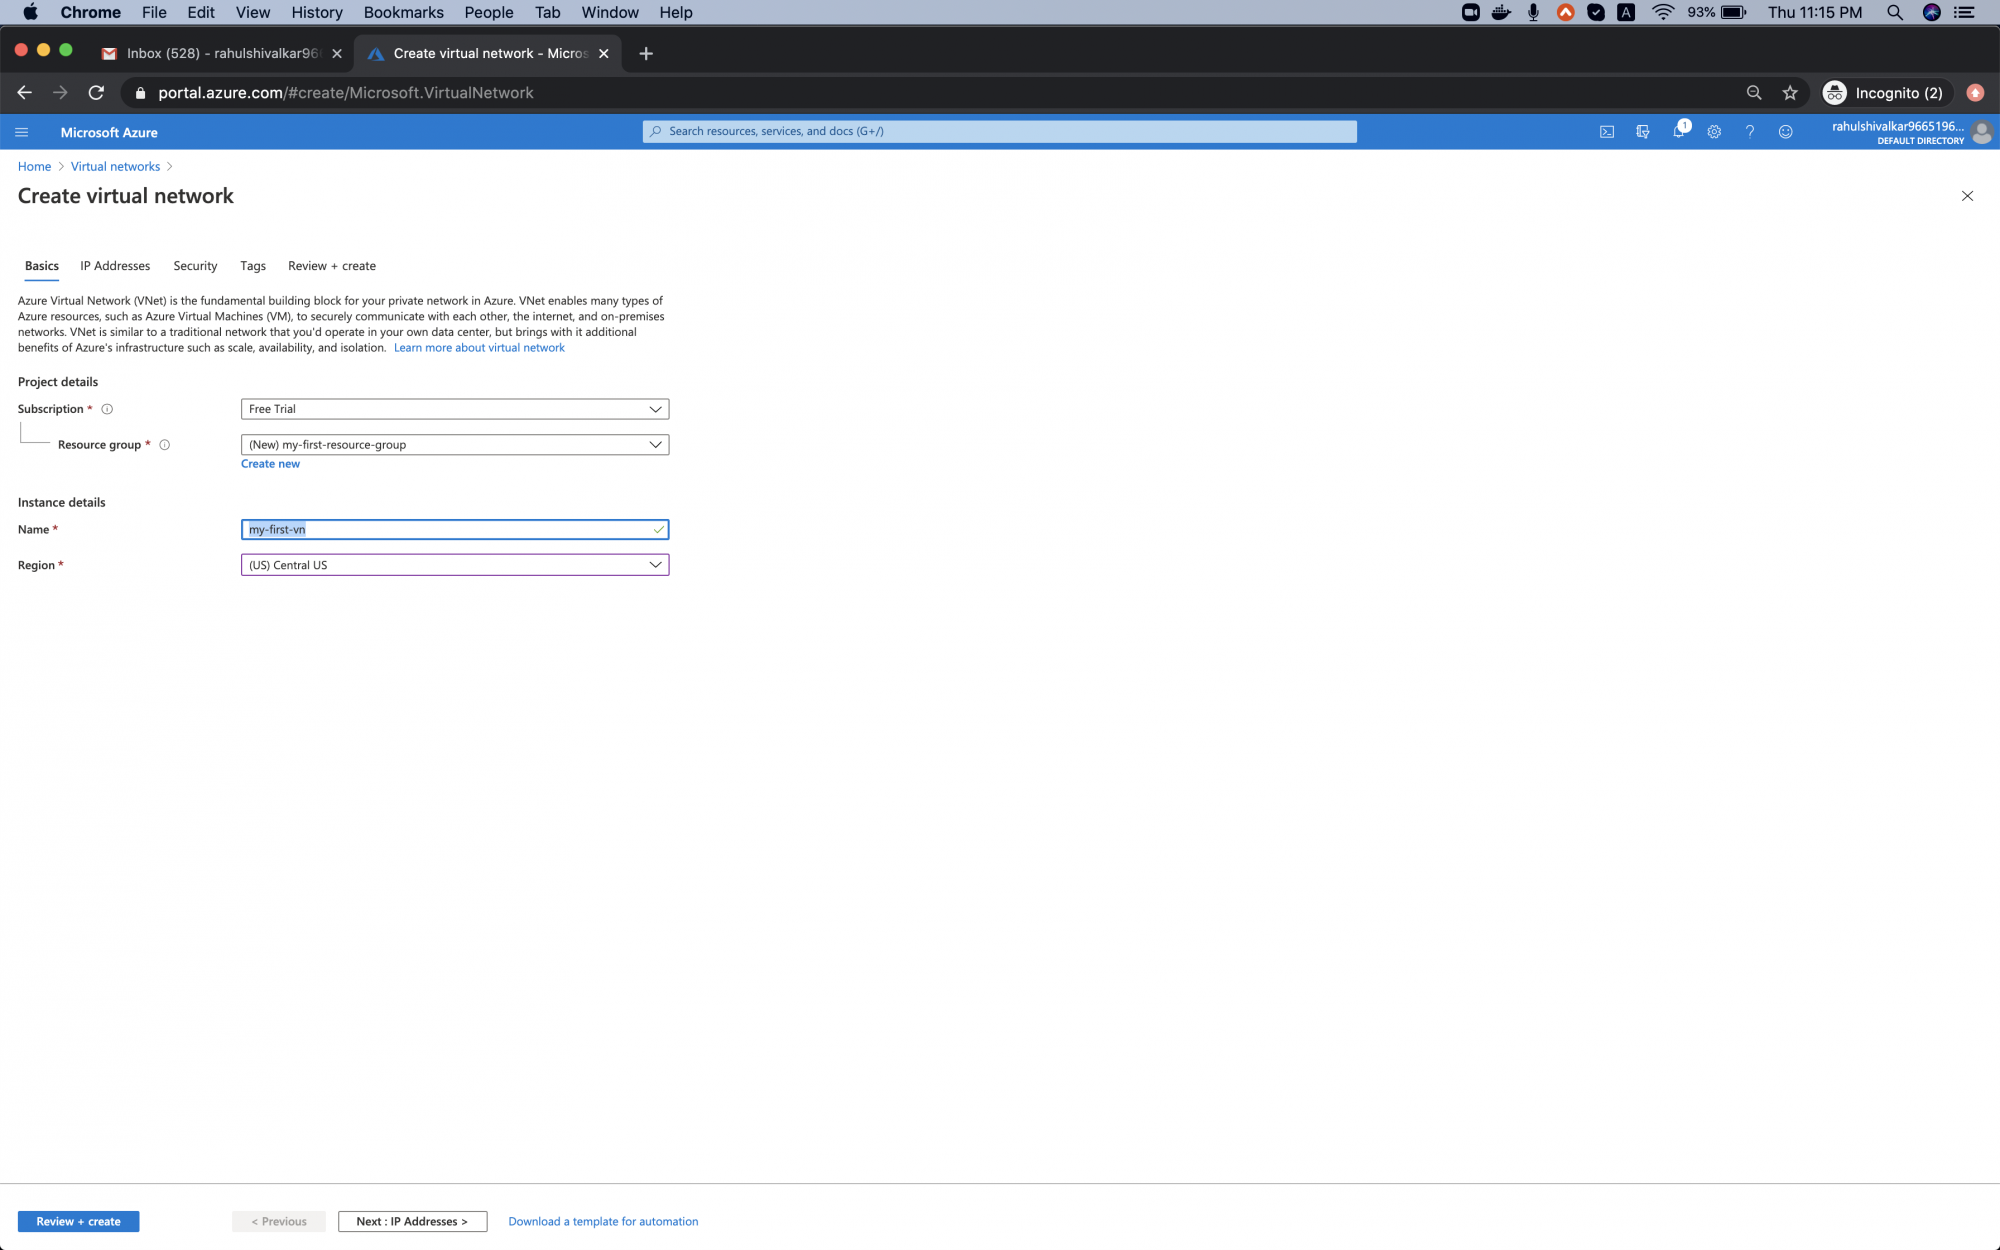
For Resource Group, click “create new”, enter the name “my-first-resource-group”, then select OK. Add “my-first-vn” as the Name and select Central US as the Region. Click “Next: IP Addresses”.
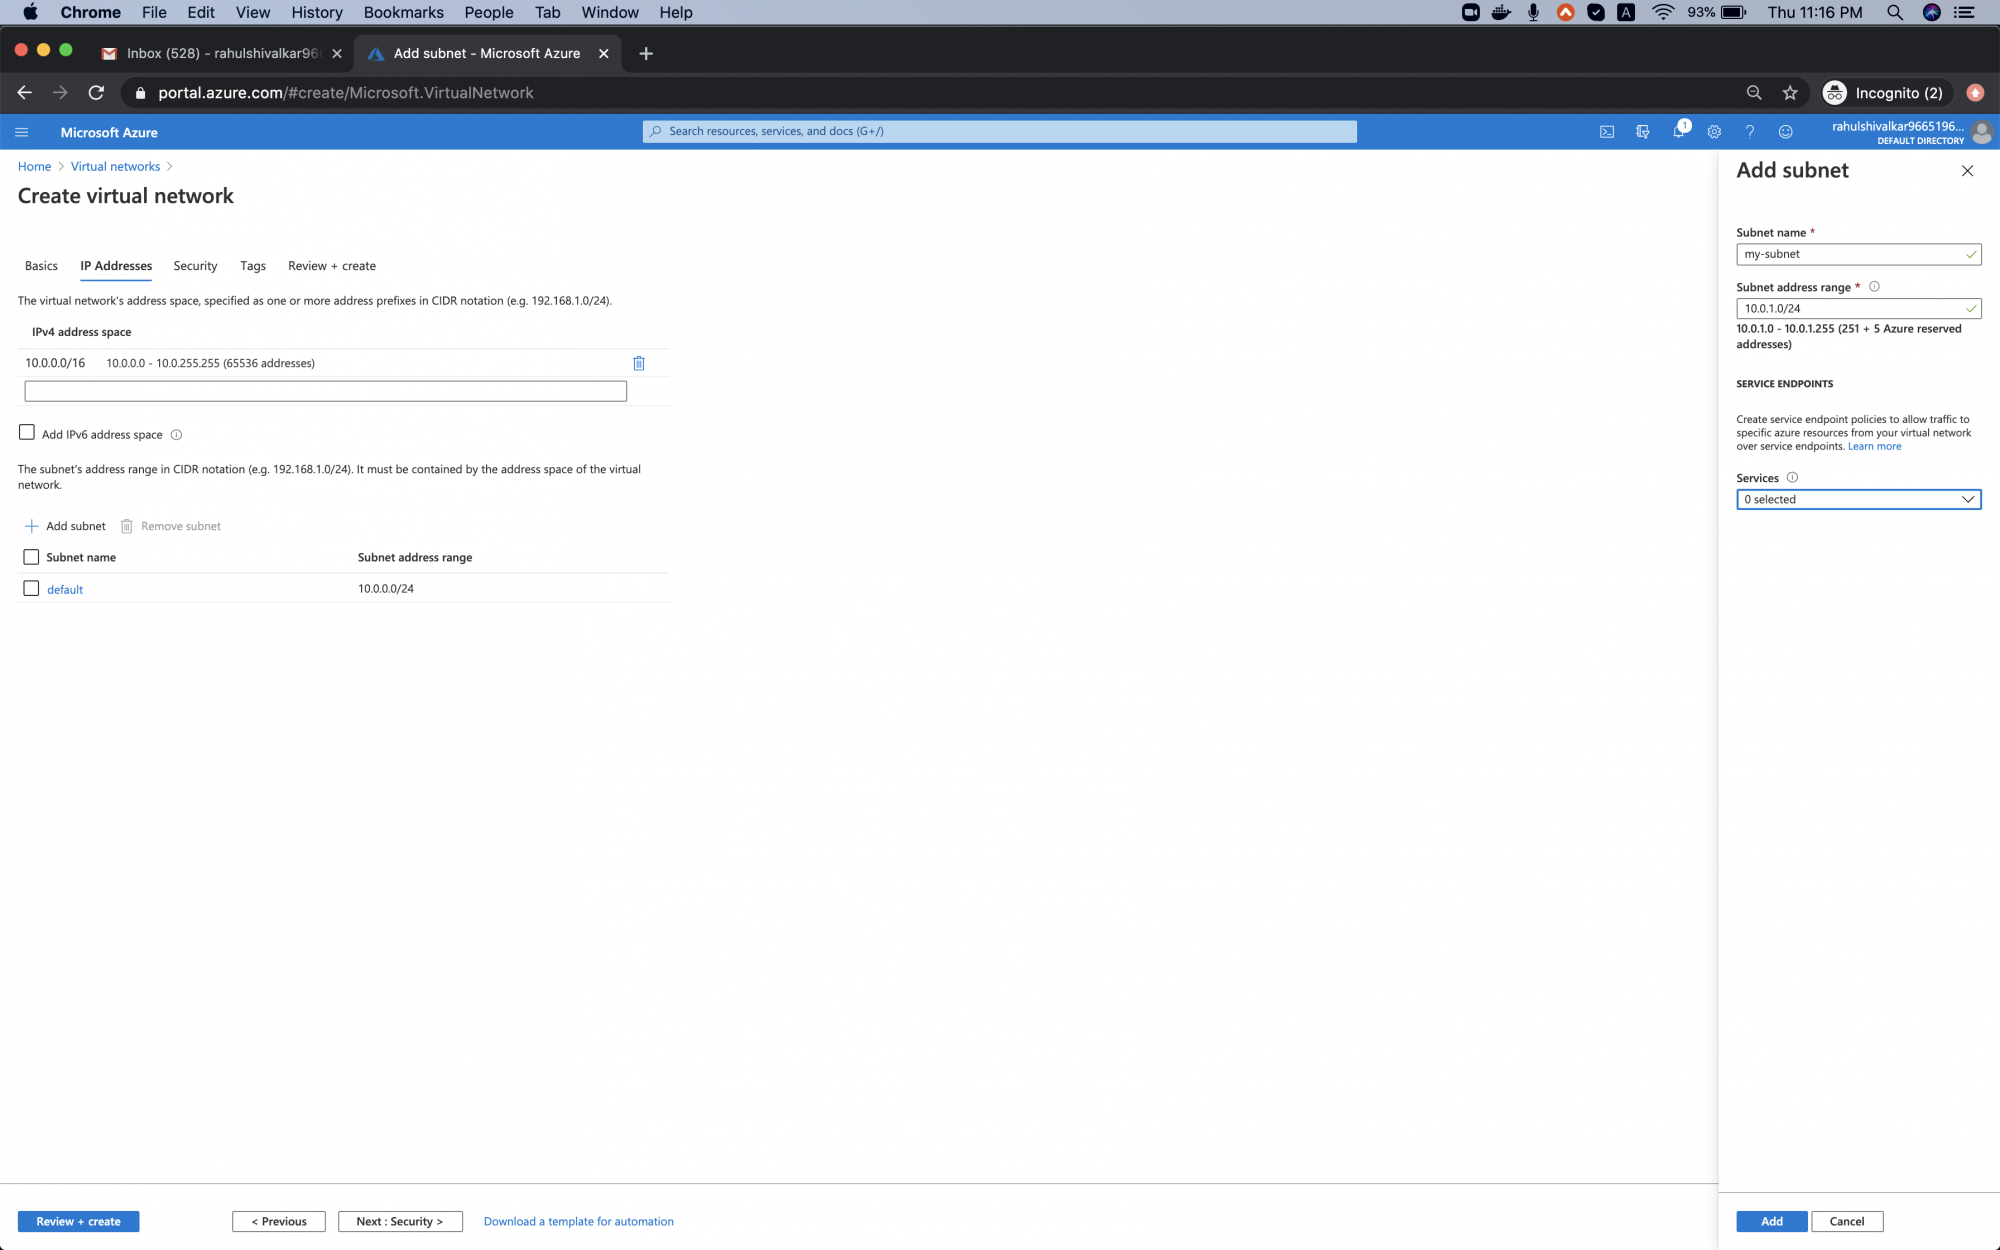
Keep the default IP Address space, add a new subnet by clicking “Add subnet”, naming it “my-subnet” with a subnet range of 10.0.1.0/24, then click “Add”. Proceed to “Next Security”. Ensure your chosen Address Space doesn’t overlap with existing spaces.
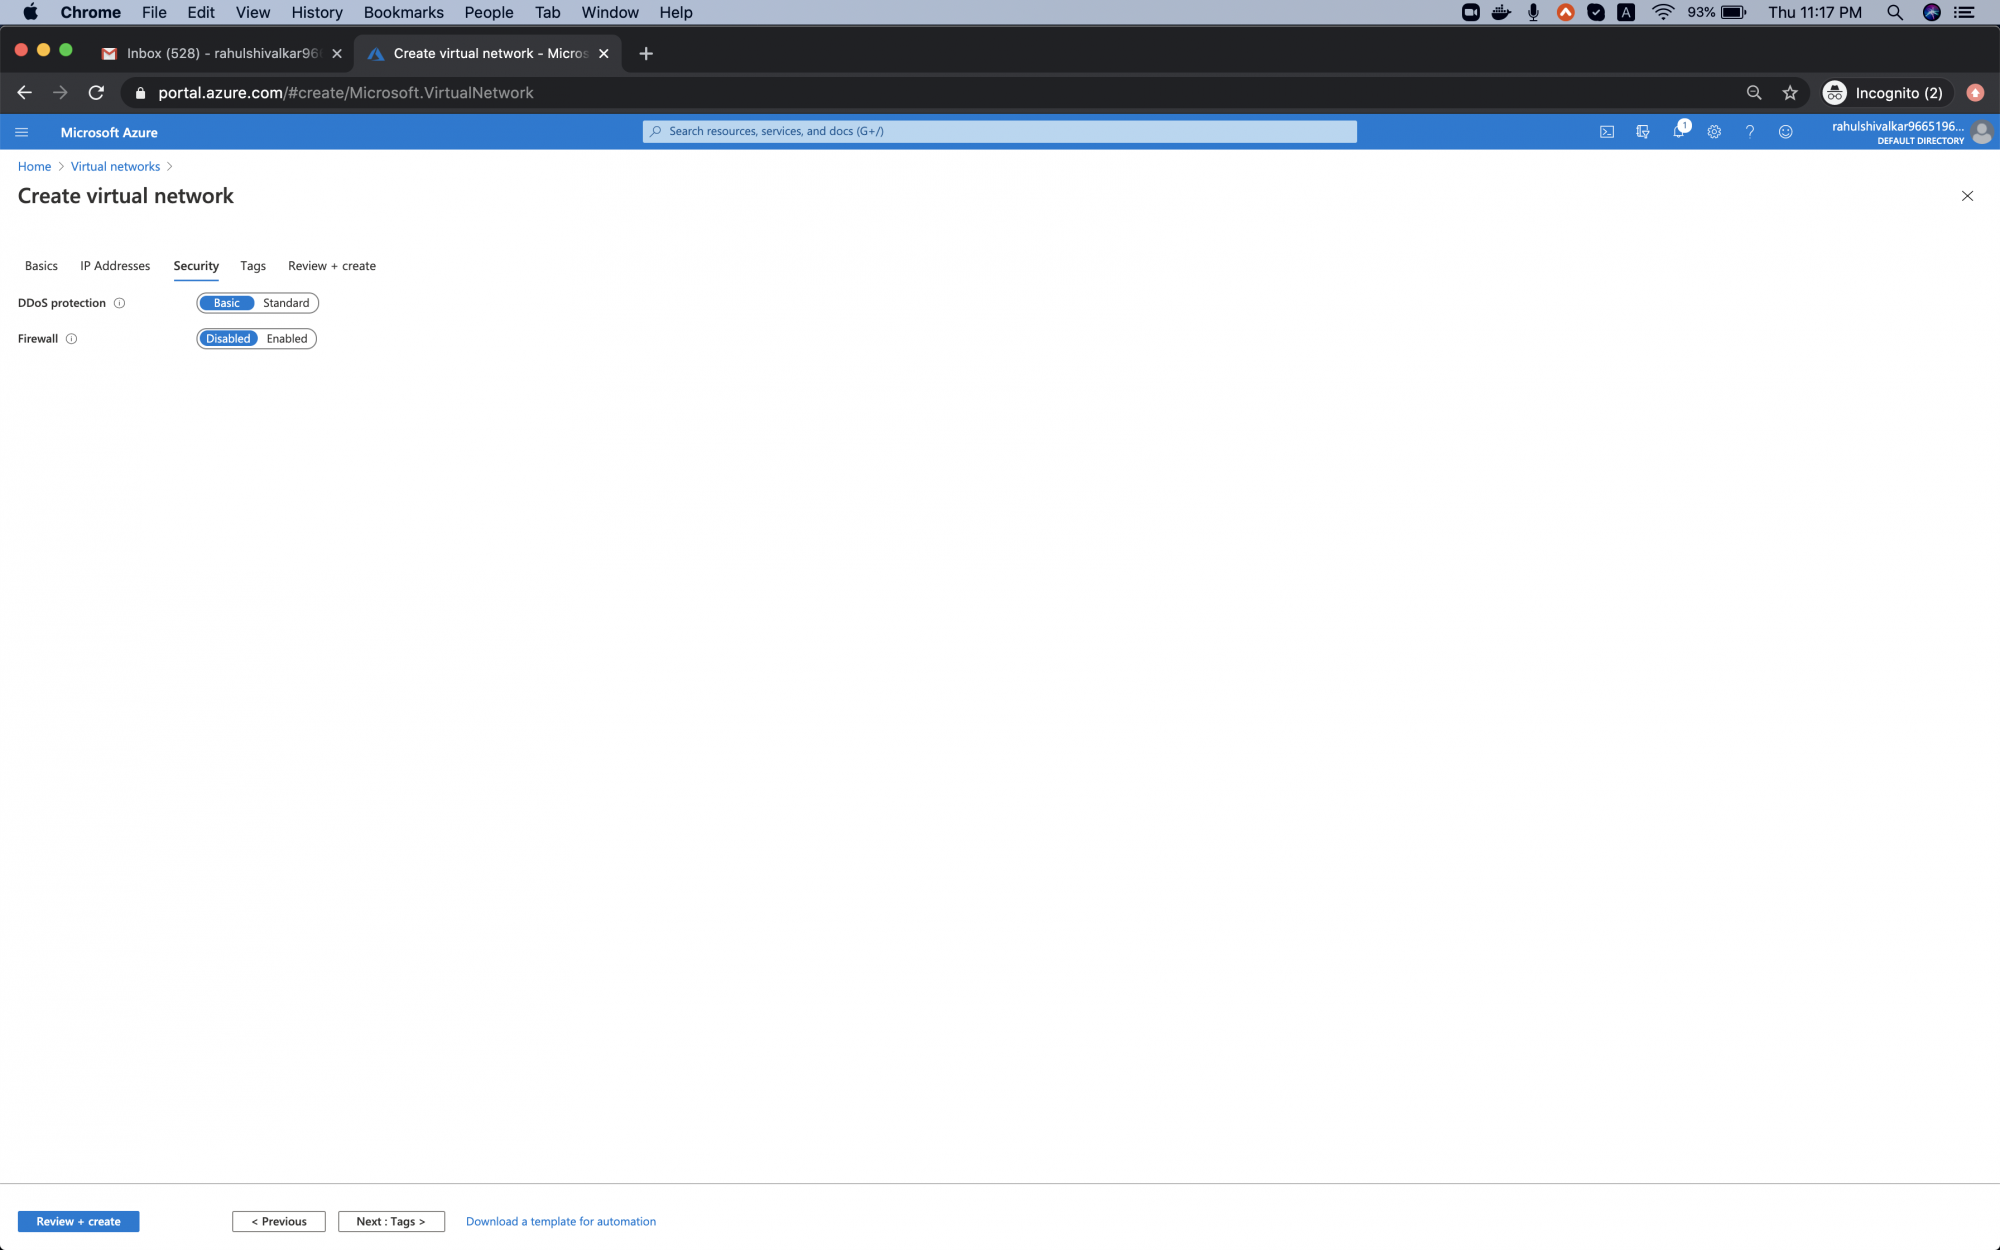
Keep the following options unchanged, and click “Next: Tags”.
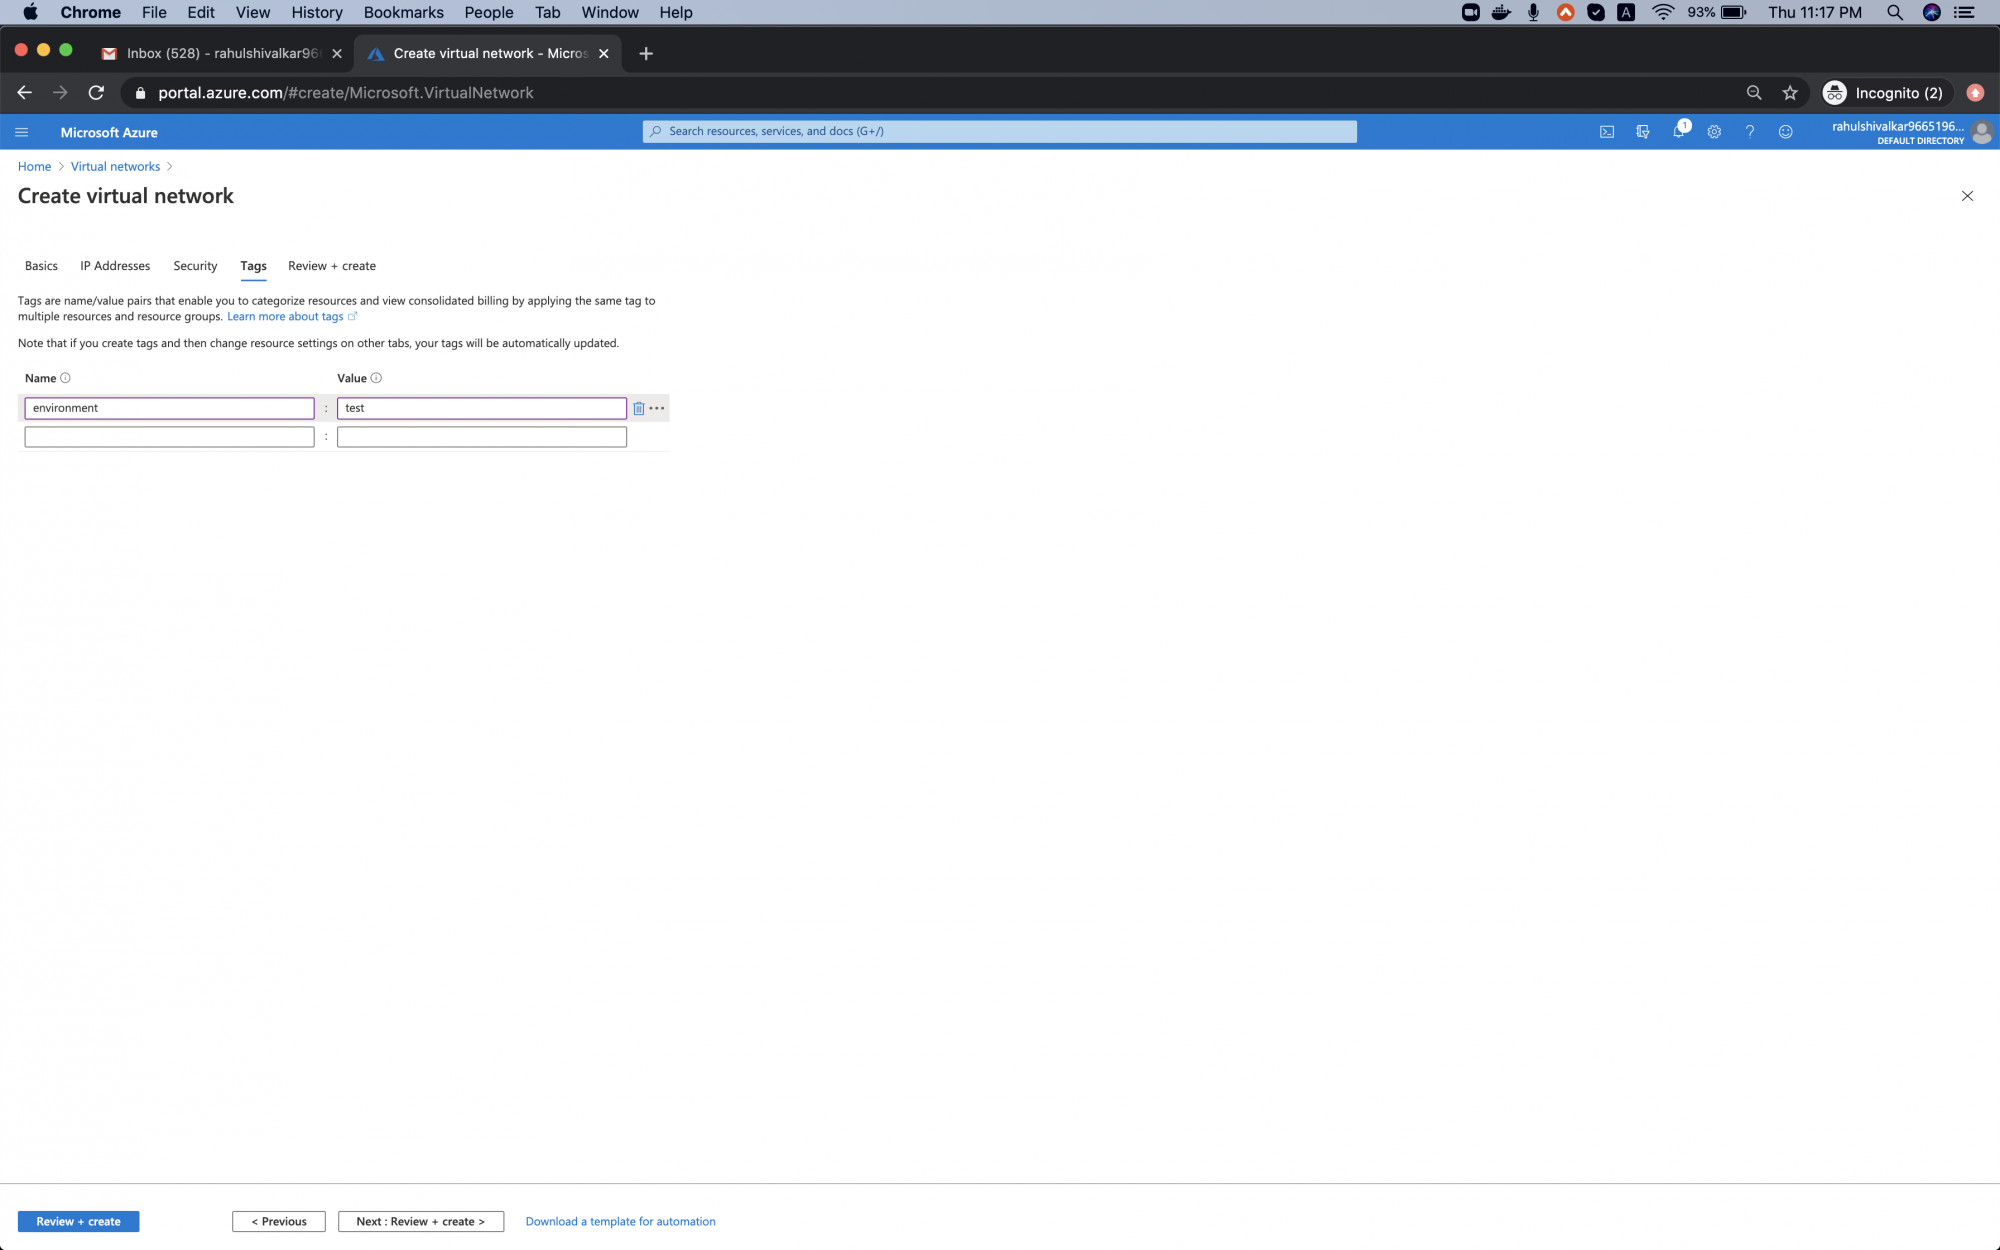
Add a tag: “environment: test”. More tags can be added if needed. Tags are name-value pairs for organizing resources in the Azure Portal.
Click “Next: Review + create”.
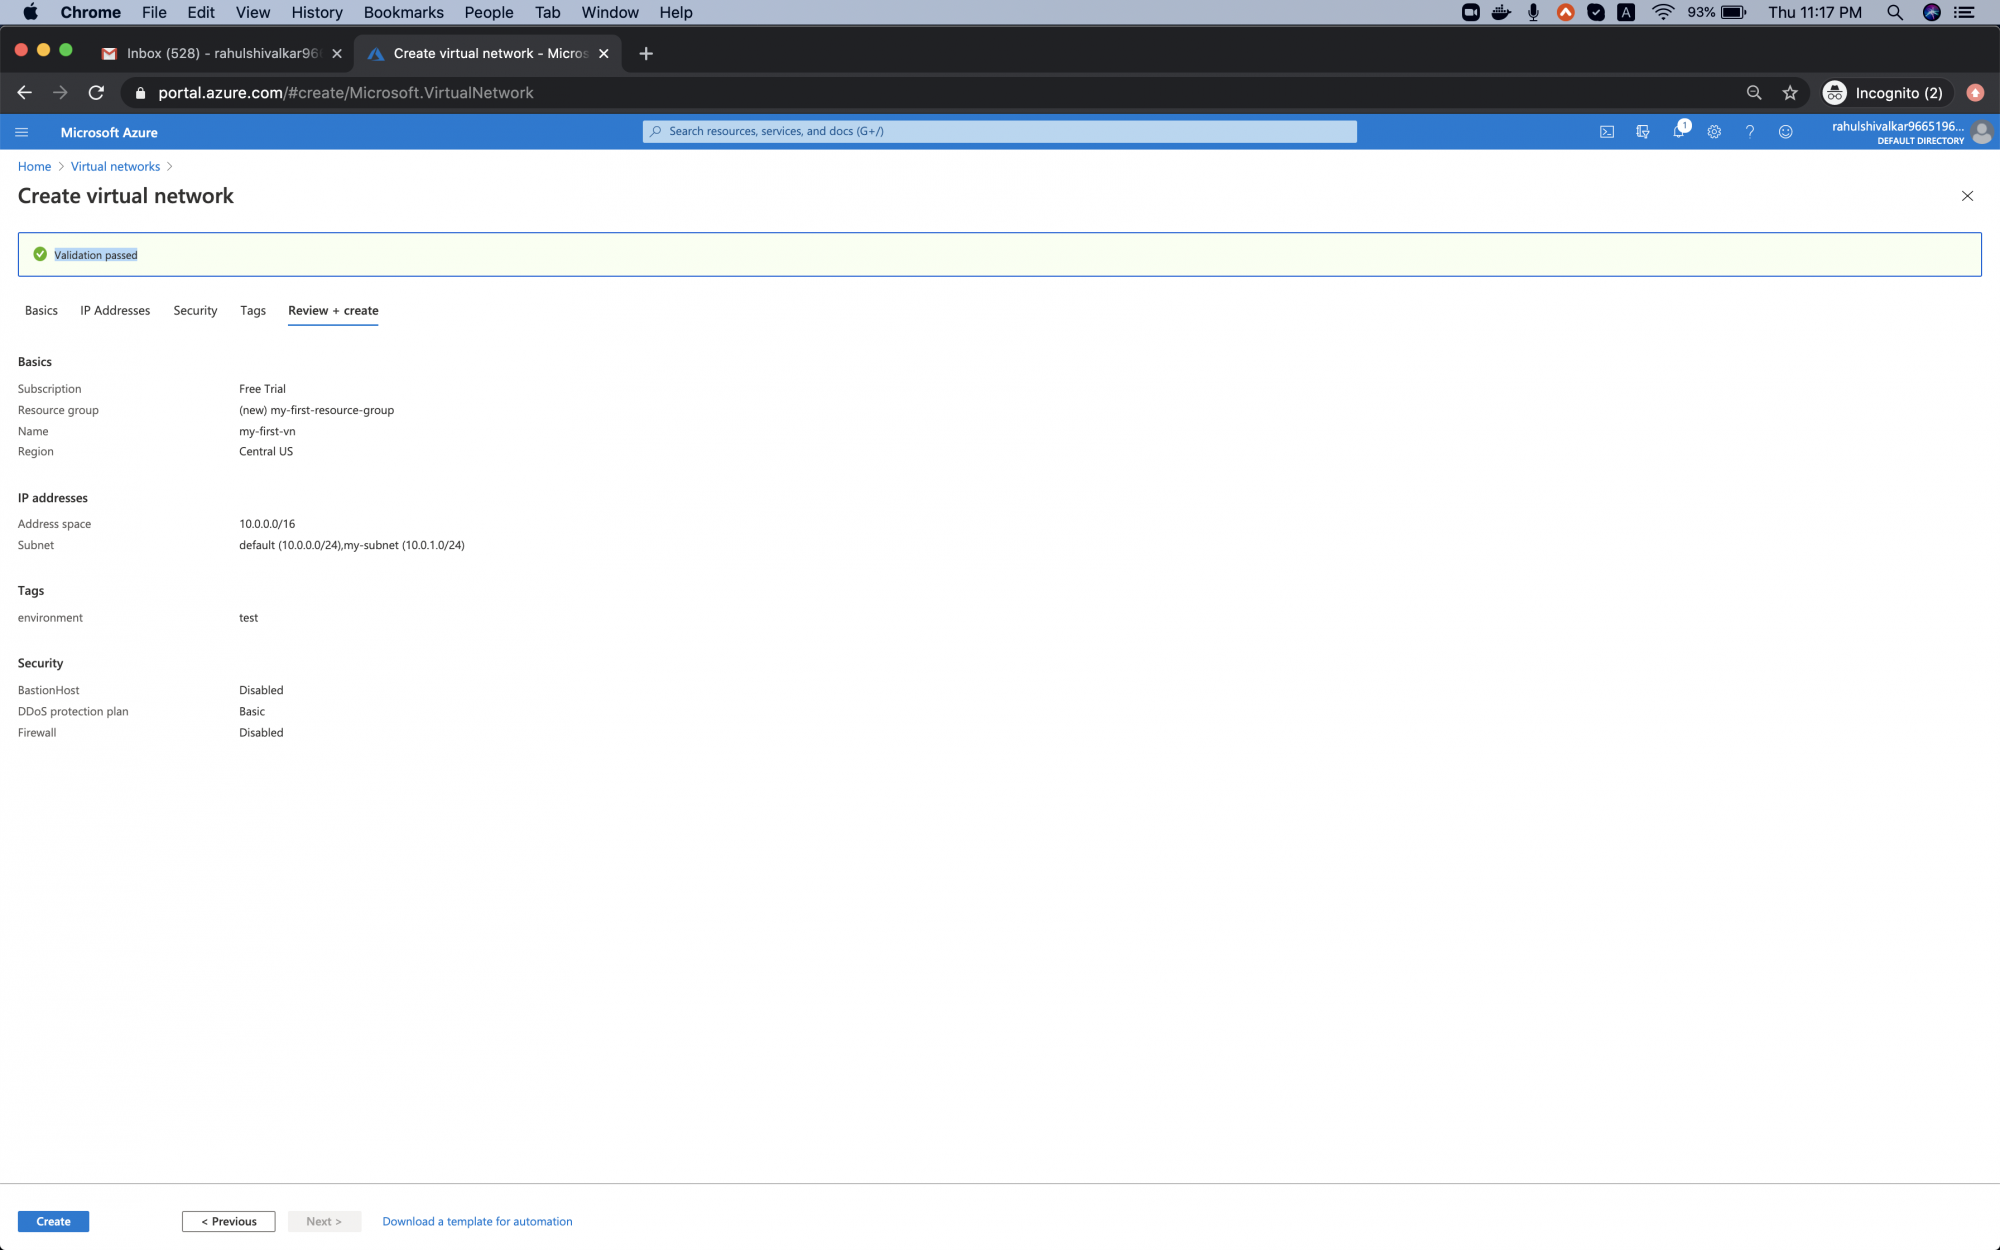
If you see “Validation Passed”, click “Create”.
After a few moments, your Virtual Network will be ready. Click “Go to resources” to inspect it.
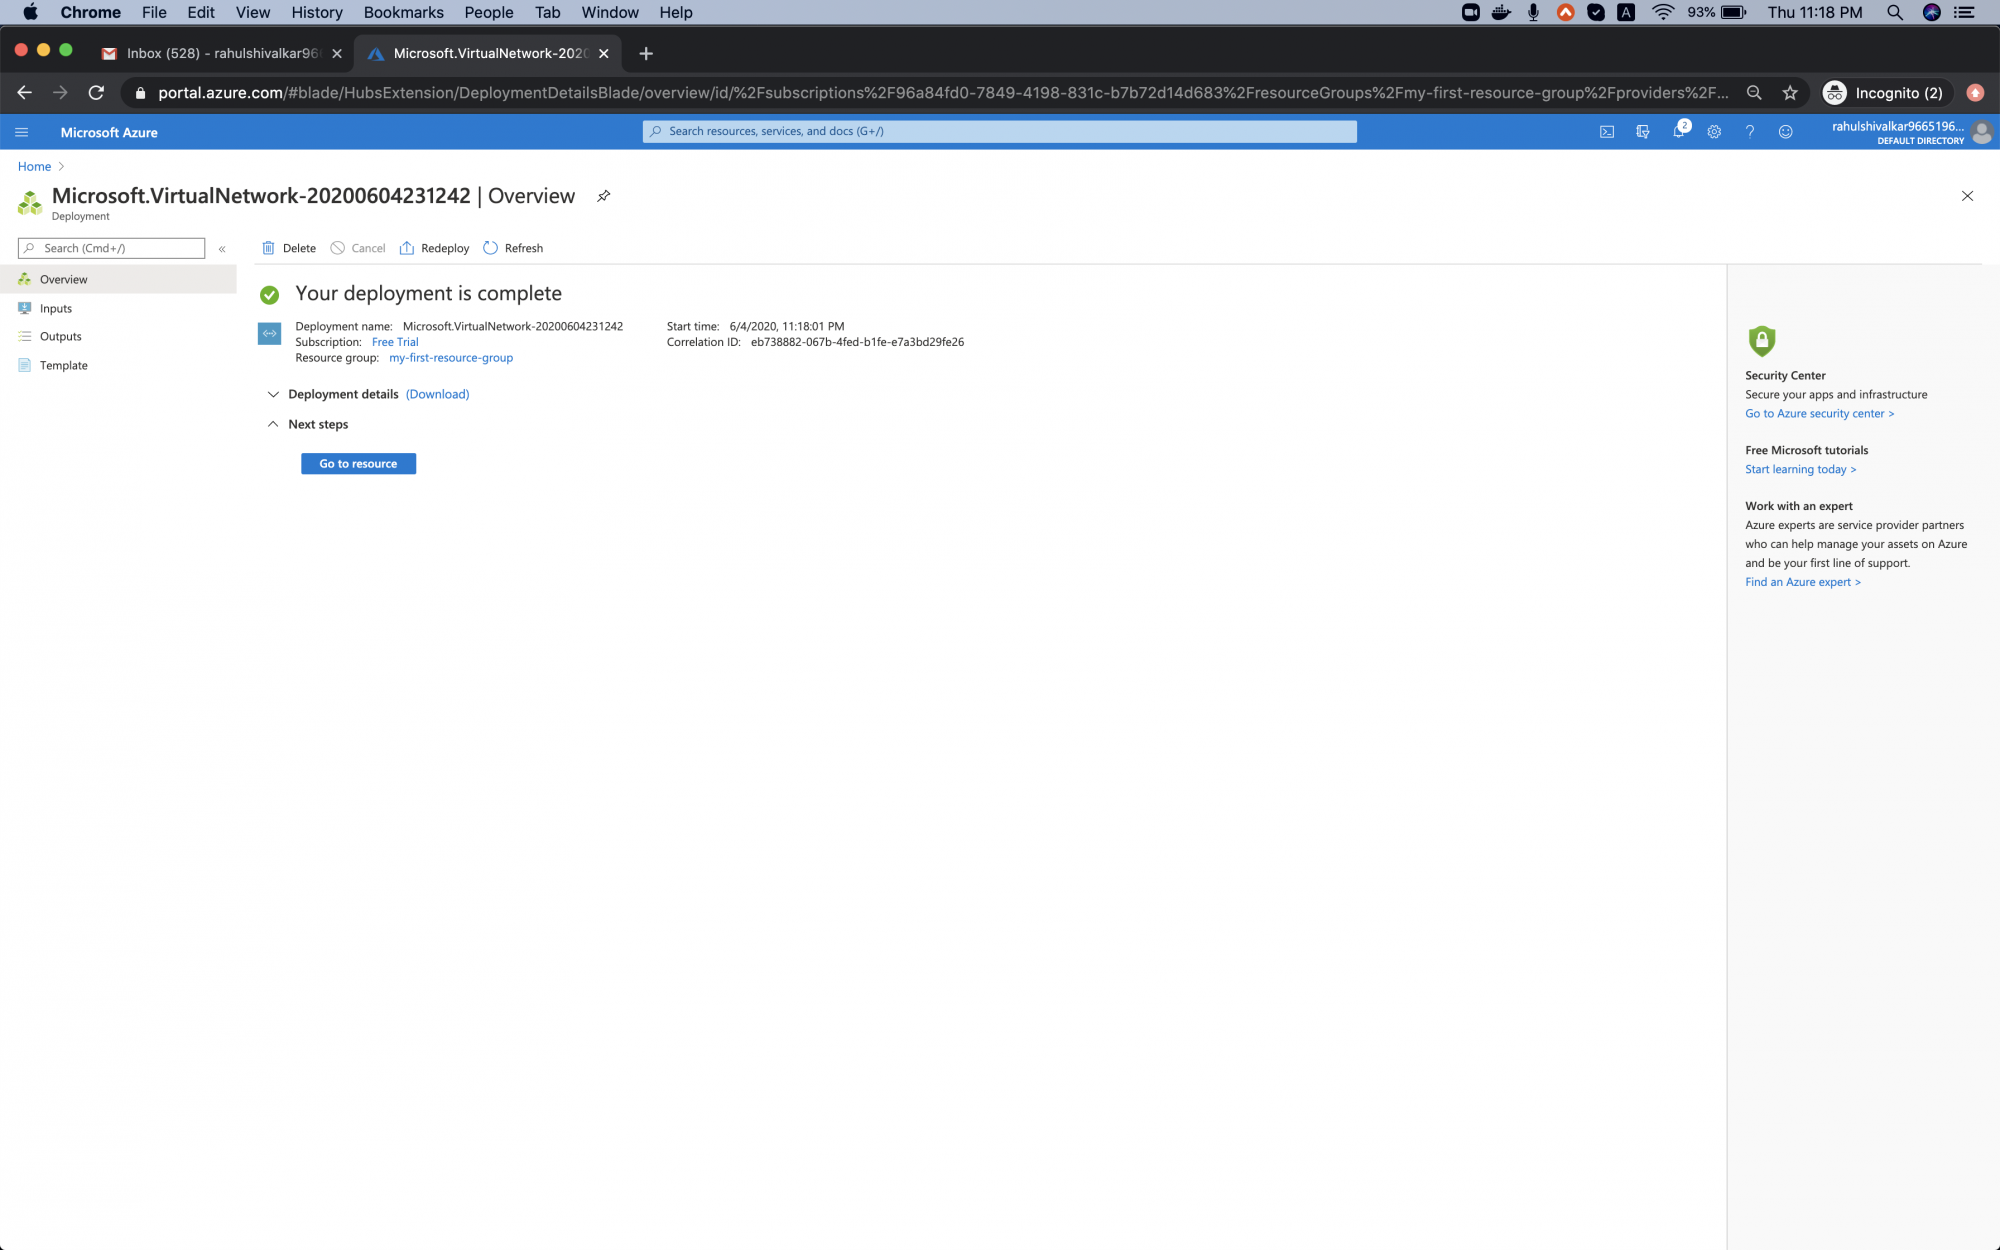
To verify, visit the Resource Group section.
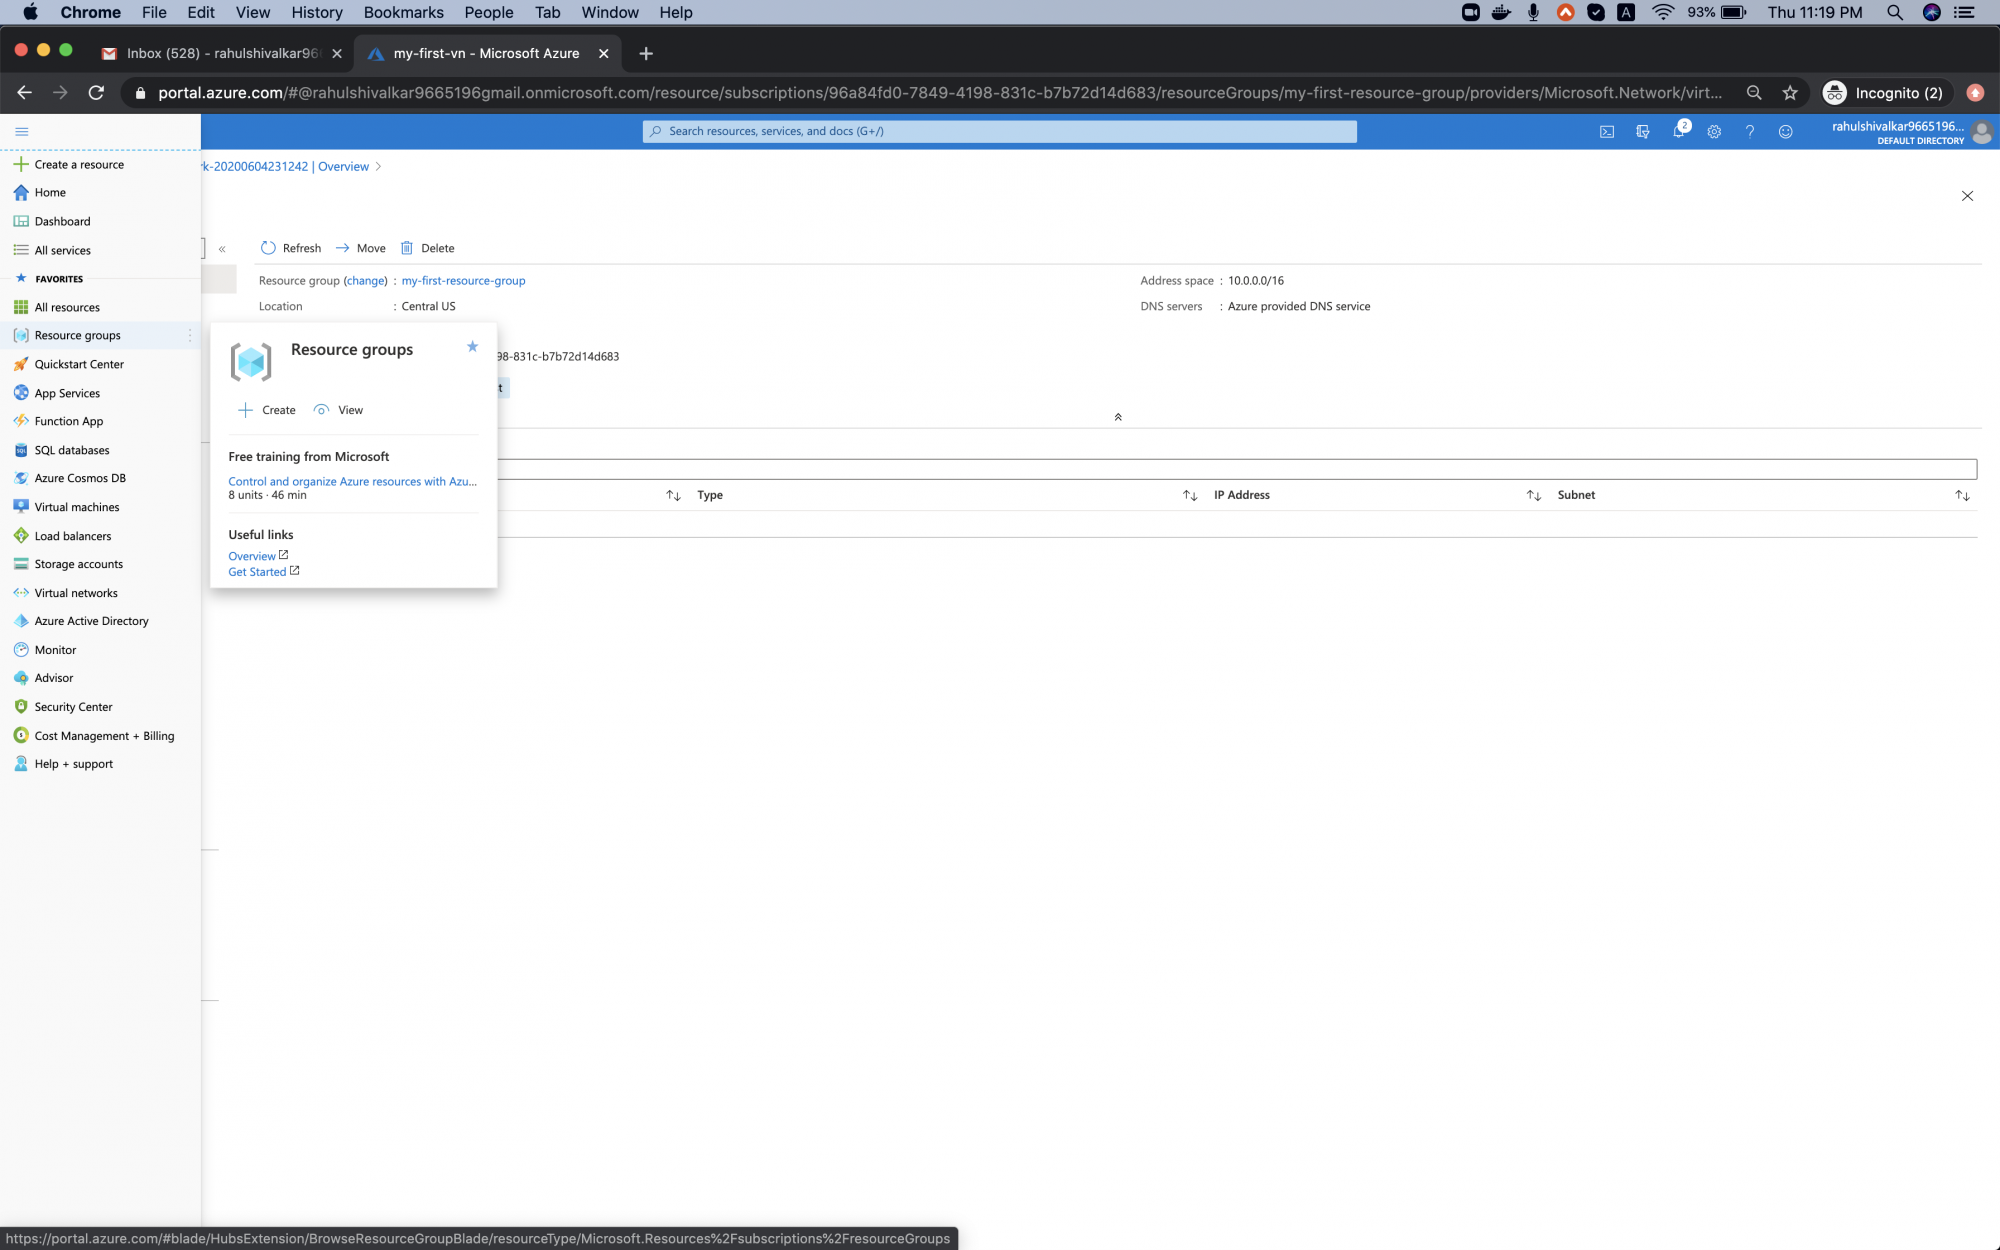
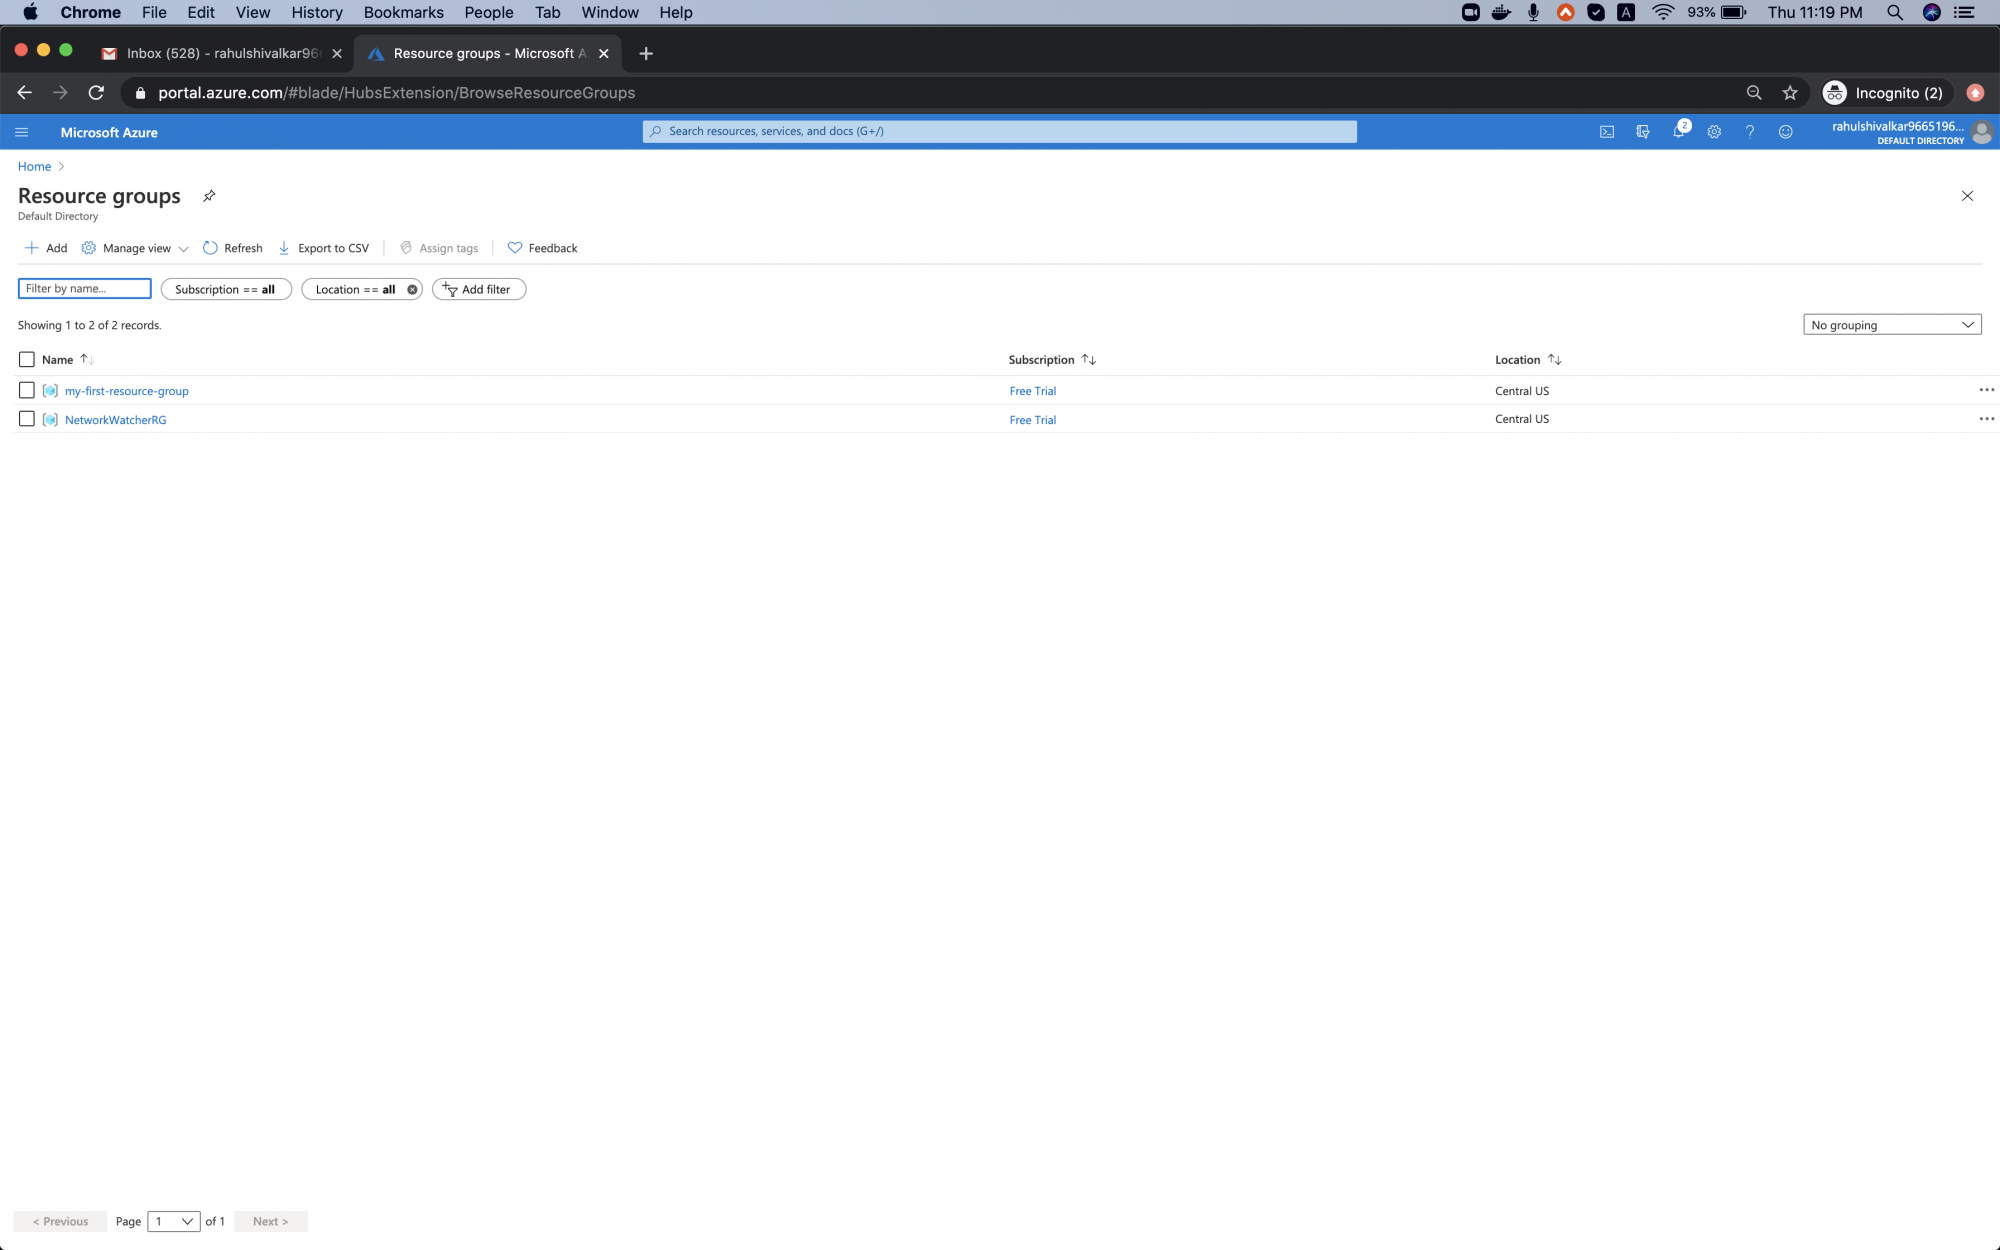
The created resource group should be visible.
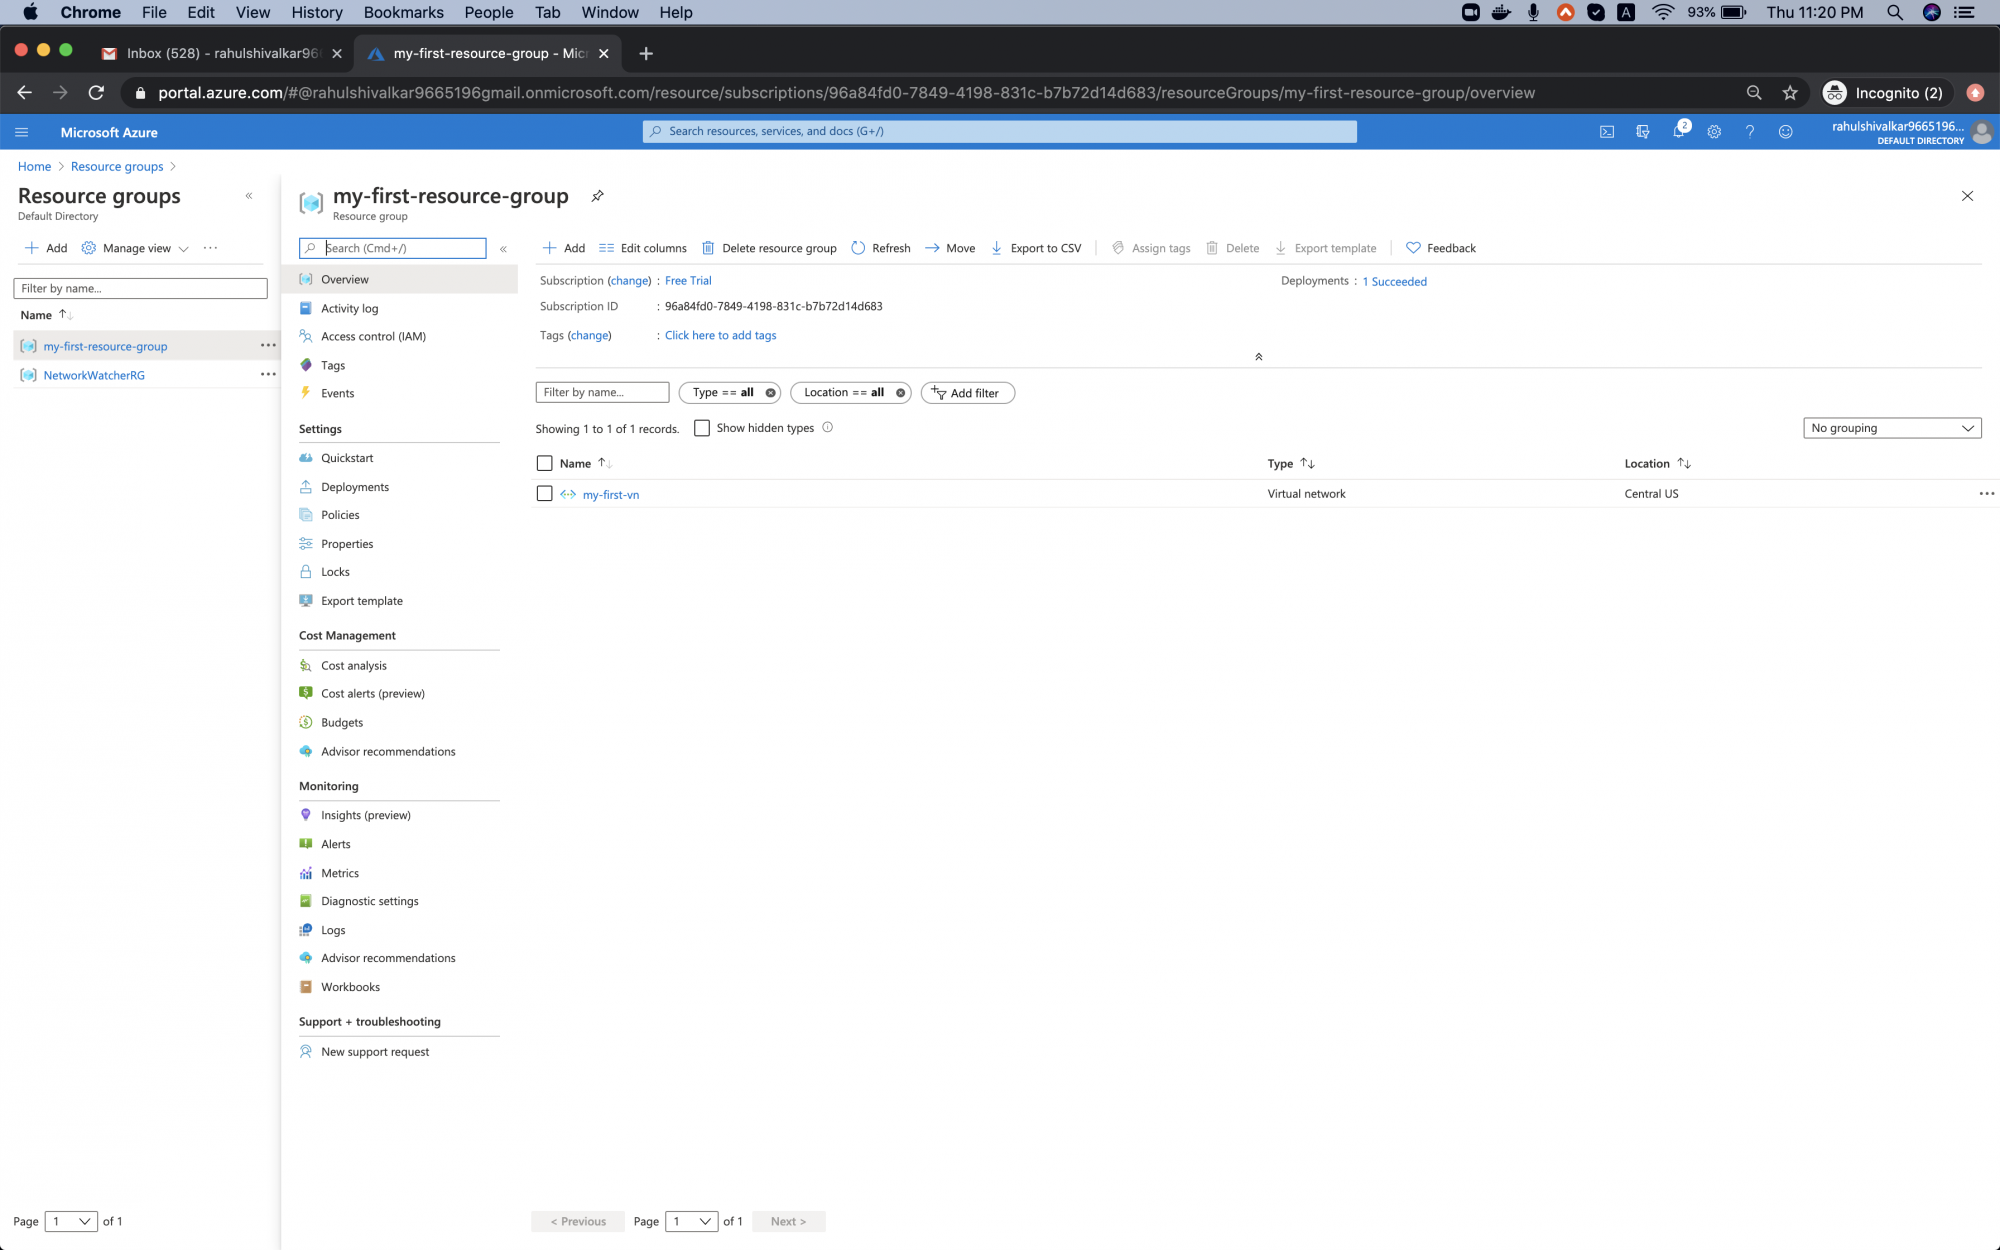
Open the resource group to see “my-first-vn” listed.
Delete the Virtual Network
To delete your created Virtual Network, either remove it individually or delete the entire resource group. Deleting the group will remove all associated resources.
To delete the resource group, click “Delete resource group”, enter its name, and confirm deletion.
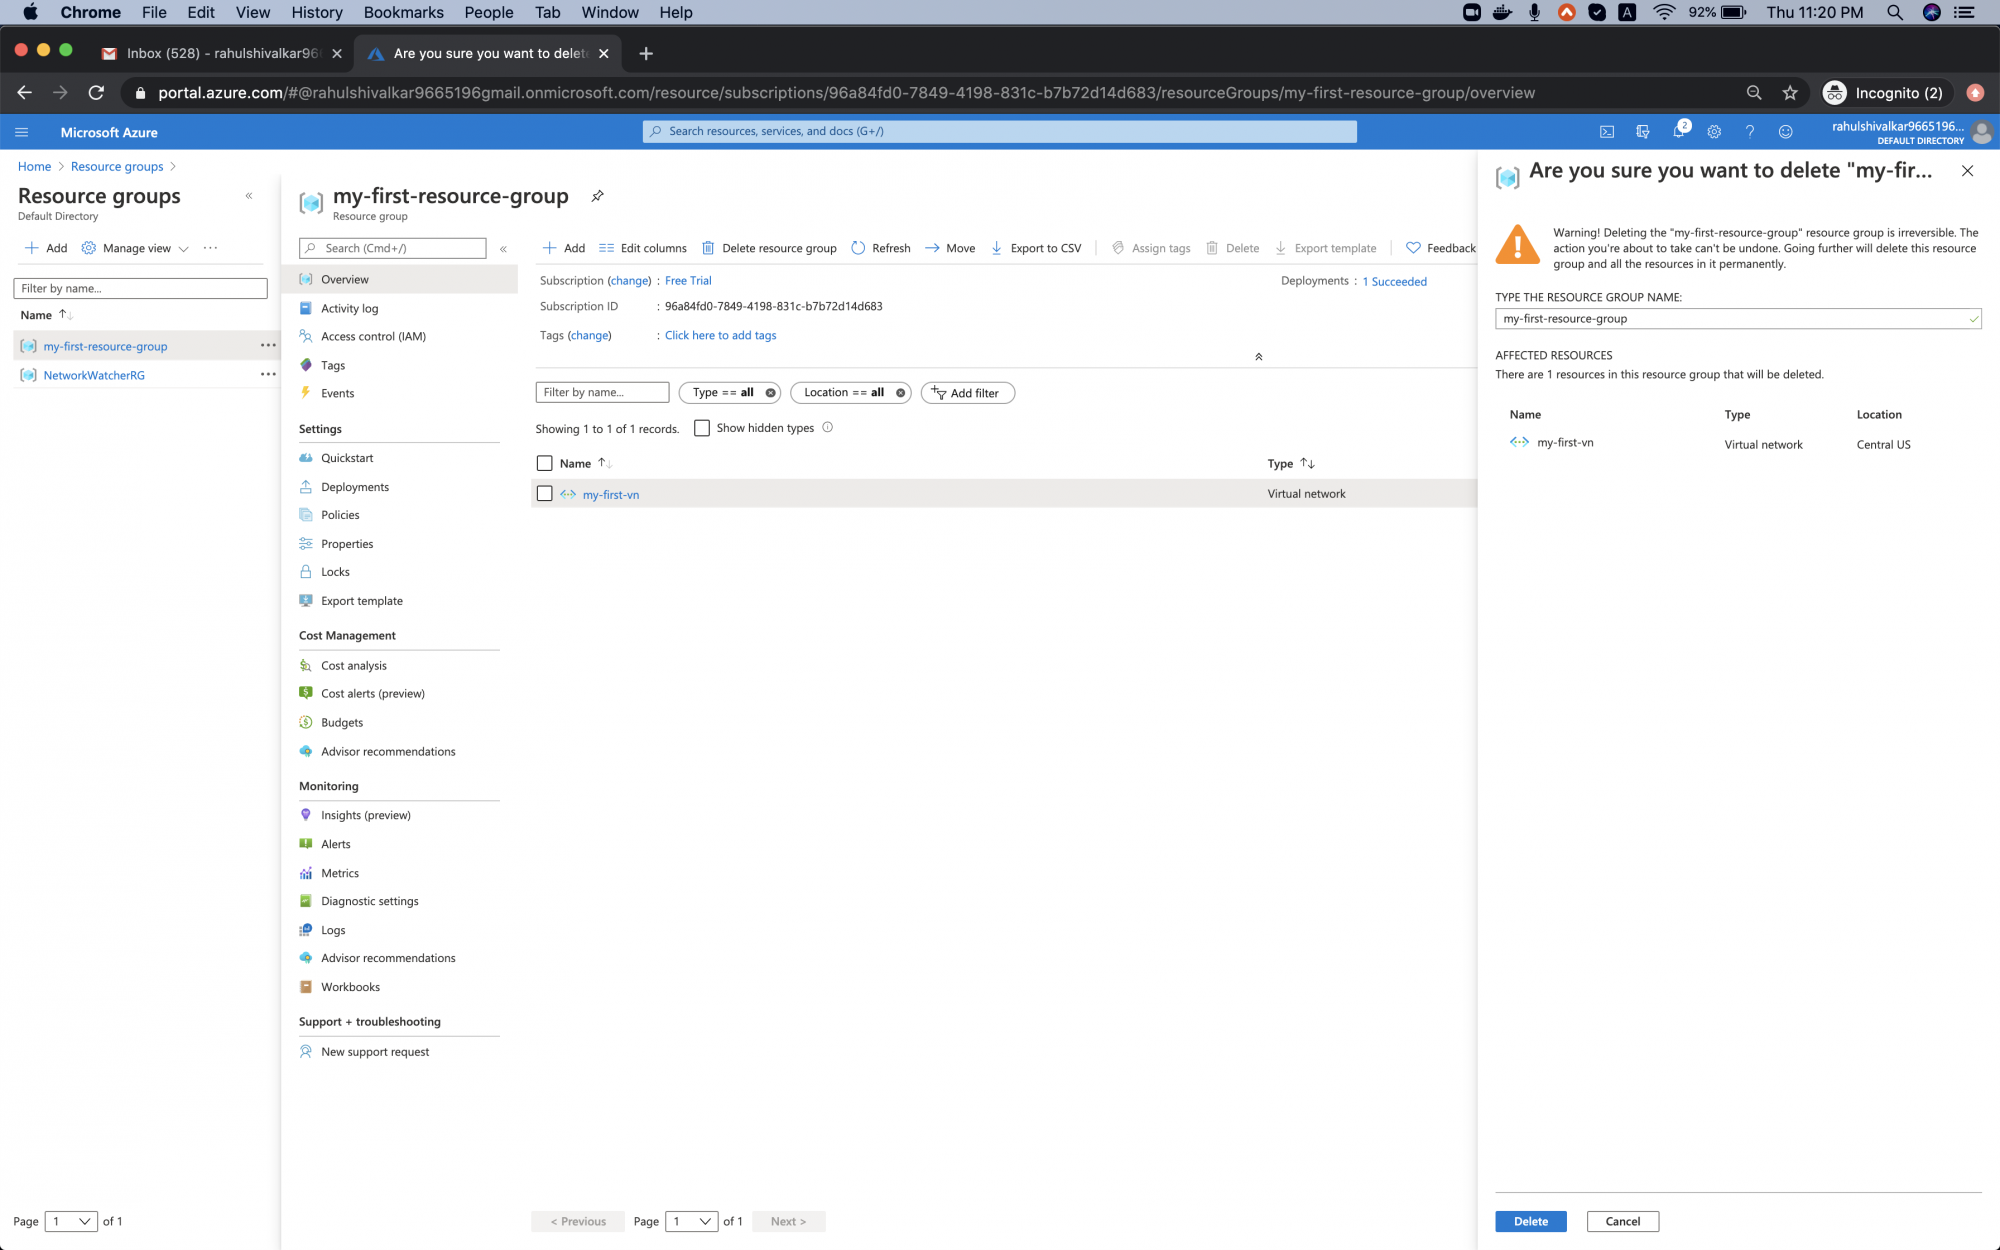
This action deletes the group and the virtual network within it.
Conclusion
This guide covered creating a Resource Group, a Virtual Network within it, adding a custom Subnet, and deleting the Resource Group (thereby removing all associated resources, including the Virtual Network).
FAQ
1. What is the main purpose of a Virtual Network in Azure?
Azure Virtual Network provides secure communication between Azure services and allows integration with on-premises networks, similar to a private data center network.
2. Are there any charges associated with Azure Virtual Network?
While Azure Virtual Network itself is free, some related resources like Peering and additional IP addresses may incur charges.
3. Can a Virtual Network span multiple regions?
No, a Virtual Network is limited to a single region. However, networks in different regions can be connected using Virtual Network Peering.
4. What are some best practices when creating a Virtual Network?
Ensure no overlapping address spaces and avoid assigning an entire address space to a single subnet for better resource management.
