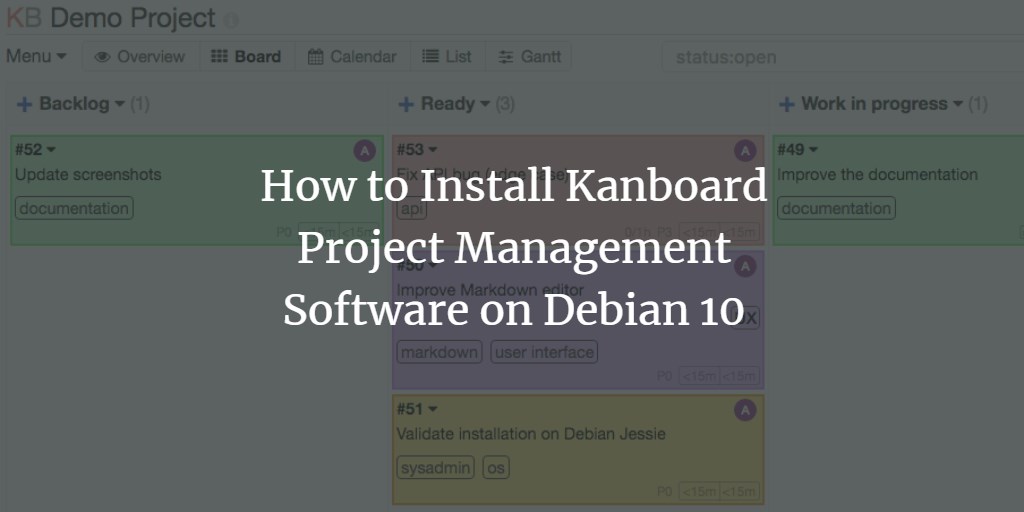
Kanboard is a powerful, open-source, self-hosted project management tool designed for effective project tracking with Kanban methodology. It facilitates workflow visualization, limits work in progress, and enhances productivity through a customizable web interface. Additionally, Kanboard’s functionality is extendable via plugins and third-party services.
This guide will provide you step-by-step instructions on installing and configuring Kanboard on Debian 10.
Requirements
- A server running Debian 10
- Root access to the server
Getting Started
Start by updating your system with the latest version of available packages. Use the following command:
apt-get update -y
apt-get upgrade -y
After updating, restart your server to apply the configuration changes.
Install LEMP Stack
Kanboard is built on a web server using PHP with MariaDB as the database. Therefore, you need to install Nginx, MariaDB, PHP, and related PHP modules:
apt-get install nginx mariadb-server php7.3 php7.3-common php7.3-cli php7.3-fpm php7.3-mbstring php7.3-json php7.3-opcache php7.3-zip php7.3-xml php7.3-gd php7.3-ldap php7.3-mysql php7.3-json php7.3-sqlite3
After the installation, start and enable Nginx and MariaDB services to initiate at every system boot:
systemctl start nginx
systemctl start mariadb
systemctl enable nginx
systemctl enable mariadb
Secure and Configure MariaDB
It’s crucial to secure MariaDB by running the following script:
mysql_secure_installation
For questions during the script execution, use the responses below:
    Enter current password for root (enter for none):
    Set root password? [Y/n]: N
    Remove anonymous users? [Y/n]: Y
    Disallow root login remotely? [Y/n]: Y
    Remove test database and access to it? [Y/n]: Y
    Reload privilege tables now? [Y/n]: Y
Following the security setup, log into the MariaDB shell:
mysql -u root -p
After entering your password, create a database and user for Kanboard:
CREATE DATABASE kanboard CHARACTER SET utf8mb4 COLLATE utf8mb4_unicode_ci;
GRANT ALL PRIVILEGES ON kanboard.* TO 'kanboard'@'localhost' IDENTIFIED BY 'mypassword';
FLUSH PRIVILEGES;
Substitute mypassword with a secure password of your choice. Exit the MariaDB shell:
exit;
Install Kanboard
Download the latest version of Kanboard from the GitHub repository:
wget https://github.com/kanboard/kanboard/archive/v1.2.10.tar.gz
Once downloaded, extract the archive:
tar -xvf v1.2.10.tar.gz
Move the extracted files to Apache’s web root directory:
cp -r kanboard-1.2.10 /var/www/html/kanboard
Copy the sample configuration file:
cd /var/www/html/kanboard
cp config.default.php config.php
Edit the config.php file with your preferred text editor:
nano config.php
Modify the database settings as follows:
// Database driver: sqlite, mysql or postgres (sqlite by default)
define('DB_DRIVER', 'mysql');

// Mysql/Postgres username
define('DB_USERNAME', 'kanboard');

// Mysql/Postgres password
define('DB_PASSWORD', 'password');

// Mysql/Postgres hostname
define('DB_HOSTNAME', 'localhost');

// Mysql/Postgres database name
define('DB_NAME', 'kanboard');
Save your changes and allocate proper permissions:
chown -R www-data:www-data /var/www/html/kanboard
Configure Nginx for Kanboard
Create a virtual host file for Kanboard in Nginx:
nano /etc/nginx/conf.d/kanboard.conf
Add the following configuration:
server {
        listen       80;
        server_name  example.com;
        index        index.php;
        root         /var/www/html/kanboard;
        client_max_body_size 32M;

        location / {
            try_files $uri $uri/ /index.php$is_args$args;
        }

        location ~ \.php$ {
            try_files $uri =404;
            fastcgi_split_path_info ^(.+\.php)(/.+)$;
            fastcgi_pass unix:/var/run/php/php7.3-fpm.sock;
            fastcgi_param SCRIPT_FILENAME $document_root$fastcgi_script_name;
            fastcgi_index index.php;
            include fastcgi_params;
        }

        location ~* ^.+\.(log|sqlite)$ {
            return 404;
        }

        location ~ /\.ht {
            return 404;
        }

        location ~* ^.+\.(ico|jpg|gif|png|css|js|svg|eot|ttf|woff|woff2|otf)$ {
            log_not_found off;
            expires 7d;
            etag on;
        }

        gzip on;
        gzip_comp_level 3;
        gzip_disable "msie6";
        gzip_vary on;
        gzip_types
            text/javascript
            application/javascript
            application/json
            text/xml
            application/xml
            application/rss+xml
            text/css
            text/plain;
    }
Save and close the file. Check for syntax errors in Nginx:
nginx -t
If everything is configured correctly, restart Nginx and php-fpm services:
systemctl restart nginx
systemctl restart php7.3-fpm
Verify Nginx’s status:
systemctl status nginx
Access Kanboard Web Interface
Having completed the installation and configuration, access Kanboard through your web browser at http://example.com. The login page should appear as follows:
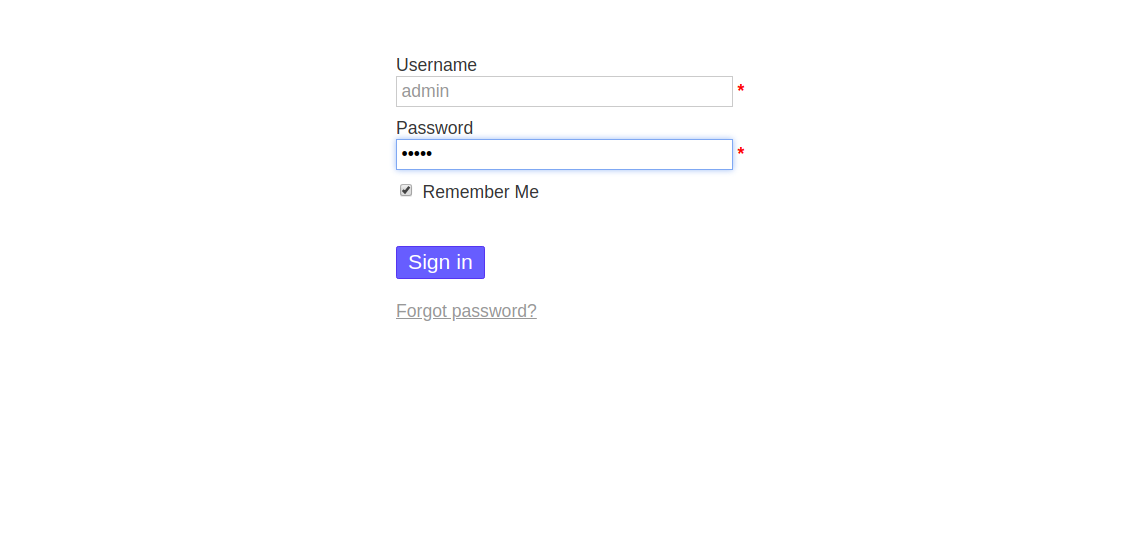
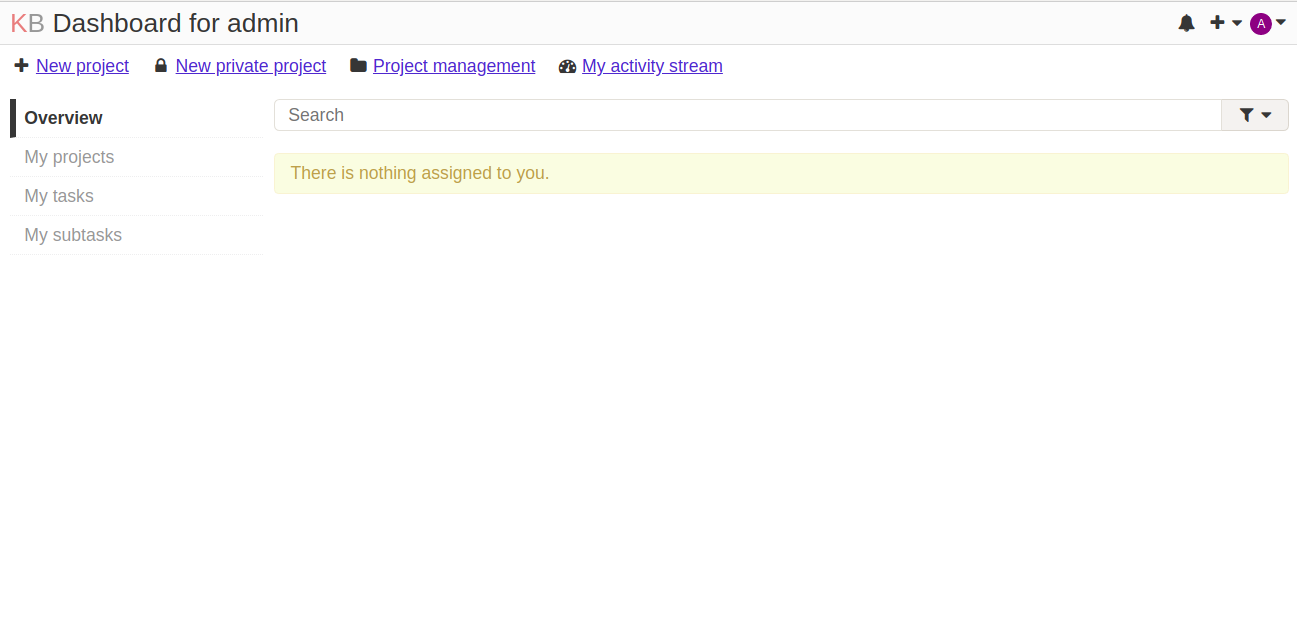
Log in with the default credentials: username admin and password admin. The default dashboard will appear:
Immediately change the default password by navigating to Admin > Users Management > admin:
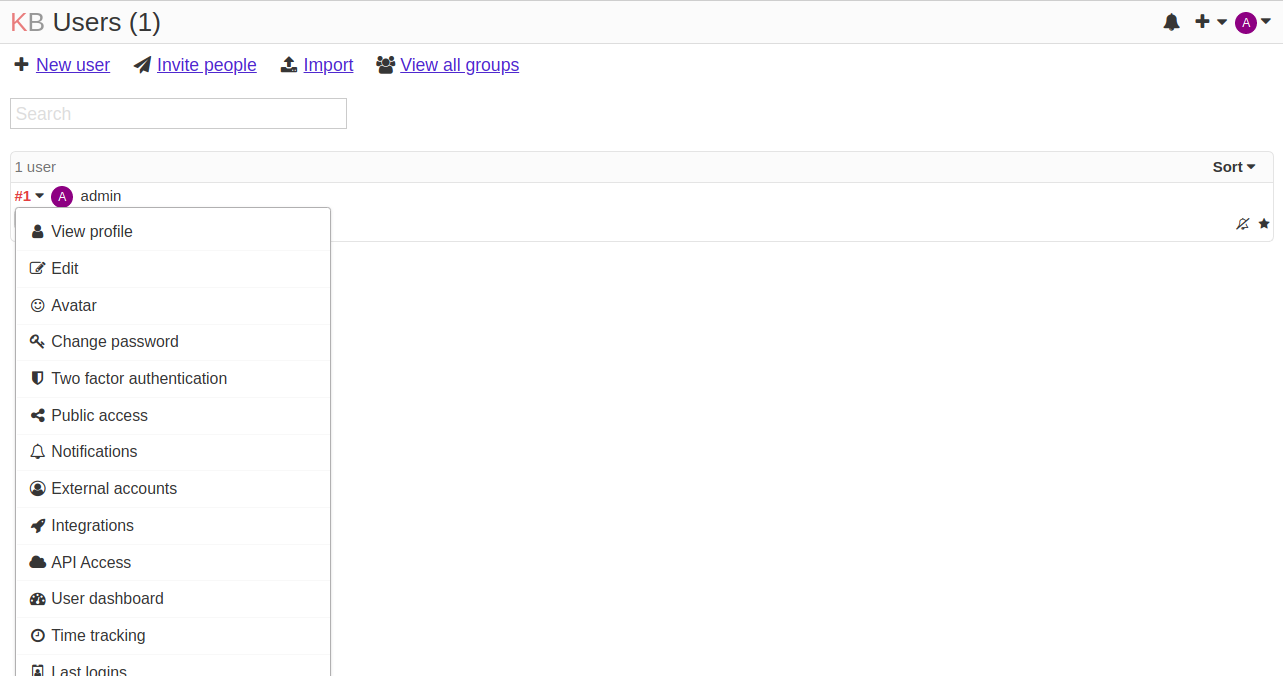
Click the Change password button to proceed:
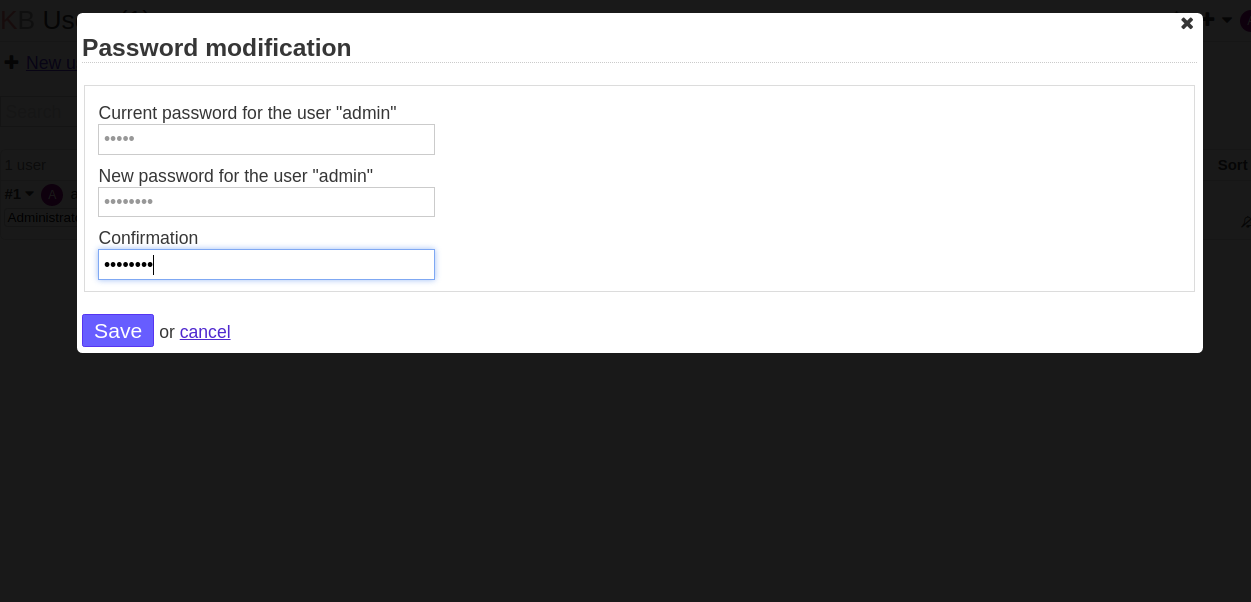
Enter your new password and click Save.
Congratulations! You have successfully installed and configured Kanboard on Debian 10. Manage your tasks seamlessly through the Kanboard web interface. Feel free to contact me if you have any questions.
FAQ
Q1: Can I change the database backend after installation?
A: Yes, you can change the database backend, but you need to edit the configuration file and migrate your existing data accordingly.
Q2: How do I install additional plugins?
A: You can install plugins by downloading them into the plugins directory of Kanboard and activating them in the application.
Q3: Is it possible to use HTTPS with Kanboard?
A: Yes, you can configure SSL certificates in Nginx to secure your Kanboard installation.
Q4: What should I do if I forget the admin password?
A: Resetting your admin password can be done directly through the database using SQL commands to update the user’s password hash.
