Django is a robust, open-source Python web framework designed for building dynamic websites and applications. It’s particularly favored for complex, database-driven projects.
The framework follows the MVC (Model-View-Controller) architecture, streamlining the coding process and enabling rapid website development. Django is compatible with a variety of operating systems, including Windows, macOS, Linux/Unix, and Solaris.
This guide will walk you through installing Django on a Debian 12 server. You’ll learn how to set up your first Django project with PostgreSQL as the database, leveraging the Gunicorn WSGI server and Nginx as a reverse proxy.
Prerequisites
Before you begin, ensure you have:
- A Debian 12 machine.
- A non-root user with sudo privileges.
Installing Dependencies
Start by installing the necessary package dependencies for your Django installation. These include:
- PostgreSQL: Django defaults to SQLite, but this guide will configure PostgreSQL as the database.
- Supervisor: A process manager to run Django with Gunicorn and Supervisor.
- Nginx: Used as a reverse proxy to make your Django project accessible via a local domain.
Update your package index:
sudo apt update
Install the necessary packages:
sudo apt install build-essential python3-dev python3-pip python3-venv nginx supervisor postgresql libpq5 libpq-dev
Type y to confirm and continue with the installation.
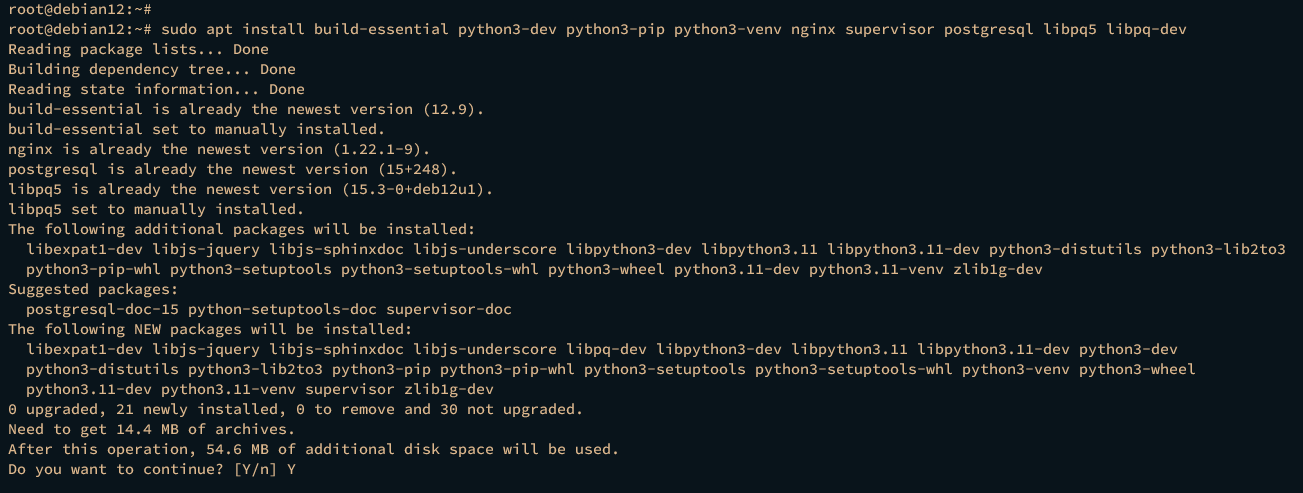
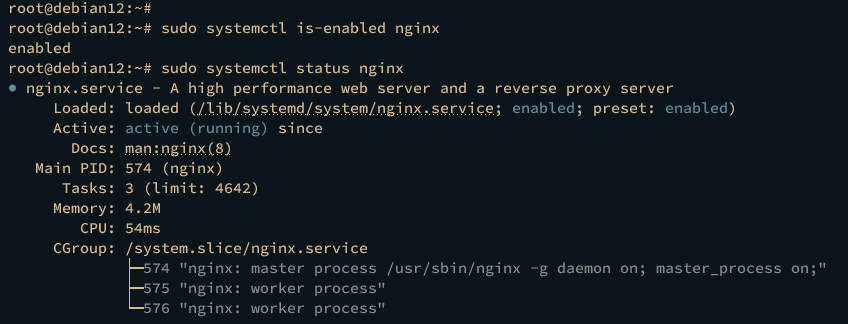
After installation, verify that PostgreSQL, Nginx, and Supervisor services are running and enabled:
PostgreSQL
sudo systemctl is-enabled postgresql
sudo systemctl status postgresql

Nginx
sudo systemctl is-enabled nginx
sudo systemctl status nginx
Supervisor
sudo systemctl is-enabled supervisor
sudo systemctl status supervisor

Installing Django via Pip
There are multiple ways to install Django, including via Git, Pip (Python’s package manager), or using a virtual environment with the venv module and Pip. This guide will cover installation via Pip in an isolated Python environment.
Create a Python Virtual Environment
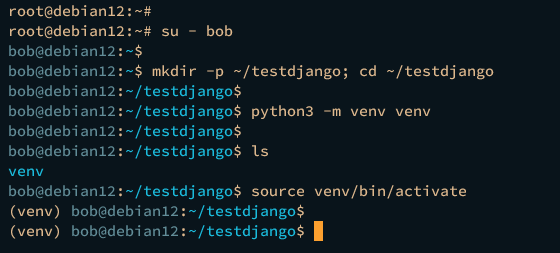
Switch to your user account:
su - username
Create a new project directory and navigate into it:
mkdir -p ~/testdjango; cd ~/testdjango
Create a virtual environment:
python3 -m venv venv
Activate the virtual environment:
source venv/bin/activate
Install Django
With the virtual environment active, install Django:
pip install django
or
pip install django==4.2.4
Verify your Django installation:
django-admin --version
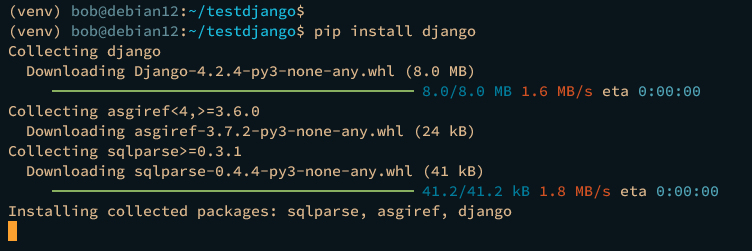
Confirm Django version:

Creating Your First Django Project
Follow these steps to set up your initial Django project using PostgreSQL:
- Prepare the database and user.
- Create the Django project using
django-admin. - Migrate the database and generate static files.
- Create admin users and run Django.
Prepare Database and User
Install the psycopg2 Python package in the virtual environment:
pip install psycopg2
exit
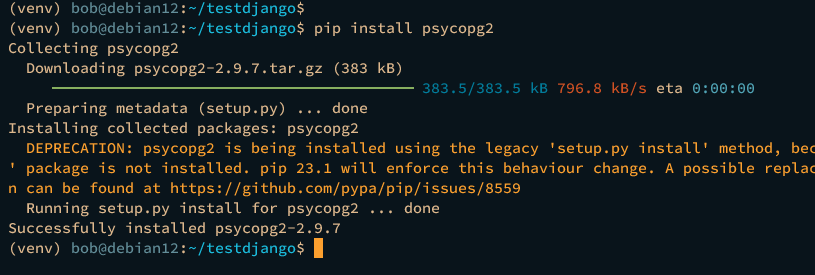
Create Database
Access the PostgreSQL shell as the postgres user:
sudo -u postgres psql
Create a new database and user:
CREATE USER django WITH PASSWORD 'p4ssw0rd';
CREATE DATABASE djangodb OWNER django;
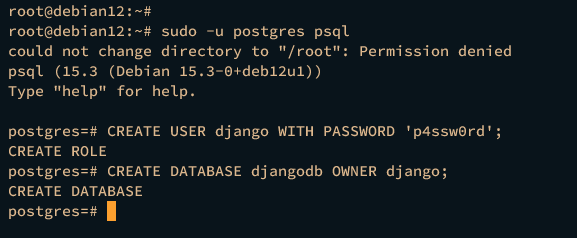
Verify Database and User
\du
\l
You’ll see djangodb and user django listed.
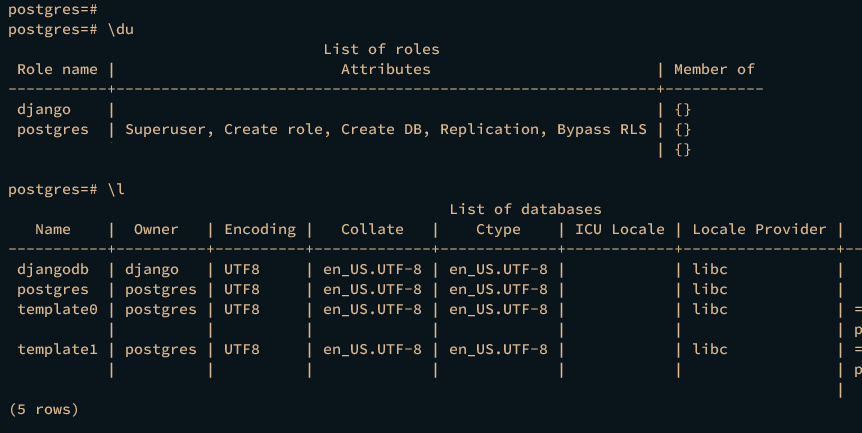
Exit PostgreSQL:
quit
Setting Up the Django Project
Log back in as your user and activate the virtual environment:
su - bob
cd testdjango; source venv/bin/activate
Create a new Django project:
django-admin startproject testapp .
Check the newly created project directories:

Secure Your Project with a Secret Key
Generate a random secret key:
python3 -c 'from django.core.management.utils import get_random_secret_key; print(get_random_secret_key())'

Configure Project Settings
Edit the testapp/settings.py file:
nano testapp/settings.py
import os
Update SECRET_KEY with your generated key:
SECRET_KEY = 'fzahzbm*wrxoleqb0^-3%%tf^y!b6lsc5-c#2^@#s6gkyrl2ef'
Configure ALLOWED_HOSTS with your IP/domain:
ALLOWED_HOSTS = ['127.0.0.1', '192.168.10.15', 'first-django.dev']
Set up PostgreSQL in the DATABASES section:
DATABASES = {
    'default': {
        'ENGINE': 'django.db.backends.postgresql_psycopg2',
        'NAME': 'djangodb',
        'USER': 'django',
        'PASSWORD': 'p4ssw0rd',
        'HOST': '127.0.0.1',
        'PORT': '5432',
    }
}
Add STATIC_ROOT for static files:
STATIC_ROOT = os.path.join(BASE_DIR, "static/")
Save the changes and exit the editor.
Migrating the Database
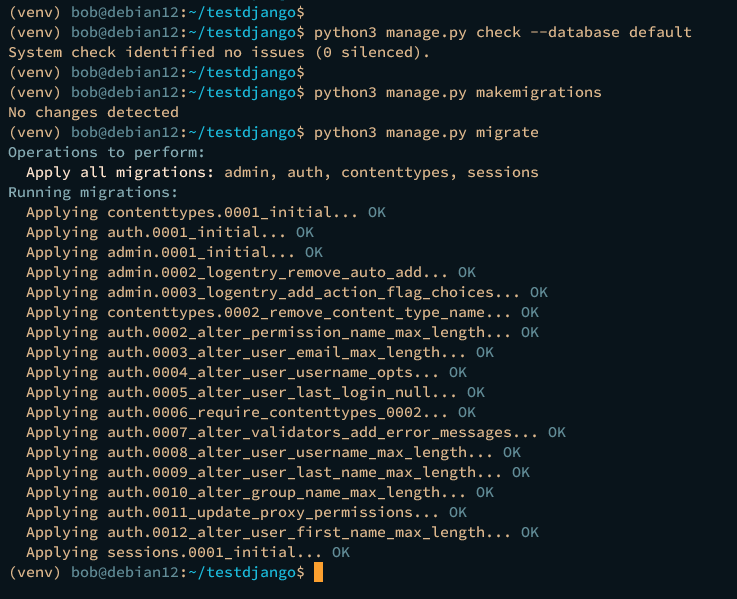
Ensure correct database configuration:
python3 manage.py check --database default
Migrate the database:
python3 manage.py makemigrations
python3 manage.py migrate
Generate Static Files
Execute this command to generate static files:
python3 manage.py collectstatic

Create Admin User and Run Django
Create an admin user:
python3 manage.py createsuperuser

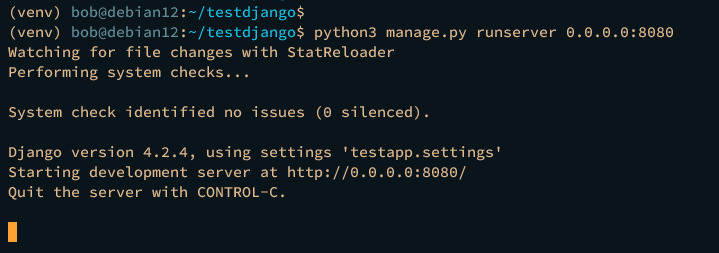
Start your Django project:
python3 manage.py runserver 0.0.0.0:8080
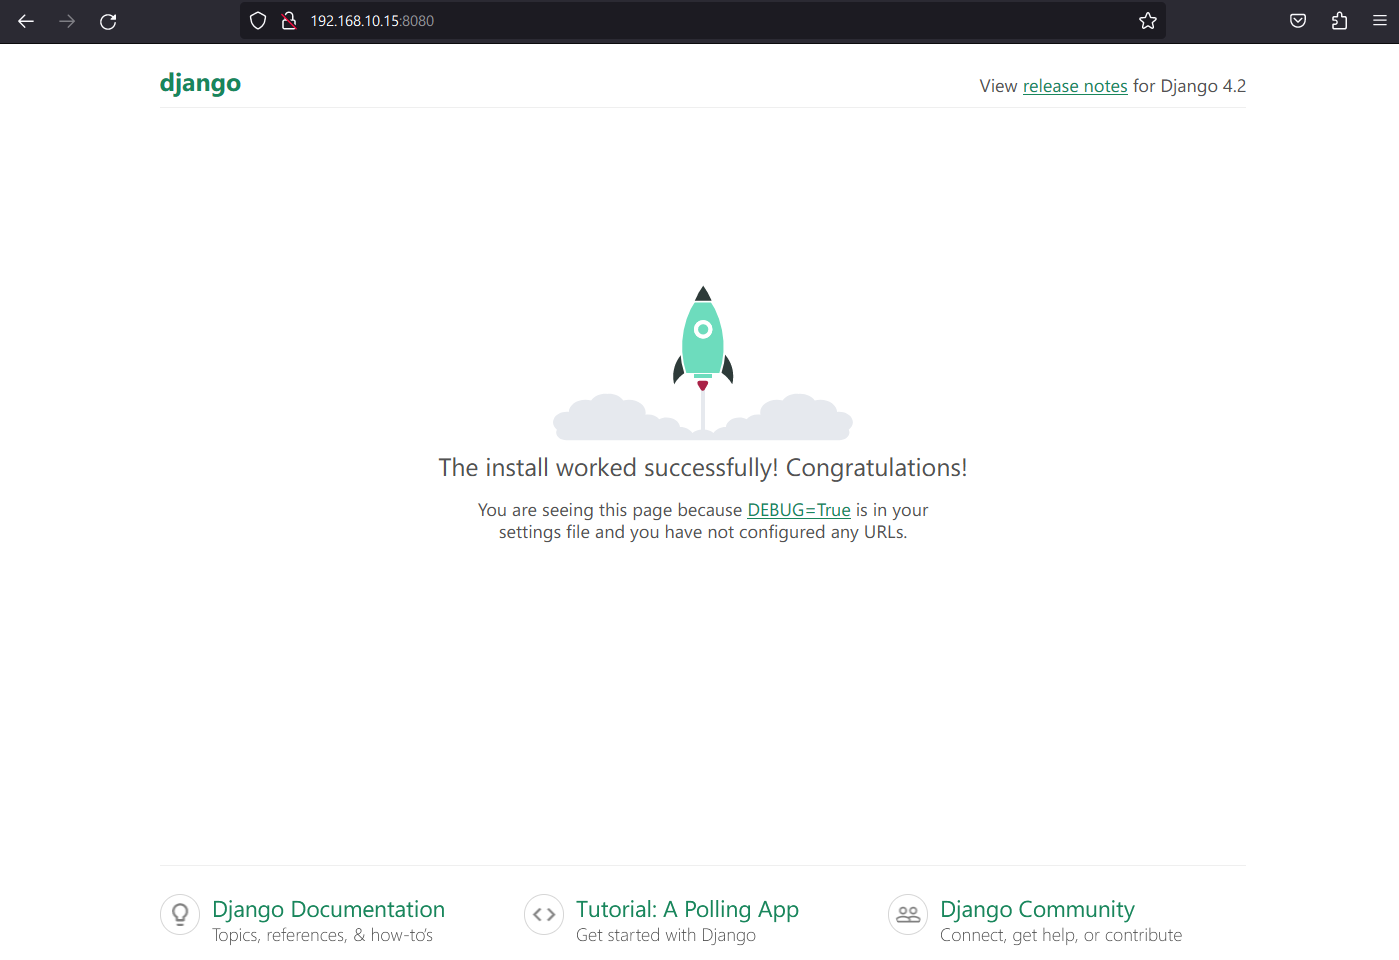
Visit your project through your web browser:
http://192.168.10.15:8080/
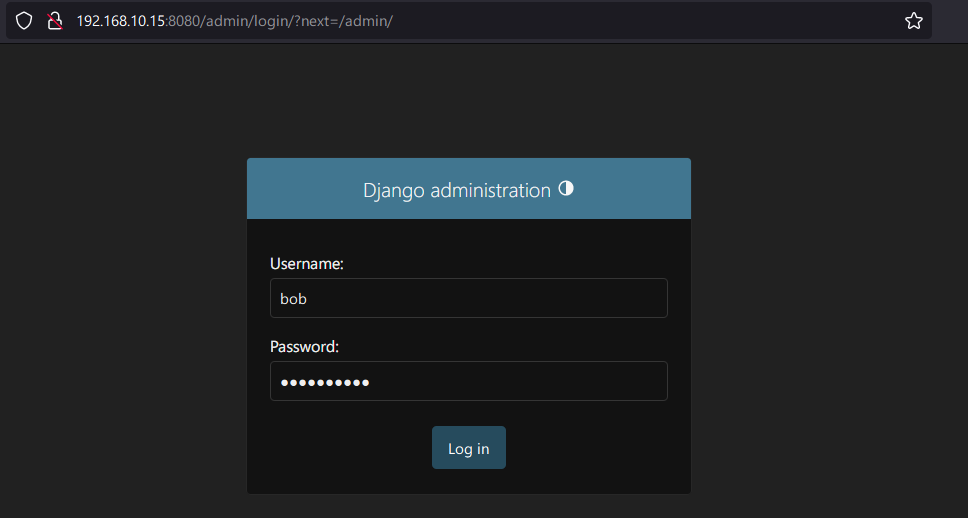
Access the Django administration interface:
http://192.168.10.15:8080/admin
Terminate the Django server with Ctrl+C when done.
Hosting Django with Gunicorn and Supervisor
After successfully installing Django and initializing your project, the next step is to set it up to run in the background using the Gunicorn WSGI server and Supervisor.
Install Gunicorn
In your virtual environment, install Gunicorn:
pip install gunicorn

Deactivate the virtual environment and log out:
deactivate
exit
Configure Supervisor
Create a Supervisor configuration for your project:
sudo nano /etc/supervisor/conf.d/testapp.conf
Insert the following configuration:
[program:testapp]
command=/bin/bash -c 'source /home/bob/testdjango/venv/bin/activate; gunicorn -t 3000 --workers 3 --bind unix:/home/bob/testdjango/testapp.sock testapp.wsgi:application -w 2'
directory=/home/bob/testdjango
user=bob
group=www-data
autostart=true
autorestart=true
stdout_logfile=/home/bob/testdjango/testapp.log
stderr_logfile=/home/bob/testdjango/error.log
Save and exit the file.
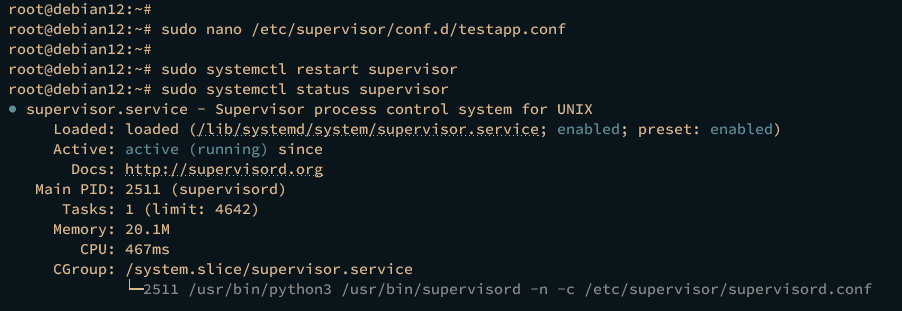
Restart Supervisor to apply the changes:
sudo systemctl restart supervisor
sudo systemctl status supervisor
Check Application Status
Verify the application running within Supervisor:
sudo supervisorctl status

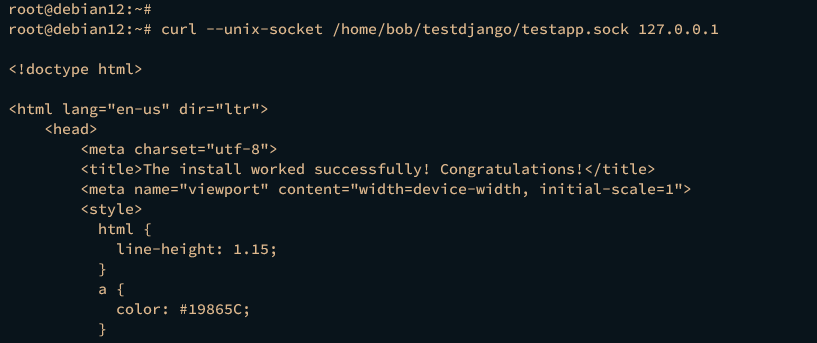
Check your application’s functionality with curl:
curl --unix-socket /home/bob/testdjango/testapp.sock 127.0.0.1
View the source code of the index.html page:
Setting Up Nginx as a Reverse Proxy
With your Django project running, configure Nginx as a reverse proxy for it using the following instructions.
Create Nginx Configuration
Create a new Nginx server block configuration:
sudo nano /etc/nginx/sites-available/django
Add the following content:
server {
    listen 80;
    server_name first-django.dev;

    location = /favicon.ico { access_log off; log_not_found off; }
    try_files $uri @django;
    location /static {
        alias /home/bob/testdjango/static/;
    }

    location @django {
        proxy_set_header Host $http_host;
        proxy_set_header X-Real-IP $remote_addr;
        proxy_set_header X-Forwarded-For $proxy_add_x_forwarded_for;
        proxy_set_header X-Forwarded-Proto $scheme;
        proxy_pass http://unix:/home/bob/testdjango/testapp.sock;
    }
}
Enable the configuration and verify syntax:
sudo ln -s /etc/nginx/sites-available/django /etc/nginx/sites-enabled/
sudo nginx -t
On success, reload Nginx to apply changes:
sudo systemctl restart nginx
Accessing Django via Domain Name
Modify your local machine’s /etc/hosts or Windows equivalent to map your domain:
192.168.10.15 first-django.dev
Visit first-django.dev in your browser to access your Django project.
Conclusion
By following this comprehensive guide, you’ve successfully installed and configured Django on Debian 12 using PostgreSQL, Nginx, Gunicorn, and Supervisor. You’re now ready to develop applications using Django.
Frequently Asked Questions (FAQs)
What if I encounter issues with service statuses?
Ensure all services are installed and correctly configured. Use systemctl status to troubleshoot service-specific errors.
How do I update Django to the latest version?
If using a virtual environment, activate it first, then run pip install --upgrade django.
Can I use a database other than PostgreSQL?
Yes, Django supports various databases, including MySQL, Oracle, and SQLite. Ensure you install the corresponding database adapter and configure settings.py accordingly.
How do I serve Django projects in production?
For production, ensure Nginx is configured correctly, and consider using SSL for secured connections. You may also want to set DEBUG = False in your Django settings.
