Mattermost is a robust, open-source collaboration and messaging platform designed with security as a priority. As an alternative to Slack or Discord, it provides features such as one-to-one messaging, unlimited search history, file-sharing, two-factor authentication, and notifications. It’s a self-hosted service created using Golang and React, ideal for organizations and teams looking for a secure communication solution.
This tutorial will guide you through the process of installing the Mattermost Chat Server on a Debian 11 system.
Prerequisites
- A server running Debian 11.
- A valid domain name pointed to your server’s IP address.
- Root password configured on the server.
Step 1: Install and Configure MariaDB Database Server
Mattermost requires a MySQL or MariaDB database. Start by installing the MariaDB server using the command:
apt-get install mariadb-server -y
After the installation, start MariaDB and enable it to launch on boot:
systemctl start mariadb
systemctl enable mariadb
Connect to the MariaDB shell:
mysql
Create a database and user for Mattermost:
MariaDB [(none)]> create database mattermost;
MariaDB [(none)]> create user mattermost@localhost identified by 'password';
Grant necessary privileges:
MariaDB [(none)]> grant all privileges on mattermost.* to mattermost@localhost;
Flush the privileges and exit:
MariaDB [(none)]> flush privileges;
MariaDB [(none)]> exit;
Step 2: Install Mattermost
Create a dedicated user for Mattermost:
useradd --system --user-group mattermost
Download the latest version of Mattermost:
wget https://releases.mattermost.com/6.0.2/mattermost-6.0.2-linux-amd64.tar.gz
Extract the downloaded file:
tar -xvzf mattermost-6.0.2-linux-amd64.tar.gz
Move the extracted directory:
mv mattermost /opt
Create a data directory:
mkdir /opt/mattermost/data
Update ownership and permissions:
chown -R mattermost:mattermost /opt/mattermost
chmod -R g+w /opt/mattermost
Edit the configuration file:
nano /opt/mattermost/config/config.json
Modify the following lines to match your database settings:
  "DriverName": "mysql",
  "DataSource": "mattermost:password@tcp(127.0.0.1:3306)/mattermost?charset=utf8mb4,utf8\u0026readTimeout=30s\u0026writeTimeout=30s",
Save and exit the file.
Step 3: Create a Systemd Service File for Mattermost
Create a systemd service file:
nano /etc/systemd/system/mattermost.service
Add the following content:
[Unit]
Description=Mattermost
After=syslog.target network.target mysqld.service

[Service]
Type=notify
WorkingDirectory=/opt/mattermost
User=mattermost
ExecStart=/opt/mattermost/bin/mattermost
PIDFile=/var/spool/mattermost/pid/master.pid
TimeoutStartSec=3600
LimitNOFILE=49152

[Install]
WantedBy=multi-user.target
Reload the systemd daemon:
systemctl daemon-reload
Start and enable Mattermost:
systemctl start mattermost
systemctl enable mattermost
Verify Mattermost is running:
systemctl status mattermost
Step 4: Configure Nginx as a Reverse Proxy
Install Nginx:
apt-get install nginx -y
Create a virtual host configuration file:
nano /etc/nginx/conf.d/mattermost.conf
Add the following configuration:
upstream mattermost {
   server localhost:8065;
   keepalive 32;
}

proxy_cache_path /var/cache/nginx levels=1:2 keys_zone=mattermost_cache:10m max_size=3g inactive=120m use_temp_path=off;

server {
   listen 80;
   server_name mattermost.example.com;

   location ~ /api/v[0-9]+/(users/)?websocket$ {
       proxy_set_header Upgrade $http_upgrade;
       proxy_set_header Connection "upgrade";
       client_max_body_size 50M;
       proxy_set_header Host $http_host;
       proxy_set_header X-Real-IP $remote_addr;
       proxy_set_header X-Forwarded-For $proxy_add_x_forwarded_for;
       proxy_set_header X-Forwarded-Proto $scheme;
       proxy_set_header X-Frame-Options SAMEORIGIN;
       proxy_buffers 256 16k;
       proxy_buffer_size 16k;
       client_body_timeout 60;
       send_timeout 300;
       lingering_timeout 5;
       proxy_connect_timeout 90;
       proxy_send_timeout 300;
       proxy_read_timeout 90s;
       proxy_pass http://mattermost;
   }

   location / {
       client_max_body_size 50M;
       proxy_set_header Connection "";
       proxy_set_header Host $http_host;
       proxy_set_header X-Real-IP $remote_addr;
       proxy_set_header X-Forwarded-For $proxy_add_x_forwarded_for;
       proxy_set_header X-Forwarded-Proto $scheme;
       proxy_set_header X-Frame-Options SAMEORIGIN;
       proxy_buffers 256 16k;
       proxy_buffer_size 16k;
       proxy_read_timeout 600s;
       proxy_cache mattermost_cache;
       proxy_cache_revalidate on;
       proxy_cache_min_uses 2;
       proxy_cache_use_stale timeout;
       proxy_cache_lock on;
       proxy_http_version 1.1;
       proxy_pass http://mattermost;
   }
}
Verify the Nginx configuration:
nginx -t
Start and check Nginx service:
systemctl start nginx
systemctl status nginx
Step 5: Access Mattermost Web Interface
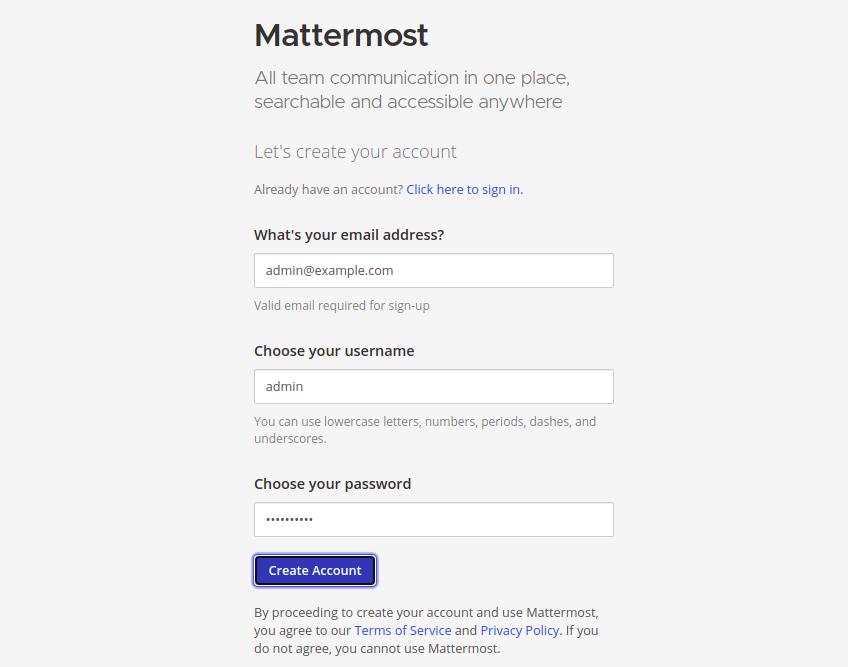
In your browser, go to http://mattermost.example.com to access the Mattermost interface:

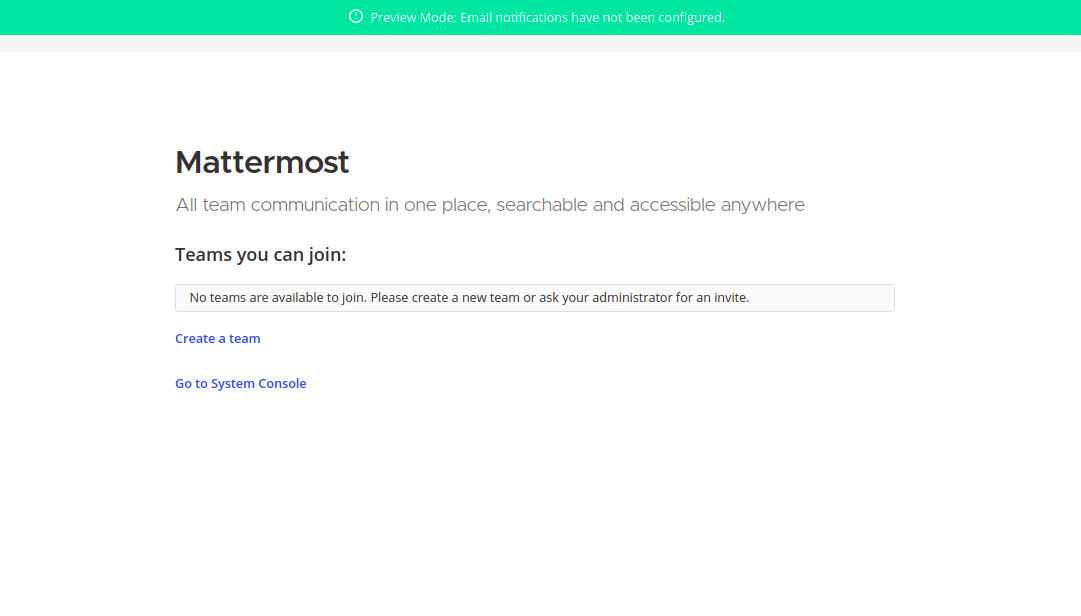
Create your admin account and access the dashboard:

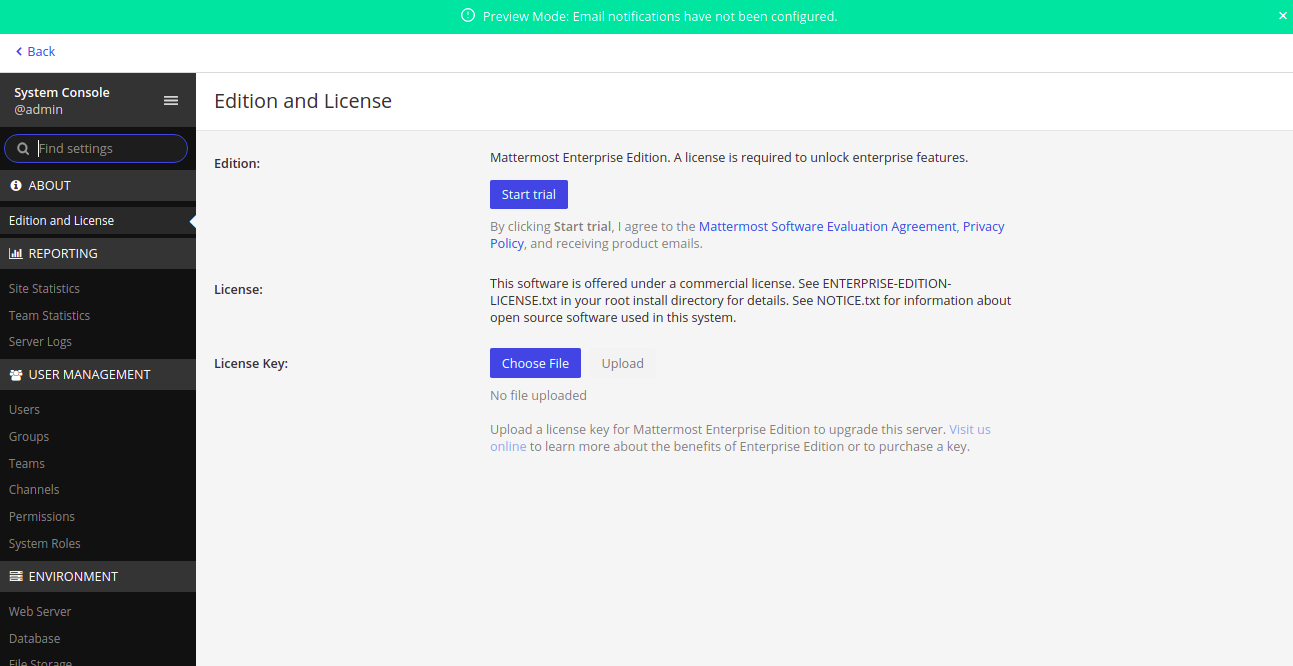
You can manage settings from the System Console:

Conclusion
You’ve successfully installed Mattermost with Nginx as a reverse proxy on Debian 11. You’re ready to facilitate secure team communication in your organization.
FAQ
What are the system requirements for Mattermost?
Mattermost recommends at least 4GB of RAM and a dual-core CPU for optimal performance in small to medium-sized deployments.
Is there a way to update Mattermost to the latest version?
Yes, you can manually download the latest version from the Mattermost website and replace the old files with the updated ones, maintaining your configurations.
Can I use any web server other than Nginx as a reverse proxy?
Yes, Apache and other web servers can also be configured as reverse proxies for Mattermost, though additional configuration will be required.
Is there a free version of Mattermost available?
Yes, Mattermost offers a free open-source edition with a robust set of features suitable for most small to medium-sized teams.
