XWiki is a robust, free, and open-source wiki platform developed in Java, which operates seamlessly on Tomcat. It serves as an efficient tool for collaboration, offering exceptional functionalities like WYSIWYG editing, OpenOffice-based document import/export, semantic annotations, tagging, and advanced permissions management. XWiki stores its data in databases such as MySQL or PostgreSQL, ensuring reliability and scalability.
This comprehensive guide will walk you through the process of installing XWiki on an Ubuntu 22.04 server.
Prerequisites
- Ubuntu 22.04-based server setup.
- A domain name that accurately points to your server’s IP address.
- Configured root password on your server.
Getting Started
Begin by updating and upgrading your system packages to the latest versions with the following command:
    apt update -y
    apt upgrade -y
After updating, proceed to install the necessary dependencies using the command below:
apt-get install wget curl unzip git name gnupg2 -y
With the dependencies installed, you’re ready to proceed to the next step.
Install Java JDK
Being a Java-based application, XWiki requires Java to be installed on your server. Use the command below to install it:
apt-get install default-jdk -y
Verify the Java installation by checking its version:
java --version
Expected output is:
    openjdk 11.0.17 2022-10-18
    OpenJDK Runtime Environment (build 11.0.17+8-post-Ubuntu-1ubuntu222.04)
    OpenJDK 64-Bit Server VM (build 11.0.17+8-post-Ubuntu-1ubuntu222.04, mixed mode, sharing)
Add XWiki Repository
Since the XWiki package is not available in the default Ubuntu repository, you need to add the official XWiki repository.
Download and add the GPG key with the following command:
wget https://maven.xwiki.org/xwiki-keyring.gpg -O /usr/share/keyrings/xwiki-keyring.gpg
Next, incorporate the XWiki repository to APT:
wget "https://maven.xwiki.org/stable/xwiki-stable.list" -O /etc/apt/sources.list.d/xwiki-stable.list
Refresh the repository cache using:
apt-get update -y
Verify XWiki package availability:
apt-cache search xwiki
Expected output includes:
    xwiki-solr-all - XWiki, a free wiki software platform with emphasis on design, written in Java
    xwiki-solr-core - XWiki, a free wiki software platform with emphasis on design, written in Java
    xwiki-solr-data - XWiki, a free wiki software platform with emphasis on design, written in Java
    ...(list continues)...
Install XWiki on Ubuntu 22.04
Choose the latest XWiki version and install using:
apt-get install xwiki-tomcat9-common xwiki-tomcat9-mariadb -y
Follow the prompts to configure the database:

Select “Yes” and press Enter. Set a MySQL password for XWiki:

Complete the installation by defining your password and selecting OK.
Upon installation, check the Tomcat service status:
systemctl status tomcat9.service
Expected output is:
    ? tomcat9.service - Apache Tomcat 9 Web Application Server
        Loaded: loaded (/lib/systemd/system/tomcat9.service; enabled; vendor preset: enabled)
       Drop-In: /etc/systemd/system/tomcat9.service.d
                ??xwiki-tomcat9-systemd.conf
        Active: active (running) since Mon 2022-11-28 16:49:48 UTC; 6s ago
          Docs: https://tomcat.apache.org/tomcat-9.0-doc/index.html
       Process: 27582 ExecStartPre=/usr/libexec/tomcat9/tomcat-update-policy.sh (code=exited, status=0/SUCCESS)
      Main PID: 27586 (java)
         Tasks: 20 (limit: 464122)
        Memory: 272.6M
        CGroup: /system.slice/tomcat9.service
                ??27586 /usr/lib/jvm/default-java/bin/java -Djava.util.logging.config.file=/var/lib/tomcat9/conf/logging.properties -Djava.util.>

    Nov 28 16:49:49 ubuntu22041 tomcat9[27586]: Loaded Apache Tomcat Native library [1.2.31] using APR version [1.7.0].
    ...(log entries continue)...
Verify Tomcat is active on port 8080:
ss -antpl | grep 8080
Sample output:
LISTEN 1 100 *:8080 *:* users:(("java",pid=27586,fd=39))
Configure Nginx as a Reverse Proxy
Configure Nginx to enable access to XWiki via port 80:
Install Nginx using:
apt-get install nginx -y
Create an Nginx configuration file:
nano /etc/nginx/conf.d/xwiki.conf
Add the subsequent configuration:
    server {
        listen 80;

        server_name xwiki.example.com;

        access_log /var/log/nginx/xwiki-access.log;
        error_log /var/log/nginx/xwiki-error.log;

        location / {
            proxy_set_header   X-Real-IP $remote_addr;
            proxy_set_header   Host      $host;
            proxy_http_version 1.1;
            proxy_set_header   Upgrade $http_upgrade;
            proxy_set_header   Connection 'upgrade';
            proxy_cache_bypass $http_upgrade;
            proxy_pass         http://127.0.0.1:8080;
        }
    }
Save, close the file, and then restart the Nginx service:
systemctl restart nginx
Confirm Nginx service is running:
systemctl status nginx
Sample status output:
    ? nginx.service - A high performance web server and a reverse proxy server
        Loaded: loaded (/lib/systemd/system/nginx.service; enabled; vendor preset: enabled)
        Active: active (running) since Mon 2022-11-28 16:51:25 UTC; 5s ago
          Docs: man:nginx(8)
       Process: 27892 ExecStartPre=/usr/sbin/nginx -t -q -g daemon on; master_process on; (code=exited, status=0/SUCCESS)
       Process: 27894 ExecStart=/usr/sbin/nginx -g daemon on; master_process on; (code=exited, status=0/SUCCESS)
      Main PID: 27895 (nginx)
         Tasks: 3 (limit: 464122)
        Memory: 3.4M
        CGroup: /system.slice/nginx.service
                ??27895 "nginx: master process /usr/sbin/nginx -g daemon on; master_process on;"
                ??27896 "nginx: worker process"
                ??27897 "nginx: worker process"

    Nov 28 16:51:25 ubuntu22041 systemd[1]: Starting A high performance web server and a reverse proxy server...
    Nov 28 16:51:25 ubuntu22041 systemd[1]: Started A high performance web server and a reverse proxy server.
Perform XWiki Web Installation
Access the XWiki web installation wizard through your browser at http://xwiki.example.com/xwiki/bin/view/Main/.
Upon loading, you should see the screen below:
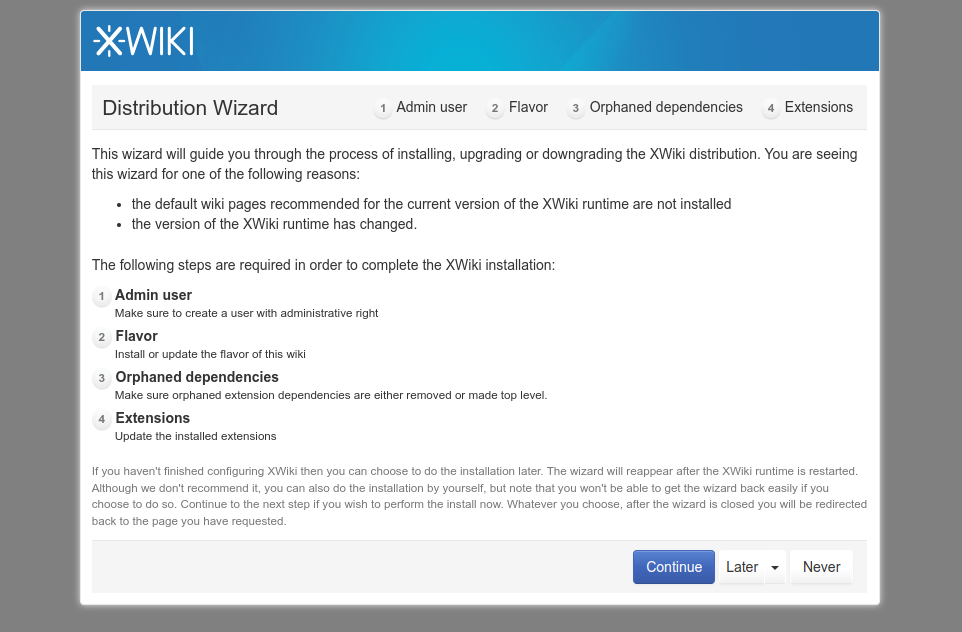
Click Continue to proceed to the registration screen:
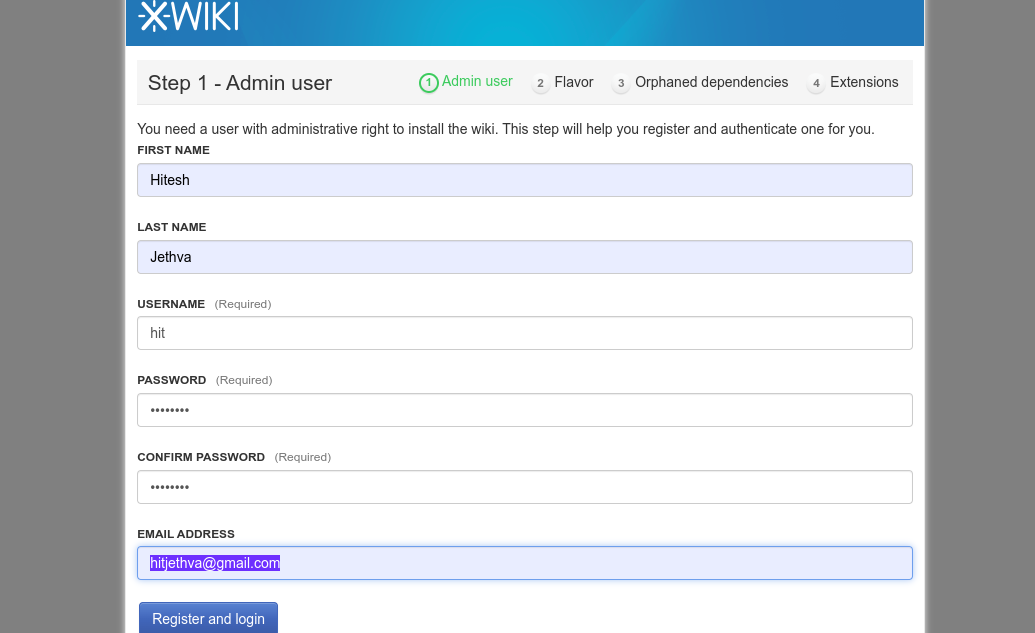
Fill in your details—name, admin username, password, and email—then click Register and login. You should see:
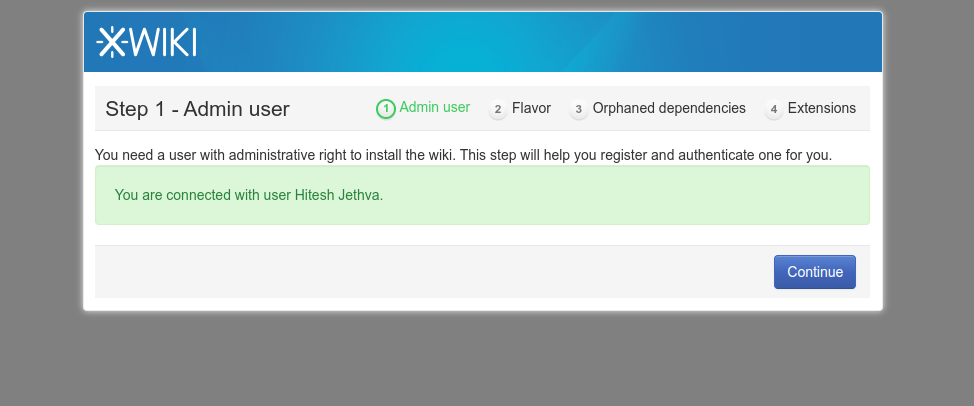
Click Continue to the Flavor selection screen:
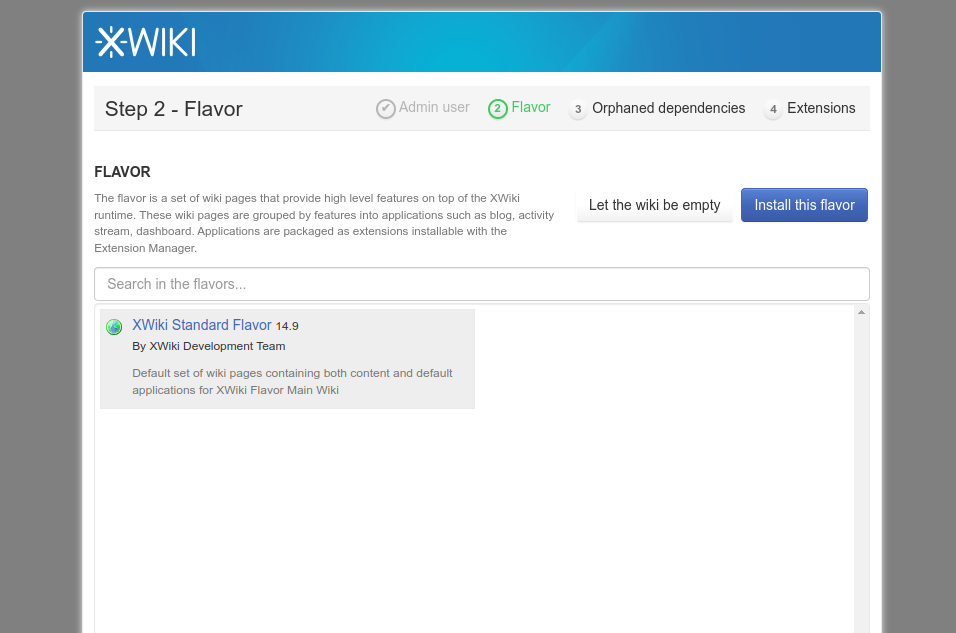
Choose your XWiki flavor and select Install this flavor. After that, you should see:
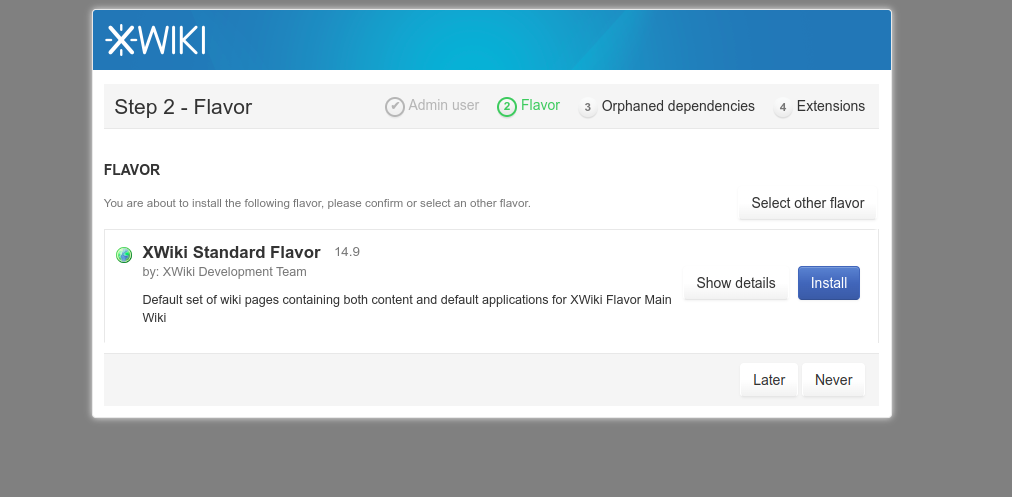
Press Install, and you will see:
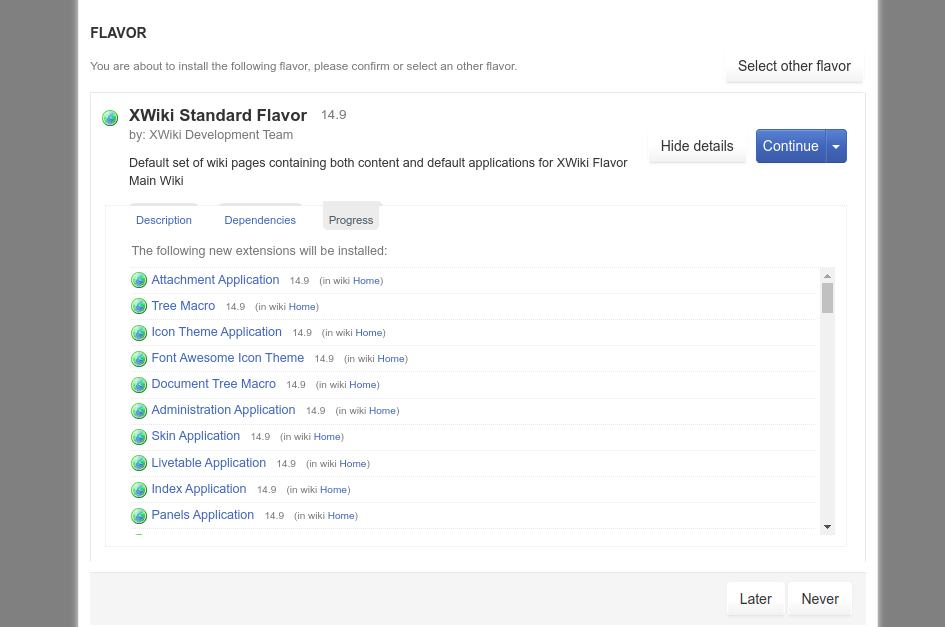
Hit Continue to proceed:
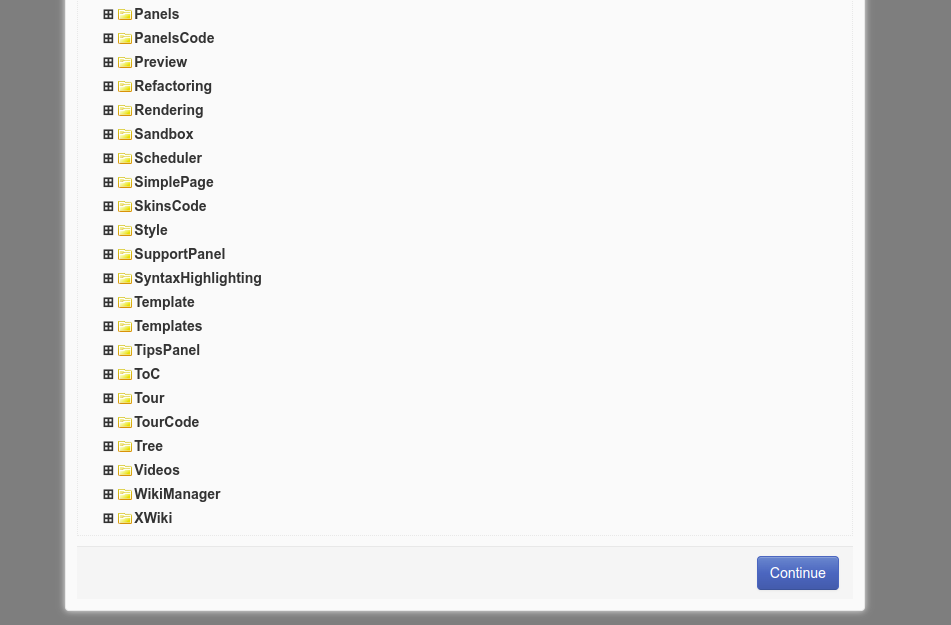
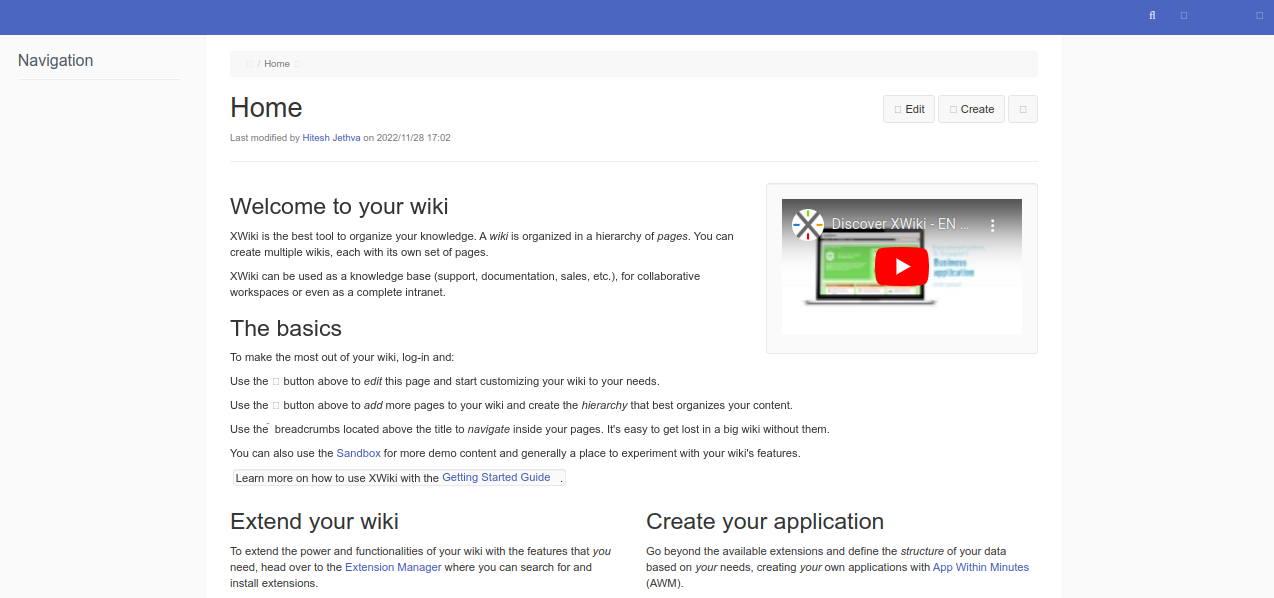
Click Continue to see the XWiki dashboard:
Conclusion
Congratulations! You have successfully installed XWiki with Nginx on your Ubuntu 22.04 server. You’re now ready to start creating and managing your own wiki application. If you have any questions or need further clarification, don’t hesitate to ask.
FAQ
What is XWiki?
XWiki is a free, open-source wiki software platform designed to help users collaborate efficiently. It features a WYSIWYG editor, document import/export options, semantic annotations, and more.
What are the prerequisites for installing XWiki on Ubuntu 22.04?
You will need an Ubuntu 22.04 server setup, a domain name pointing to your server’s IP address, and a configured root password on your server.
Why is Java required for installing XWiki?
Since XWiki is a Java-based platform, Java JDK must be installed for it to operate correctly.
How do I add the XWiki repository on Ubuntu?
Add the repository by downloading the GPG key and then adding the stable repository list to APT.
How is Nginx configured as a reverse proxy for XWiki?
Nginx listens on port 80 and forwards traffic to the Tomcat server running XWiki on port 8080, allowing public access.
Can the installation process be automated?
Yes, the installation and configuration process can be automated using scripts, although this guide provides a manual method for clarity and understanding.
