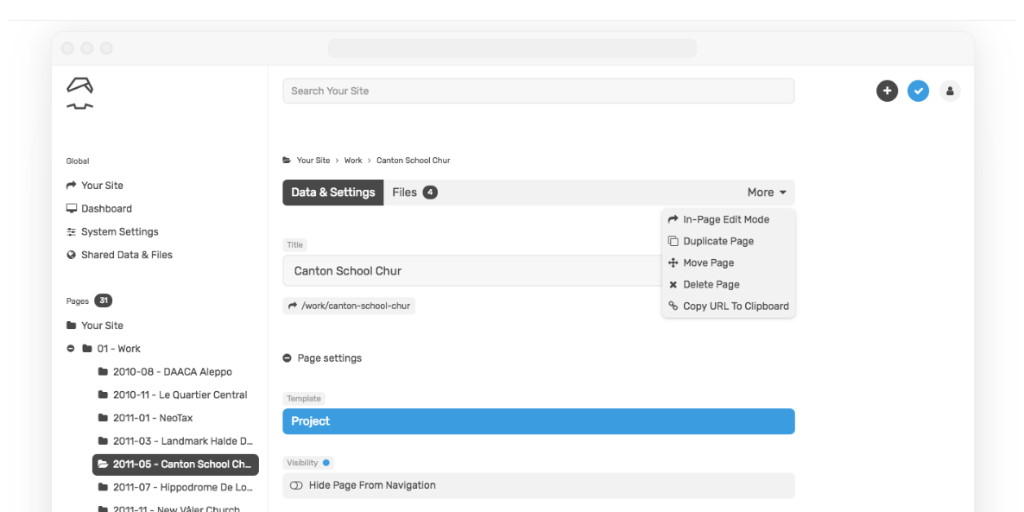
Automad is a fast, responsive, open-source flat content management system (CMS) written in PHP. Unlike other PHP-based CMS solutions, it does not rely on a database to store content. Instead, it uses simple text files. Automad comes with a web-based interface allowing you to manage your site, configure system settings, upload images, and write blog posts. It also includes a built-in Markdown editor and a convenient one-click updater to keep your system current.
This tutorial will cover the steps required to install Automad CMS on a Debian 10 server using the Apache web server.
Requirements
- A server running Debian 10
- Root access with a pre-configured root password
Getting Started
To begin, ensure your system is updated to the latest version by executing the following commands:
apt-get update -y
apt-get upgrade -y
Once updated, restart your server to apply the changes effectively.
Install Apache and PHP
As Automad is a PHP-based CMS, you’ll need both the Apache web server and PHP with its necessary modules. Install them using the command below:
apt-get install apache2 php libapache2-mod-php php-zip php-curl php-mbstring php-gd php-xml php-xmlrpc php-soap unzip -y
After installation, start the Apache service and enable it to launch at boot:
systemctl start apache2
systemctl enable apache2
You can now proceed to the installation of Automad.
Install Automad
Download the latest version of Automad from the Bitbucket repository using the following:
wget https://bitbucket.org/marcantondahmen/automad/get/default.zip
Once downloaded, extract the file:
unzip default.zip
Move the extracted directory to the Apache web root:
mv marcantondahmen-automad-c241e88edc3c /var/www/html/automad
Change the ownership of the Automad directory to www-data and set appropriate permissions:
chown -R www-data:www-data /var/www/html/automad
chmod -R 755 /var/www/html/automad
Continue with configuring Apache for Automad.
Configure Apache for Automad
Create an Apache virtual host configuration file to serve Automad. Open the configuration file with:
nano /etc/apache2/sites-available/automad.conf
Add the following content, adjusting for your server details:
<VirtualHost *:80>
     ServerAdmin webadmin@example.com
     DocumentRoot /var/www/html/automad
     ServerName example.com

     <Directory /var/www/html/automad>
          Options FollowSymlinks
          AllowOverride All
          Require all granted
     </Directory>

     ErrorLog ${APACHE_LOG_DIR}/automadcms_error.log
     CustomLog ${APACHE_LOG_DIR}/automadcms_access.log combined

</VirtualHost>
Save and close the file. Test the Apache configuration for syntax errors:
apachectl configtest
You should see a confirmation with “Syntax OK”. Enable the virtual host and rewrite module:
a2ensite automad
a2enmod rewrite
Restart the Apache service:
systemctl restart apache2
Automad installation is complete. Access it through your web browser.
Access Automad
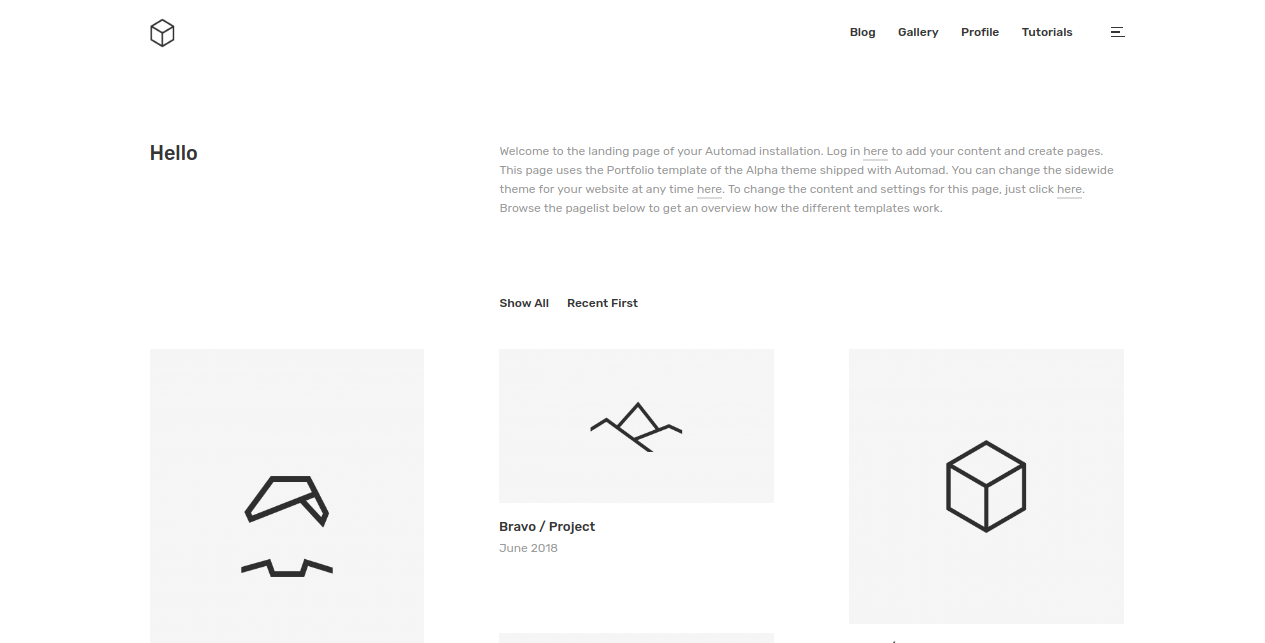
Open a browser and navigate to http://example.com. It will display the Automad welcome page:
To set up an account, visit http://example.com/dashboard. You will see a page to create a user:
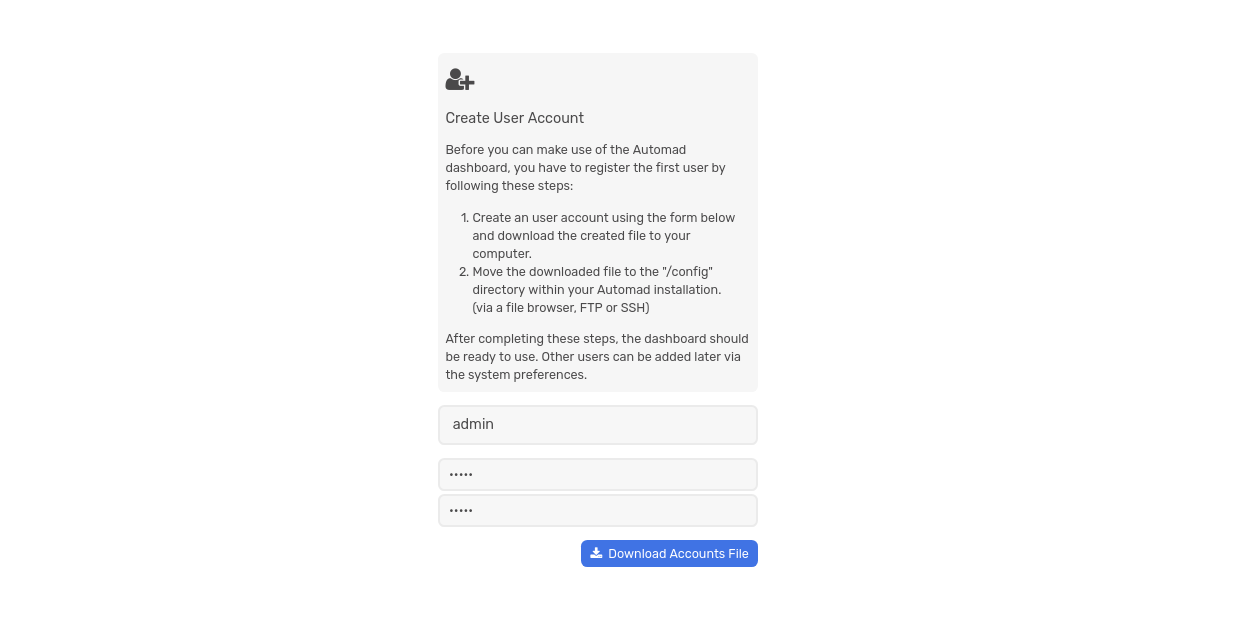
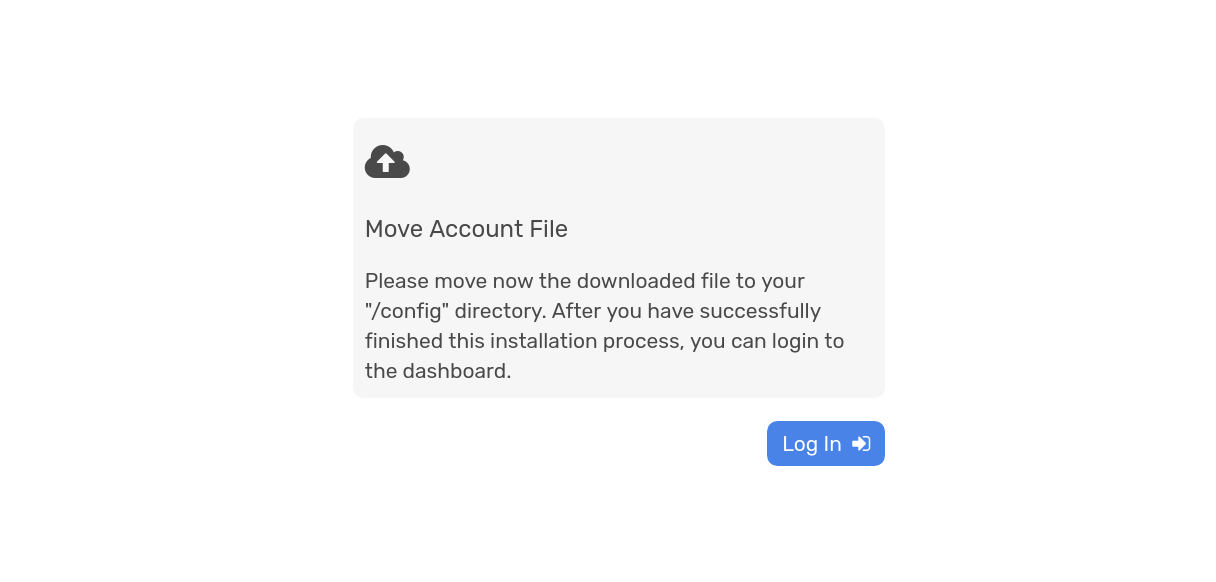
Provide a username and password, download the accounts file, then move it to the config directory:
mv config.php /var/www/html/automad/config/
Adjust the file permissions:
chown -R www-data:www-data /var/www/html/automad/config/config.php
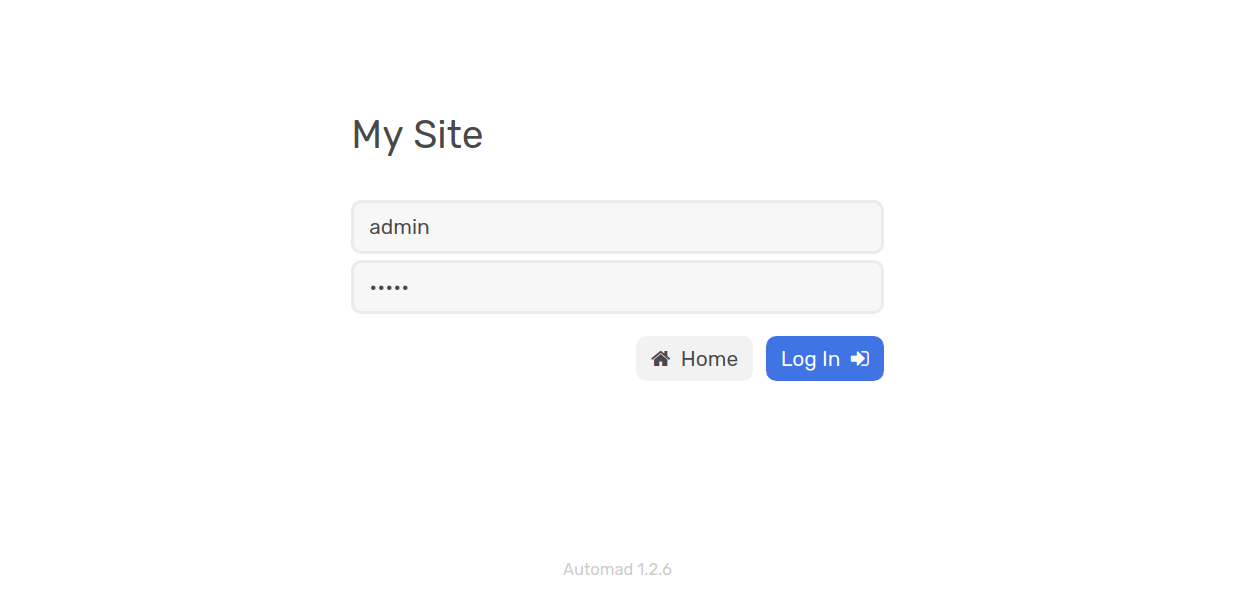
Access the login page again at http://example.com/dashboard and log in with your credentials:
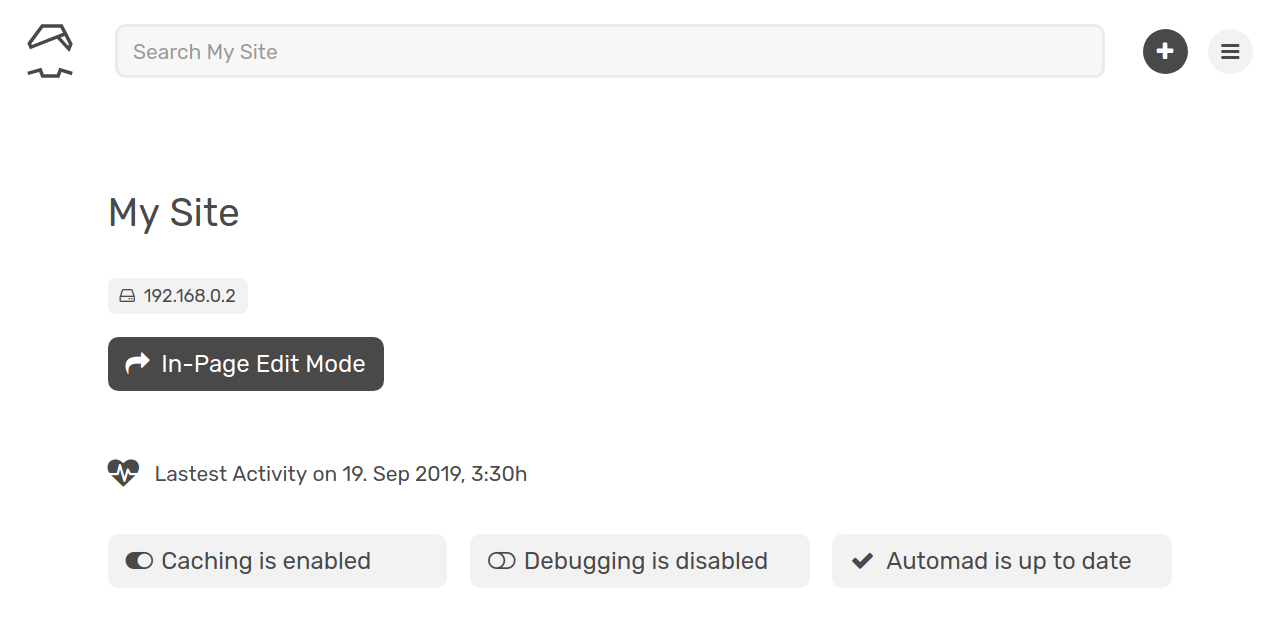
Upon logging in, you will see the Automad CMS dashboard:
Secure Automad with Let’s Encrypt
For enhanced security, install an SSL certificate with Certbot:
Add the Certbot repository and install Certbot:
apt-get install software-properties-common
add-apt-repository ppa:certbot/certbot
apt-get update -y
apt-get install certbot python-certbot-apache -y
Create the necessary directory for validation files and set permissions:
mkdir -p /var/lib/letsencrypt/.well-known
chgrp www-data /var/lib/letsencrypt
chmod g+s /var/lib/letsencrypt
Configure Apache to serve the validation files:
nano /etc/apache2/conf-available/well-known.conf
Insert the following lines:
Alias /.well-known/acme-challenge/ "/var/lib/letsencrypt/.well-known/acme-challenge/"
<Directory "/var/lib/letsencrypt/">
    AllowOverride None
    Options MultiViews Indexes SymLinksIfOwnerMatch IncludesNoExec
    Require method GET POST OPTIONS
</Directory>
Enable the necessary modules and apply changes with an Apache restart:
a2enmod ssl
a2enmod http2
a2enmod headers
a2enconf well-known
systemctl restart apache2
Acquire and install the SSL certificate for your domain:
certbot --apache -d example.com
Follow the prompts to complete your setup. If prompted, choose option 2 to redirect HTTP to HTTPS. A successful setup will yield this message:
Congratulations! You have successfully enabled https://example.com
Your Automad CMS is now secured with Let’s Encrypt SSL. Access it by navigating to https://example.com.
FAQ
- What is Automad CMS?
Automad is a lightweight, open-source CMS written in PHP that uses plain text files for content management rather than utilizing a traditional database. - Why choose Automad over other PHP-based CMS platforms?
Automad’s ease of use, minimalistic design, and speed make it a great choice for users looking for an uncomplicated CMS solution without the overhead of a traditional database. - Do I need a database for Automad?
No, Automad uses text files to store content. - Can I use other web servers besides Apache?
While this guide is for Apache, Automad can be configured to run on other web servers, though setup steps will differ. - How often should I update Automad?
Regularly updating Automad is recommended to ensure you have the latest security and feature enhancements. The built-in updater makes this straightforward. - How is the security of Automad ensured?
Automad can be secured using SSL encryption through Let’s Encrypt, as detailed in this guide. Regular updates also help keep the CMS secure.
