Redmine is a powerful, open-source, web-based project management application that supports multi-project management and sub-projects. Built on the Ruby on Rails framework and compatible across platforms, Redmine excels in project tracking, time management, wiki documentation, and more. It offers robust features such as role-based access control (ACL) and integration with version control systems including Git, SVN, and CVS.
Key Features
- Available in multiple languages.
- Supports various databases and offers straightforward time tracking.
- Integrates with news, documents, and file management systems.
- Supports Web feeds and e-mail notifications.
System Requirements
- An Ubuntu 18.04 server.
- A non-root user with sudo privileges.
Step-by-Step Installation Guide
Install Apache and MariaDB
Redmine requires a web server and a database to store data. Install Apache and MariaDB using the following command:
sudo apt-get install apache2 mariadb-server libapache2-mod-passenger -y
Start Apache and MariaDB and ensure they start automatically on boot:
sudo systemctl start apache2
sudo systemctl start mariadb
sudo systemctl enable apache2
sudo systemctl enable mariadb
Configure MariaDB
To secure MariaDB, run this setup script:
sudo mysql_secure_installation
Respond to the prompts as follows:
        Enter current password for root (enter for none):
        Set root password? [Y/n]: N
        Remove anonymous users? [Y/n]: Y
        Disallow root login remotely? [Y/n]: Y
        Remove test database and access to it? [Y/n]: Y
        Reload privilege tables now? [Y/n]: Y
Install Redmine
Redmine is readily available from the Ubuntu 18.04 default repository. Install it with:
sudo apt-get install redmine redmine-mysql -y
During installation, configure the database connection:
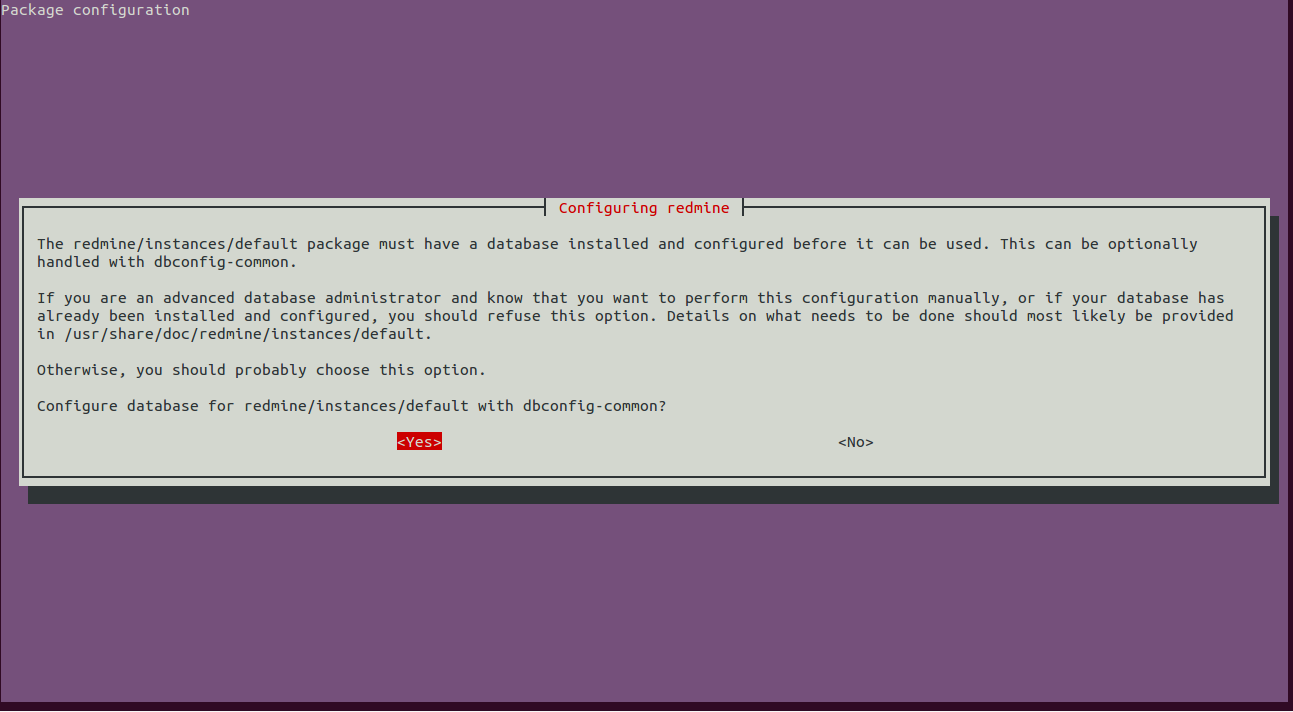
Choose Yes, then proceed to select MySQL as your database:
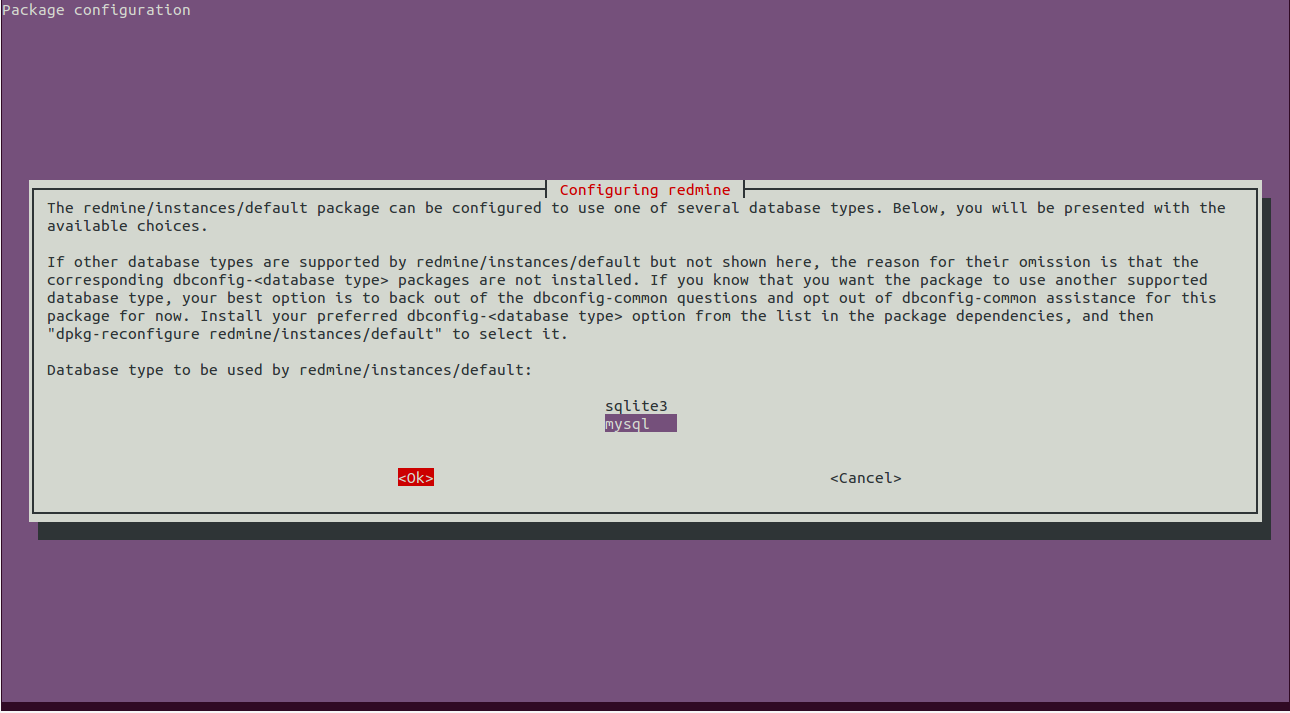
Set a password for Redmine:
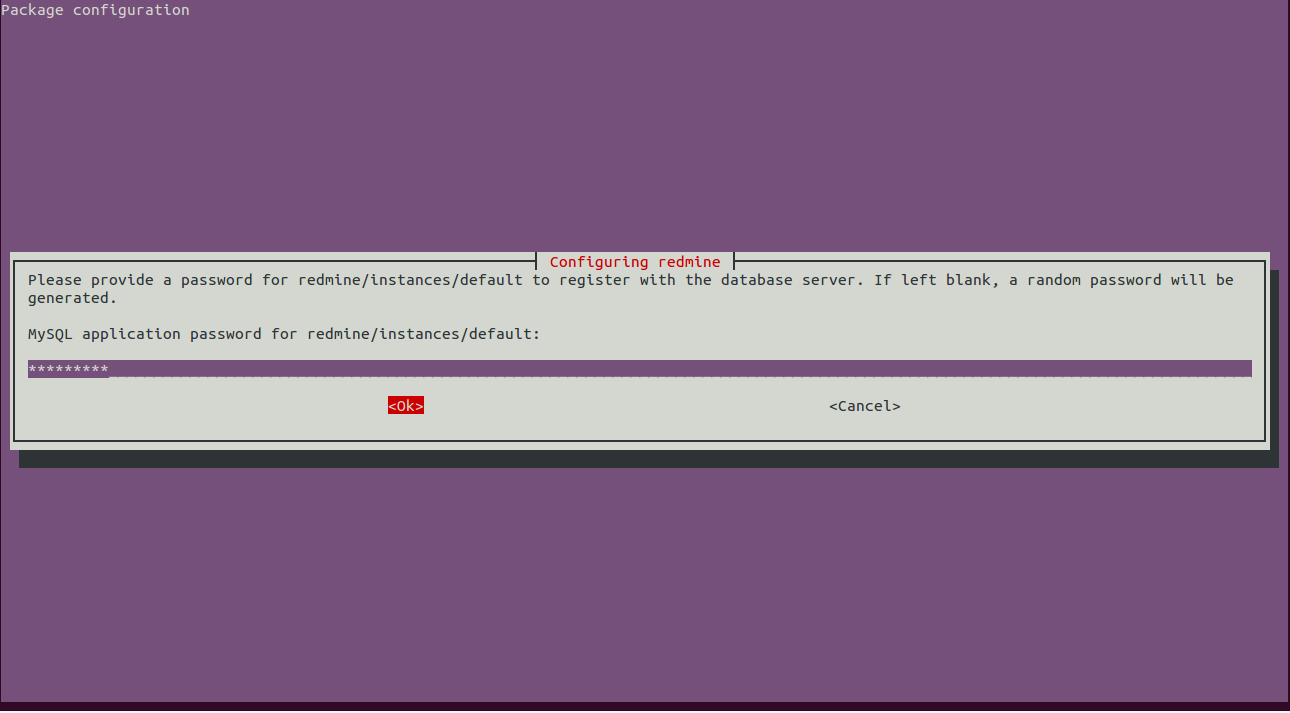
Next, install the gem bundler package:
sudo gem install bundler
Create a symbolic link to Redmine in your Apache web root directory:
sudo ln -s /usr/share/redmine/public /var/www/html/redmine
Create a lock file and set permissions for Redmine:
    sudo touch /usr/share/redmine/Gemfile.lock
    sudo chown www-data:www-data /usr/share/redmine/Gemfile.lock
    sudo chown -R www-data:www-data /var/www/html/redmine
Configure Apache for Redmine
Edit the passenger.conf file as shown:
sudo nano /etc/apache2/mods-available/passenger.conf
    <IfModule mod_passenger.c>
      PassengerDefaultUser www-data
      PassengerRoot /usr/lib/ruby/vendor_ruby/phusion_passenger/locations.ini
      PassengerDefaultRuby /usr/bin/ruby
     </IfModule>
Create and configure a virtual host for Redmine:
sudo nano /etc/apache2/sites-available/redmine.conf
    <VirtualHost *:80>
         ServerAdmin admin@example.com
         DocumentRoot /var/www/html/redmine
         ServerName example.com
         ServerAlias www.example.com

         <Directory /var/www/html/redmine>
             RailsBaseURI /redmine
             PassengerResolveSymlinksInDocumentRoot on
         </Directory>

         ErrorLog ${APACHE_LOG_DIR}/error.log
         CustomLog ${APACHE_LOG_DIR}/access.log combined
    </VirtualHost>
Replace example.com with your domain name. Save and close the file, then enable the site and mod_rewrite:
sudo a2ensite redmine
sudo a2enmod rewrite
Restart Apache:
sudo systemctl restart apache2
Verify Apache is running:
sudo systemctl status apache2
You should see:
Loaded: loaded (/lib/systemd/system/apache2.service; enabled; vendor preset: enabled)
    Drop-In: /lib/systemd/system/apache2.service.d
    ??apache2-systemd.conf
    Active: active (running) since Wed 2019-01-16 17:43:29 CET; 8s ago
    Process: 7401 ExecStop=/usr/sbin/apachectl stop (code=exited, status=0/SUCCESS)
    Process: 7407 ExecStart=/usr/sbin/apachectl start (code=exited, status=0/SUCCESS)
    Tasks: 77 (limit: 2313)
    CGroup: /system.slice/apache2.service
    ??7455 /usr/sbin/apache2 -k start
    ??7456 Passenger watchdog
    ??7459 Passenger core
    ??7468 Passenger ust-router
    ??7482 /usr/sbin/apache2 -k start
    ??7483 /usr/sbin/apache2 -k start

    Jan 16 17:43:29 server1 systemd[1]: Starting The Apache HTTP Server...
    Jan 16 17:43:29 server1 systemd[1]: Started The Apache HTTP Server.
Access Redmine Web Interface
Open a browser, type the Redmine URL (e.g., http://example.com), and you will see:
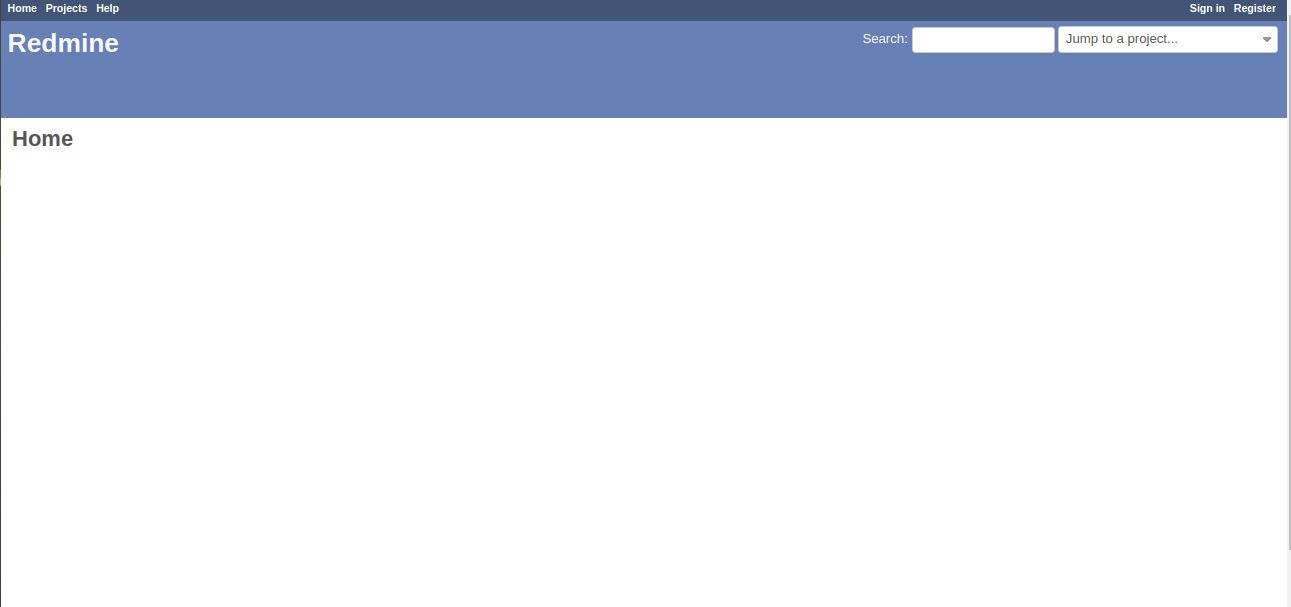
Click Sign In to access the login page:
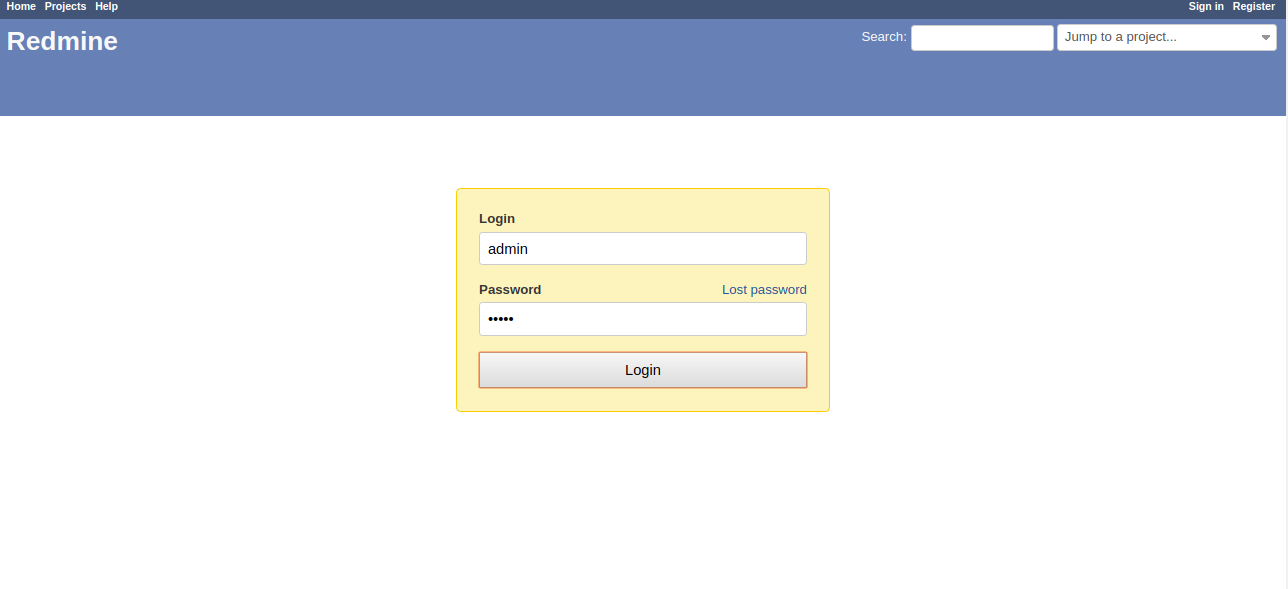
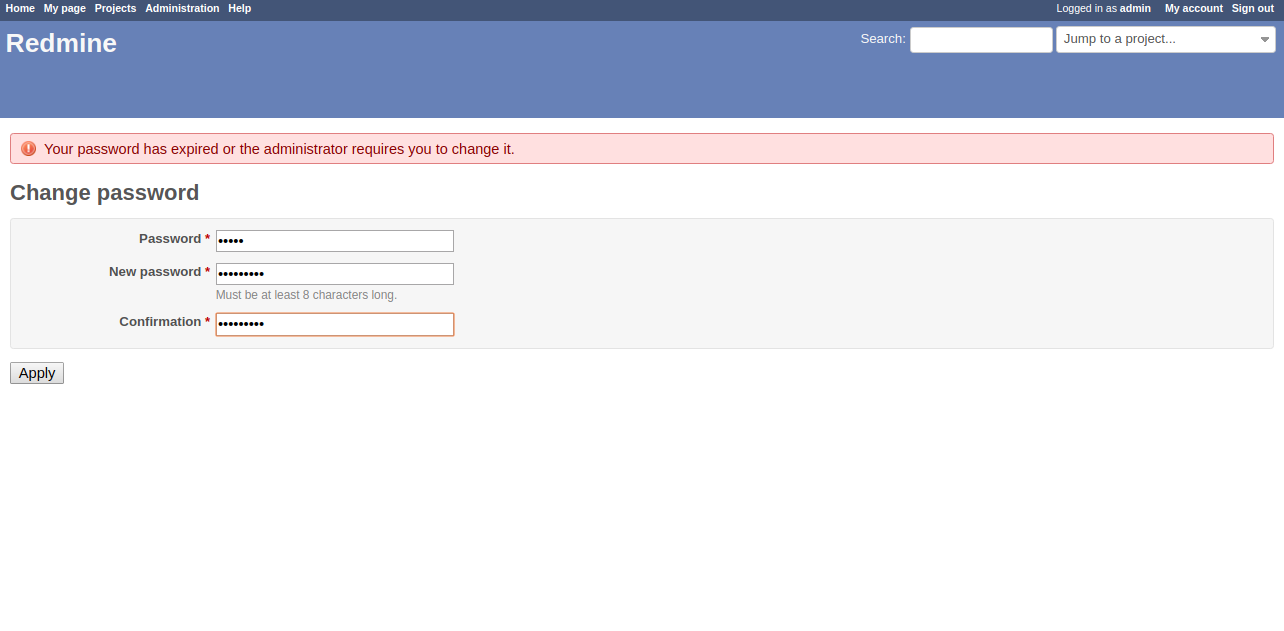
Enter admin for both username and password, then click Login. You will be prompted to change your password:
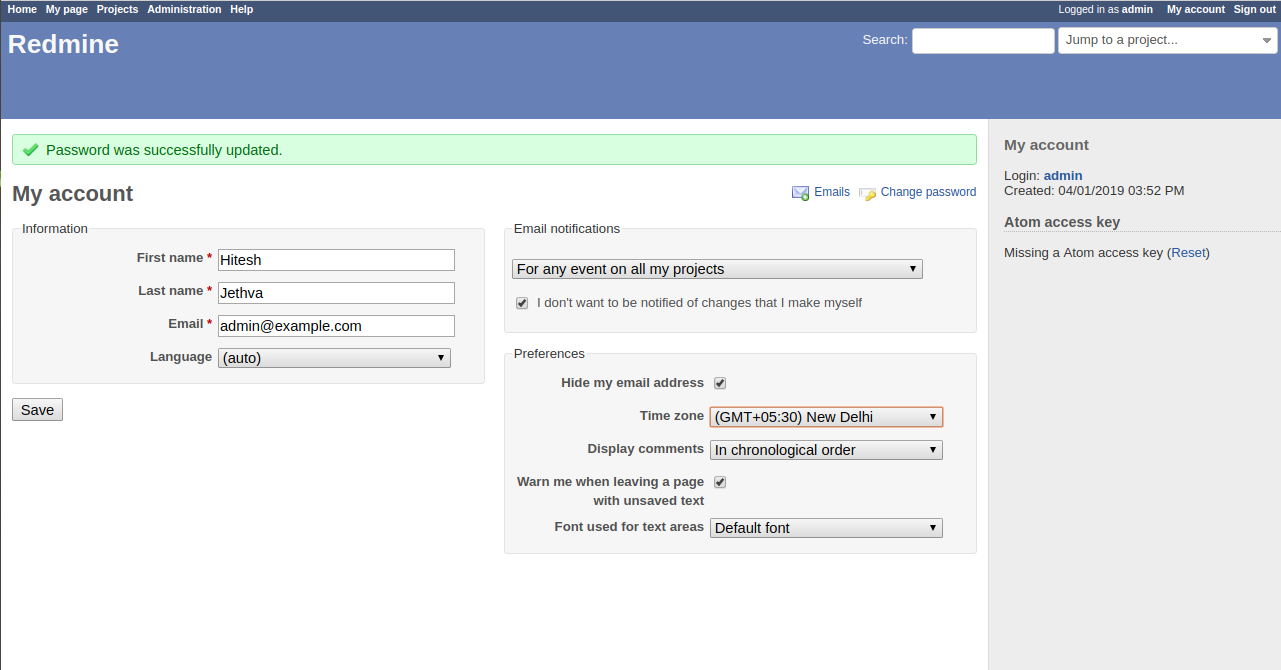
After setting a new password, access the dashboard and start managing your projects!
Frequently Asked Questions (FAQ)
What is Redmine?
Redmine is an open-source, web-based project management application based on Ruby on Rails. It supports multiple projects, includes a built-in wiki, time tracking, and a variety of integrations.
Which operating systems are compatible with Redmine?
Redmine is cross-platform and can be installed on any system where Ruby and Rails can be run, including Windows, macOS, and Linux distributions.
How do I ensure database security for Redmine?
During the MariaDB configuration step of installation, run sudo mysql_secure_installation to secure the database by setting root passwords and removing unnecessary access privileges.
Can I integrate version control systems with Redmine?
Yes, Redmine supports integration with several version control systems, including Git, Subversion (SVN), and CVS.
How can I change the default language of Redmine?
The default language in Redmine can be changed within the application’s settings under the “Administration > Settings > Display” section.
Why am I unable to access Redmine through the web browser?
If you experience access issues, ensure that Apache is correctly configured and running, your domain settings in the virtual host file are accurate, and your firewall settings allow HTTP traffic through port 80.
