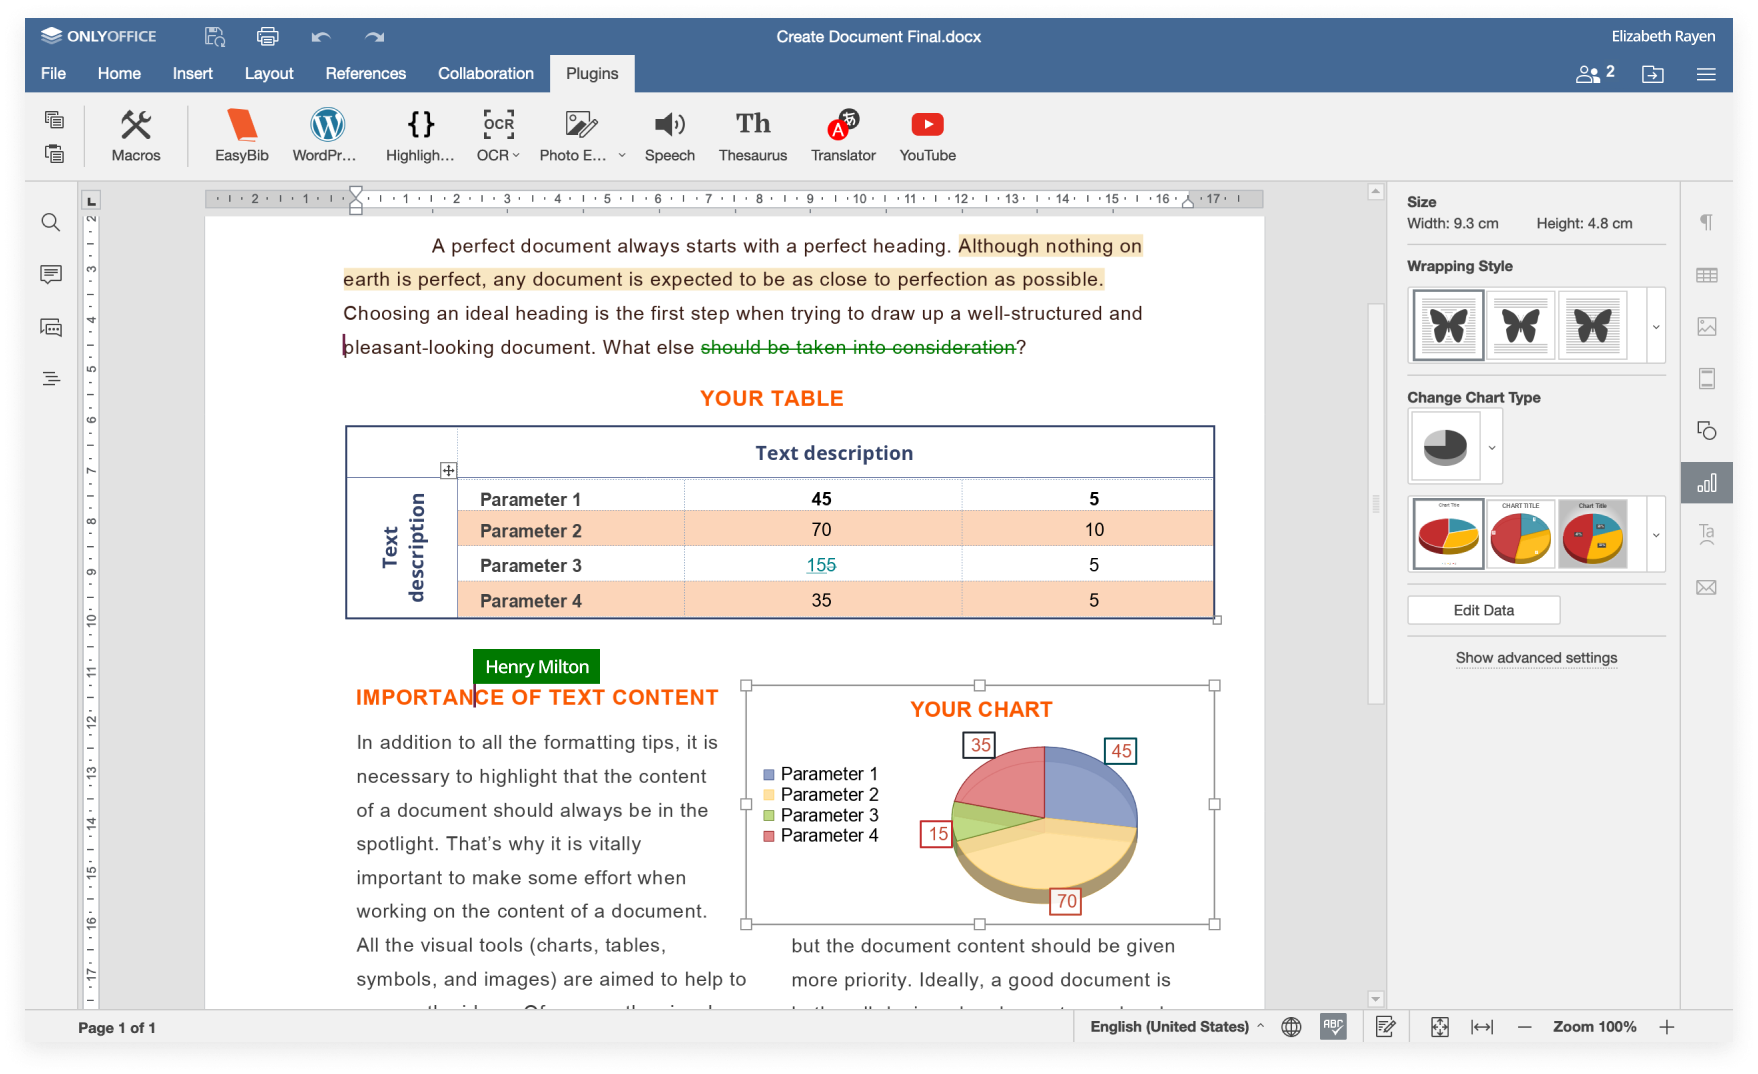
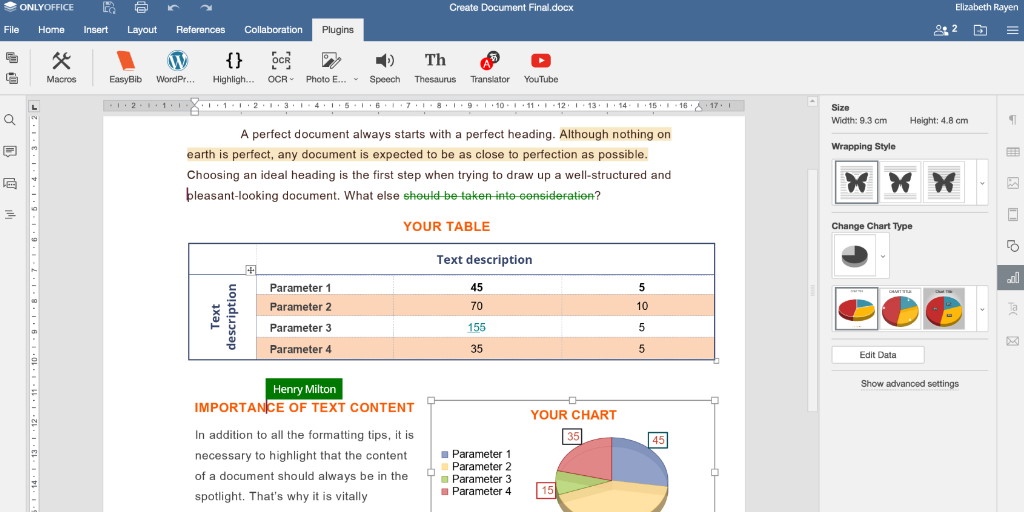
ONLYOFFICE is a versatile, open-source office suite released under the GNU AGPL v3.0 license. It provides web-based viewers and collaborative editors for documents, spreadsheets, and presentations. ONLYOFFICE editors can seamlessly integrate with various content management systems like Nextcloud, Seafile, OpenOlat, Alfresco, ownCloud, HumHub, Plone, and can also be embedded into custom solutions developed by other software providers. Additionally, they are compatible with the ONLYOFFICE collaboration platform.
Moodle is a powerful open-source e-learning platform that enables the creation of custom, secure teaching environments on your network. By integrating ONLYOFFICE with Moodle, both teachers and students can collaborate on electronic documents in real-time within their courses, with all modifications automatically saved to Moodle.
In this tutorial, we will guide you through the steps needed to connect ONLYOFFICE online editors to your Moodle instance using the activity plugin available in the Moodle library.
Step 1: Install ONLYOFFICE Document Server
To collaborate on documents within Moodle, you need an instance of ONLYOFFICE Document Server (online editors) that is accessible from both your Moodle server and any client devices. The Document Server must also be able to POST requests to your Moodle server.
The simplest installation method for ONLYOFFICE Document Server is via Docker. Execute the following command:
sudo docker run -i -t -d -p 80:80 onlyoffice/documentserver
Alternatively, you can download the latest version of the editors from GitHub. If preferred, you may compile ONLYOFFICE Document Server from source code by following this guide.
Step 2: Install the Integration Plugin
Download the integration plugin from GitHub. Follow the standard Moodle plugin installation process and place it into your mod/onlyoffice directory.
Step 3: Configure ONLYOFFICE within Moodle
After installation, specify the URL of the machine where ONLYOFFICE editors are installed:
https://documentserver/
For enhanced security and to limit access to ONLYOFFICE Document Server, configure a Secret Key in Moodle. Ensure the same Secret Key is added to the ONLYOFFICE Document Server config file to enable request validation.
Step 4: Use ONLYOFFICE within Moodle
With the integration complete, you can create ONLYOFFICE activities within any course and start working with documents. Administrators and teachers can restrict document downloading and printing from within the ONLYOFFICE editor. When a user clicks the activity name or link on the course page, the ONLYOFFICE editor opens directly in their browser. Using ONLYOFFICE, students and teachers can:
- Create and edit DOCX, XLSX, PPTX, TXT, CSV files associated with their courses;
- View supported file types including the above formats and PDFs;
- Convert files into corresponding OOXML formats (DOCX, XLSX, PPTX) from originals such as ODT, ODS, ODP, DOC, XLS, PPT, PPS, EPUB, RTF, HTML, and HTM;
- Leverage advanced formatting and use objects like autoshapes, tables, charts, and equations;
- Collaborate in real-time with multiple tools for co-authoring;
- Utilize plugins like Translator, Thesaurus, and more.

Frequently Asked Questions (FAQ)
Q: What is ONLYOFFICE Document Server?
A: ONLYOFFICE Document Server is a set of online editors for documents, spreadsheets, and presentations that allows collaboration and integration with various platforms, including Moodle.
Q: Is ONLYOFFICE compatible with all versions of Moodle?
A: ONLYOFFICE generally integrates well with Moodle; however, it’s advisable to check plugin compatibility with specific Moodle versions.
Q: Can I use ONLYOFFICE on platforms other than Moodle?
A: Yes, ONLYOFFICE can be integrated with many content management systems and used on its collaboration platform.
Q: Is there an option to secure ONLYOFFICE Document Server?
A: Yes, you can restrict access by setting up a Secret Key for secure communications between Moodle and the Document Server.
