Grav is a fast, simple, and flexible file-based CMS and platform. Built with plain text files, Grav doesn’t require a database, making it lightweight and easy to manage. It relies on well-known technologies to offer a streamlined and extendable platform. Some of these technologies include Twig Templating for robust UI control, Markdown for content creation, YAML for configuration, Parsedown for enhanced Markdown support, Doctrine Cache for performance, Gregwar Image Library for dynamic image handling, and Symfony Console for a powerful CLI interface.
This tutorial will guide you through the installation of the Grav CMS on a clean Ubuntu 18.04 server using Nginx as the web server. We will also secure the site with an SSL certificate from Let’s Encrypt.
Requirements
Ensure that your system meets the following Grav system requirements:
- Web Server (Apache, Nginx, LiteSpeed, Lightly, IIS, etc.)
- PHP version 7.1.3 or higher with these extensions:
curl,ctype,dom,gd,json,mbstring,openssl,session,simplexml,xml,zip,apcu,opcache,yaml
Prerequisites
- Ubuntu 18.04 LTS operating system
- A non-root user with sudo privileges
Initial Steps
To verify your Ubuntu version, run:
lsb_release -ds
# Ubuntu 18.04.2 LTS
Set your timezone:
sudo dpkg-reconfigure tzdata
Update your system packages to ensure the latest updates and security patches are installed:
sudo apt update && sudo apt upgrade -y
Install essential packages for system administration:
sudo apt install -y curl wget vim git unzip socat bash-completion
Step 1 – Install PHP and Required PHP Extensions
Install PHP and its required extensions:
sudo apt install -y php7.2 php7.2-cli php7.2-fpm php7.2-common php7.2-curl php7.2-gd php7.2-json php7.2-mbstring php7.2-xml php7.2-zip php7.2-opcache php-apcu
To view PHP compiled modules, run:
php -m
# Lists various PHP modules
Verify the PHP version:
php --version
# PHP 7.2.17-0ubuntu0.18.04.1
PHP-FPM automatically starts and enables with system boot, thus no manual action is required. Proceed to the subsequent steps.
Step 2 – Install acme.sh Client and Obtain Let’s Encrypt Certificate (Optional)
Securing your site with HTTPS is beneficial. We’ll use the acme.sh client to acquire a TLS certificate from Let’s Encrypt. acme.sh is a pure UNIX shell software obtaining TLS certificates with zero dependencies.
Download and install acme.sh:
sudo su - root
git clone https://github.com/Neilpang/acme.sh.git
cd acme.sh
./acme.sh --install --accountemail your_email@example.com
source ~/.bashrc
cd ~
Check acme.sh version:
acme.sh --version
# v2.8.1
Obtain RSA and ECC/ECDSA certificates for your domain:
# RSA 2048
acme.sh --issue --standalone -d example.com --keylength 2048
# ECDSA
acme.sh --issue --standalone -d example.com --keylength ec-256
Add the --staging flag for test certificates.
Your certificates and keys will be located in:
- RSA:
/home/username/example.com - ECC/ECDSA:
/home/username/example.com_ecc
List issued certificates:
acme.sh --list
Create a directory to store your certificates:
mkdir -p /etc/letsencrypt/example.comsudo mkdir -p /etc/letsencrypt/example.com_ecc
Install/copy certificates to the /etc/letsencrypt directory:
# RSA
acme.sh --install-cert -d example.com --cert-file /etc/letsencrypt/example.com/cert.pem --key-file /etc/letsencrypt/example.com/private.key --fullchain-file /etc/letsencrypt/example.com/fullchain.pem --reloadcmd "sudo systemctl reload nginx.service"
# ECC/ECDSA
acme.sh --install-cert -d example.com --ecc --cert-file /etc/letsencrypt/example.com_ecc/cert.pem --key-file /etc/letsencrypt/example.com_ecc/private.key --fullchain-file /etc/letsencrypt/example.com_ecc/fullchain.pem --reloadcmd "sudo systemctl reload nginx.service"
Certificates will auto-renew every 60 days.
Exit from the root user:
exit
Step 3 – Install and Configure Nginx
Grav works seamlessly with various web servers. Here, we’ll use Nginx.
Install Nginx:
sudo apt install -y nginx
Check the Nginx version:
sudo nginx -v
# nginx version: nginx/1.14.0 (Ubuntu)
Configure Nginx for Grav by creating a configuration file:
sudo vim /etc/nginx/sites-available/grav.conf
Populate with the following configuration:
server {
  listen 80;
  listen [::]:80;
  listen 443 ssl;
  listen [::]:443 ssl;
server_name example.com;

root /var/www/grav;

index index.php;

ssl_certificate /etc/letsencrypt/status.example.com/fullchain.cer;
ssl_certificate_key /etc/letsencrypt/status.example.com/status.example.com.key;
ssl_certificate /etc/letsencrypt/status.example.com_ecc/fullchain.cer;
ssl_certificate_key /etc/letsencrypt/status.example.com_ecc/status.example.com.key;

location / { try_files $uri $uri/ /index.php?$query_string; }
location ~* /(\.git|cache|bin|logs|backup|tests)/.*$ { return 403; }
location ~* /(system|vendor)/.*\.(txt|xml|md|html|yaml|yml|php|pl|py|cgi|twig|sh|bat)$ { return 403; }
location ~* /user/.*\.(txt|md|yaml|yml|php|pl|py|cgi|twig|sh|bat)$ { return 403; }
location ~ /(LICENSE\.txt|composer\.lock|composer\.json|nginx\.conf|web\.config|htaccess\.txt|\.htaccess) { return 403; }

location ~ \.php$ {
fastcgi_pass unix:/var/run/php/php7.2-fpm.sock;
fastcgi_split_path_info ^(.+\.php)(/.+)$;
fastcgi_index index.php;
include fastcgi_params;
fastcgi_param SCRIPT_FILENAME $document_root/$fastcgi_script_name;
}

}
Activate the new grav.conf by linking it to the sites-enabled directory:
sudo ln -s /etc/nginx/sites-available/grav.conf /etc/nginx/sites-enabled/
Test the Nginx configuration:
sudo nginx -t
Reload Nginx to apply changes:
sudo systemctl reload nginx.service
Step 4 – Install Grav CMS
Create a document root for Grav:
sudo mkdir -p /var/www/grav
Change ownership of the /var/www/grav directory to {your_user}:
sudo chown -R {your_user}:{your_user} /var/www/grav
NOTE: Replace {your_user} with your username.
Navigate to the document root:
cd /var/www/grav
Download and unzip the Grav source code:
wget https://getgrav.org/download/core/grav-admin/1.6.8
unzip 1.6.8
mv grav-admin/* . && mv grav-admin/.* .
rm -rf grav-admin 1.6.8
Change ownership of /var/www/grav to www-data:
sudo chown -R www-data:www-data /var/www/grav
Open your site in a web browser and follow the on-screen instructions to complete the Grav installation.
Step 5 – Complete the Grav CMS Setup
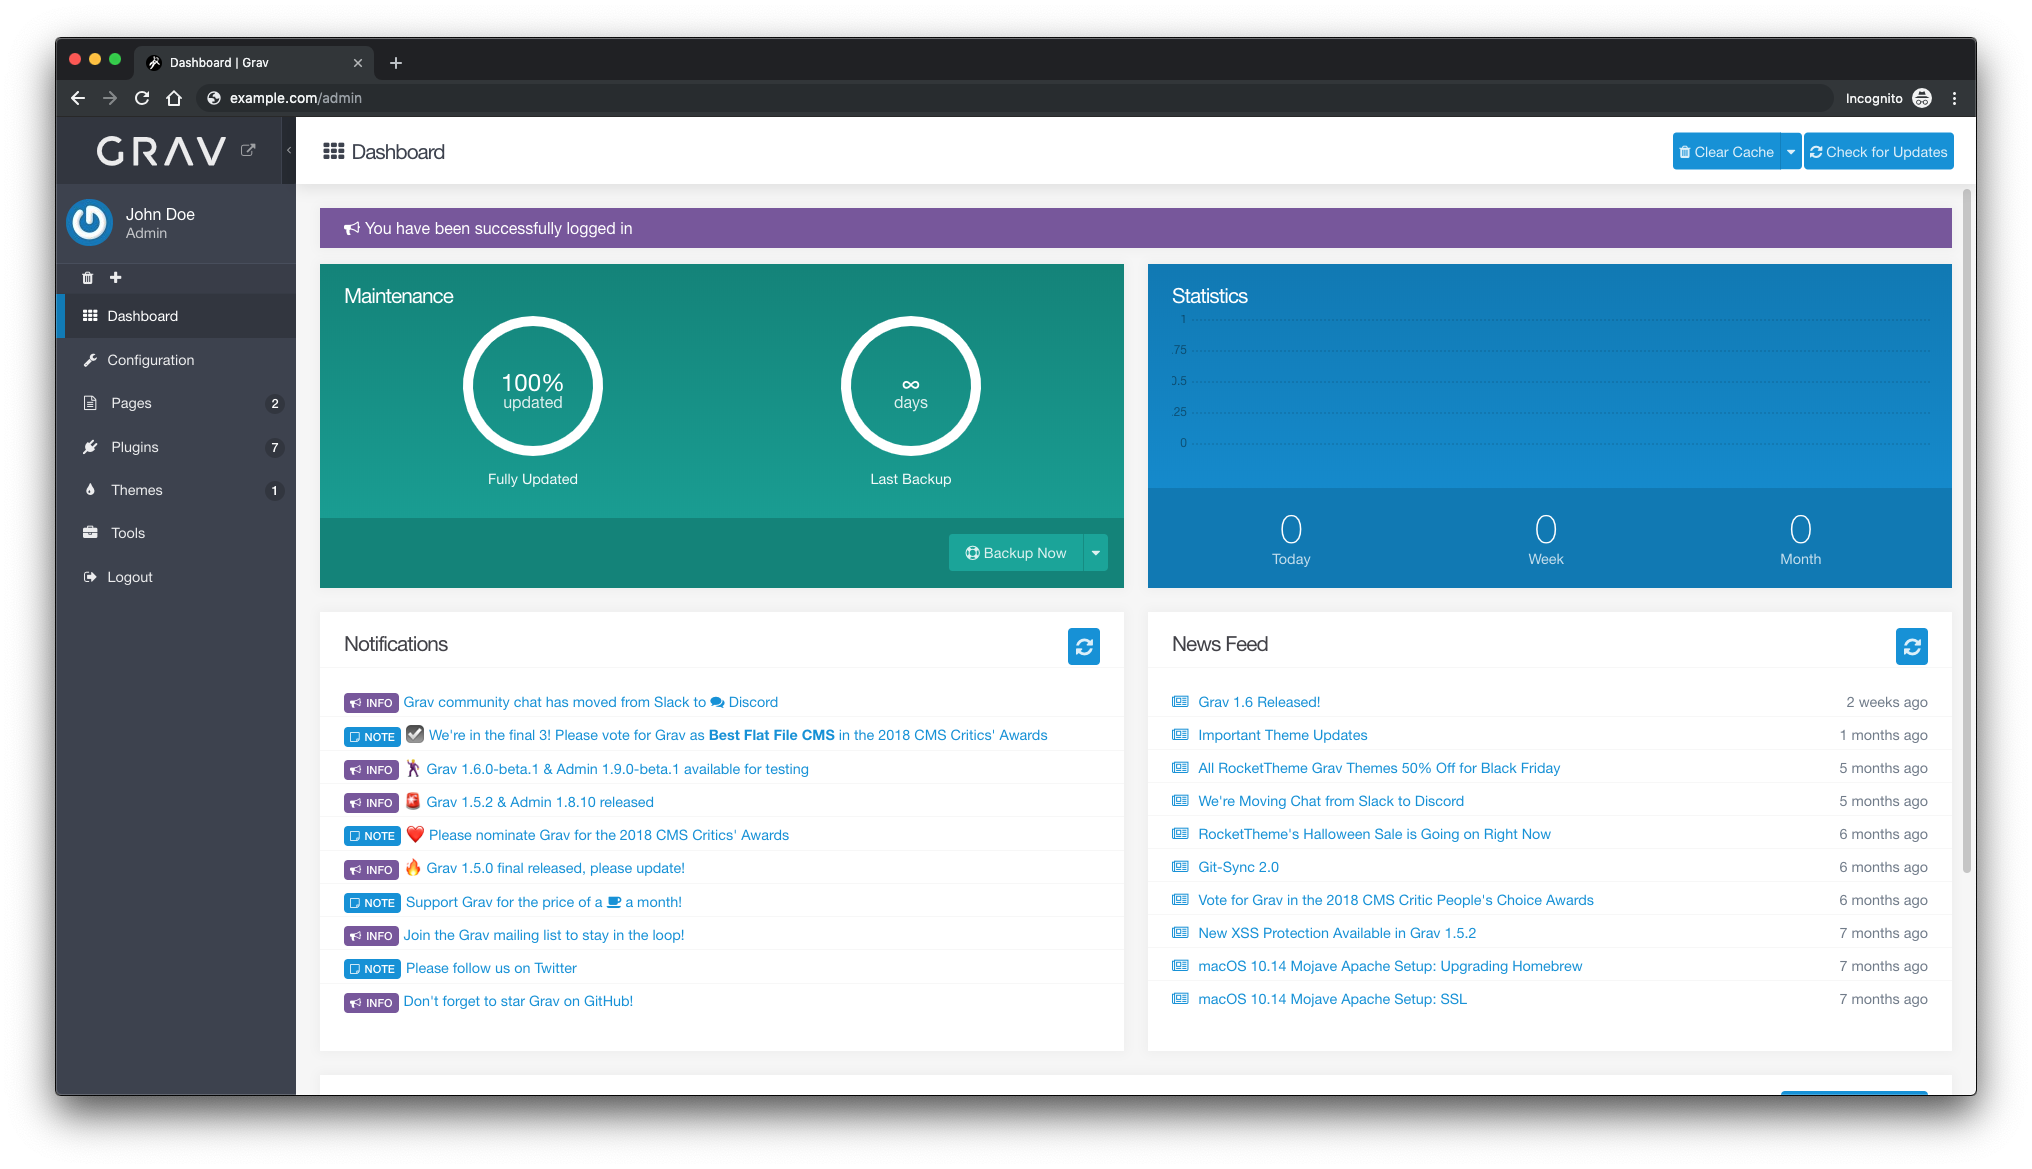
Create an admin account. Upon creation of the admin account, you’ll be directed to the Grav admin dashboard:

Congratulations! You’ve successfully installed Grav CMS.
Links
FAQ
- Can I install Grav on a different version of Ubuntu?
Yes, Grav can be installed on other versions of Ubuntu and even different Linux distributions. However, this guide specifically covers Ubuntu 18.04. You may need to adjust package names and commands for other versions or distributions. - Is it necessary to use Nginx as the web server?
No, Grav is compatible with various web servers such as Apache or IIS. This guide uses Nginx, but you can configure your preferred server following their documentation. - Do I need to install the Let’s Encrypt SSL certificate?
While it’s not mandatory, using an SSL certificate is recommended for securing your website’s traffic. If you prefer, you can skip the SSL certificate installation step. - How do I keep Grav updated?
Grav regularly releases updates and fixes. To update Grav, you can use the built-in GPM (Grav Package Manager) or manually download new releases from their website and replace the existing files.
