Bolt is a sophisticated, lightweight Content Management System (CMS) built with PHP. It is open-source under the MIT-license and its source code is hosted on GitHub. Bolt strives for simplicity, is easy to set up, configure, and uses elegant templates. Best suited for building HTML5 sites, it uses modern open-source libraries. This guide will walk you through installing Bolt CMS on FreeBSD 12, using Nginx as a web server and MySQL as a database server. Optionally, you can secure the site with SSL using the acme.sh client and Let’s Encrypt.
System Requirements
Bolt CMS requires the following:
- PHP version 5.5.9 or higher with extensions: pdo, mysqlnd, pgsql, openssl, curl, gd, intl, json, mbstring, opcache, posix, xml, fileinfo, exif, zip.
- Access to SQLite (bundled with PHP), MySQL, or PostgreSQL.
- Apache with
mod_rewriteor Nginx (configuration below). - At least 32MB memory for PHP.
Prerequisites
- FreeBSD 12 installed.
- A non-root user with sudo privileges.
Initial Setup
Verify your FreeBSD version:
uname -ro
# FreeBSD 12.0-RELEASE
Set your timezone:
tzsetup
Update your system packages:
freebsd-update fetch install
pkg update && pkg upgrade -y
Install essential packages:
pkg install -y sudo vim unzip wget bash
Step 1 – Install MySQL and Create a Database for Bolt
Bolt supports MySQL, MariaDB, PostgreSQL, and SQLite. We will use MySQL:
Install MySQL:
sudo pkg install -y mysql57-server
Check MySQL version:
mysql --version
# mysql Ver 14.14 Distrib 5.7.27, for FreeBSD12.0 (amd64)
Enable and start MySQL:
sudo sysrc mysql_enable="yes"
sudo service mysql-server start
Secure MySQL and set the root password:
sudo mysql_secure_installation
Would you like to setup VALIDATE PASSWORD plugin? N
New password: your_secure_password
Re-enter new password: your_secure_password
Remove anonymous users? [Y/n] Y
Disallow root login remotely? [Y/n] Y
Remove test database and access to it? [Y/n] Y
Reload privilege tables now? [Y/n] Y
Connect to MySQL shell:
sudo mysql -u root -p
Create a MySQL database and user:
CREATE DATABASE dbname;
CREATE USER 'username'@'localhost' IDENTIFIED BY 'password';
GRANT ALL ON dbname.* TO 'username';
FLUSH PRIVILEGES;
Replace dbname, username, and password with your values.
Step 2 – Install PHP and Necessary Extensions
Install PHP and extensions:
sudo pkg install -y php72 php72-ctype php72-curl php72-dom php72-hash php72-iconv php72-gd php72-json php72-mbstring php72-openssl php72-session php72-simplexml php72-xml php72-zip php72-zlib php72-pdo php72-pdo_mysql php72-mysqli php72-filter php72-ftp php72-tokenizer php72-calendar php72-pecl-APCu php72-opcache php72-sqlite3 php72-pdo_sqlite php72-intl php72-posix
Check PHP version:
php --version
# PHP 7.2.22
Enable and start PHP-FPM:
sudo sysrc php_fpm_enable=yes
sudo service php-fpm start
Step 3 – Install acme.sh Client for SSL (Optional)
For SSL, use Let’s Encrypt certificates via Acme.sh:
Install Acme.sh:
sudo pkg install -y acme.sh
Check Acme.sh version:
acme.sh --version
# v2.8.2
Obtain RSA and ECC certificates:
# RSA
sudo acme.sh --issue --standalone --home /etc/letsencrypt -d example.com --keylength 2048
# ECDSA
sudo acme.sh --issue --standalone --home /etc/letsencrypt -d example.com --keylength ec-256
Certificates located in:
- RSA:
/etc/letsencrypt/example.com - ECC:
/etc/letsencrypt/example.com_ecc
Step 4 – Install NGINX and Configure for Bolt CMS
Install Nginx:
sudo pkg install -y nginx-devel
Check Nginx version:
nginx -v
# nginx version: nginx/1.17.1
Enable and start Nginx:
sudo sysrc nginx_enable=yes
sudo service nginx start
Configure Nginx for Bolt:
sudo vim /usr/local/etc/nginx/bolt.conf
server {
  listen 80;
  listen 443 ssl;
  server_name example.com;
  root /usr/local/www/bolt/public;
  index index.php;
ssl_certificate /etc/letsencrypt/example.com/fullchain.pem;
ssl_certificate_key /etc/letsencrypt/example.com/private.key;
…
}
Note: For production configuration, visit Bolt Docs.
Add to nginx.conf:
include bolt.conf;Check Nginx configuration:
sudo nginx -t
Reload Nginx:
sudo service nginx reload
Step 5 – Download and Install Bolt CMS
Create a directory for Bolt:
sudo mkdir -p /usr/local/www
Navigate to the directory:
cd /usr/local/www
Download Bolt CMS:
sudo wget https://bolt.cm/distribution/bolt-latest.zip && sudo unzip bolt-latest.zip
Remove the downloaded ZIP file:
sudo rm bolt-latest.zip
Rename directory for convenience:
sudo mv bolt-v3.6.10 bolt
Make configuration changes:
sudo mv .bolt.yml.dist .bolt.yml
sudo mv composer.json.dist composer.json
sudo mv composer.lock.dist composer.lock
sudo mv src/Site/CustomisationExtension.php.dist src/Site/CustomisationExtension.php
Change ownership to the www user:
sudo chown -R www:www /usr/local/www/bolt
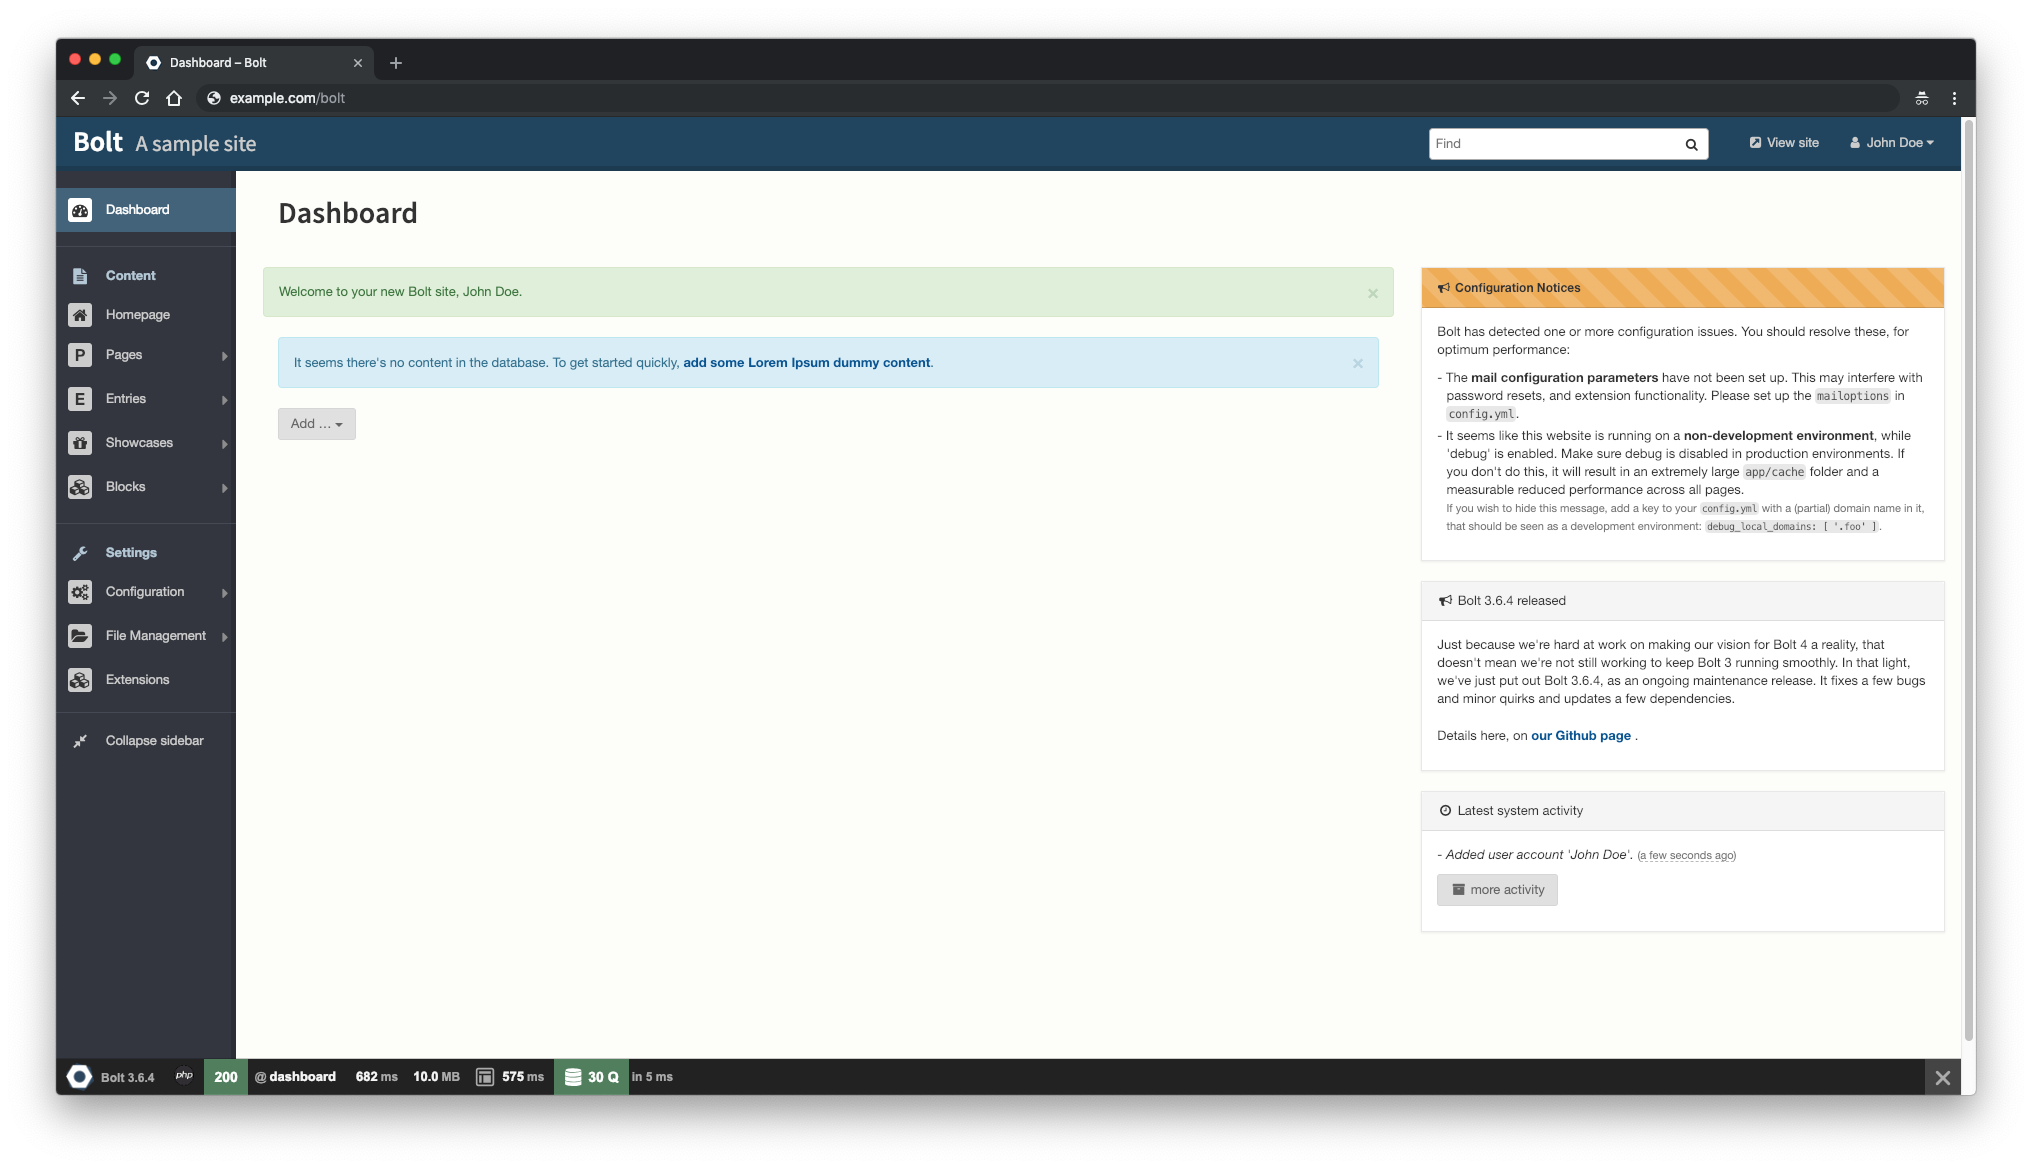
Step 6 – Complete Installation and Setup
Open your site in a web browser:

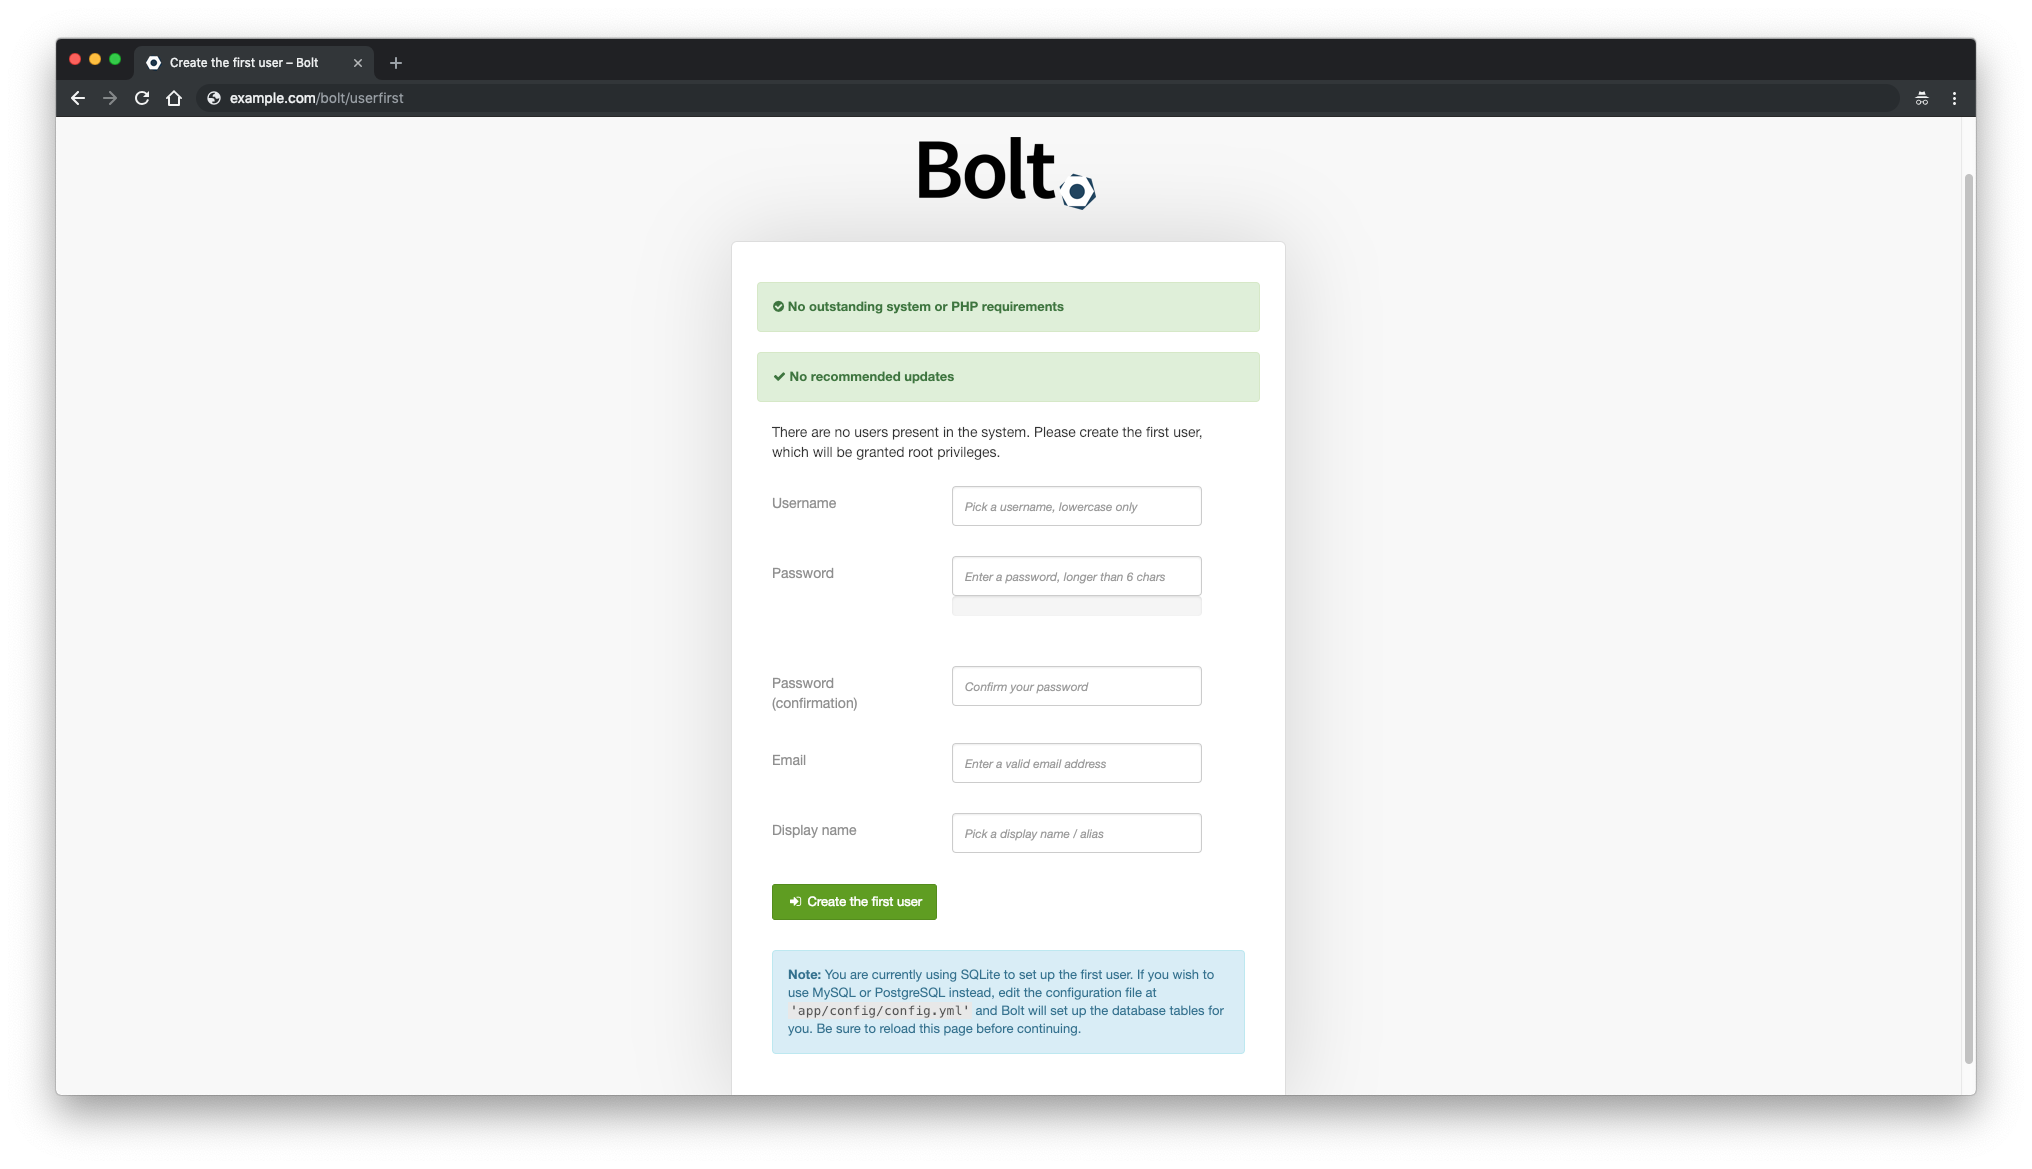
Create the first user to complete setup:

Useful Links
FAQ
- What is Bolt CMS?
- Bolt is a lightweight, open-source Content Management System built with PHP.
- Is Bolt CMS free?
- Yes, Bolt is open-source and available for free under the MIT-license.
- Can I use Bolt CMS with SSL?
- Yes, you can secure Bolt CMS with an SSL certificate from Let’s Encrypt using the acme.sh client.
- Which database systems does Bolt CMS support?
- Bolt CMS supports MySQL, MariaDB, PostgreSQL, and SQLite.
