TYPO3 is a robust, open-source, enterprise-grade content management system (CMS) developed in PHP. Known for its versatility and scalability, TYPO3 offers a reliable platform for building and managing websites across various operating systems such as Windows, Linux, and macOS. It provides an intuitive interface that is beginner-friendly, allowing users to customize and extend their websites without extensive coding. Designed to be responsive and mobile-ready, TYPO3 is an excellent choice for launching your website swiftly and efficiently.
This guide will walk you through installing TYPO3 CMS alongside securing it with a Let’s Encrypt SSL certificate on Ubuntu 22.04.
Prerequisites
- A server running Ubuntu 22.04.
- A registered domain name pointing to your server’s IP address.
- A configured root password on your server.
Getting Started
It’s crucial to ensure your system packages are updated to the latest versions. Run the following commands to update all packages:
apt update -y
apt upgrade -y
Once your system is up-to-date, proceed to the following steps.
Install Apache, PHP, and MariaDB Server
To support TYPO3, install the Apache web server, MariaDB, PHP, and necessary PHP extensions using the following command:
apt-get install apache2 mariadb-server php libapache2-mod-php php-common php-gmp php-curl php-intl php-mbstring php-xmlrpc php-mysql php-gd php-xml php-cli php-zip curl git gnupg2 -y
After installing the packages, adjust the php.ini file as recommended:
nano /etc/php/8.1/apache2/php.ini
Modify the following lines:
memory_limit = 256M
upload_max_filesize = 100M
post_max_size = 100M
max_execution_time = 360
max_input_vars = 1500
date.timezone = UTC
Save your changes and restart the Apache service to apply configurations:
systemctl restart apache2
Create a Database for TYPO3
Proceed by setting up a database and a user for TYPO3. Log in to the MariaDB shell:
mysql
Create a database and a user:
MariaDB [(none)]> CREATE DATABASE typo3db;
Grant all privileges to the newly created user:
MariaDB [(none)]> GRANT ALL ON typo3db.* TO 'typo3user'@'localhost' IDENTIFIED BY 'password' WITH GRANT OPTION;
Flush privileges and exit the MariaDB shell:
MariaDB [(none)]> FLUSH PRIVILEGES;
MariaDB [(none)]> EXIT;
Install TYPO3 CMS
Download the latest version of TYPO3 from their official website using the following command:
curl -L -o typo3_src.tgz https://get.typo3.org/11
Extract the downloaded file:
tar -xvzf typo3_src.tgz
Move the extracted files to the Apache web root:
mv typo3_src-11.5.15 /var/www/html/typo3
Ensure proper permissions for TYPO3 directories:
chown -R www-data:www-data /var/www/html/typo3
chmod -R 775 /var/www/html/typo3
Create an Apache Virtual Host for TYPO3
Create a virtual host file for TYPO3 using Apache:
nano /etc/apache2/sites-available/typo3.conf
Add the following configuration:
<VirtualHost *:80>
  ServerAdmin admin@example.com
  DocumentRoot /var/www/html/typo3
  ServerName typo3.example.com
  <Directory /var/www/html/typo3>
    Options +FollowSymlinks
    AllowOverride All
    Require all granted
  </Directory>

  ErrorLog ${APACHE_LOG_DIR}/error.log
  CustomLog ${APACHE_LOG_DIR}/access.log combined
</VirtualHost>
Enable the virtual host and Apache rewrite module:
a2ensite typo3.conf
a2enmod rewrite
Restart Apache to apply the configuration changes:
systemctl restart apache2
Access TYPO3 CMS
For a fresh installation of TYPO3, create a FIRST_INSTALL file:
touch /var/www/html/typo3/FIRST_INSTALL
chown -R www-data:www-data /var/www/html/typo3/FIRST_INSTALL
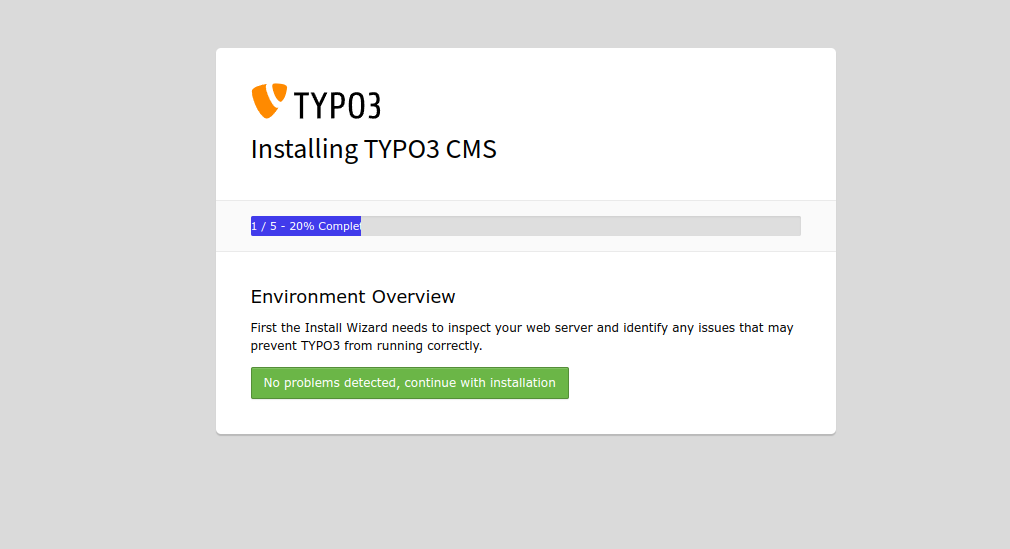
Access the TYPO3 web interface by navigating to http://typo3.example.com in your browser. You will see:

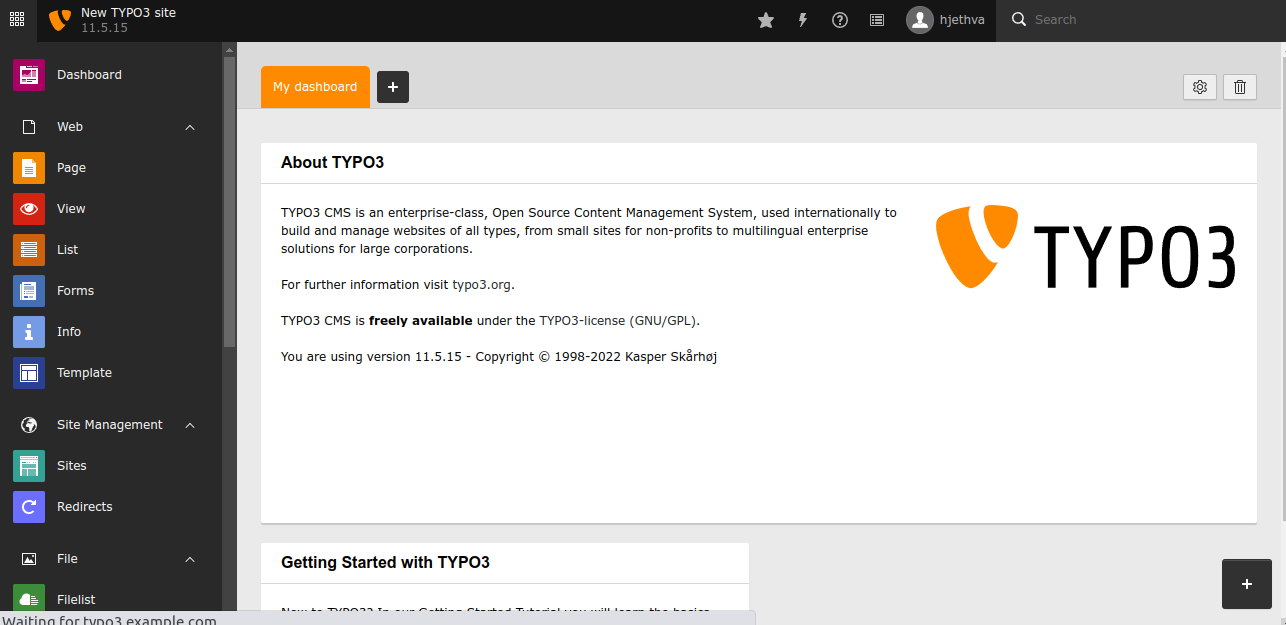
Follow through the setup by providing required database details and administrative credentials. Finalizing leads you to the TYPO3 dashboard:

Secure TYPO3 with Let’s Encrypt
Enhance security by installing a free SSL certificate using Let’s Encrypt. First, install the Certbot client:
apt-get install python3-certbot-apache -y
Run Certbot to obtain and install the certificate:
certbot --apache -d typo3.example.com
During this process, provide your email and agree to the terms of service. Also, enable HTTP to HTTPS redirection as follows:
Please choose whether or not to redirect HTTP traffic to HTTPS, removing HTTP access.
- - - - - - - - - - - - - - - - - - - - - - - - - - - - - - - - - - - - - - - -
1: No redirect - Make no further changes to the webserver configuration.
2: Redirect - Make all requests redirect to secure HTTPS access. Choose this for
new sites, or if you're confident your site works on HTTPS. You can undo this
change by editing your web server's configuration.
- - - - - - - - - - - - - - - - - - - - - - - - - - - - - - - - - - - - - - - -
Select the appropriate number [1-2] then [enter] (press 'c' to cancel): 2
You can now securely access TYPO3 using https://typo3.example.com.
Conclusion
Congratulations! You’ve successfully installed and secured TYPO3 CMS with SSL on Ubuntu 22.04. You can now start customizing and managing your website. Should you have any questions or require further assistance, feel free to reach out.
Frequently Asked Questions (FAQ)
Q: Can TYPO3 be installed on other operating systems?
A: Yes, TYPO3 can be installed on various operating systems, including Windows, Linux, and macOS.
Q: Is TYPO3 suitable for beginners?
A: Absolutely. TYPO3’s user-friendly interface is designed with beginners in mind, allowing customization without excessive coding knowledge.
Q: How do I renew my Let’s Encrypt SSL certificate?
A: You can renew your SSL certificate non-interactively by running certbot renew as indicated in your server’s Let’s Encrypt setup.
Q: Can I use a different database server for TYPO3?
A: While this guide uses MariaDB, TYPO3 also supports other database management systems like MySQL and PostgreSQL.
