Invoice Ninja is a powerful, open-source invoicing application specifically designed for freelancers and small to medium-sized businesses. It allows users to accept payments, track expenses, create proposals, manage time-tasks, and more. With Invoice Ninja, you can create custom invoices and send them to clients efficiently, offering a great alternative to commercial solutions like Freshbooks.
This guide will walk you through the steps of installing Invoice Ninja on an Ubuntu 20.04 server using Apache and Let’s Encrypt SSL to ensure secure transactions.
Prerequisites
- An Ubuntu 20.04 server.
- A valid domain name pointed to your server’s IP.
- Root access to your server.
Getting Started
First, ensure all system packages are up to date. Execute the following command to update all packages:
apt-get update -y
After updating, install necessary dependencies using:
apt-get install software-properties-common apt-transport-https ca-certificates gnupg2 -y
With dependencies in place, move on to the next step.
Install LAMP Server
Install Apache and MariaDB by running the following command:
apt-get install apache2 mariadb-server -y
Following this, it’s necessary to install PHP version 7.2 along with other extensions. Add the Ondrej PHP repository to your system:
add-apt-repository ppa:ondrej/php
Then proceed to install PHP and required extensions:
apt-get install php7.2 libapache2-mod-php7.2 php-imagick php7.2-fpm php7.2-mysql php7.2-common php7.2-gd php7.2-json php7.2-curl php7.2-zip php7.2-xml php7.2-mbstring php7.2-bz2 php7.2-intl php7.2-gmp unzip -y
Verify the PHP installation by running:
php -v
Configure MariaDB Database
Create a dedicated database and user for Invoice Ninja by logging into MariaDB:
mysql
Execute these commands to set up the database:
MariaDB [(none)]> create database invoicedb;
MariaDB [(none)]> create user invoice@localhost identified by 'password';
MariaDB [(none)]> grant all privileges on invoicedb.* to invoice@localhost;
MariaDB [(none)]> flush privileges;
MariaDB [(none)]> exit;
Install Invoice Ninja
Download the Invoice Ninja package:
wget -O invoice-ninja.zip https://download.invoiceninja.com/
Unzip the downloaded file to the Apache directory:
unzip invoice-ninja.zip -d /var/www/html/
Adjust permissions and ownership:
chown -R www-data:www-data /var/www/html/ninja
chmod -R 755 /var/www/html/ninja
Configure Apache for Invoice Ninja
Create an Apache virtual host configuration for Invoice Ninja with:
nano /etc/apache2/sites-available/ninja.conf
Add this configuration:
<VirtualHost *:80>
    ServerName invoice.example.com
    DocumentRoot /var/www/html/ninja/public
    <Directory /var/www/html/ninja/public>
       DirectoryIndex index.php
       Options +FollowSymLinks
       AllowOverride All
       Require all granted
    </Directory>

    ErrorLog ${APACHE_LOG_DIR}/invoice-ninja.error.log
    CustomLog ${APACHE_LOG_DIR}/invoice-ninja.access.log combined

    Include /etc/apache2/conf-available/php7.2-fpm.conf
</VirtualHost>
Enable the virtual host and necessary modules:
a2ensite ninja.conf
a2enmod mpm_event proxy_fcgi setenvif
a2enmod rewrite
Finally, restart Apache:
systemctl restart apache2
Access Invoice Ninja
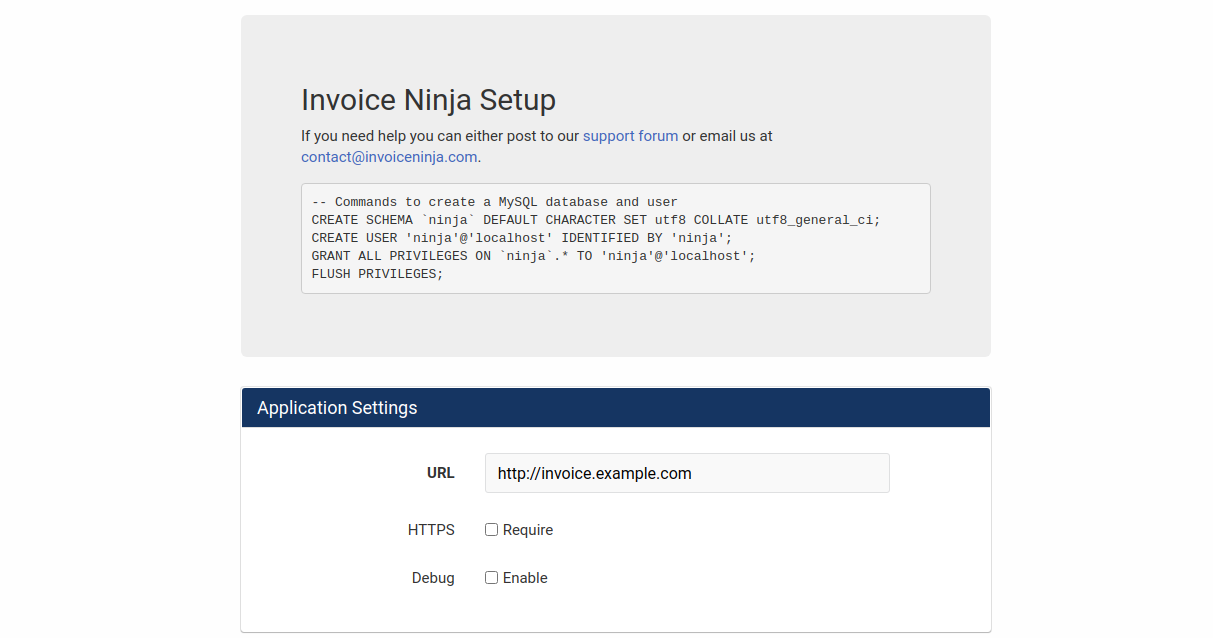
Visit http://invoice.example.com in a browser. You should see the setup page:

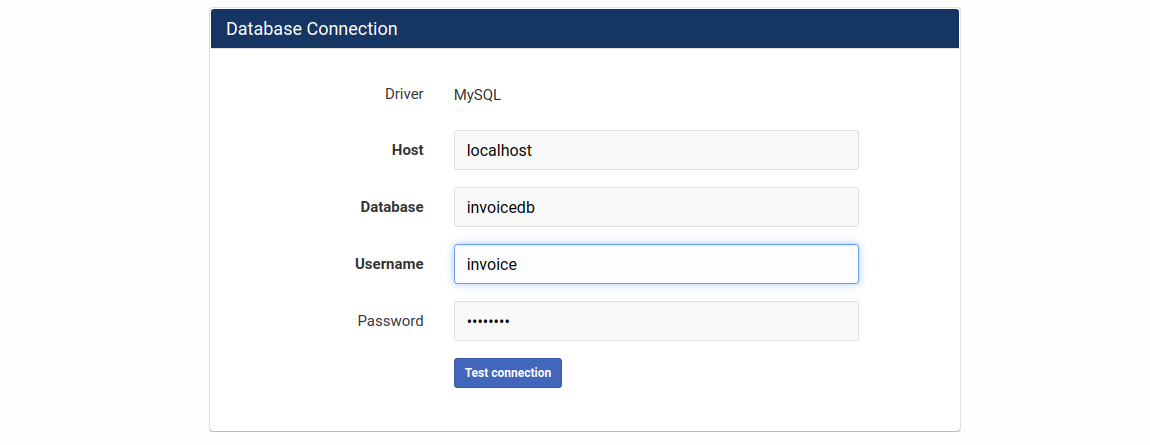
Complete the setup by entering your website URL, database credentials, and admin details.

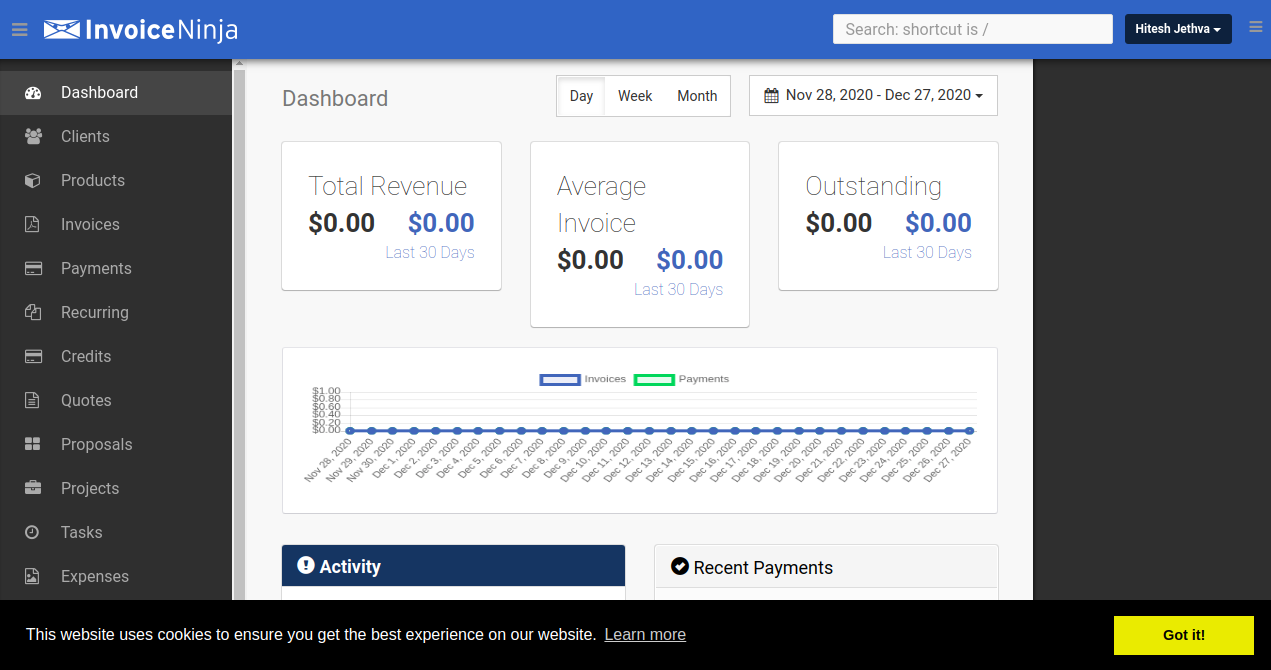
Log in to the Dashboard:

Secure Invoice Ninja with Let’s Encrypt SSL
Install Certbot and secure your site:
apt-get install python3-certbot-apache -y
certbot --apache -d invoice.example.com
Follow prompts to configure SSL, and ensure all traffic is redirected to HTTPS for security.
Conclusion
Congratulations! You’ve installed Invoice Ninja with Let’s Encrypt SSL on Ubuntu 20.04 successfully. Feel free to explore more features and utilize this robust invoicing tool in production.
FAQ
Q: Can I install Invoice Ninja on a different Linux distribution?
A: Yes, you can install Invoice Ninja on other Linux distributions but the steps might slightly differ based on the package management and configurations of the distribution.
Q: How do I update Invoice Ninja?
A: Regularly check the official documentation and the GitHub repository of Invoice Ninja for update instructions specific to the version you are using.
Q: What should I do if Let’s Encrypt SSL installation fails?
A: Ensure your domain is correctly pointed to your server’s IP and there are no network or firewall issues blocking the connection. Checking the logs under `/var/log/letsencrypt` can be helpful for troubleshooting.
