X-Cart is a highly versatile open-source eCommerce platform loaded with features and integrations. You can find X-Cart’s source code on GitHub. This guide will walk you through the steps to install X-Cart 5 on a Debian 10 system using Nginx as the web server and MariaDB as the database server.
Requirements
- PHP version 7.2 or higher
- PHP extensions:
pdo,phar,mysql,mbstring,curl - MySQL version 5.7.7 or higher or MariaDB equivalent
- Nginx
Initial Steps
Start by checking your Debian version:
lsb_release -ds
Set up the timezone:
sudo dpkg-reconfigure tzdata
Update your operating system packages to ensure they are up-to-date with the latest security updates and improvements:
sudo apt update && sudo apt upgrade -y
Install essential packages necessary for basic administration:
sudo apt install -y curl wget vim git unzip socat bash-completion
Step 1 – Install PHP and PHP Extensions
Install PHP along with necessary extensions:
sudo apt install -y php php-cli php-fpm php-common php-mbstring php-curl php-mysql php-json php-xml php-phar php-pdo php-gd
To view compiled PHP modules run:
php -m

ctype
curl
exif
fileinfo
. . .
. . .
Check the PHP version:
php --version

# PHP 7.3.17-0debian0.18.04.1 (cli) (built: Apr 18 2019 14:12:38) ( NTS )
# Copyright (c) 1997-2018 The PHP Group
# Zend Engine v3.2.0, Copyright (c) 1998-2018 Zend Technologies
# with Zend OPcache v7.2.17-0debian0.18.04.1, Copyright (c) 1999-2018, by Zend Technologies
Since PHP-FPM is automatically started and enabled on reboot in Debian 10, let’s proceed to set up the database.
Step 2 – Install MariaDB and Create a Database
Install MariaDB server:
sudo apt install -y mariadb-server
Verify the version:
mysql --version
# mysql  Ver 14.14 Distrib 5.7.27, for Linux (x86_64) using  EditLine wrapper
Secure MariaDB installation:
sudo mysql_secure_installation
Log into MariaDB as root:
sudo mysql -u root -p
# Enter password:
Create a new database and user:
CREATE DATABASE dbname;
GRANT ALL ON dbname.* TO 'username' IDENTIFIED BY 'password';
FLUSH PRIVILEGES;
exit;
Step 3 – Install acme.sh Client and Obtain Let’s Encrypt Certificate (Optional)
While not mandatory, securing your website with HTTPS is a good practice. We will use acme.sh, a pure UNIX shell script, to obtain TLS certificates from Let’s Encrypt.
Download and install acme.sh:
sudo su - root
git clone https://github.com/Neilpang/acme.sh.git
cd acme.sh
./acme.sh --install --accountemail your_email@example.com
source ~/.bashrc
cd ~
Check the version of acme.sh:
acme.sh --version
# v2.8.6
Issue RSA and ECC/ECDSA certificates:
# RSA 2048
acme.sh --issue --standalone -d example.com --keylength 2048
# ECDSA
acme.sh --issue --standalone -d example.com --keylength ec-256
For testing purposes, you can generate fake certificates by adding the --staging flag.
Your certificates and keys will be located at:
- RSA:
/home/username/example.com - ECC/ECDSA:
/home/username/example.com_ecc
List issued certificates:
acme.sh --list
Create directories to store certificates in the /etc/letsencrypt directory:
mkdir -p /etc/letsencrypt/example.comsudo mkdir -p /etc/letsencrypt/example.com_ecc
Install certificates:
# RSA
acme.sh --install-cert -d example.com --cert-file /etc/letsencrypt/example.com/cert.pem --key-file /etc/letsencrypt/example.com/private.key --fullchain-file /etc/letsencrypt/example.com/fullchain.pem --reloadcmd "sudo systemctl reload nginx.service"
# ECC/ECDSA
acme.sh --install-cert -d example.com --ecc --cert-file /etc/letsencrypt/example.com_ecc/cert.pem --key-file /etc/letsencrypt/example.com_ecc/private.key --fullchain-file /etc/letsencrypt/example.com_ecc/fullchain.pem --reloadcmd "sudo systemctl reload nginx.service"
Certificates will be renewed automatically every 60 days.
Exit the root user environment to return to the normal sudo user:
exit
Step 4 – Install and Configure Nginx
Install Nginx:
sudo apt install -y nginx
Check the Nginx version:
sudo nginx -v
# nginx version: nginx/1.14.0
Configure Nginx for X-Cart:
sudo vim /etc/nginx/sites-available/xcart.conf
Add the following configuration:
server {
  listen 80;
  listen [::]:80;
  root /var/www/xcart;
  index index.php index.html index.htm;
  server_name example.com;
  location @handler {
    index cart.php;
    rewrite ^/sitemap.xml(\?.+)?$ /cart.php?target=sitemap;
    rewrite ^/(.*)$ /cart.php?url=$1 last;
  }
  location / {
    try_files $uri $uri/ @handler;
  }
  location ~ \.php$ {
    try_files     $uri @handler;
    fastcgi_split_path_info  ^(.+\.php)(/.+)$;
    fastcgi_index index.php;
    fastcgi_pass unix:/var/run/php/php7.3-fpm.sock;
    include fastcgi_params;
    fastcgi_param PATH_INFO $fastcgi_path_info;
    fastcgi_param SCRIPT_FILENAME $document_root$fastcgi_script_name;
  }
}
Enable the new configuration by creating a symbolic link:
sudo ln -s /etc/nginx/sites-available/xcart.conf /etc/nginx/sites-enabled
Test the Nginx configuration for errors:
sudo nginx -t
Reload Nginx to apply the changes:
sudo systemctl reload nginx
Step 5 – Install X-Cart
Navigate to the web root directory:
cd /var/www/
Download the latest version of X-Cart from the official X-Cart download page and extract it to your document root.
Update the ownership of the X-Cart directory:
sudo chown -R www-data:www-data /var/www/xcart
Open your web browser and navigate to example.com/install.php to complete the installation.
Step 6 – Complete the Setup
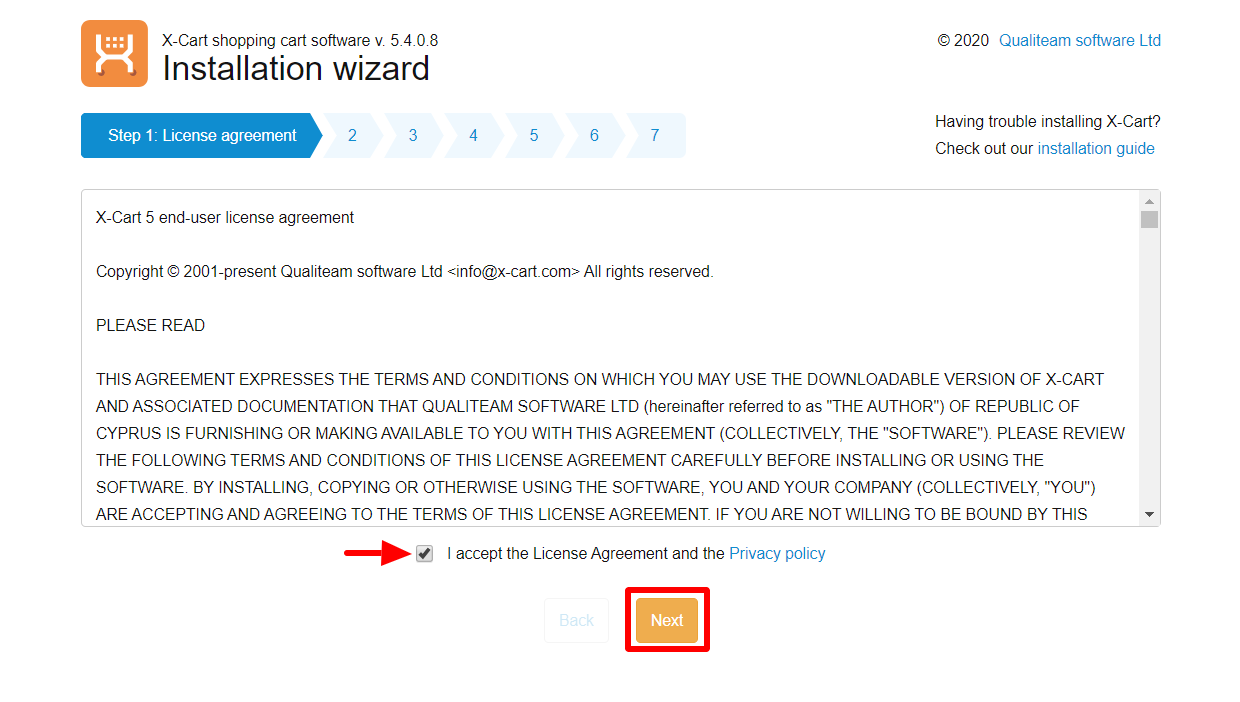
Accept the license agreement and click Next to proceed.
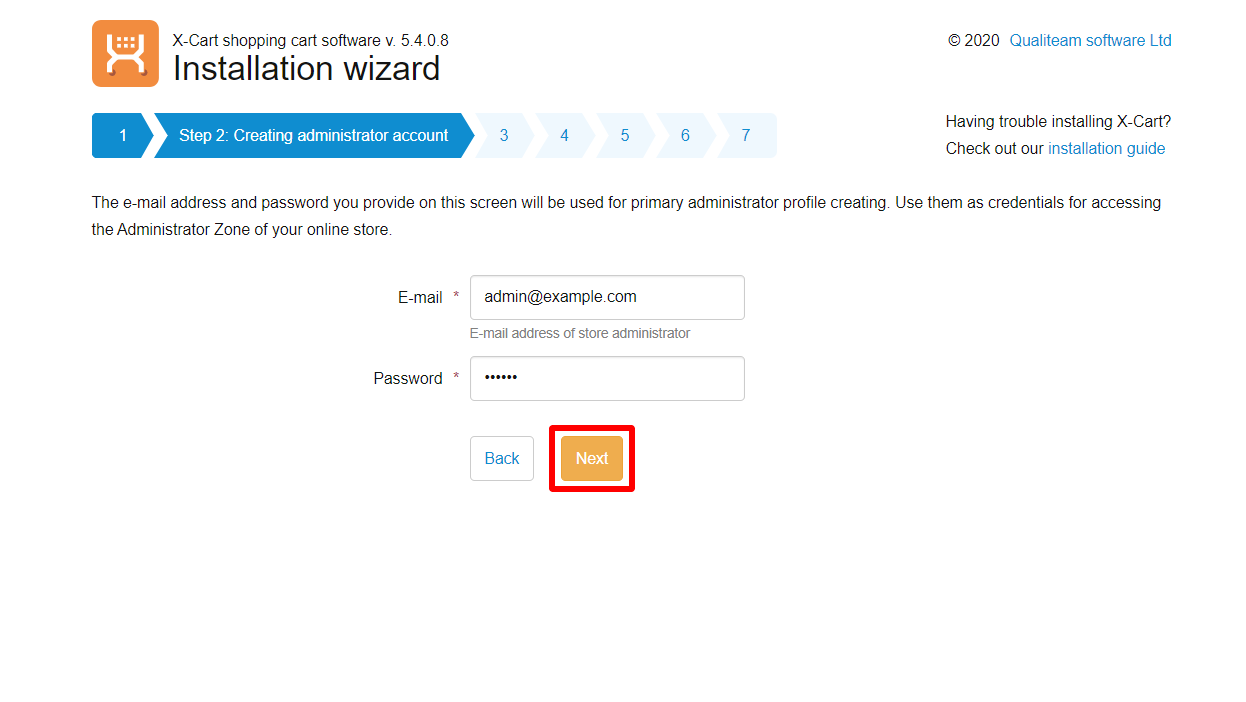
Create an Administrator Account.
The wizard will verify your server’s compatibility with X-Cart 5 system requirements.
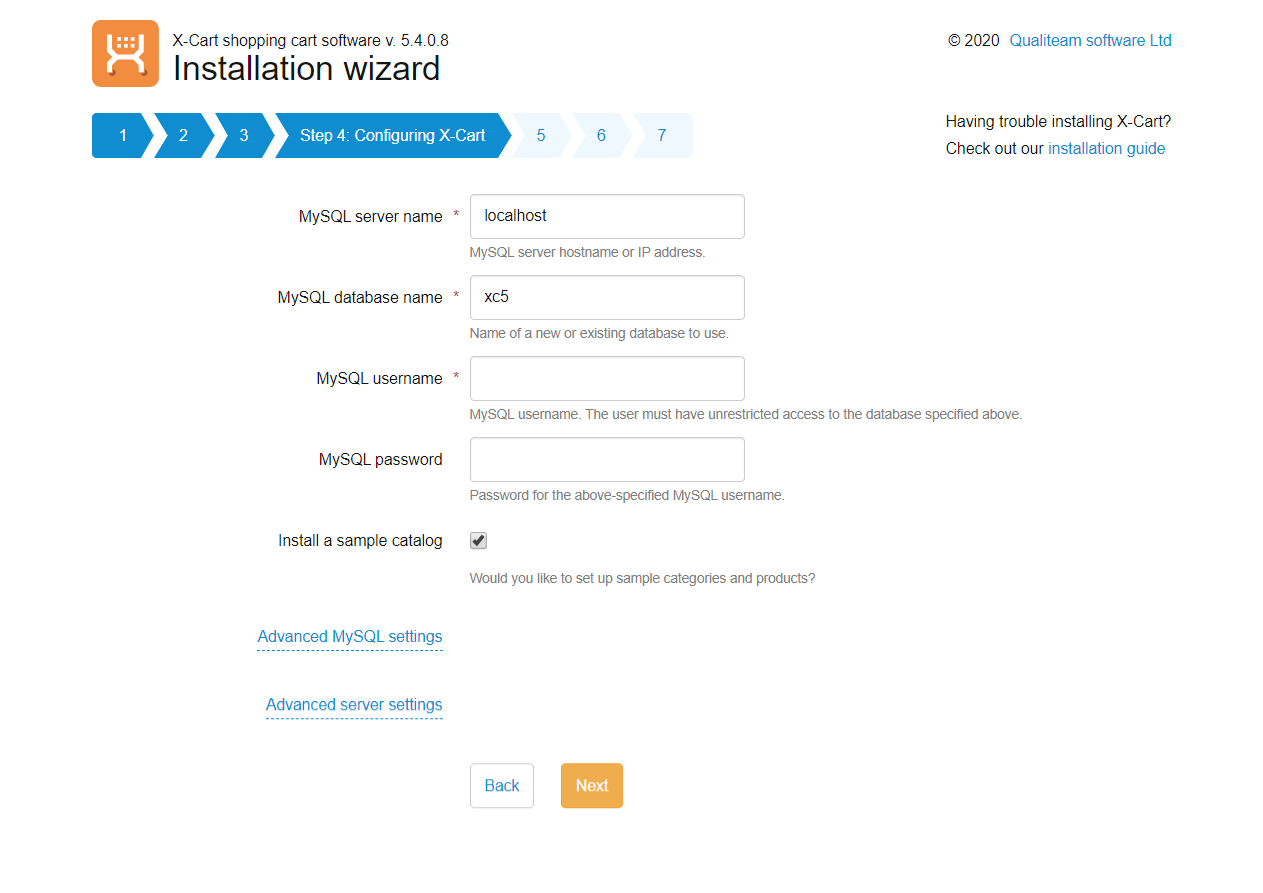
Configure your database settings:
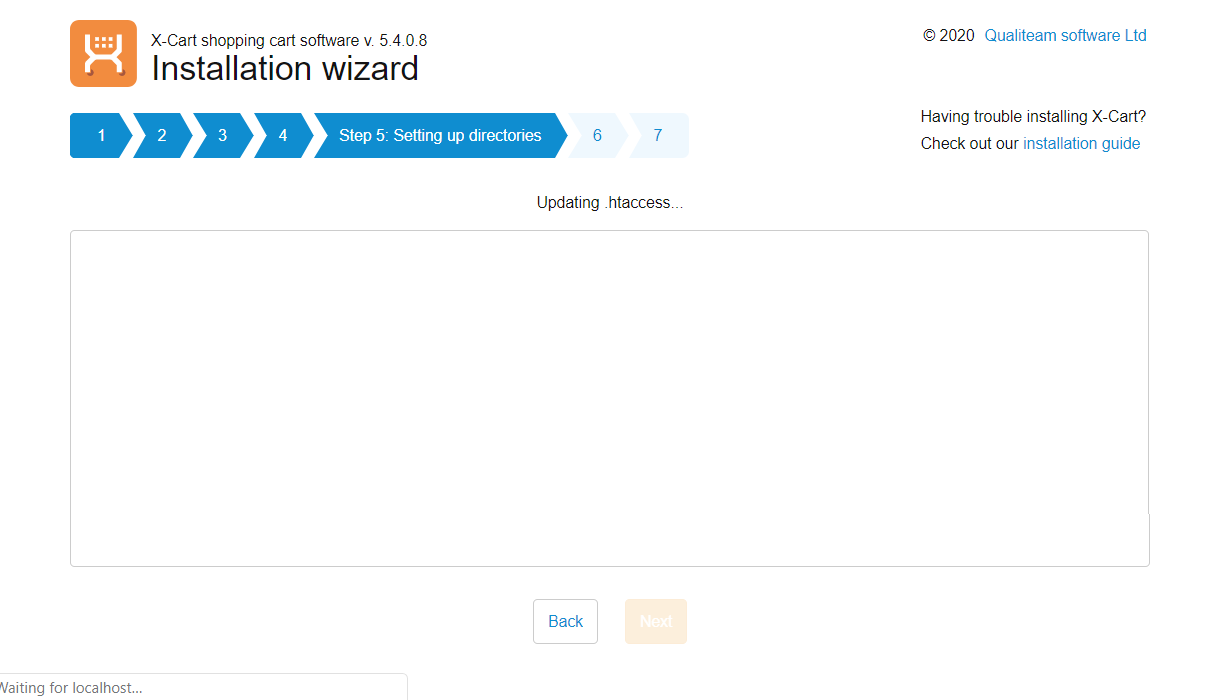
After setting up directories and building cache, wait for X-Cart to complete the installation:
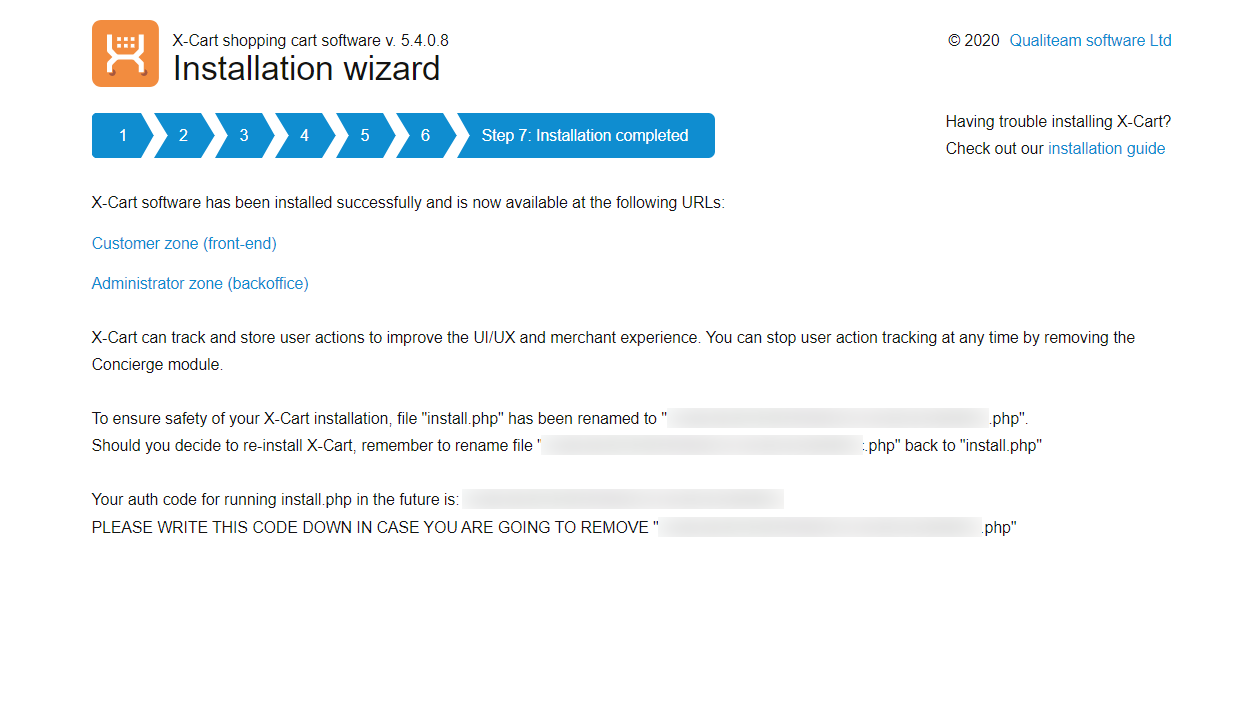
Once the installation is completed, use the provided links to access the Customer front end and Admin area.
FAQ
What is X-Cart?
X-Cart is an open-source eCommerce platform known for its flexibility. With numerous features and third-party integrations, it is suitable for a wide range of online stores.
Can I install X-Cart on a different Linux distribution?
Yes, X-Cart can be installed on various Linux distributions. However, you may need to adjust certain commands and configuration steps according to your distribution’s package manager and system configuration.
Do I really need to use Let’s Encrypt for security?
While using HTTPS is not mandatory, it is highly recommended for the security of data exchanged between your website and its users.
How do I update my X-Cart installation?
Updates can be made through the X-Cart admin panel where you will receive notifications about available updates. Always back up your site and data before applying any updates.
