Pydio is an open-source, cloud-based file-sharing application written in Golang. It allows users to securely share and access various documents, including files, images, and videos, from anywhere via mobile apps, desktop software, or a web browser. Pydio offers native clients for Linux, Windows, mMacOS, Android, and iOS.
In this guide, we will walk through the steps to install the Pydio application on a Debian 11 server.
Prerequisites
- A server running Debian 11.
- Root password configured on the server.
Step 1: Install and Configure MariaDB
Pydio requires MariaDB as its database backend. Use the following command to install the MariaDB database server:
dnf install mariadb-server -y
Secure the MariaDB installation by executing:
mysql_secure_installation
This utility script will guide you through configuring the root password, removing anonymous users, disabling remote root login, and deleting the test database:
Set root password? [Y/n] n
Remove anonymous users? [Y/n] y
Disallow root login remotely? [Y/n] y
Remove test database and access to it? [Y/n] y
Reload privilege tables now? [Y/n] y
Log in to the MariaDB shell:
mysql -u root -p
Create a database and user with the following commands:
CREATE DATABASE pydiodb;
CREATE USER 'pydiodb'@'localhost' IDENTIFIED BY 'password';
Grant necessary privileges to the Pydio database user:
GRANT ALL PRIVILEGES ON pydiodb.* to 'pydiouser'@'localhost';
Flush the privileges and exit the MariaDB shell:
FLUSH PRIVILEGES;
EXIT;
Step 2: Install Pydio Cells
Since the Pydio package isn’t available in the default Debian 11 repositories, download it from the official website.
Download the latest version of Pydio Cells using:
distribId=cells wget -O /usr/bin/cells https://download.pydio.com/latest/${distribId}/release/{latest}/linux-amd64/${distribId}
Set executable permissions on the downloaded file and bind it to the HTTP port:
chmod +x /usr/bin/cells
setcap 'cap_net_bind_service=+ep' /usr/bin/cells
Verify the installation by checking the Pydio Cells version:
cells version
You will see an output similar to this:
Warning: no private IP detected for binding broker. Will bind to 209.23.9.181, which may give public access to the broker.
Pydio Cells Home Edition
Version: 	3.0.6
Built: 	22 Mar 22 06:06 +0su - pydio
cells configure000
Git commit: 	2165523347d2b9860d9c86236b7a518456d9cef3
OS/Arch: 	linux/amd64
Go version: 	go1.15.14
Step 3: Configure Pydio Cells
Configure Pydio Cells using the following command:
cells configure
You’ll be prompted to choose between a browser-based or command-line installation:
Welcome to Pydio Cells Home Edition installation
Pydio Cells Home Edition (v3.0.3) will be configured to run on this machine.
Make sure to prepare access and credentials to a MySQL 5.6+ (or MariaDB equivalent) server.
Pick your installation mode when you are ready.
Select the browser-based installation and press Enter:
Use the arrow keys to navigate: ↓ ↑ → ←
? Installation mode:
  ? Browser-based (requires a browser access)
    Command line (performed in this terminal)
Once configured, you should see the server is starting with the following output:
Installation Server is starting...
Listening to: 0.0.0.0:8080
...
Step 4: Access Pydio Cells Web Installation Wizard
Access the Pydio Cells web interface by visiting https://your-server-ip:8080. You will be greeted with the License Agreement page:
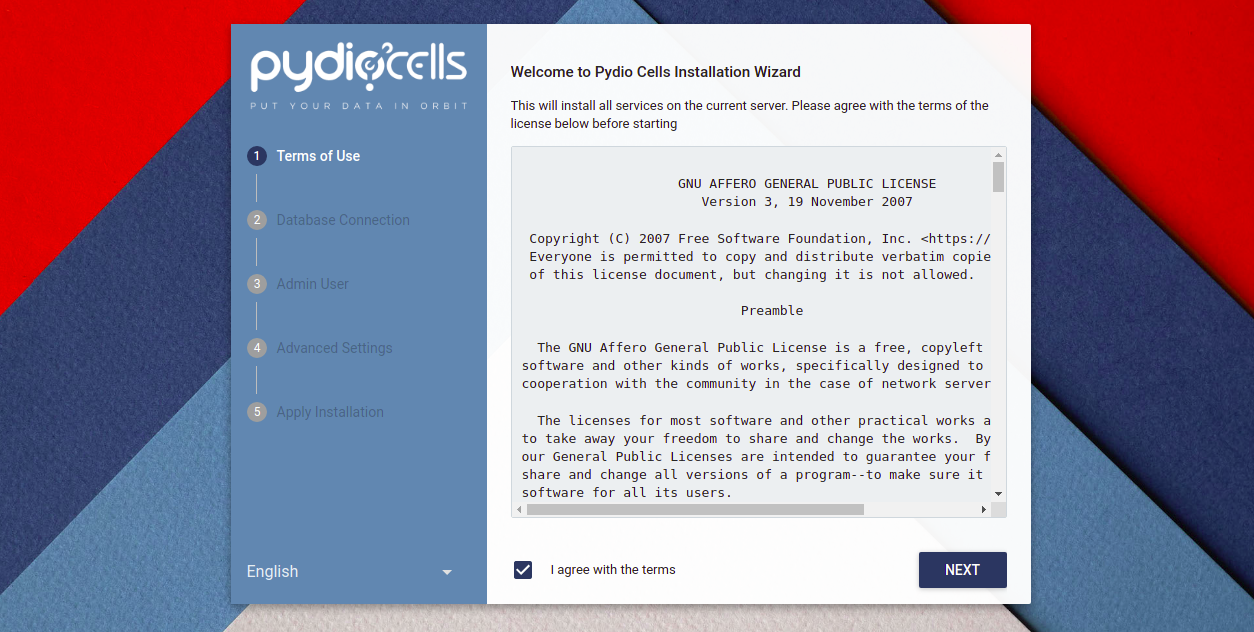
Agree to the license and proceed to configure the database:
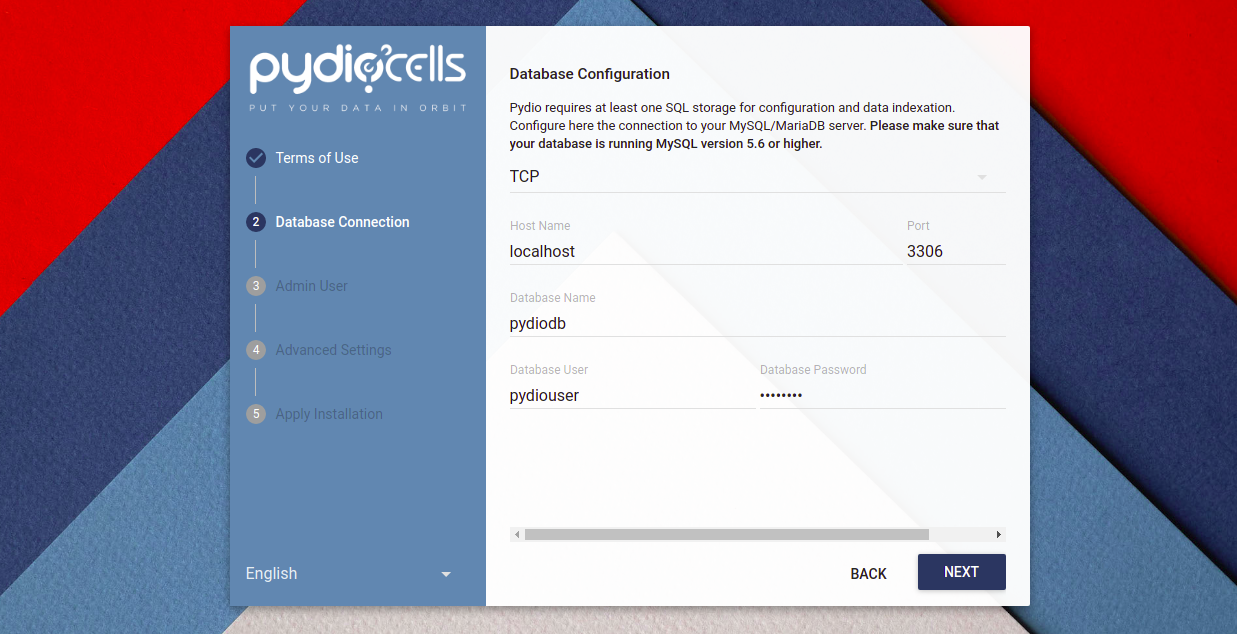
After setting up the database, create an admin user:
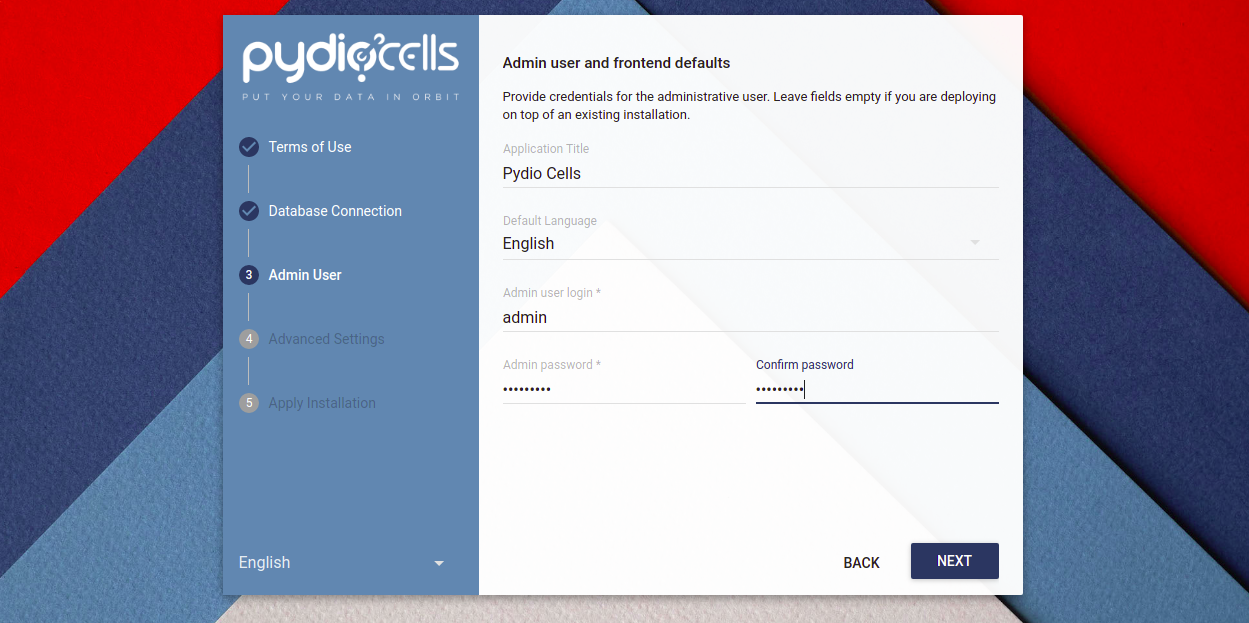
Finish up by customizing any advanced settings and click “Install Now”:
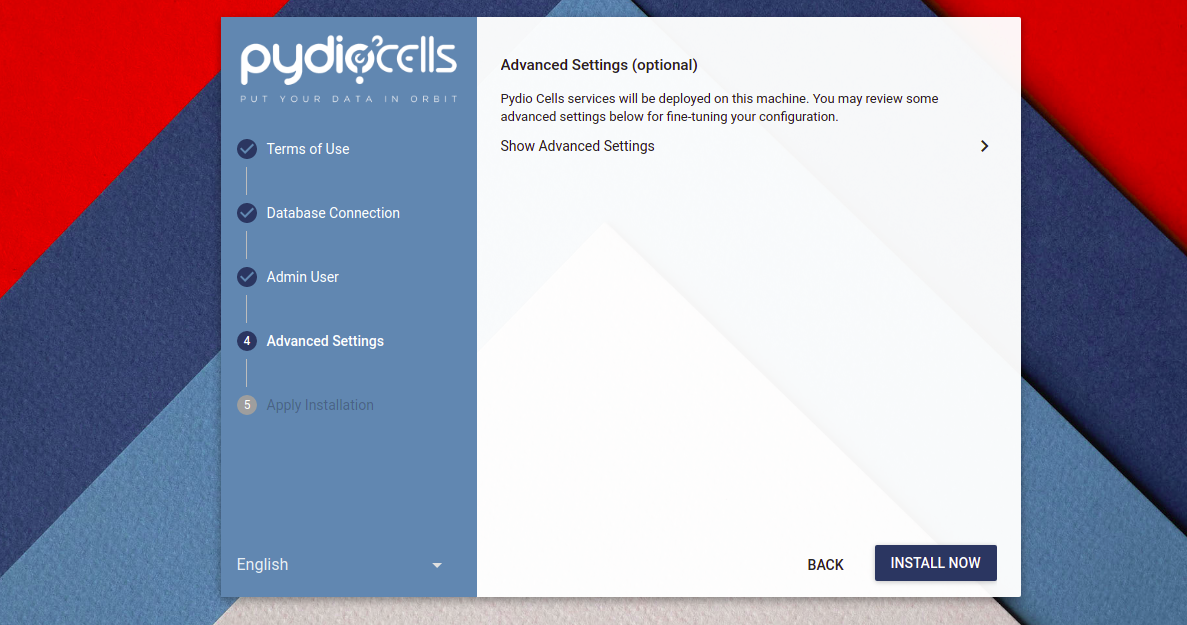
Once installed, you can log in to the Pydio interface:
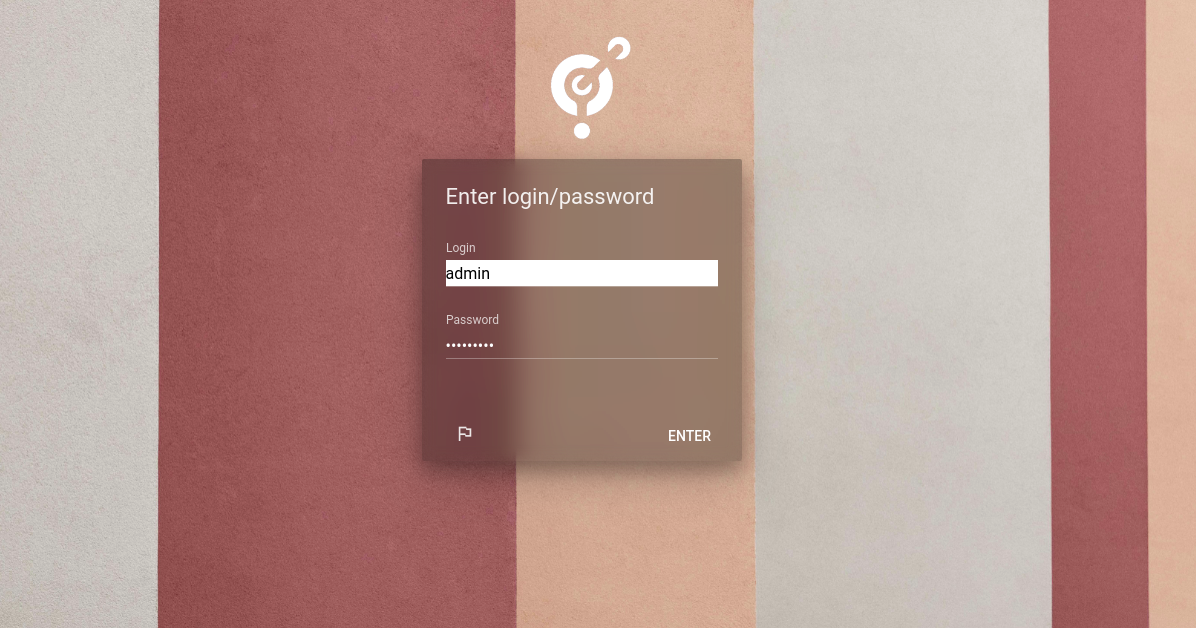
Successfully logging in brings up the Pydio dashboard:

Step 5: Create a Systemd Service for Pydio Cells
Terminate the running Pydio Cells server using CTRL+C and create a systemd service file to manage the Pydio Cells service:
nano /etc/systemd/system/cells.service
Insert the following configuration:
[Unit]
Description=Pydio Cells
Documentation=https://pydio.com
Wants=network-online.target
After=network-online.target
AssertFileIsExecutable=/usr/bin/cells

[Service]
User=root
Group=root
PermissionsStartOnly=true
AmbientCapabilities=CAP_NET_BIND_SERVICE
ExecStart=/usr/bin/cells start
Restart=on-failure
StandardOutput=journal
StandardError=inherit
LimitNOFILE=65536
TimeoutStopSec=5
KillSignal=INT
SendSIGKILL=yes
SuccessExitStatus=0
WorkingDirectory=/root

[Install]
WantedBy=multi-user.target
Save and close the file. Reload the systemd daemon:
systemctl daemon-reload
Now, start and enable the Pydio Cells service:
systemctl enable cells
systemctl start cells
To verify the service status, run:
systemctl status cells
Confirm that the service is up and running:
? cells.service - Pydio Cells
     Loaded: loaded (/etc/systemd/system/cells.service; disabled; vendor preset: enabled)
     Active: active (running) since ...
...
Conclusion
Congratulations! You have successfully installed and set up Pydio Cells on your Debian 11 server. With your Pydio instance up and running, you can now effortlessly manage and access your files using its intuitive web interface. If you need further help, feel free to reach out for assistance.
FAQ
What is Pydio?
Pydio is a cloud-based file-sharing platform that allows users to access documents and media securely from any device.
Why is MariaDB used?
MariaDB is required by Pydio as it serves as its reliable database backend.
Is Pydio compatible with all operating systems?
Yes, Pydio supports Linux, Windows, macOS, and has mobile applications for Android and iOS.
How do I access Pydio Cells?
You can access Pydio Cells through a web browser by navigating to https://your-server-ip:8080.
What should I do if the Pydio service doesn’t start?
Check the service status using systemctl status cells for any errors and ensure all service prerequisites are met.
