phpMyAdmin is a powerful, free, and open-source tool that provides a web-based interface to manage MySQL and MariaDB databases. With phpMyAdmin, you have the capability to manage user accounts, set privileges, import and export data and execute SQL-statements effortlessly. The software is supplemented with extensive documentation to aid in performing a multitude of database operations.
In this comprehensive guide, we will walk you through the installation of phpMyAdmin with Nginx on Ubuntu 20.04 and how to secure your setup with a Let’s Encrypt SSL Certificate.
Prerequisites
- Ubuntu 20.04 server setup.
- A domain name properly configured to point to your server.
- Access to a root password on the server.
Step 1: Install Nginx, MariaDB, and PHP
Begin by installing the Nginx web server, MariaDB, PHP, and additional required PHP extensions using the command below:
apt-get install nginx mariadb-server php php-cli php-mysql php-mbstring php-zip php-gd php-json php-curl php-fpm -y
With these packages installed, you can proceed to install phpMyAdmin.
Step 2: Install phpMyAdmin
The phpMyAdmin package is included in Ubuntu 20.04’s default repository. Installation is straightforward with the following command:
apt-get install phpmyadmin -y
During installation, you will be prompted to select a web server:

Since we’re using Nginx, hit TAB and then ENTER to bypass this option. Another prompt will ask if you’ll use a database for phpMyAdmin:

Select Yes and hit Enter. You’ll then be asked to set an application password for phpMyAdmin:

Enter your desired password and press Enter to finalize the installation.
Step 3: Secure MariaDB Database
If you want to secure your MariaDB setup, including setting a root password, execute this command:
mysql_secure_installation
Respond to the prompts as follows:
Enter current password for root (enter for none):
Set root password? [Y/n] Y
New password:
Re-enter new password:
Remove anonymous users? [Y/n] Y
Disallow root login remotely? [Y/n] Y
Remove test database and access to it? [Y/n] Y
Reload privilege tables now? [Y/n] Y
It’s recommended to create a dedicated user for phpMyAdmin to interact with the database. Start by logging into the MariaDB shell:
mysql -u root -p
Next, create a new MariaDB user:
MariaDB [(none)]> create user admin@localhost identified by 'password';
Grant this user all necessary privileges:
MariaDB [(none)]> grant all privileges on *.* to admin@localhost with grant option;
Follow this up by flushing the privileges and exiting:
MariaDB [(none)]> flush privileges;
MariaDB [(none)]> exit;
Step 4: Configure Nginx for phpMyAdmin
Create an Nginx virtual host configuration for phpMyAdmin using this command:
nano /etc/nginx/sites-available/phpmyadmin
Include the following configuration:
server {
  listen 80;
  listen [::]:80;
  server_name phpmyadmin.linuxbuz.com;
  root /usr/share/phpmyadmin/;
  index index.php index.html index.htm index.nginx-debian.html;

  access_log /var/log/nginx/phpmyadmin_access.log;
  error_log /var/log/nginx/phpmyadmin_error.log;

  location / {
    try_files $uri $uri/ /index.php;
  }

  location ~ ^/(doc|sql|setup)/ {
    deny all;
  }

  location ~ \.php$ {
    fastcgi_pass unix:/run/php/php7.4-fpm.sock;
    fastcgi_param SCRIPT_FILENAME $document_root$fastcgi_script_name;
    include fastcgi_params;
    include snippets/fastcgi-php.conf;
  }

  location ~ /\.ht {
    deny all;
  }
}
Save your changes and create a symbolic link in the /etc/nginx/sites-enabled/ directory:
ln -s /etc/nginx/sites-available/phpmyadmin /etc/nginx/sites-enabled/
Modify Nginx default configurations for hash bucket size:
nano /etc/nginx/nginx.conf
Below the line “http {“, add:
server_names_hash_bucket_size 64;
Next, verify the Nginx configuration for errors:
nginx -t
If everything is configured correctly, restart Nginx to apply changes:
systemctl restart nginx
Confirm that Nginx is running properly:
systemctl status nginx
Step 5: Secure phpMyAdmin with Let’s Encrypt SSL
Install the Certbot client to manage Let’s Encrypt SSL certificates. Start by adding the required repository:
add-apt-repository ppa:ahasenack/certbot-tlssni01-1875471
Update the repository and install the Certbot client:
apt-get update -y
apt-get install certbot python3-certbot-nginx -y
Run the following command to obtain and install an SSL certificate:
certbot --nginx -d phpmyadmin.linuxbuz.com
Follow the prompts to provide your email and agree to terms of service. Decide if you want to redirect HTTP to HTTPS traffic for your site, and then allow Certbot to configure your server automatically:
Please choose whether or not to redirect HTTP traffic to HTTPS, removing HTTP access.
- - - - - - - - - - - - - - - - - - - - - - - - - - - - - - - - - - - - - - - -
1: No redirect - Make no further changes to the webserver configuration.
2: Redirect - Make all requests redirect to secure HTTPS access. Choose this for
new sites, or if you're confident your site works on HTTPS. You can undo this
change by editing your web server's configuration.
- - - - - - - - - - - - - - - - - - - - - - - - - - - - - - - - - - - - - - - -
Select the appropriate number [1-2] then [enter] (press 'c' to cancel): 2
Your phpMyAdmin site is now secured with SSL.
Access phpMyAdmin
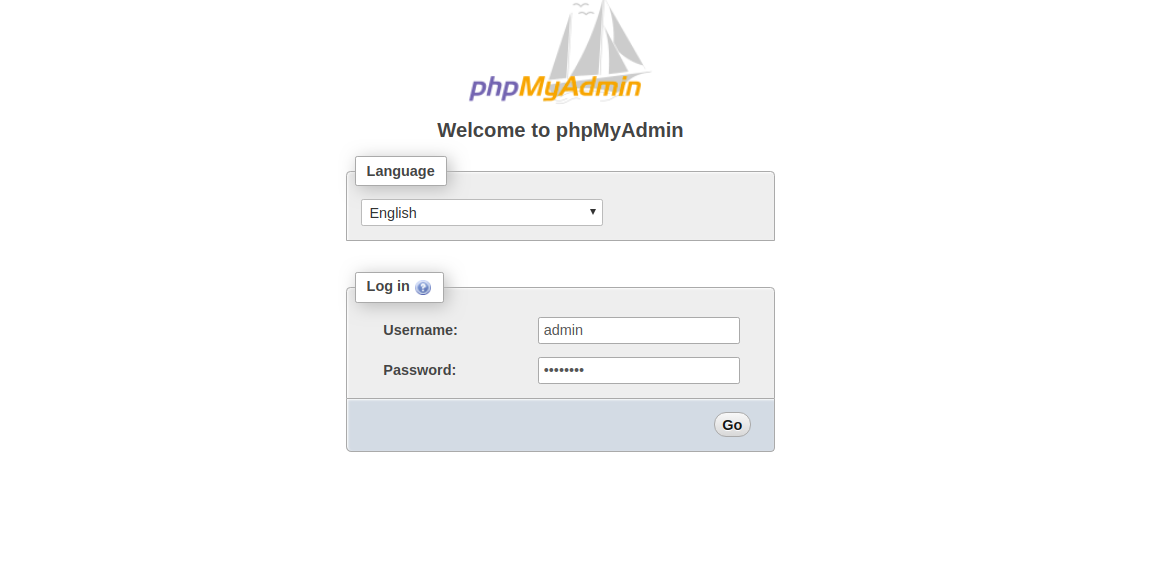
To access phpMyAdmin, navigate to https://phpmyadmin.linuxbuz.com in your web browser. Log in on the phpMyAdmin interface using the credentials you configured:

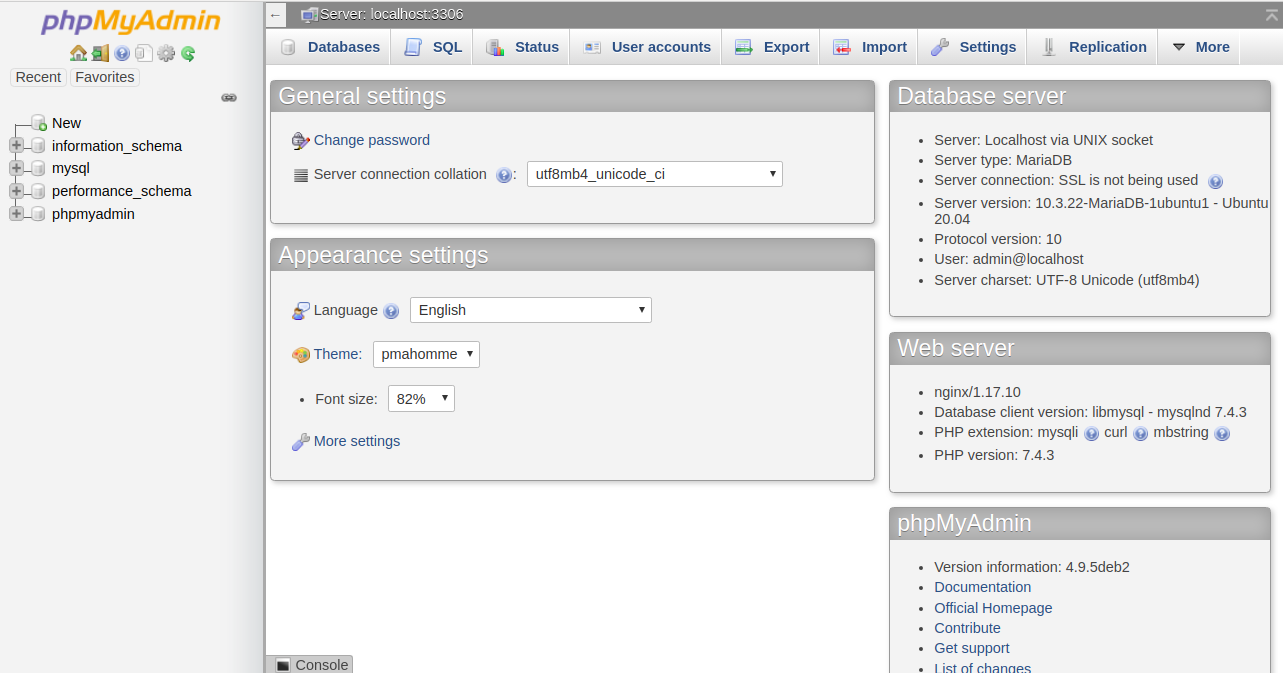
Once logged in, you will be directed to the phpMyAdmin main dashboard:

Conclusion
Congratulations! You have effectively set up phpMyAdmin and secured it using a Let’s Encrypt SSL certificate on Ubuntu 20.04. You can now conveniently manage your databases via a web interface.
FAQ
Why do I need to secure phpMyAdmin with SSL?
SSL (Secure Sockets Layer) encrypts data transferred between the server and client, ensuring secure data transmission, protecting sensitive information such as login credentials from being intercepted.
Can I use this setup for a different operating system?
This guide is tailored for Ubuntu 20.04, but you can adapt it with slight modifications for other Linux distributions by following equivalent processes.
What if I encounter issues with Certbot?
Ensure your Nginx configuration is correct and that your domain points to the correct server IP. Certbot’s documentation is also an excellent resource for troubleshooting.
