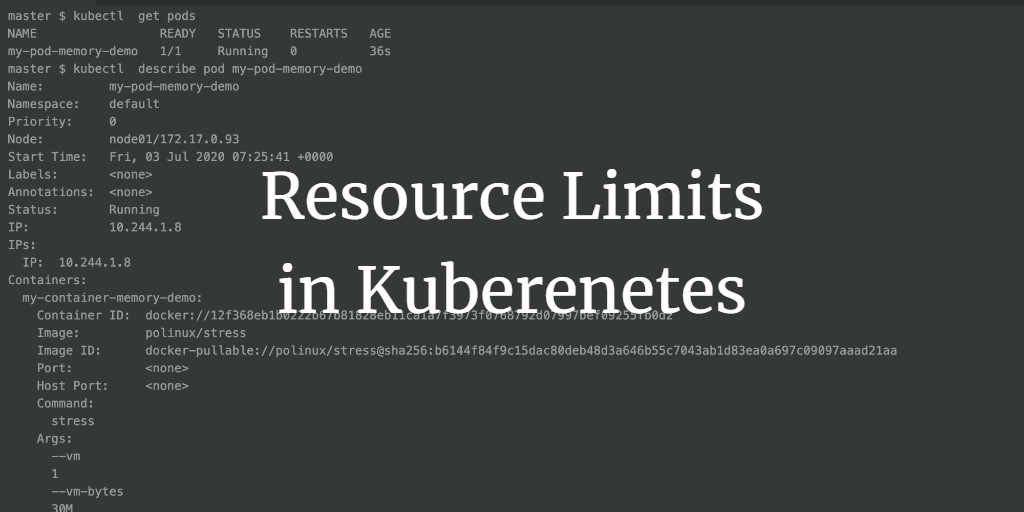
In Kubernetes, containers can use more resources if a node has them available. To manage this, you can specify the amount of resources each container needs, mainly focusing on CPU and memory. When resource requests are made for containers within a pod, the Kubernetes scheduler determines the most suitable node for placement. Setting a resource limit for a container ensures that the kubelet enforces that limit, preventing the container from exceeding its allocated resources.
For instance, if you set a memory request of 100 MiB for a container, it can attempt to use more RAM. However, if a memory limit of 4 GiB is set, the runtime will prevent the container from using more than this limit.
CPU and memory are categorized as compute resources. Each container within a pod can specify:
- Limits on CPU
- Limits on memory
- Limits on hugepages-<size>
- Requests for CPU
- Requests for memory
- Requests for hugepages-<size>
To delve deeper into resource management in Kubernetes, visit the official documentation here.
This guide demonstrates setting resource limits and requests on CPU and memory using a Metric Server, which aggregates resource usage data in the cluster. Note that the Metric Server is not deployed by default in a cluster. We’ll utilize it to monitor resource consumption by pods.
Pre-requisites
A Kubernetes cluster with at least one worker node. To learn how to set up a Kubernetes cluster, refer to this guide, which outlines the steps for creating a Kubernetes cluster with one master and two nodes on AWS Ubuntu 18.04 EC2 Instances.
Steps Covered
Configure resource limits
Resource Limits
First, we need to install the Metric Server before creating pods with specific resource requirements.
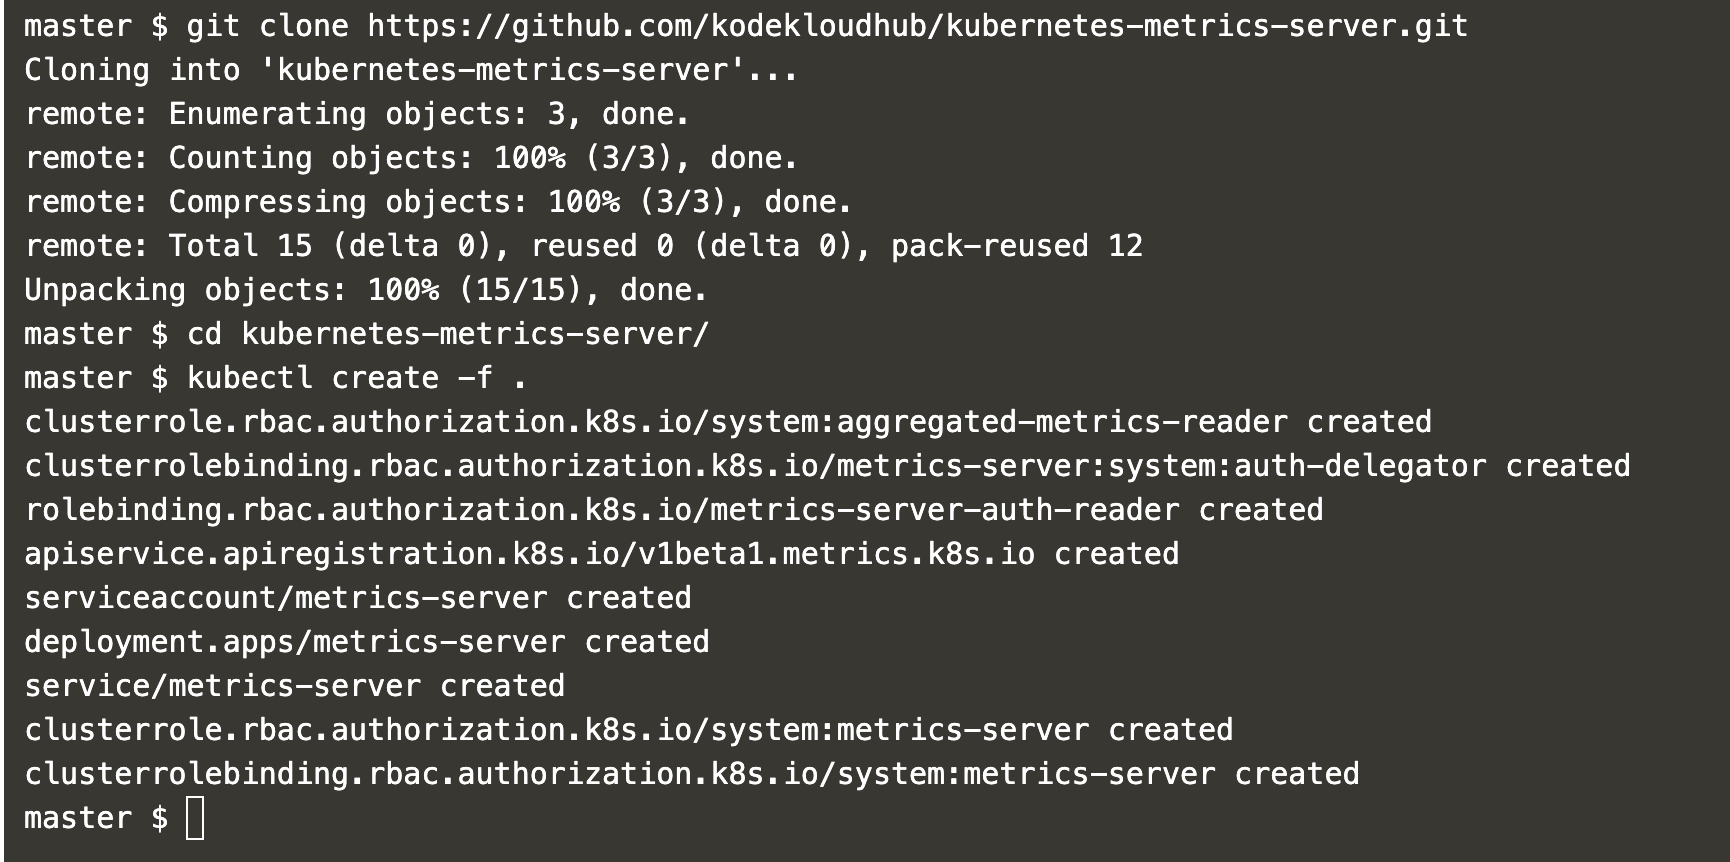
Clone the Metric Server GitHub repository and install it using these commands:
git clone https://github.com/kodekloudhub/kubernetes-metrics-server.git
cd kubernetes-metrics-server/
Create the Metric Server using the object files:
kubectl create -f .
Allow some time for the Metric Server to initialize, then monitor cluster nodes using:
kubectl top node

Create a pod definition file to specify memory requests and limits:
vim my-pod-with-memory.yml
apiVersion: v1
kind: Pod
metadata:
  name: my-pod-memory-demo
spec:
  containers:
  - name: my-container-memory-demo
    image: polinux/stress
    resources:
      limits:
        memory: "50Mi"
      requests:
        memory: "20Mi"
    command: ["stress"]
    args: ["--vm", "1", "--vm-bytes", "30M", "--vm-hang", "1"]
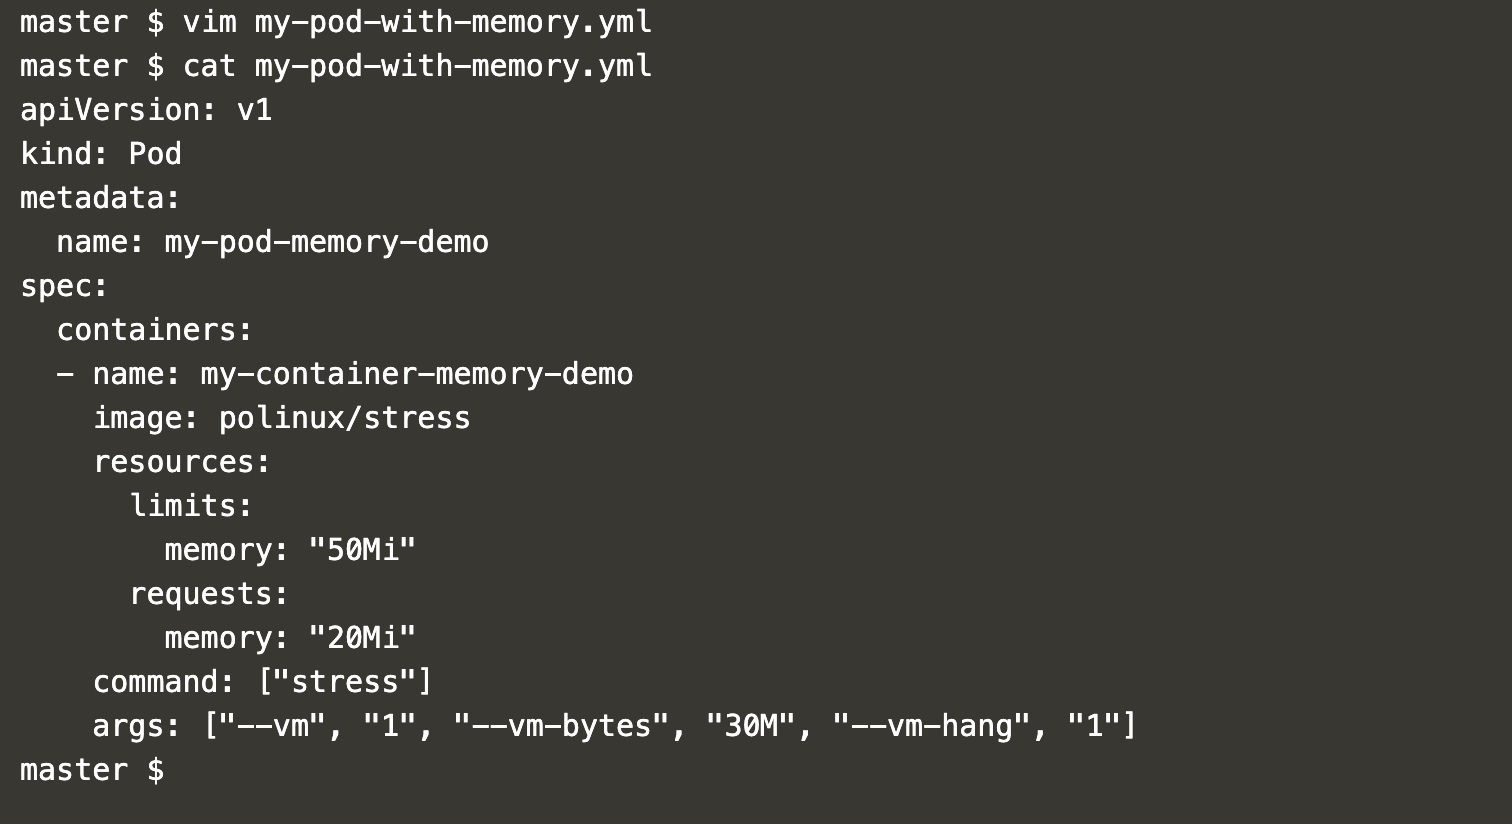
In this file, note the “resources” property specifying a memory limit of 50Mi and a memory request of 20Mi.
List existing pods in the default namespace:
kubectl get pods
Create a pod using the defined configuration:
kubectl create -f my-pod-with-memory.yml
kubectl get pods

Describe the pod to view memory requests and limits:
kubectl describe pod my-pod-memory-demo
Use the following command to check pod usage:
kubectl top pods

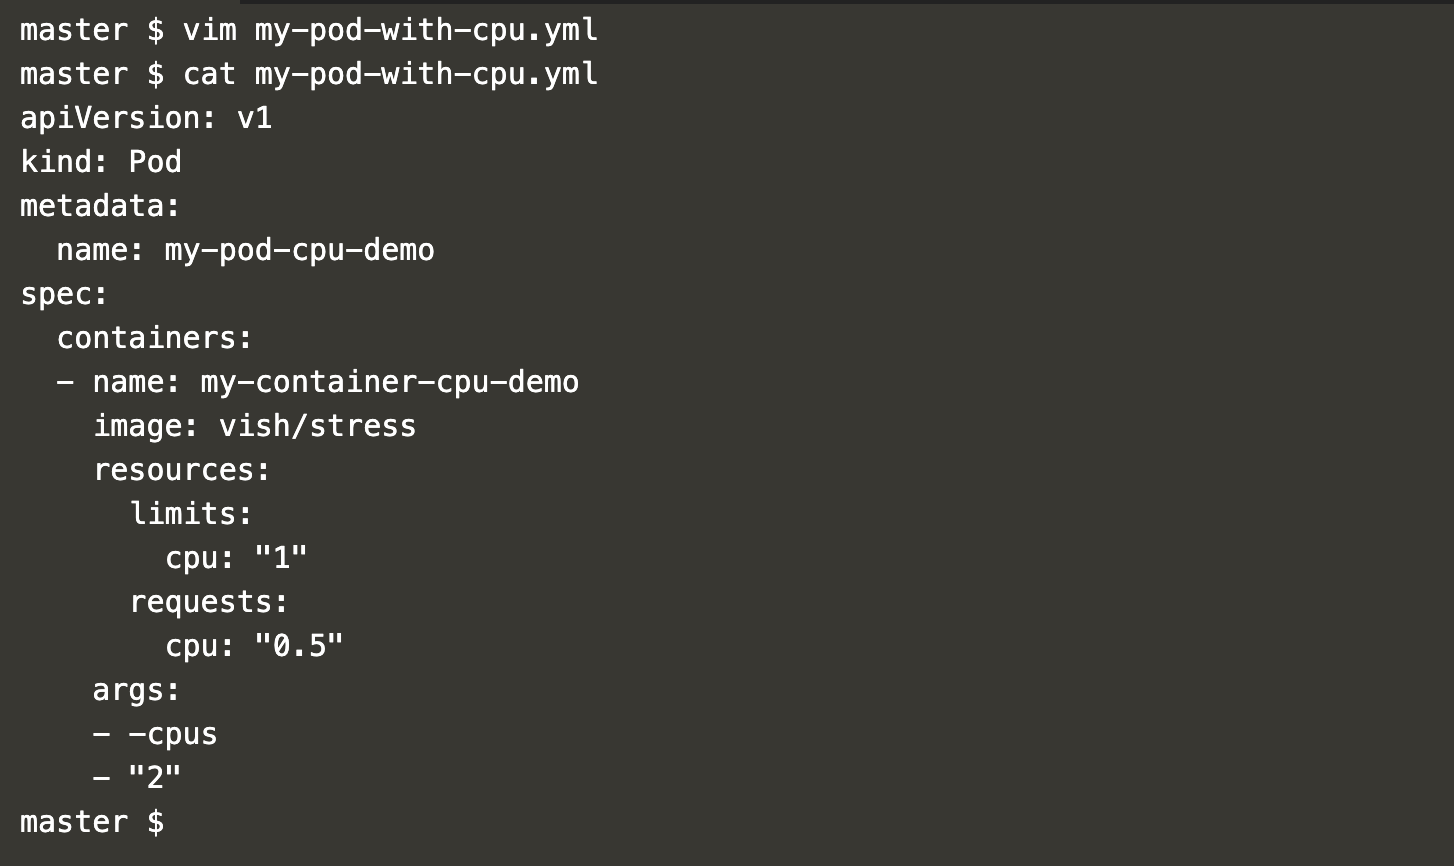
Create a pod definition with CPU request and limit:
vim my-pod-with-cpu.yml
apiVersion: v1
kind: Pod
metadata:
  name: my-pod-cpu-demo
spec:
  containers:
  - name: my-container-cpu-demo
    image: vish/stress
    resources:
      limits:
        cpu: "1"
      requests:
        cpu: "0.5"
    args:
    - -cpus
    - "2"
This file sets a CPU request of 0.5 and a limit of 1. Despite specifying 2 CPUs, the pod cannot use more than 1 CPU.
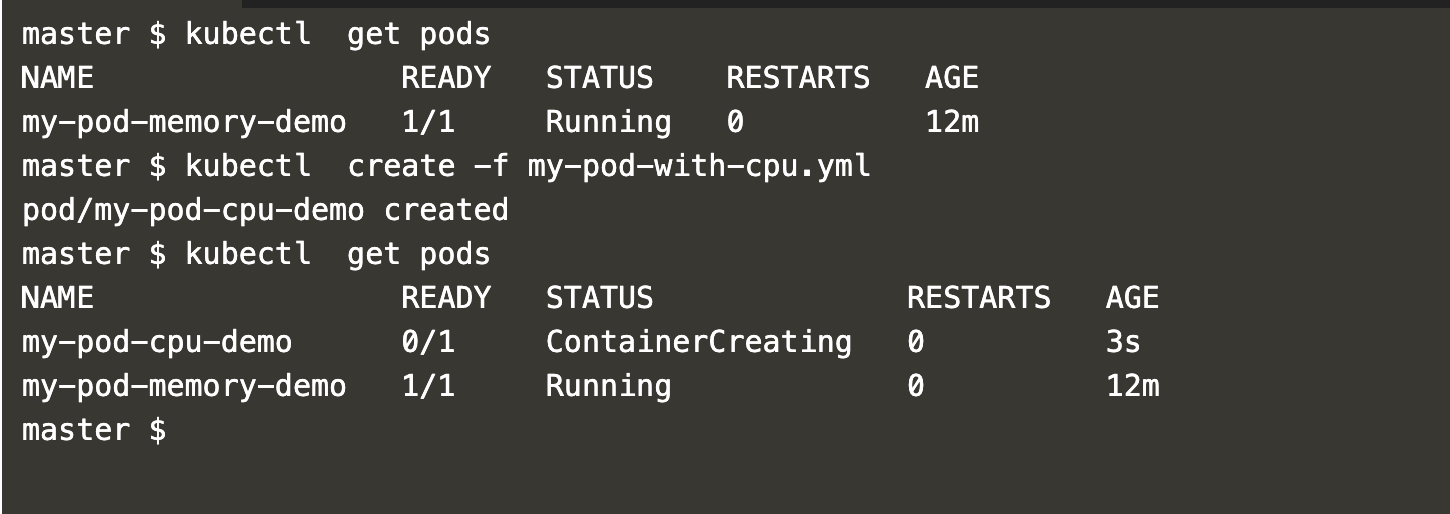
Create a pod with CPU request and limit:
kubectl apply -f my-pod-with-cpu.yml
kubectl get pods
Get details of the pod:
kubectl describe pod my-pod-cpu-demo
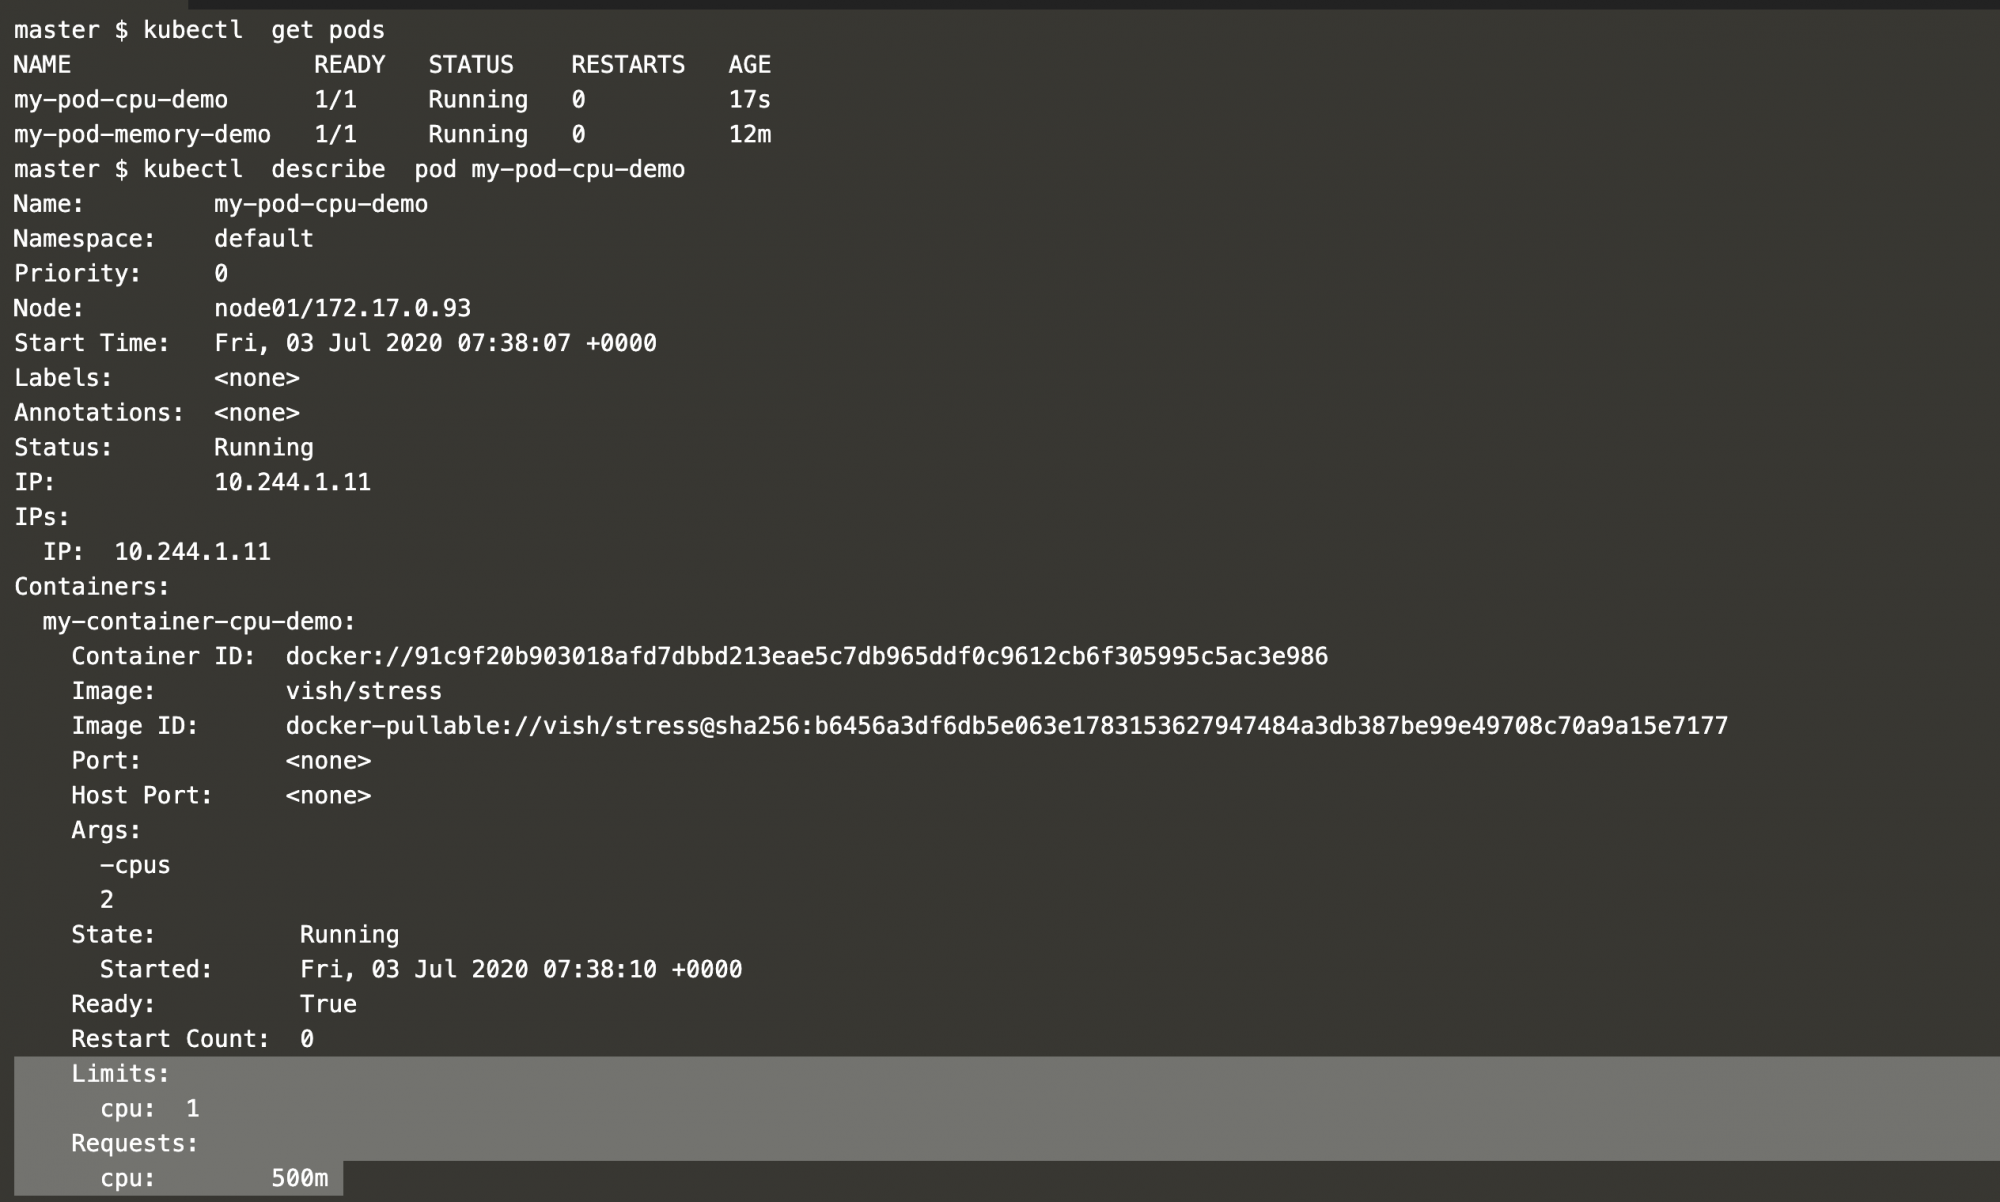
The pod requests 0.5 or 500m CPU, with a limit of 1 CPU.
To check CPU usage, execute:
kubectl top pod

As shown, even though 2 CPUs are specified, the pod cannot exceed the limit of 1 CPU. The pod “my-pod-cpu-demo” reached a maximum consumption of 999m CPU.
Conclusion
This article demonstrated setting up monitoring in a Kubernetes cluster using the Metric Server. It also explained how to manage CPU and memory resources, ensuring consumption does not exceed specified limits.
Frequently Asked Questions (FAQ)
1. What is the purpose of setting resource requests and limits in Kubernetes?
Resource requests ensure a certain amount of resources (CPU, memory) are available on a node before scheduling a pod, while limits ensure containers don’t exceed allocated resources.
2. What happens if a container exceeds its resource limit?
If a container exceeds its CPU limit, it can be throttled. Exceeding memory limits typically results in the container being terminated.
3. Can requests and limits be set differently for memory and CPU?
Yes, you can set different values for memory and CPU requests and limits, allowing for flexible resource management based on container needs.
4. What tools can be used to monitor resource consumption in Kubernetes?
The Metric Server can be used to monitor resource usage within a cluster. Commands like `kubectl top node` and `kubectl top pod` can provide insights on consumption.
5. Why might a pod not get scheduled, even if nodes have available resources?
If resource requests cannot be met by any node, the pod won’t be scheduled. This occurs when the requested resources exceed available capacity.
