SuiteCRM is a renowned free, open-source, enterprise-class CRM system crafted by SalesAgility. It originated as a fork of the SugarCRM Community Edition and provides comprehensive tools essential for businesses with CRM and ERP requirements. This includes features like Email marketing, Social media integration, Marketing automation, Internal chat integration, Document storage, Reminders, and Task management, among others. This guide details the steps to install SuiteCRM using Nginx and Let’s Encrypt SSL on Ubuntu 20.04.
Prerequisites
- Ubuntu 20.04 server.
- A valid domain name linked to your server’s IP address.
- Root access secured with a password on the server.
Getting Started
To begin, ensure all system packages are updated to their latest versions using the command below:
apt-get update -y
Proceed to the next step once your server is updated.
Install Nginx, MariaDB, and PHP
Install the Nginx web server, MariaDB, PHP, and essential PHP extensions using:
apt-get install nginx mariadb-server php7.4 php7.4-fpm php7.4-gd php7.4-opcache php7.4-mbstring php7.4-xml php7.4-json php7.4-zip php7.4-curl php7.4-imap php-mysql unzip -y
Subsequently, modify the php.ini file with recommended settings:
nano /etc/php/7.4/fpm/php.ini
Update the following configurations:
post_max_size = 60M
upload_max_filesize = 60M
memory_limit = 256M
max_input_time = 60
max_execution_time = 5000
date.timezone = Asia/Kolkata
After saving and closing the file, restart the PHP-FPM service to apply changes.
systemctl restart php7.4-fpm
Your LEMP server setup is now complete. Proceed to the database configuration for SuiteCRM.
Create a Database for SuiteCRM
SuiteCRM requires a database for data storage. Log in to the MariaDB shell as follows:
mysql
Create the necessary database and user with the following commands:
MariaDB [(none)]> CREATE DATABASE suitecrm;
MariaDB [(none)]> GRANT ALL PRIVILEGES ON suitecrm.* TO 'suitecrm'@'localhost' IDENTIFIED BY 'password';
Flush the privileges to implement changes.
MariaDB [(none)]> FLUSH PRIVILEGES;
Exit the MariaDB console.
MariaDB [(none)]> EXIT;
Your database and user for SuiteCRM are ready. Proceed to install SuiteCRM.
Install SuiteCRM
Download the latest version of SuiteCRM by executing:
wget https://sourceforge.net/projects/suitecrm/files/SuiteCRM-7.11.19.zip
Unzip the downloaded archive:
unzip SuiteCRM-7.11.19.zip
Move the unzipped folder to the Nginx root directory:
mv SuiteCRM-7.11.19 /var/www/html/suitecrm
Set appropriate permissions and ownership:
chown -R www-data:www-data /var/www/html/suitecrm/
chmod 755 -R /var/www/html/suitecrm/
Let’s configure Nginx to host SuiteCRM.
Configure Nginx to Host SuiteCRM
Create an Nginx virtual host file with:
nano /etc/nginx/conf.d/suitecrm.conf
Insert the following configuration:
server {
   listen 80;
   server_name suitecrm.example.com;

   root /var/www/html/suitecrm;
   error_log /var/log/nginx/suitecrm.error;
   access_log /var/log/nginx/suitecrm.access;
   client_max_body_size 20M;

   index index.php index.html index.htm index.nginx-debian.html;

   location / {
     try_files $uri /index.php$is_args$args;
   }

   location ~ \.php$ {
     include snippets/fastcgi-php.conf;
     fastcgi_pass unix:/run/php/php7.4-fpm.sock;
   }

   location ~* ^/index.php {
     fastcgi_split_path_info ^(.+\.php)(/.+)$;

     fastcgi_pass unix:/var/run/php/php7.4-fpm.sock;
     fastcgi_index index.php;
     fastcgi_param SCRIPT_FILENAME $document_root$fastcgi_script_name;
     include fastcgi_params;

     fastcgi_buffer_size 128k;
     fastcgi_buffers 256 16k;
     fastcgi_busy_buffers_size 256k;
     fastcgi_temp_file_write_size 256k;
   }

    location = /favicon.ico {
        log_not_found off;
        access_log off;
    }

    location = /robots.txt  {
        access_log off;
        log_not_found off;
    }

    location ~ /\. {
        deny all;
        access_log off;
        log_not_found off;
    }

  location ~* \.(jpg|jpeg|gif|png|webp|svg|woff|woff2|ttf|css|js|ico|xml)$ {
       access_log        off;
       log_not_found     off;
       expires           360d;
  }
}
Save the file and confirm Nginx syntax integrity:
nginx -t
Expected output:
nginx: the configuration file /etc/nginx/nginx.conf syntax is ok
nginx: configuration file /etc/nginx/nginx.conf test is successful
Restart the Nginx service:
systemctl restart nginx
Verify Nginx’s status:
systemctl status nginx
Expected service status:
nginx.service - A high performance web server and a reverse proxy server
     Loaded: loaded (/lib/systemd/system/nginx.service; enabled; vendor preset: enabled)
     Active: active (running) since Sat 2021-05-22 10:16:45 UTC; 4s ago
       Docs: man:nginx(8)
    Process: 18988 ExecStartPre=/usr/sbin/nginx -t -q -g daemon on; master_process on; (code=exited, status=0/SUCCESS)
    Process: 19000 ExecStart=/usr/sbin/nginx -g daemon on; master_process on; (code=exited, status=0/SUCCESS)
   Main PID: 19001 (nginx)
      Tasks: 2 (limit: 2353)
     Memory: 2.7M
     CGroup: /system.slice/nginx.service
             ??19001 nginx: master process /usr/sbin/nginx -g daemon on; master_process on;
             ??19002 nginx: worker process

May 22 10:16:45 ubuntu2004 systemd[1]: Starting A high performance web server and a reverse proxy server...
May 22 10:16:45 ubuntu2004 systemd[1]: Started A high performance web server and a reverse proxy server.
SuiteCRM is now served by Nginx. Let’s access SuiteCRM.
Access SuiteCRM
Open your browser and visit: http://suitecrm.example.com.
You’ll see the installation page:
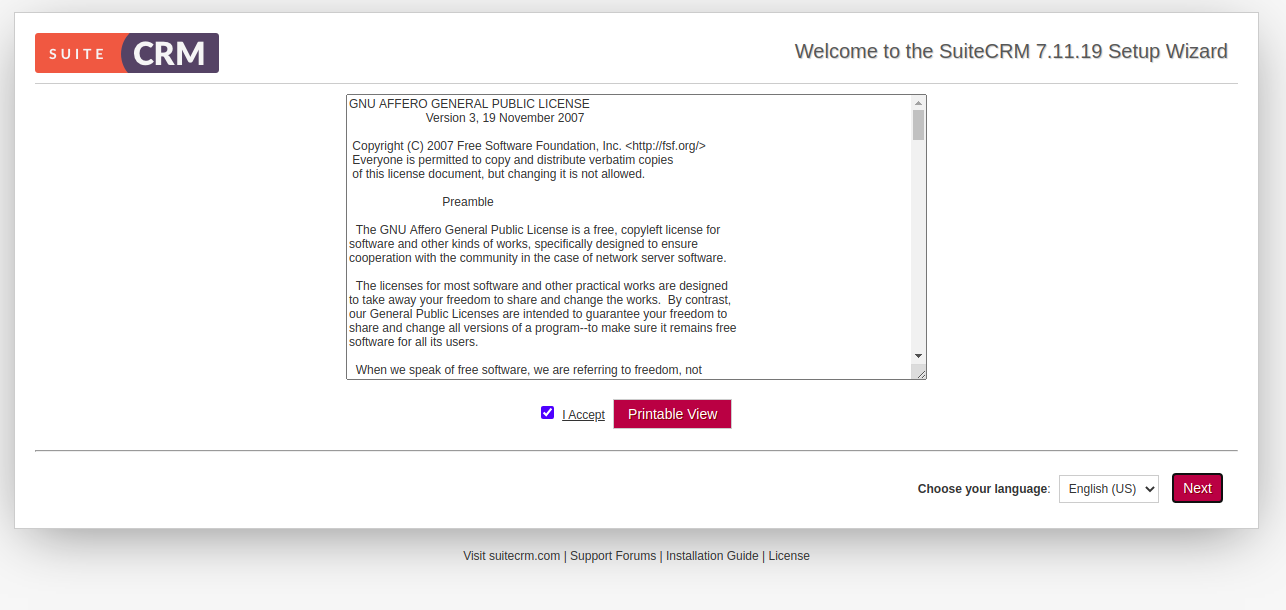
Accept the license agreement and click Next to proceed:
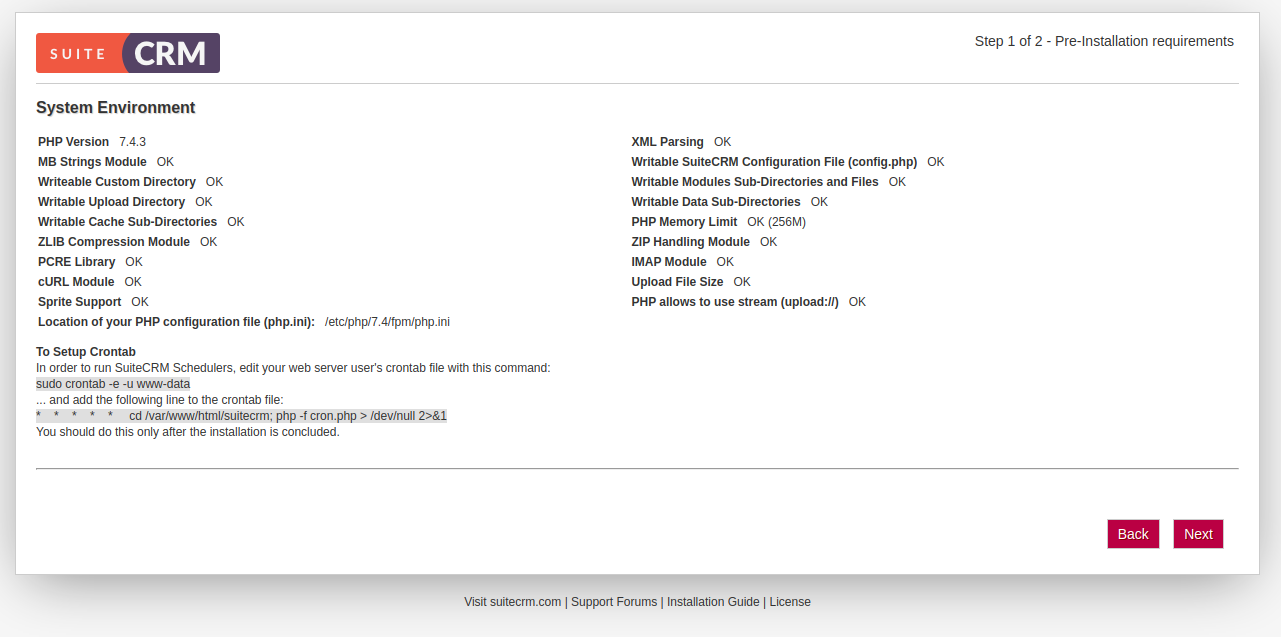
Check prerequisites and click Next:
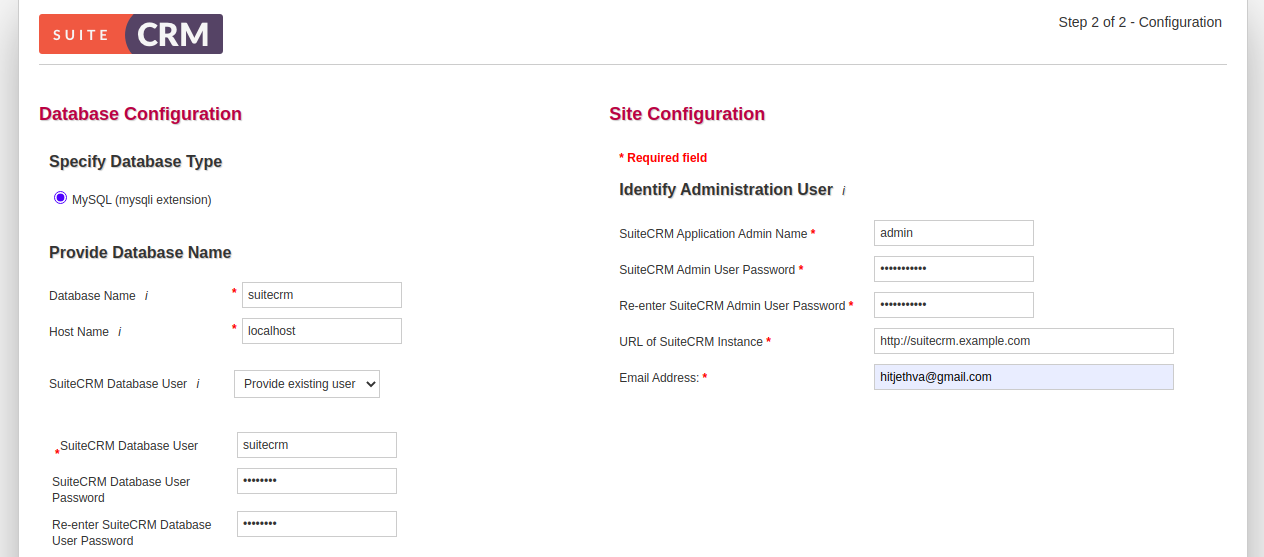
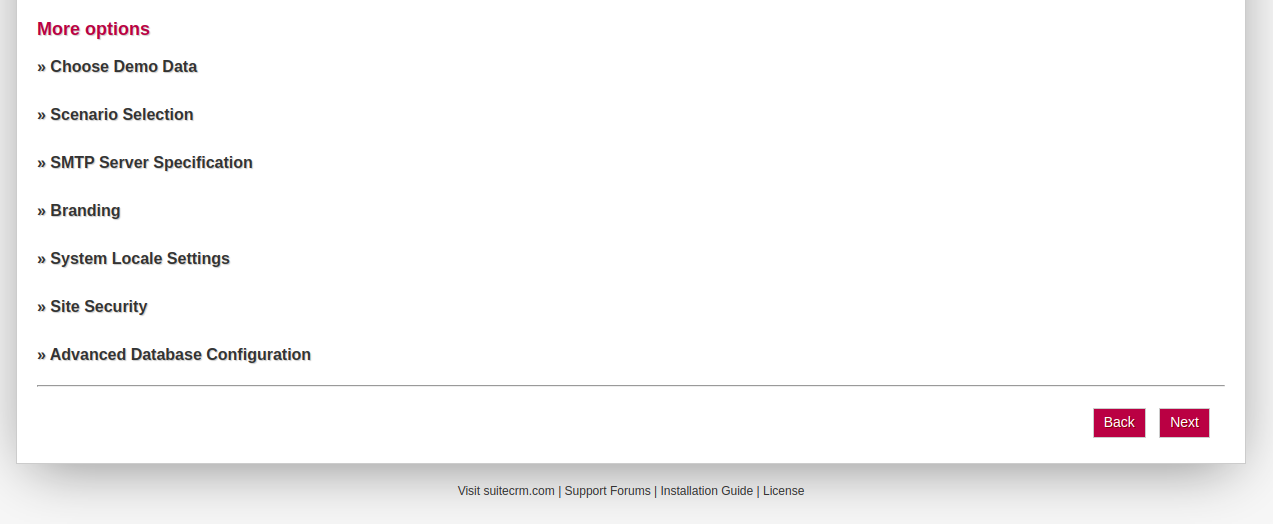
Enter database details, admin information, and other credentials, then click Next. After installation is complete:
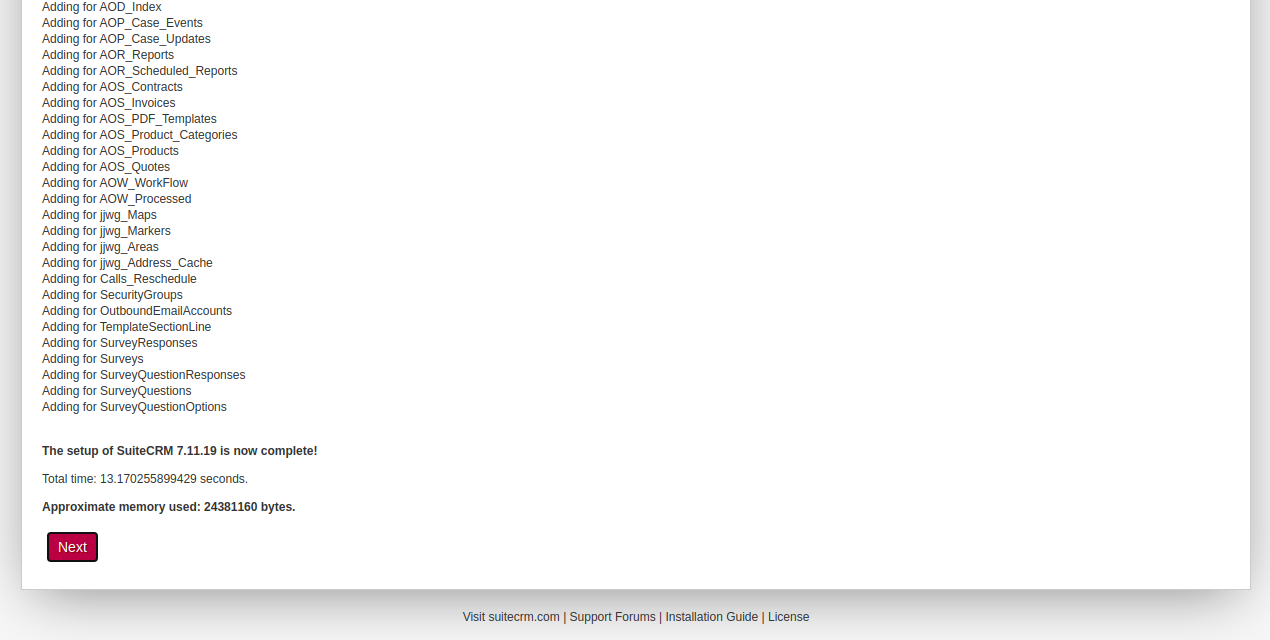
Click Next to reach the login screen:
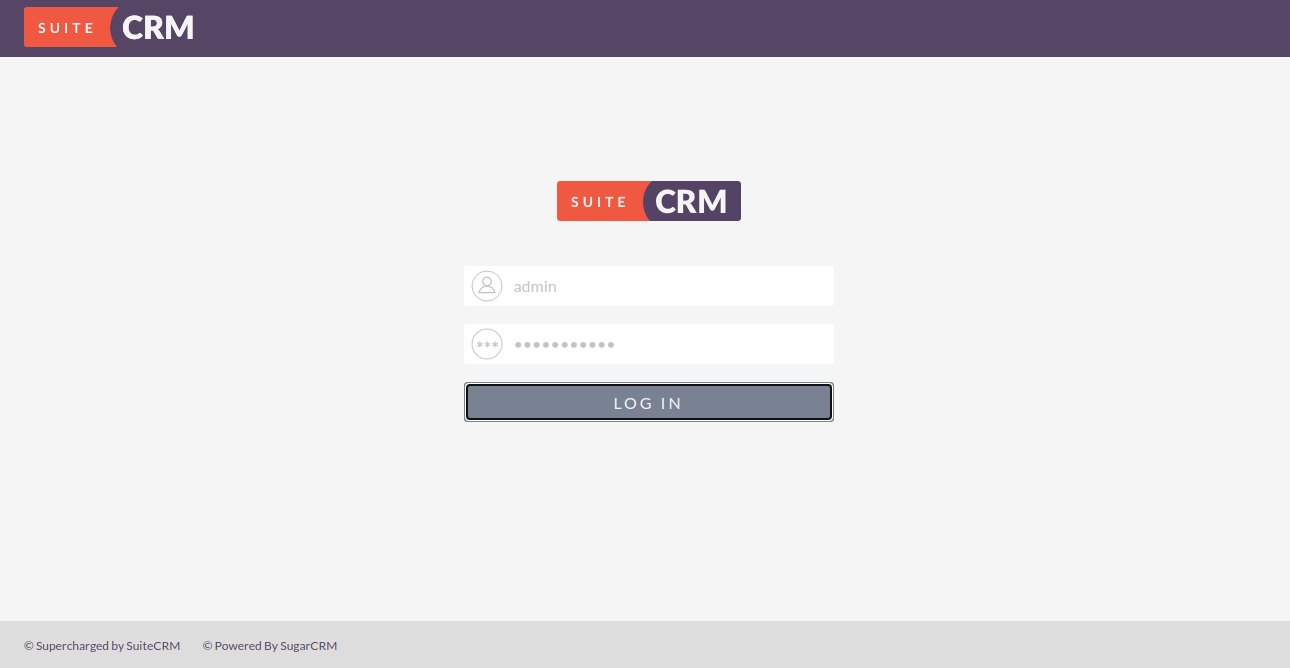
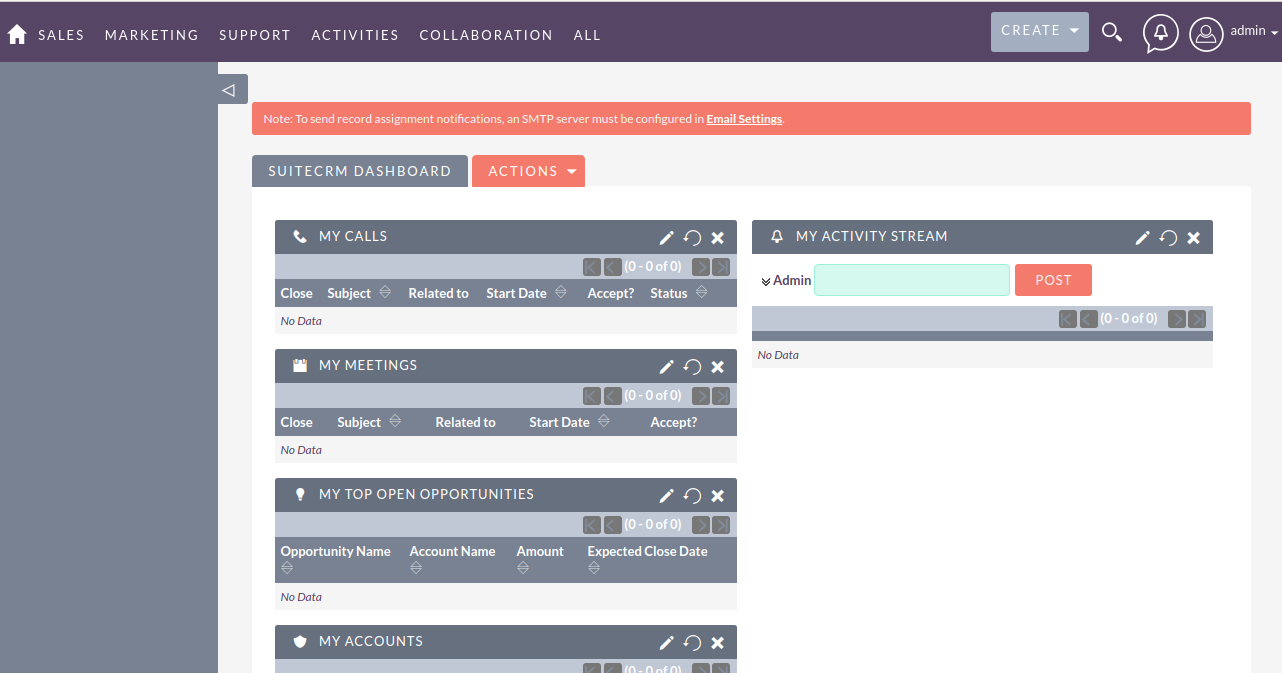
Log in with admin credentials and access the dashboard:
Secure SuiteCRM with Let’s Encrypt
Install Certbot for Let’s Encrypt SSL:
apt-get install certbot python3-certbot-nginx -y
Secure your site with SSL:
certbot --nginx -d suitecrm.example.com
Follow the prompts for email address and terms of service:
Saving debug log to /var/log/letsencrypt/letsencrypt.log
Plugins selected: Authenticator nginx, Installer nginx
Enter email address (used for urgent renewal and security notices)...

(A)gree/(C)ancel: A

Would you be willing to share your email address with the Electronic Frontier...
(Y)es/(N)o: Y
Obtaining a new certificate
Performing the following challenges...
Cleaning up challenges
Deploying Certificate to VirtualHost /etc/nginx/conf.d/suitecrm.conf
Choose HTTPS redirection:
1: No redirect - Make no further changes to the webserver configuration.
2: Redirect - Make all requests redirect to secure HTTPS access.
Select the appropriate number [1-2] then [enter] (press 'c' to cancel): 2
Completing installation will show:
Redirecting all traffic on port 80 to ssl in /etc/nginx/conf.d/suitecrm.conf

Congratulations! You have successfully enabled https://suitecrm.example.com
...
Your SuiteCRM can now be accessed securely via https://suitecrm.example.com
Conclusion
Congratulations! You’ve successfully set up SuiteCRM with Nginx and secured it with Let’s Encrypt SSL on an Ubuntu 20.04 server. Implementing SuiteCRM in your organization is now just a few steps away. For more information, visit the SuiteCRM user manual.
FAQ
What is SuiteCRM?
SuiteCRM is an open-source CRM system designed to manage customer relationships efficiently, offering features such as email marketing, task management, and document storage.
Is SuiteCRM free to use?
Yes, SuiteCRM is a free and open-source software that you can use in any organization to manage CRM needs.
Can I set up SuiteCRM on a different Linux distribution?
While this guide is tailored for Ubuntu 20.04, you can adapt it to other Linux distributions, considering their respective package management and directory structures.
How often should I renew the Let’s Encrypt SSL certificate?
Let’s Encrypt SSL certificates are valid for 90 days. It’s recommended to renew them before expiration. Certbot can automate this process for you.
How do I customize the Nginx configuration for SuiteCRM?
You can tweak the Nginx server block in /etc/nginx/conf.d/suitecrm.conf to suit your specific requirements. Just ensure to test new syntax with nginx -t before reloading or restarting the Nginx service.