Fathom is a privacy-centric web analytics tool offering GDPR compliance, eliminating the need for cookie banners. Unlike Google Analytics, it respects user privacy without compromising visitor data.
This guide walks you through the installation of Fathom on an Ubuntu 22.04 server, using PostgreSQL and Nginx as a reverse proxy.
Prerequisites
Before installing Fathom, ensure you have:
- An Ubuntu 22.04 server.
- A non-root user with sudo privileges.
- A domain name pointed to your server’s IP address.
Installing PostgreSQL Server
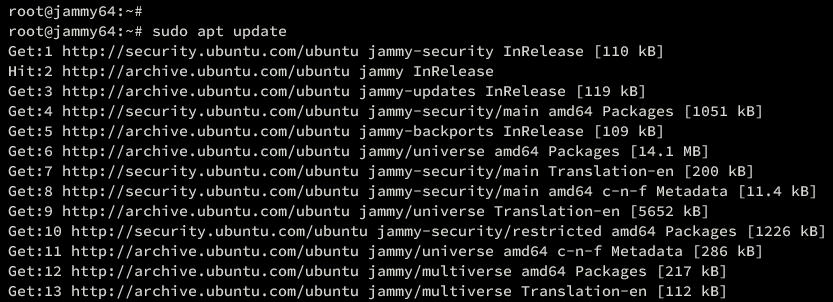
Fathom requires PostgreSQL for its database. Begin by updating your Ubuntu package repository:
sudo apt update
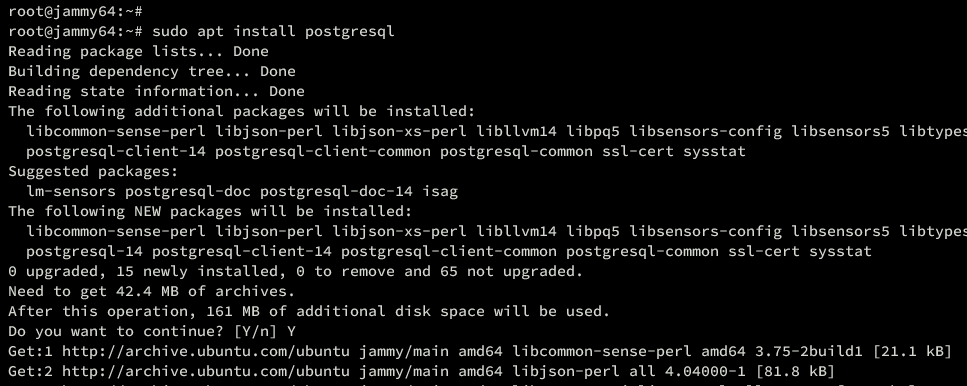
Install the PostgreSQL server with this command:
sudo apt install postgresql
Confirm by entering Y.
Verify that PostgreSQL is enabled and running with:
sudo systemctl is-enabled postgresql
sudo systemctl status postgresql

Creating PostgreSQL Database and User
Next, create a database and user for Fathom.
Login as the postgres user:
sudo -u postgres psql
Execute the following queries to create a new database and user:
CREATE USER fathom WITH CREATEDB CREATEROLE PASSWORD 'password';
CREATE DATABASE fathomdb OWNER fathom;

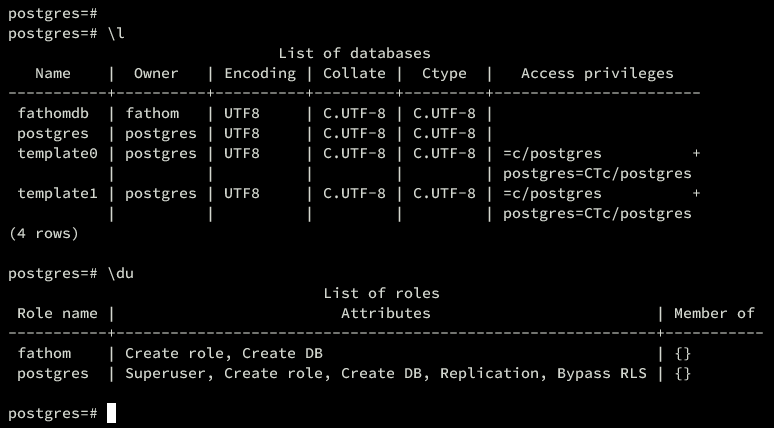
Verify database and user creation with:
\du
\l
Exit PostgreSQL with q or Ctrl+d.
Connect to the database:
sudo -u postgres psql -U fathom -h 127.0.0.1 -d fathomdb
\conninfo

Installing Fathom on Ubuntu
With PostgreSQL set up, proceed with Fathom installation:
- Setting Up User and Downloading Fathom
- Configuring Fathom
- Running Fathom as a Systemd Service
Setting up User and Downloading Fathom
Create a system user for Fathom:
sudo useradd -r -d /opt/fathom fathom
Set up the home directory:
sudo mkdir -p /opt/fathom
sudo chown -R fathom:fathom /opt/fathom
Download the Fathom binary:
wget https://github.com/usefathom/fathom/releases/download/v1.3.1/fathom_1.3.1_linux_amd64.tar.gz

Extract and make the binary executable:
tar -C /usr/local/bin -xzf fathom_1.3.1_linux_amd64.tar.gz
chmod +x /usr/local/bin/fathom
Verify installation:
which fathom
fathom --version

Configuring Fathom
Generate a random password secret:
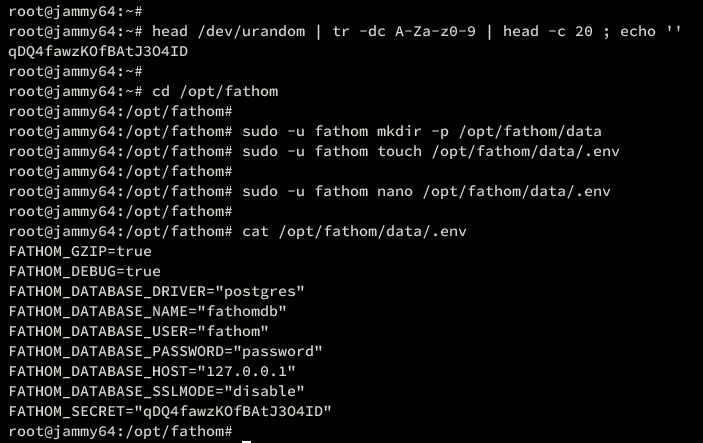
head /dev/urandom | tr -dc A-Za-z0-9 | head -c 20 ; echo ''
Navigate to the /opt/fathom directory:
cd /opt/fathom
Create required directories and files:
sudo -u fathom mkdir -p /opt/fathom/data
sudo -u fathom touch /opt/fathom/data/.env
Open the .env file:
sudo -u fathom nano /opt/fathom/data/.env
Insert configuration, substituting your own values:
FATHOM_GZIP=true
FATHOM_DEBUG=true
FATHOM_DATABASE_DRIVER="postgres"
FATHOM_DATABASE_NAME="fathomdb"
FATHOM_DATABASE_USER="fathom"
FATHOM_DATABASE_PASSWORD="password"
FATHOM_DATABASE_HOST="127.0.0.1"
FATHOM_DATABASE_SSLMODE="disable"
FATHOM_SECRET="qDQ4fawzKOfBAtJ3O4ID"
Save and exit the file.
Run Fathom:
cd /opt/fathom/data
sudo -u fathom fathom server

Running Fathom as Systemd Service
Create a new systemd service file:
sudo nano /etc/systemd/system/fathom.service
Input the following configuration:
[Unit]
Description=Starts the fathom server
Requires=network.target
After=network.target
[Service]
Type=simple
User=fathom
Restart=always
RestartSec=3
WorkingDirectory=/opt/fathom/data
ExecStart=/usr/local/bin/fathom server

[Install]
WantedBy=multi-user.target
Save and close.
Reload systemd and start the service:
sudo systemctl daemon-reload
sudo systemctl start fathom
sudo systemctl enable fathom
Verify service status:
sudo systemctl status fathom

Creating Fathom User
Navigate to the Fathom data directory:
cd /opt/fathom/data
Create a Fathom user:
sudo -u fathom fathom user add --email="bob@howtoforge.local" --password="password"

Installing and Configuring Nginx as Reverse Proxy
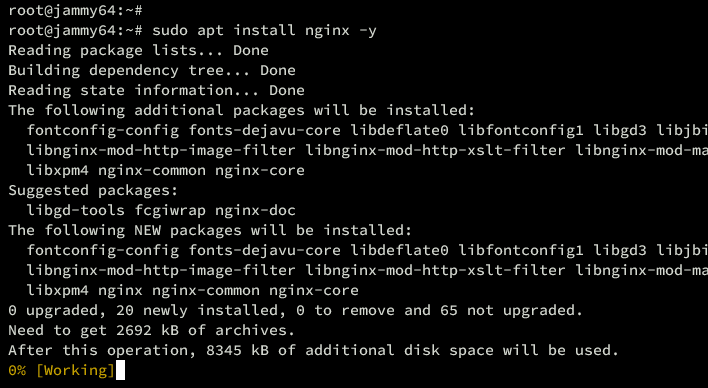
Install Nginx:
sudo apt install nginx -y
Create a server block for Fathom:
sudo nano /etc/nginx/sites-available/fathom
server {
 listen 80;
 server_name fathom.howtoforge.local;
location / {
proxy_set_header X-Real-IP $remote_addr;
proxy_set_header X-Forwarded-For $remote_addr;
proxy_set_header Host $host;
proxy_pass http://127.0.0.1:8080;
}
}
Activate the configuration and test Nginx:
sudo ln -s /etc/nginx/sites-available/fathom /etc/nginx/sites-enabled/
sudo nginx -t
Restart Nginx:
sudo systemctl restart nginx

Securing Fathom with UFW
Configure UFW to allow necessary traffic:
sudo ufw allow OpenSSH
sudo ufw enable

Allow Nginx traffic:
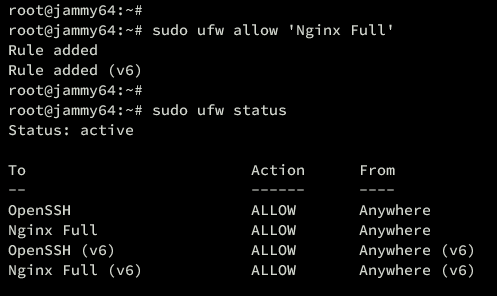
sudo ufw allow 'Nginx Full'
Verify UFW settings:
sudo ufw status
Enable HTTPS via Certbot
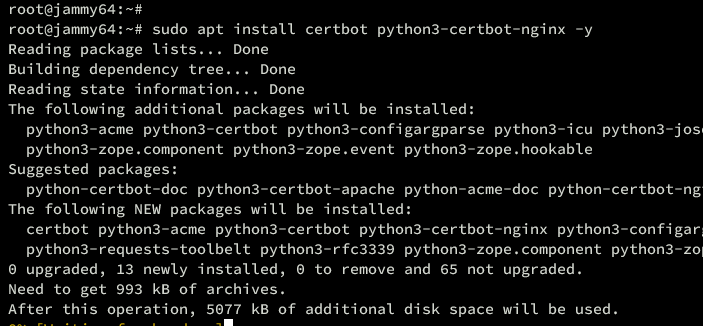
Install Certbot:
sudo apt install certbot python3-certbot-nginx -y
Generate SSL certificates:
sudo certbot --nginx --agree-tos --redirect --hsts --staple-ocsp --email bob@howtoforge.local -d fathom.howtoforge.local
Accessing Fathom Installation
Visit https://fathom.howtoforge.local/ to access Fathom. Log in with your credentials.
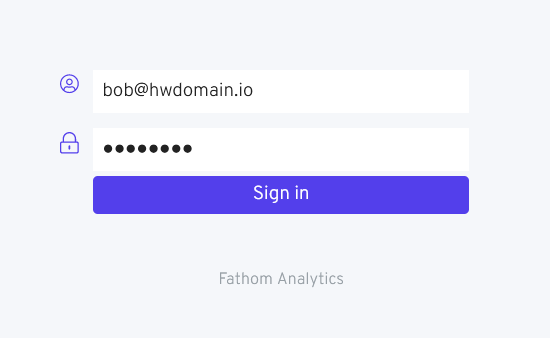
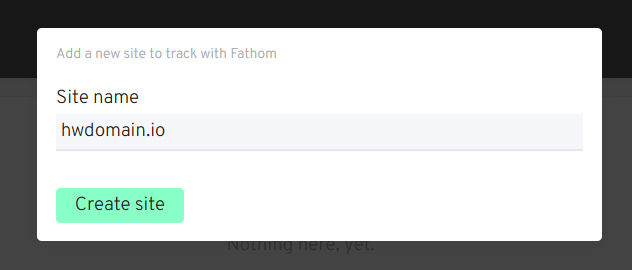
Create your first tracker and copy the tracking code to your target site:
![]()
Conclusion
Congratulations! Fathom is now installed on your Ubuntu server, complete with PostgreSQL and Nginx as a reverse proxy. You’ve secured Fathom with HTTPS using Let’s Encrypt and configured UFW for network security.
Frequently Asked Questions (FAQ)
1. What is Fathom?
Fathom is a privacy-focused web analytics tool that complies with GDPR and does not require cookie banners.
2. Can I use any PostgreSQL version?
Fathom should work well with most recent PostgreSQL versions, but it’s always best to check the official documentation for any specific version requirements.
3. Why do I need Nginx?
Nginx is used as a reverse proxy to handle incoming web requests and pass them to the Fathom server running on port 8080. It also helps in securing your server with SSL via Let’s Encrypt.
4. How do I update Fathom?
Updating Fathom typically involves downloading the latest binary release from GitHub, replacing the existing binary, and restarting the Fathom service. Always refer to the official releases page for the latest updates and instructions.
5. What should I do if I face issues?
First, check the logs by executing sudo journalctl -u fathom for systemd logs and sudo tail -f /var/log/nginx/error.log for Nginx logs. For further assistance, consider the community forums or GitHub issues page.
