Namespaces are an essential feature when multiple teams are utilizing the same Kubernetes cluster, providing a way to manage potential name collisions. By creating a namespace, you can construct a virtual boundary in a single cluster to run pods with the same name in separate segments, enhancing organizational control and efficiency.
Key Features of Namespaces
- Facilitates pod-to-pod communication within the same namespace.
- Acts as a virtual cluster over the same physical cluster infrastructure.
- Offers logical separation between different teams and their environments.
This guide will walk you through the process of creating a namespace, deploying a pod within it, and establishing a namespace as the default.
Pre-requisites
- A Kubernetes cluster with at least one worker node. For guidance on setting up a Kubernetes cluster, click here to learn how to create a Kubernetes cluster with one Master and two Nodes on AWS Ubuntu 18.04 EC2 Instances.
Step-by-Step Guide
- Create Namespaces
Create Namespaces
List all available namespaces in the Kubernetes cluster by executing:
kubectl get namespace
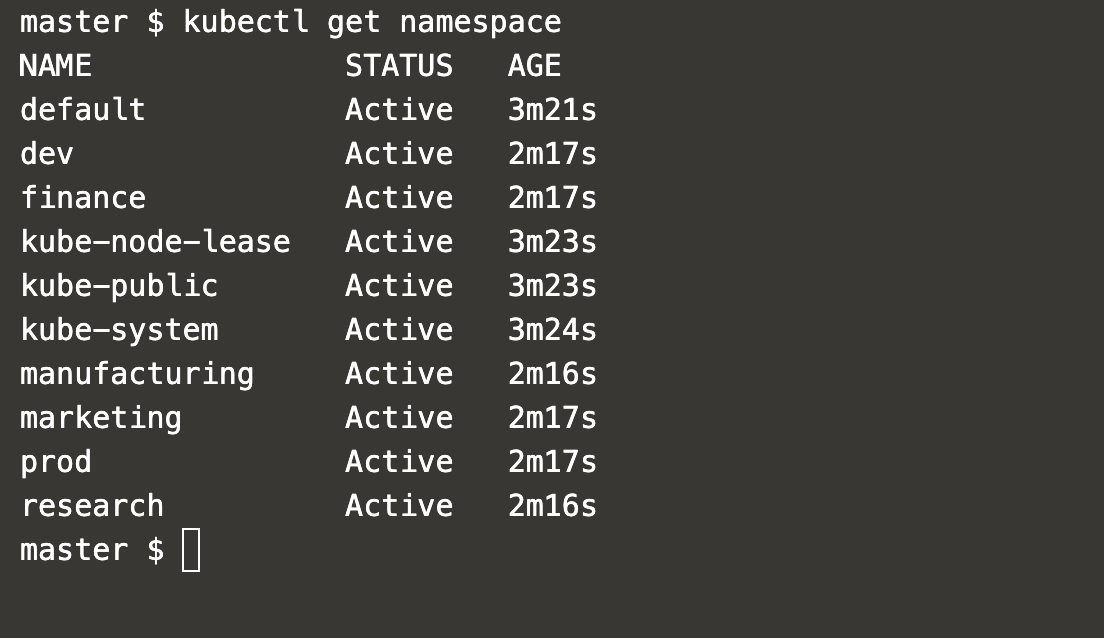
Attempt to create a pod in a non-existent namespace:
kubectl run nginx --image=nginx --namespace=test-env
The pod won’t be created as the namespace doesn’t exist. First, create the namespace:
kubectl create namespace test-env
kubectl get namespace
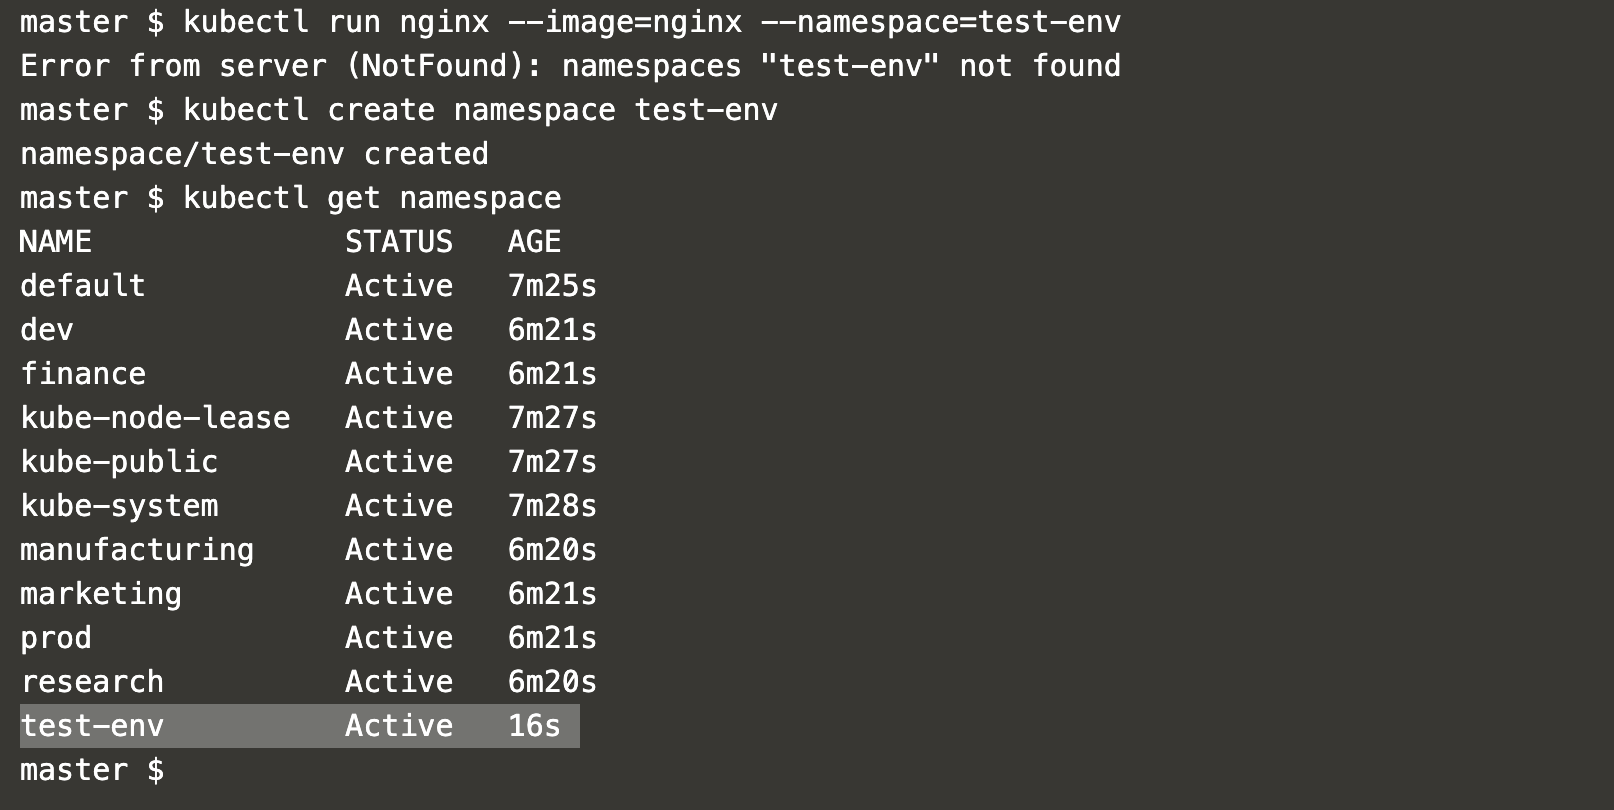
Create a pod within the created namespace:
kubectl run nginx --image=nginx --namespace=test-env
To view pods within “test-env” namespace:
kubectl get pods --namespace=test-env

Set “test-env” as the default namespace:
kubectl config set-context --current --namespace=test-env
kubectl get pods

Switch back to the default namespace with:
kubectl config set-context --current --namespace=default
kubectl get pods

Check the current default namespace:
kubectl config view --minify | grep namespace:

For Kubernetes resources associated with namespaces, execute:
kubectl api-resources --namespaced=true
Find Kubernetes resources not associated with a namespace:
kubectl api-resources --namespaced=false
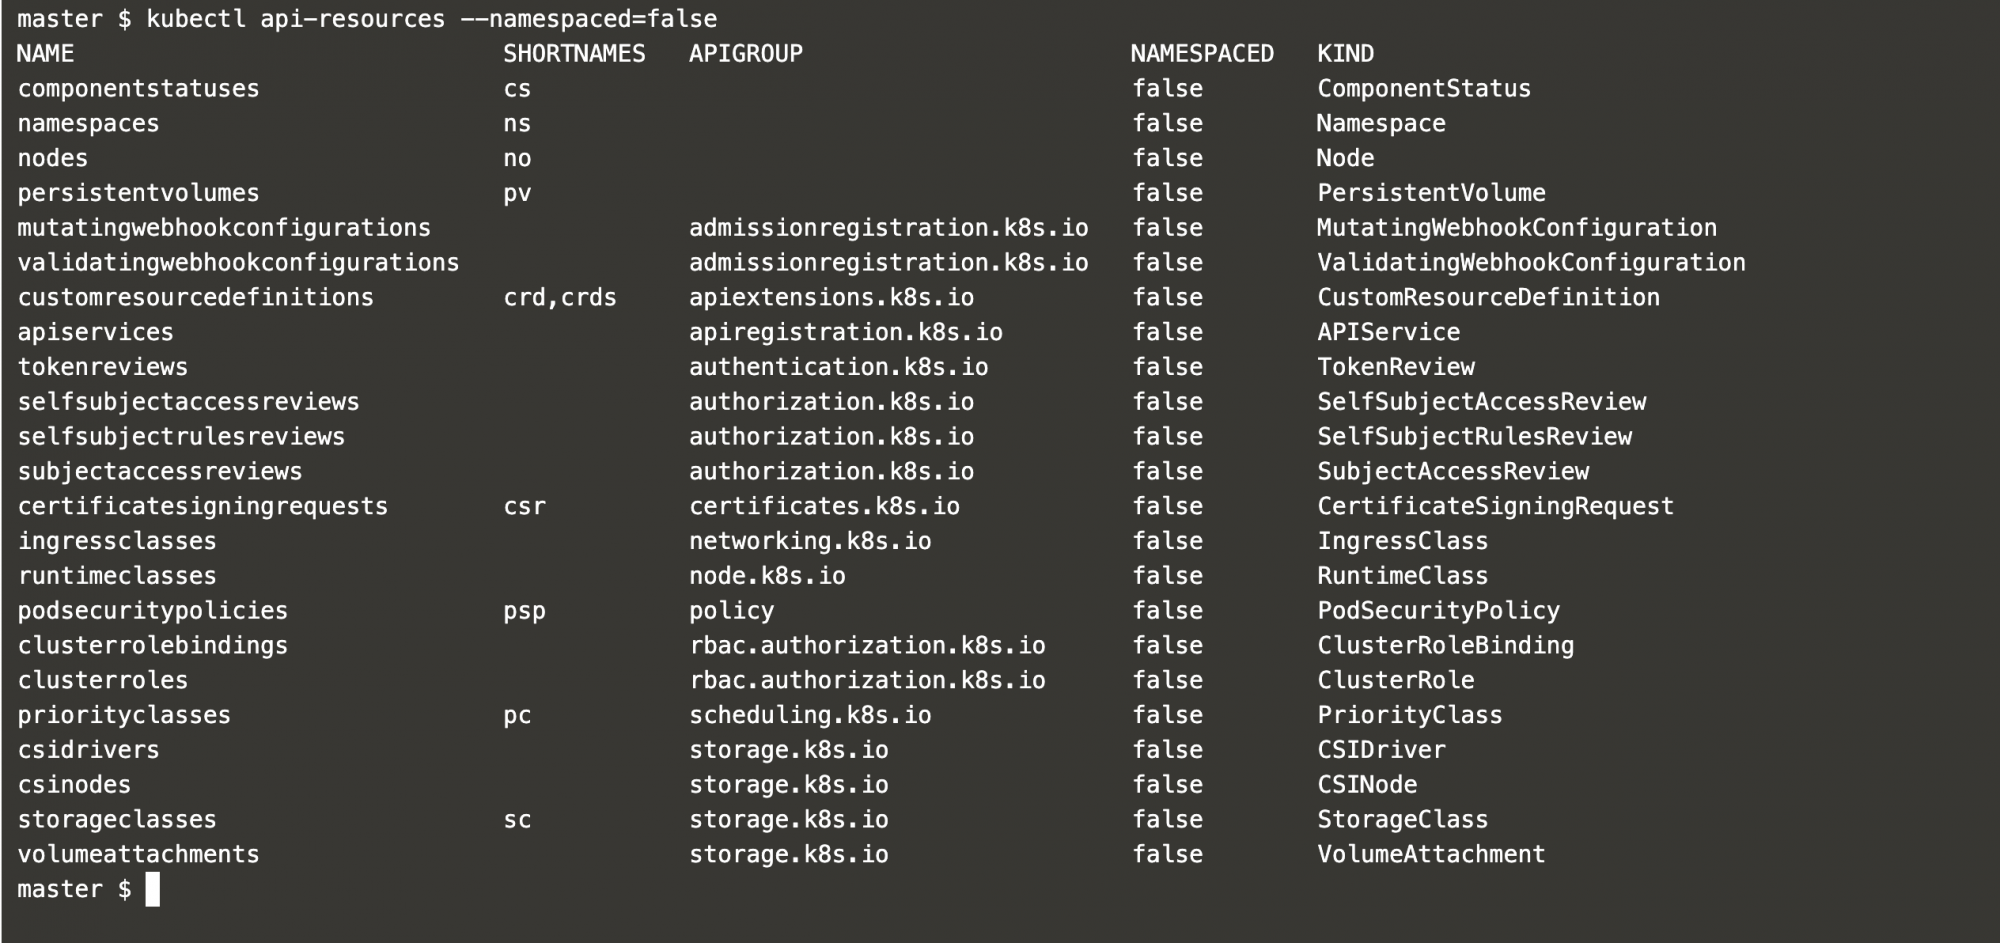
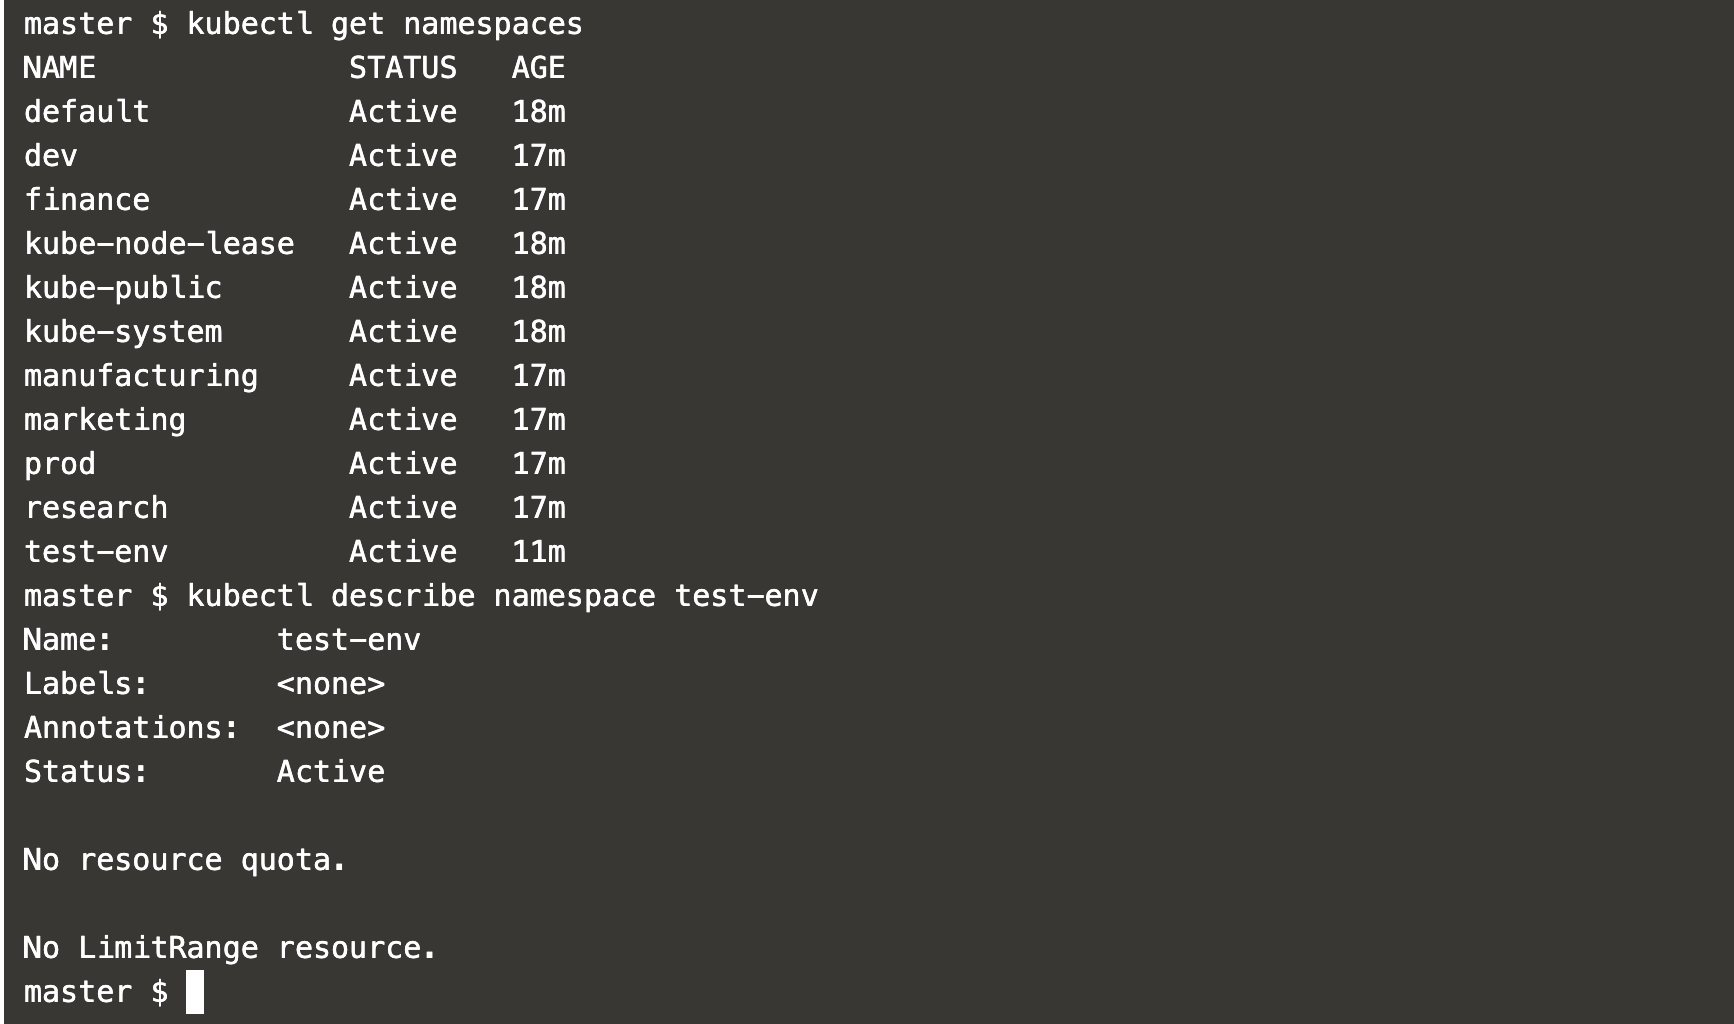
Get details of a specific namespace:
kubectl get namespaces
kubectl describe namespace test-env
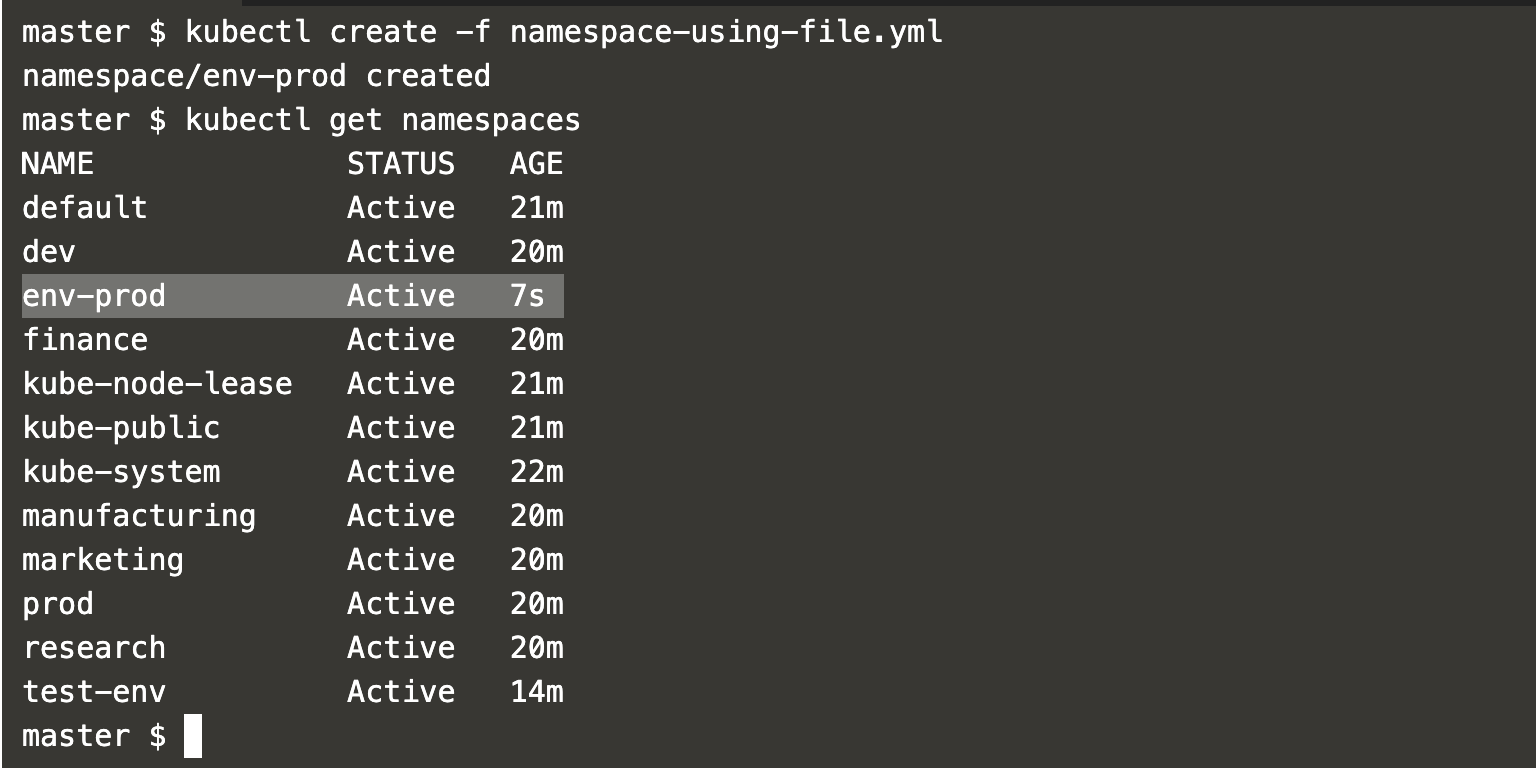
Create a namespace using a YAML file:
vim namespace-using-file.yml

Use this file to create a namespace:
kubectl create -f namespace-using-file.yml
kubectl get namespaces
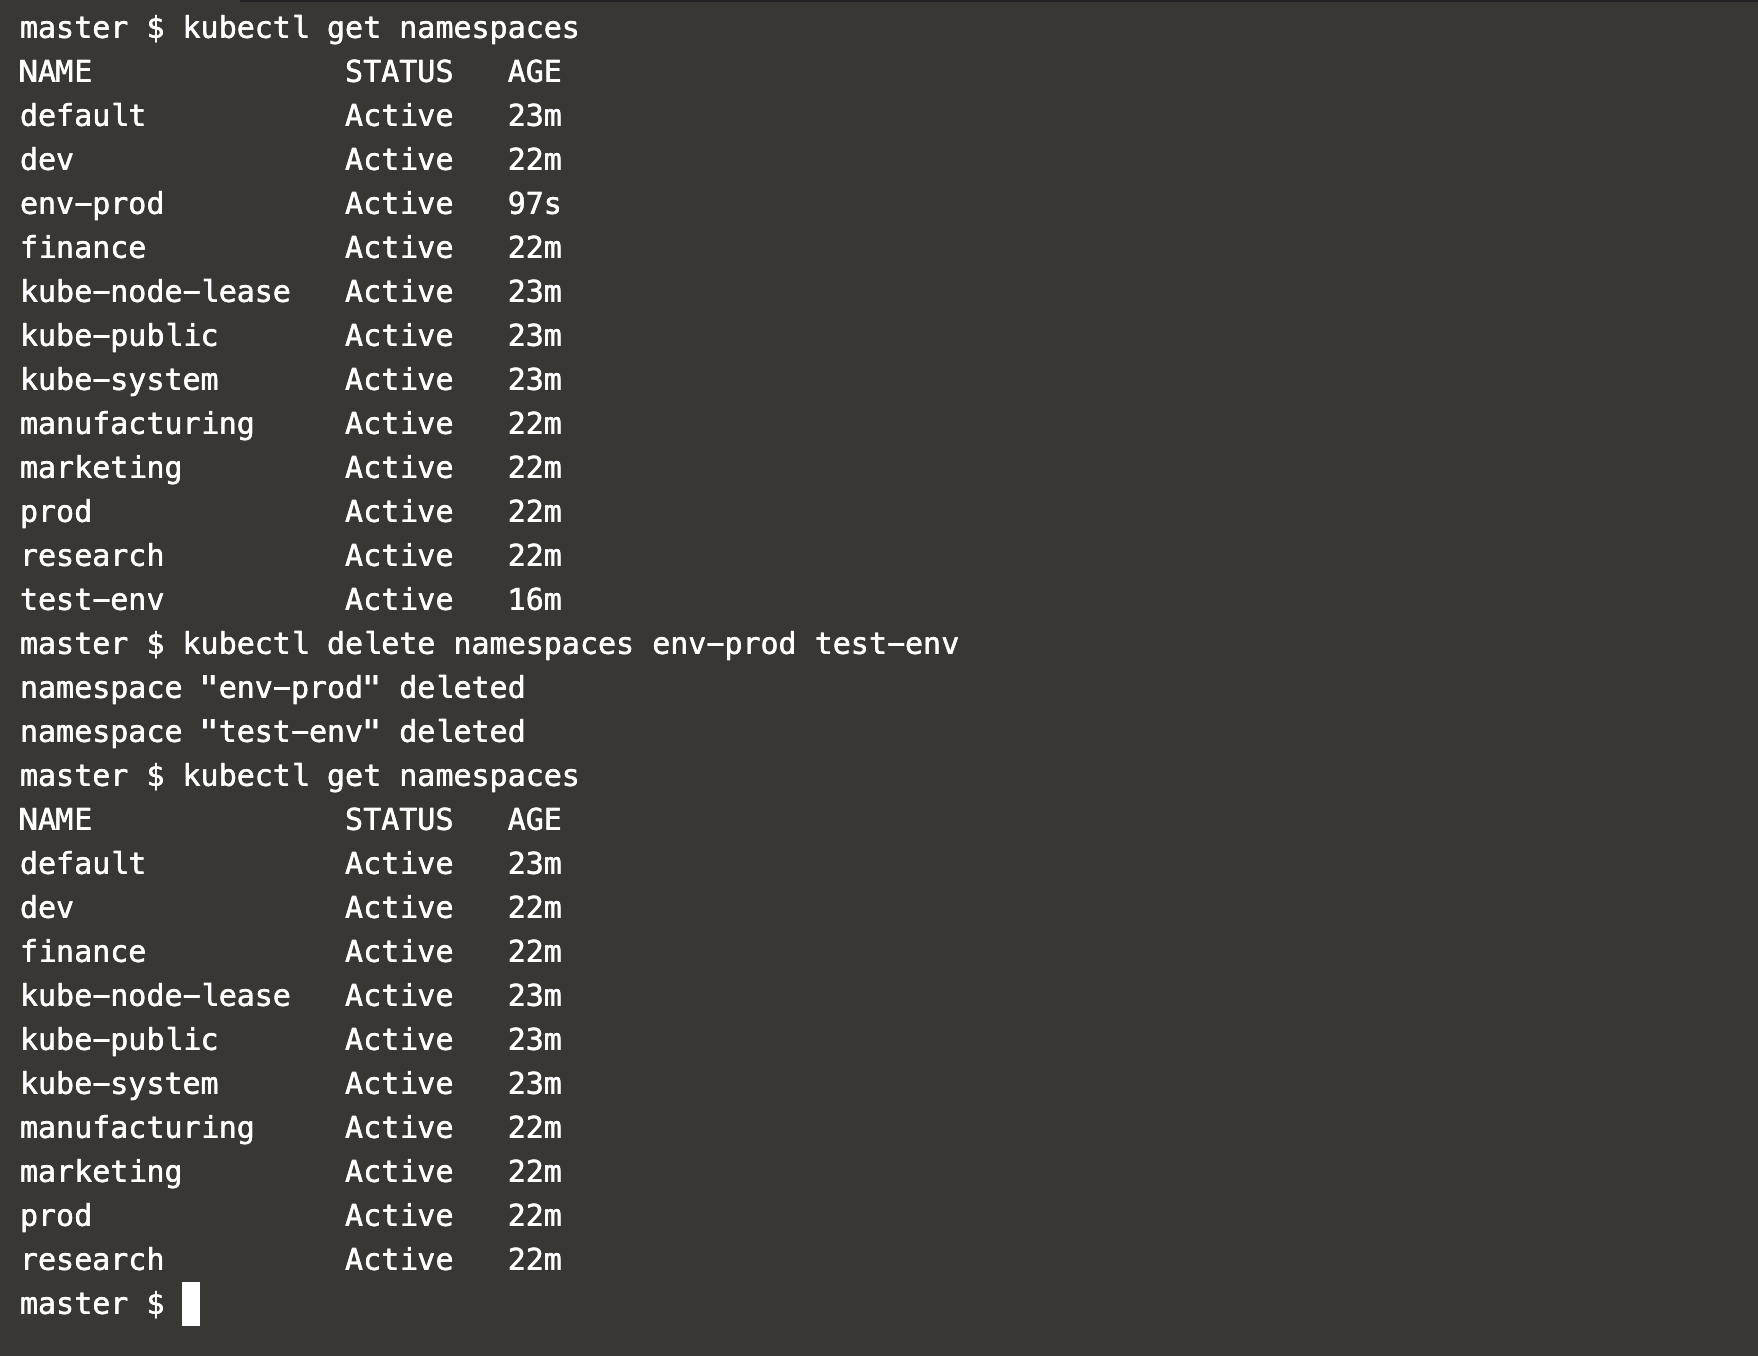
Delete an unneeded namespace:
kubectl delete namespaces env-prod test-env
kubectl get namespaces
Conclusion
In this guide, you’ve learned about Kubernetes namespaces, including their creation, setting a default, and managing namespaces with YAML files. You now know how to create and oversee a Kubernetes object, such as a pod, within a namespace of your choice.
Frequently Asked Questions (FAQ)
What is the purpose of using namespaces in Kubernetes?
Namespaces in Kubernetes help isolate resources and manage name conflicts by allowing multiple teams to work within the same cluster with separate environments.
How do I set a default namespace in Kubernetes?
Use the command kubectl config set-context --current --namespace=your-namespace to set a default namespace.
Can I create a namespace using a YAML file?
Yes, you can create a namespace by defining it in a YAML file and applying it using the command kubectl create -f filename.yml.
What happens if I try to create a pod in a non-existent namespace?
The pod will not be created until the specified namespace exists. You’ll need to create the namespace first.
How can I switch back to the default namespace?
To switch back to the default namespace, execute kubectl config set-context --current --namespace=default.
