Docker is open-source software that provides OS-level virtualization for developing, shipping, and running applications. In Docker, applications are delivered as standardized units called containers. Each container is isolated, including its libraries and configuration files, but can communicate through well-defined network channels.
Today, Docker is a standard in software development and DevOps, used by millions of developers worldwide to build, share, and run applications. It’s integral across the lifecycle of application development, from development through testing to production, making applications more flexible and portable. Applications can run consistently across different operating systems with ease, maintaining the same libraries and configurations.
This guide will walk you through installing Docker CE (Community Edition) on Alma Linux 9. It also covers the basics of using Docker to manage images, containers, and volumes, accessing container logs, and connecting to containers via Docker Host.
Prerequisites
You’ll need the following:
- An Alma Linux 9 server – In this guide, we use a server with the hostname ‘alma-linux‘ and IP address ‘192.168.5.43‘.
- A non-root user with sudo/root privileges.
Adding Docker CE Repository
Docker facilitates quicker developments by allowing you to create application images independently of the host machine. Docker can be installed on desktops and servers, with Docker Desktop available for desktops and Docker Engine from the official Docker repository for servers.
To set up the Docker CE repository on your Alma Linux server, start by installing the ‘dnf-utils‘ package:
sudo dnf install dnf-utils
Accept the prompt by typing ‘y’ and pressing ENTER.

Next, add the Docker CE repository using this command:
sudo dnf config-manager --add-repo https://download.docker.com/linux/centos/docker-ce.repo
To verify it’s been added successfully, use:
sudo dnf repolist
Your output should look similar to this:

Installing Docker CE
With the repository configured, install Docker CE on your Alma Linux server:
sudo dnf install docker-ce docker-ce-cli containerd.io docker-buildx-plugin docker-compose-plugin
Confirm when prompted by typing ‘y’ and pressing ENTER.
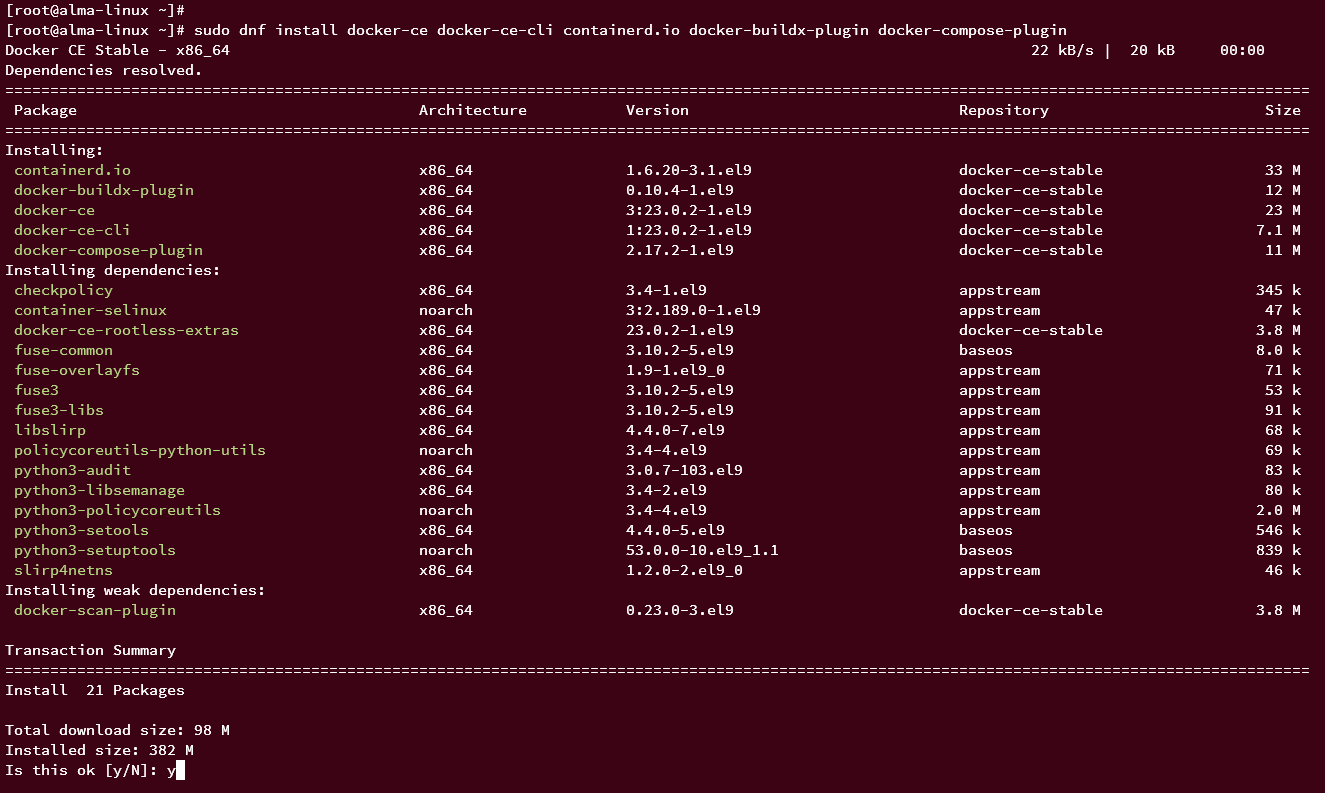
Accept the Docker repository GPG key confirmation when prompted. Input and press ENTER.

After installation, start and enable the Docker service:
sudo systemctl start docker
sudo systemctl enable docker
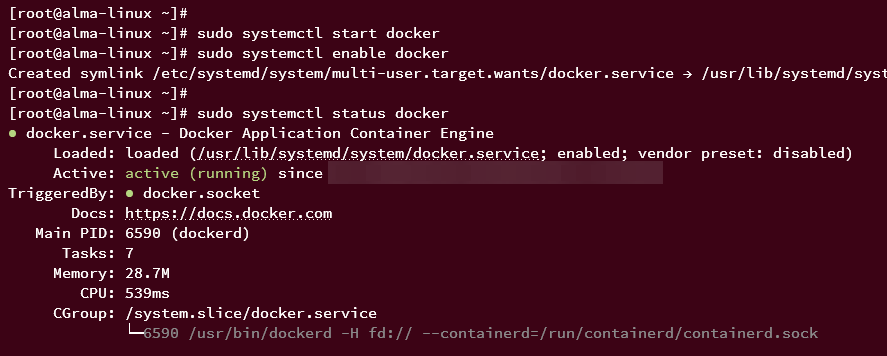
Verify the Docker service is running with:
sudo systemctl status docker
Your output should indicate Docker is running:
Allowing Non-root User To Run Docker Container
By default, only the root user can run Docker containers. To enable non-root users, add them to the ‘docker’ group, as shown below. This example uses the user ‘testuser‘:
sudo usermod -aG docker testuser
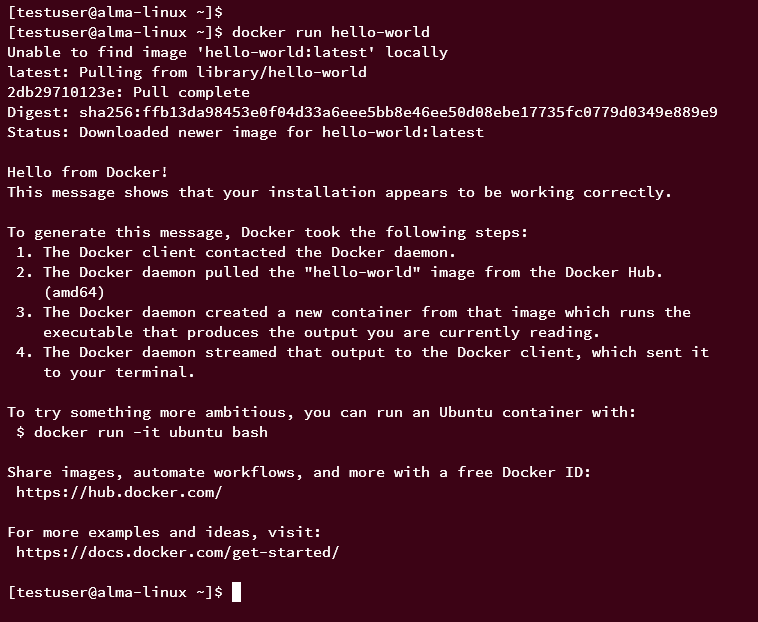
Re-log with your user account and run the following to execute the ‘hello-world‘ container:
su - testuser
docker run hello-world
Successful execution yields the output shown below:
List running containers with:
docker ps
docker ps -a
The second command outputs all containers, including those stopped:

Basic Usage of Docker
Docker is up and running, and you’ve configured your user to run containers. Let’s explore basic Docker usage, including managing images, containers, and volumes, and accessing container logs.
Working with Images
First, work with Docker images. Start by downloading an image and verifying available images on your machine. Visit DockerHub to find your desired image, like ‘nginx‘ with ‘alpine‘ tags.
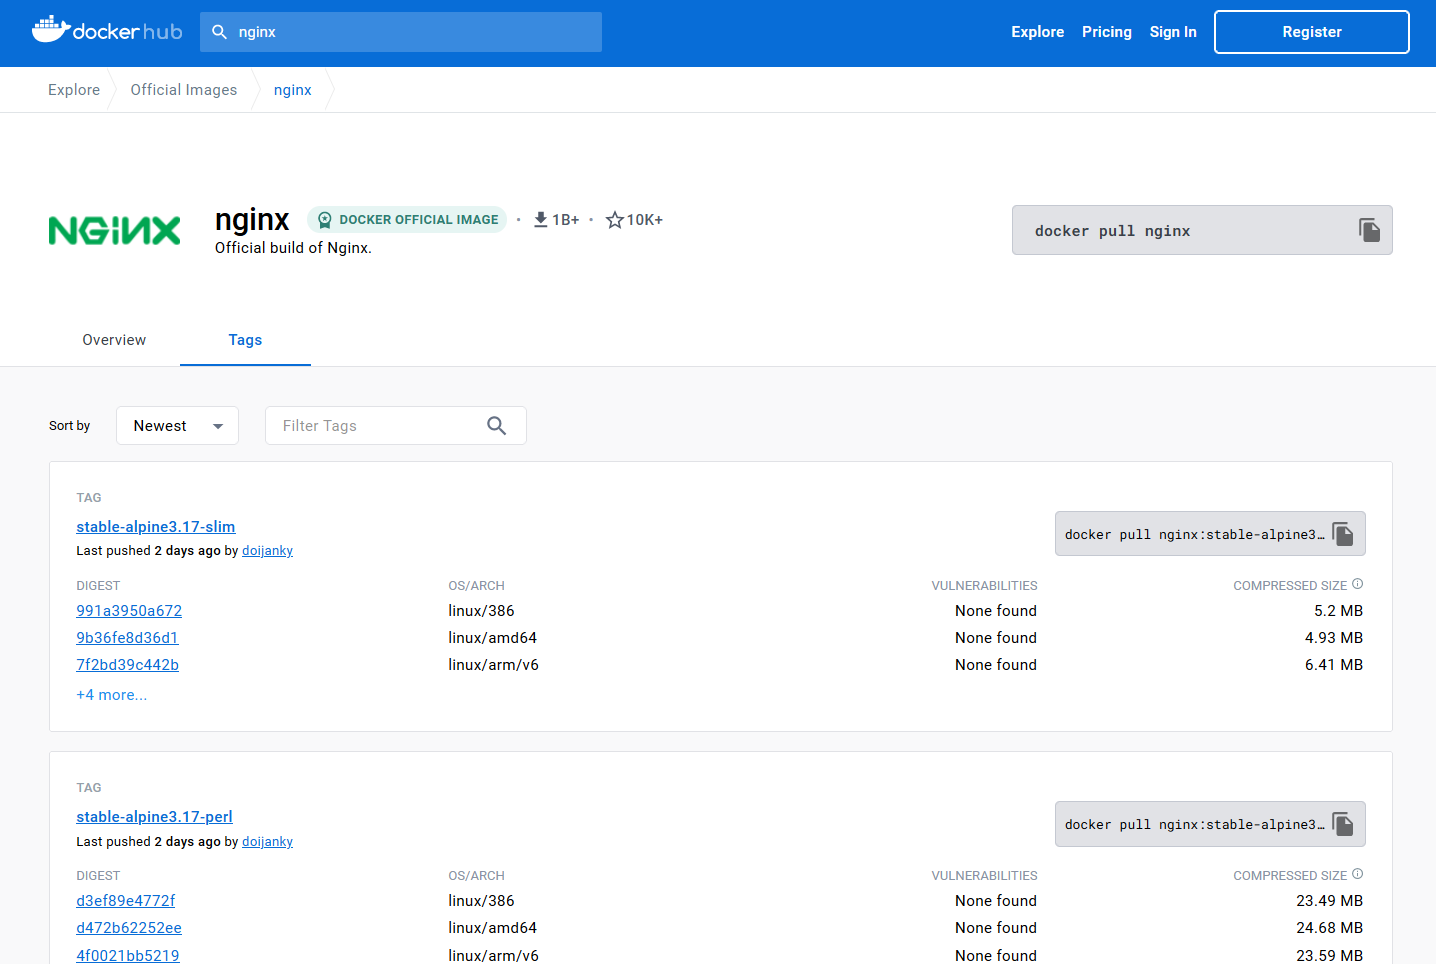
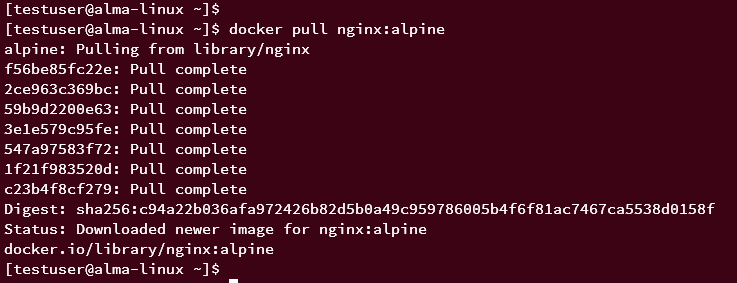
Pull the image using:
docker pull nginx:alpine
List available images with:
docker images

Working with Containers
Next, run containers from an image. Use the following command:
docker run -it -d -p 8080:80 --name web nginx:alpine
This creates a container ‘web‘ from ‘nginx:alpine‘, exposes port ‘8080‘, and runs interactively and in the background. The command output provides a ‘CONTAINER ID‘.
Verify running containers with:
docker ps

Access the container using:
curl http://192.168.5.43:8080/
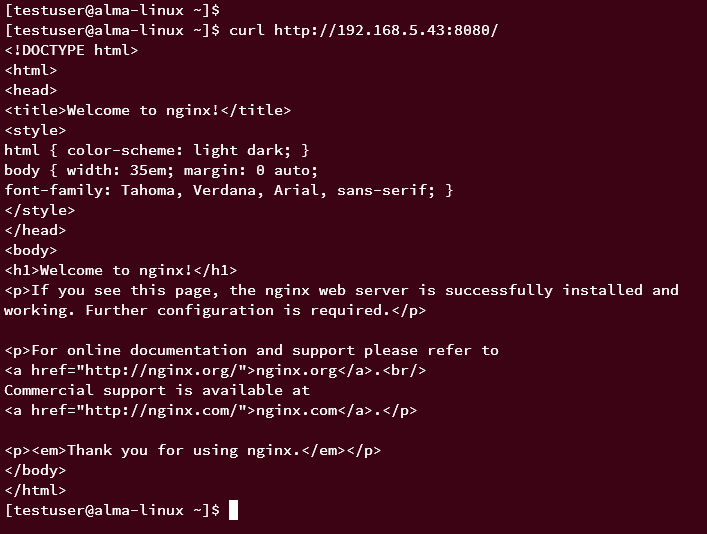
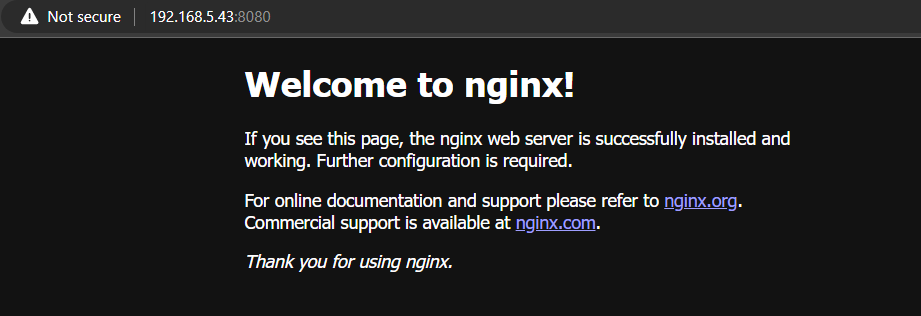
For external access, open port 8080 using:
sudo firewall-cmd --add-port=8080/tcp --permanent
sudo firewall-cmd --reload
Then, access it via a web browser: http://192.168.5.43:8080/.
Container Logging
Docker logging is important for debugging. Retrieve container logs with:
docker logs web
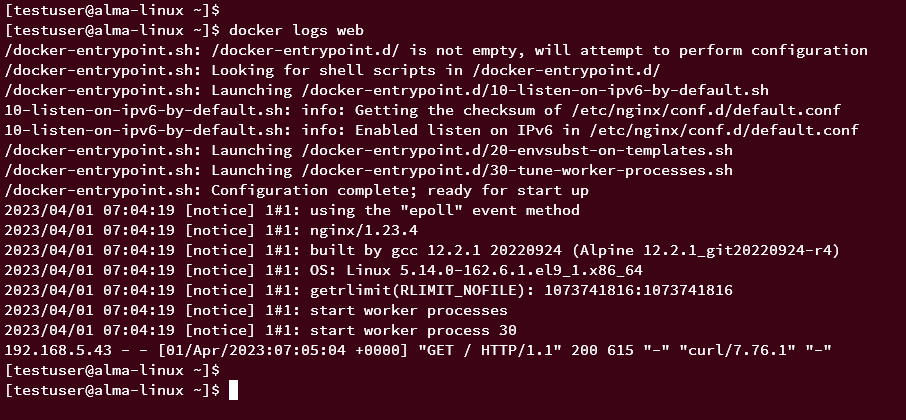
Limit log output with:
docker logs --tail 5 web

Managing Containers
Manage containers by starting, stopping, and removing them. Stop a container:
docker stop web
Verify its status:
docker ps
docker ps -a

Start the container again:
docker start web
docker ps

Finally, remove the stopped container:
docker stop web
docker rm web
Verify its removal:
docker ps -a

Working with Volumes
Volumes allow local directories to attach to containers. This section demonstrates creating a container with a custom volume.
Create a project directory and file:
mkdir -p ~/project/data; cd ~/project
cat > data/index.html << EOF
<!doctype html>
<html lang="en">
<head>
  <meta charset="utf-8">
  <title>Welcome to Docker Nginx</title>
</head>
<body>
  <h2>Hello from Nginx container</h2>
</body>
</html>
EOF
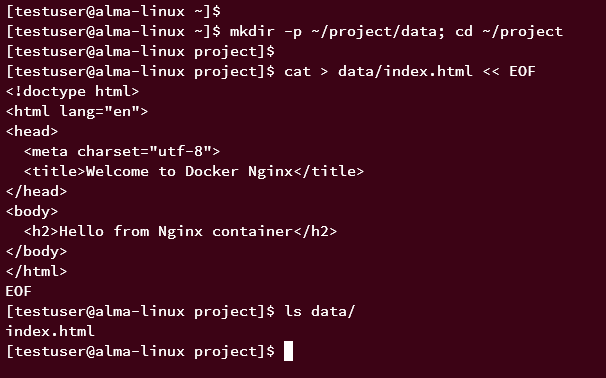
Run a container with a custom volume:
docker run -it -d -p 8080:80 --name web -v ~/project/data:/usr/share/nginx/html:ro nginx:alpine
Verify the container is running:
docker ps

Access the custom page:
curl http://192.168.5.43:8080/
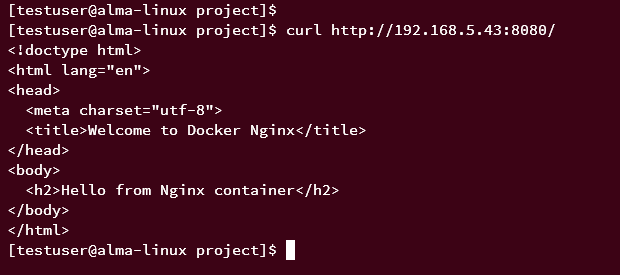
Browse the page via a web browser: http://192.168.5.43:8080/.

Accessing Container from Host
Accessing containers can be done with ‘docker exec’, allowing you to run commands within containers:
docker exec -it web /bin/sh
Inside, check container details:
id
hostname

Check IP addresses and routes:
ip a
route -n
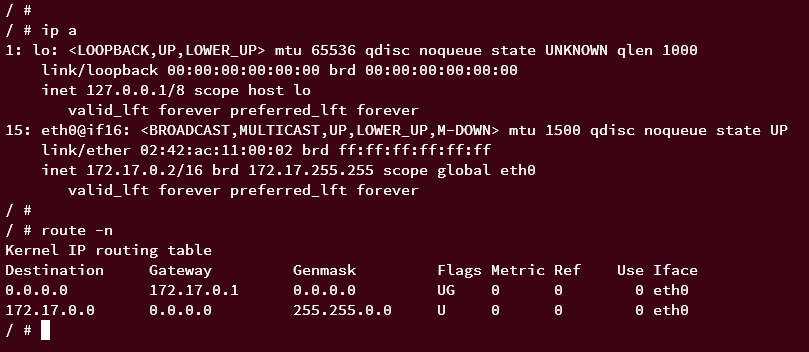
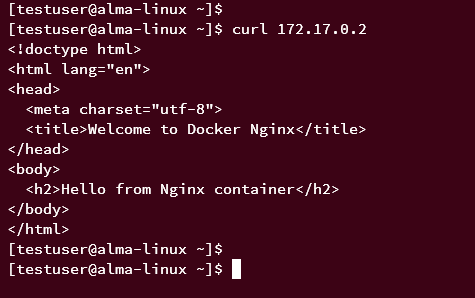
Access the container using its IP:
curl 172.17.0.2
Conclusion
Congratulations! You’ve learned how to install Docker on Alma Linux 9, manage images and containers, utilize Docker for debugging, work with volumes, and log into containers using Docker’s exec command. This foundational knowledge will streamline your development and deployment processes.
FAQ
1. What is Docker CE?
Docker CE (Community Edition) is the free, open-source version of Docker suited for individual developers, open-source projects, and small teams.
2. Why do I need to add a user to the ‘docker’ group?
Adding a user to the ‘docker’ group allows them to execute Docker commands without needing root privileges, enhancing security and flexibility.
3. How do I update Docker after installation?
You can update Docker by running sudo dnf update docker-ce. Ensure your Docker repository is up-to-date to access the latest version.
4. What are Docker volumes?
Docker volumes provide persistent storage that can be shared between containers and the host machine, enabling data preservation during container restarts.
5. How do I stop all running containers?
To stop all running containers, use the command docker stop $(docker ps -q).
