Podman is an advanced, daemonless container runtime that serves as an effective alternative to Docker. Built as part of the libpod library, Podman allows you to manage pods, containers, container images, and container volumes with ease. Unlike Docker’s client-server model that requires a daemon, Podman operates independently, making it adept at running without root privileges.
This tutorial aims to guide you through the basics of using Podman for managing containers, images, and volumes, as well as creating container images. Before we start, ensure Podman is installed on your system. For installation instructions tailored to different operating systems, refer to the links below:
- How to Install Podman on Ubuntu 22.04
- Getting Started with Podman (Docker Alternative) on Rocky Linux
- How to Install and Use Podman (Docker Alternative) on Ubuntu 20.04
- How to Install Podman as Docker Alternative on Debian 11
Prerequisites
- A system running Ubuntu with Podman installed
- Basic familiarity with Docker, which can facilitate the learning process
1. Basic Podman Commands
Once Podman is installed on your Ubuntu system, it’s essential to familiarize yourself with some basic commands. Start by checking the installed Podman version with:
podman version
Any Podman version greater than 1.0.1 is suitable for this guide.
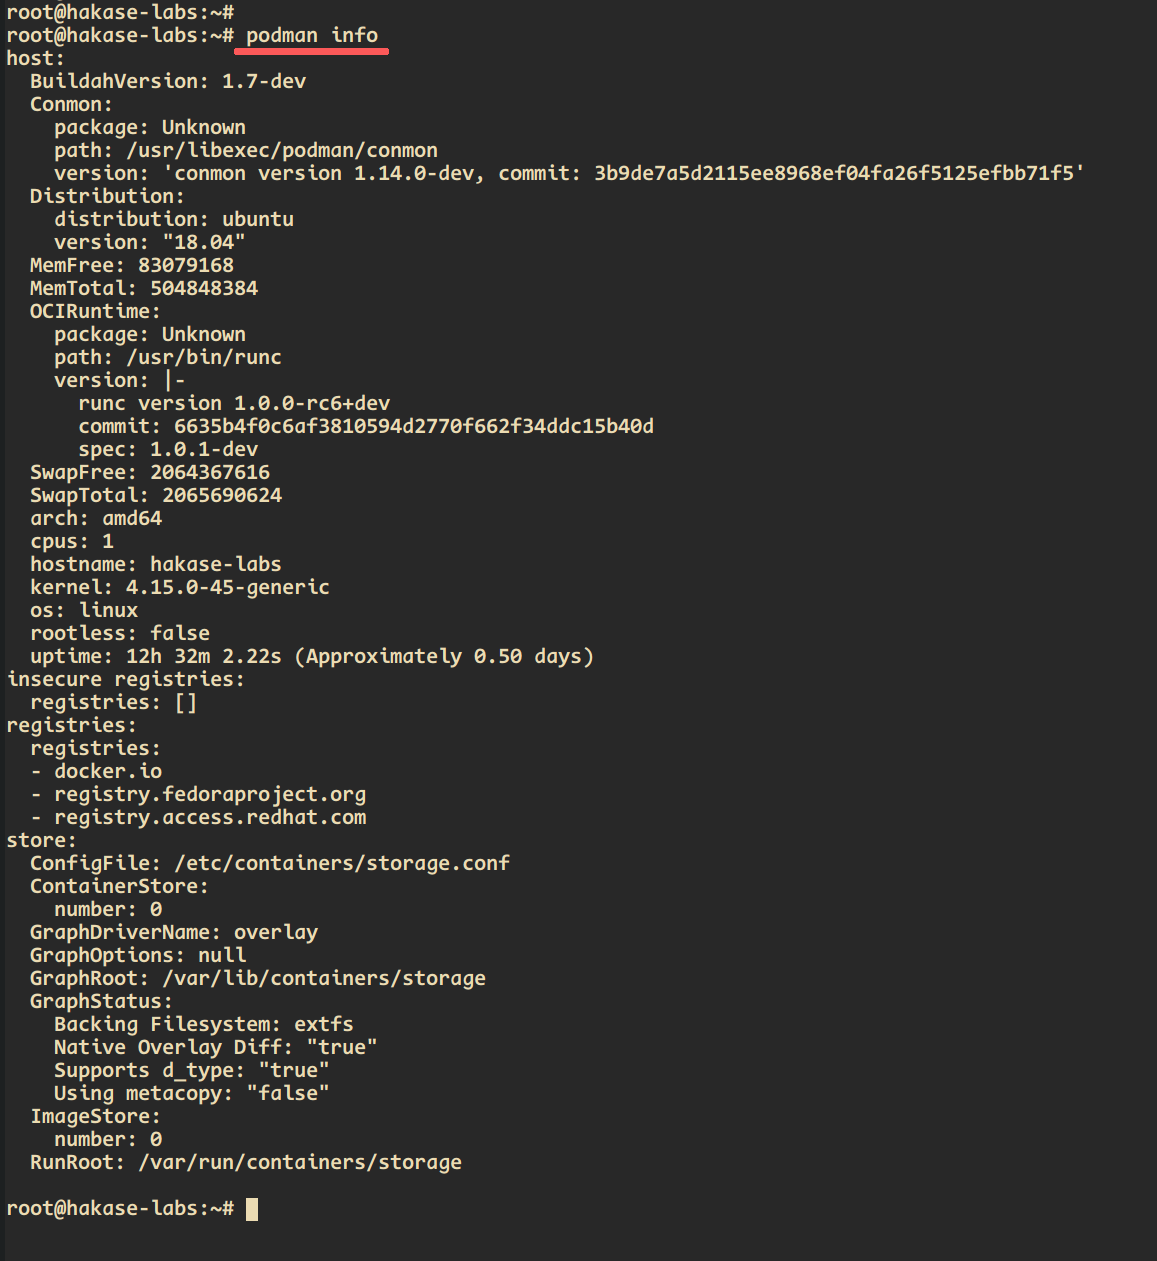
Next, verify the Podman system environment using:
podman info
You will see details about the system environment, including Host package information, Registries, and Storage.
To explore all available Podman command options, execute:
podman --help
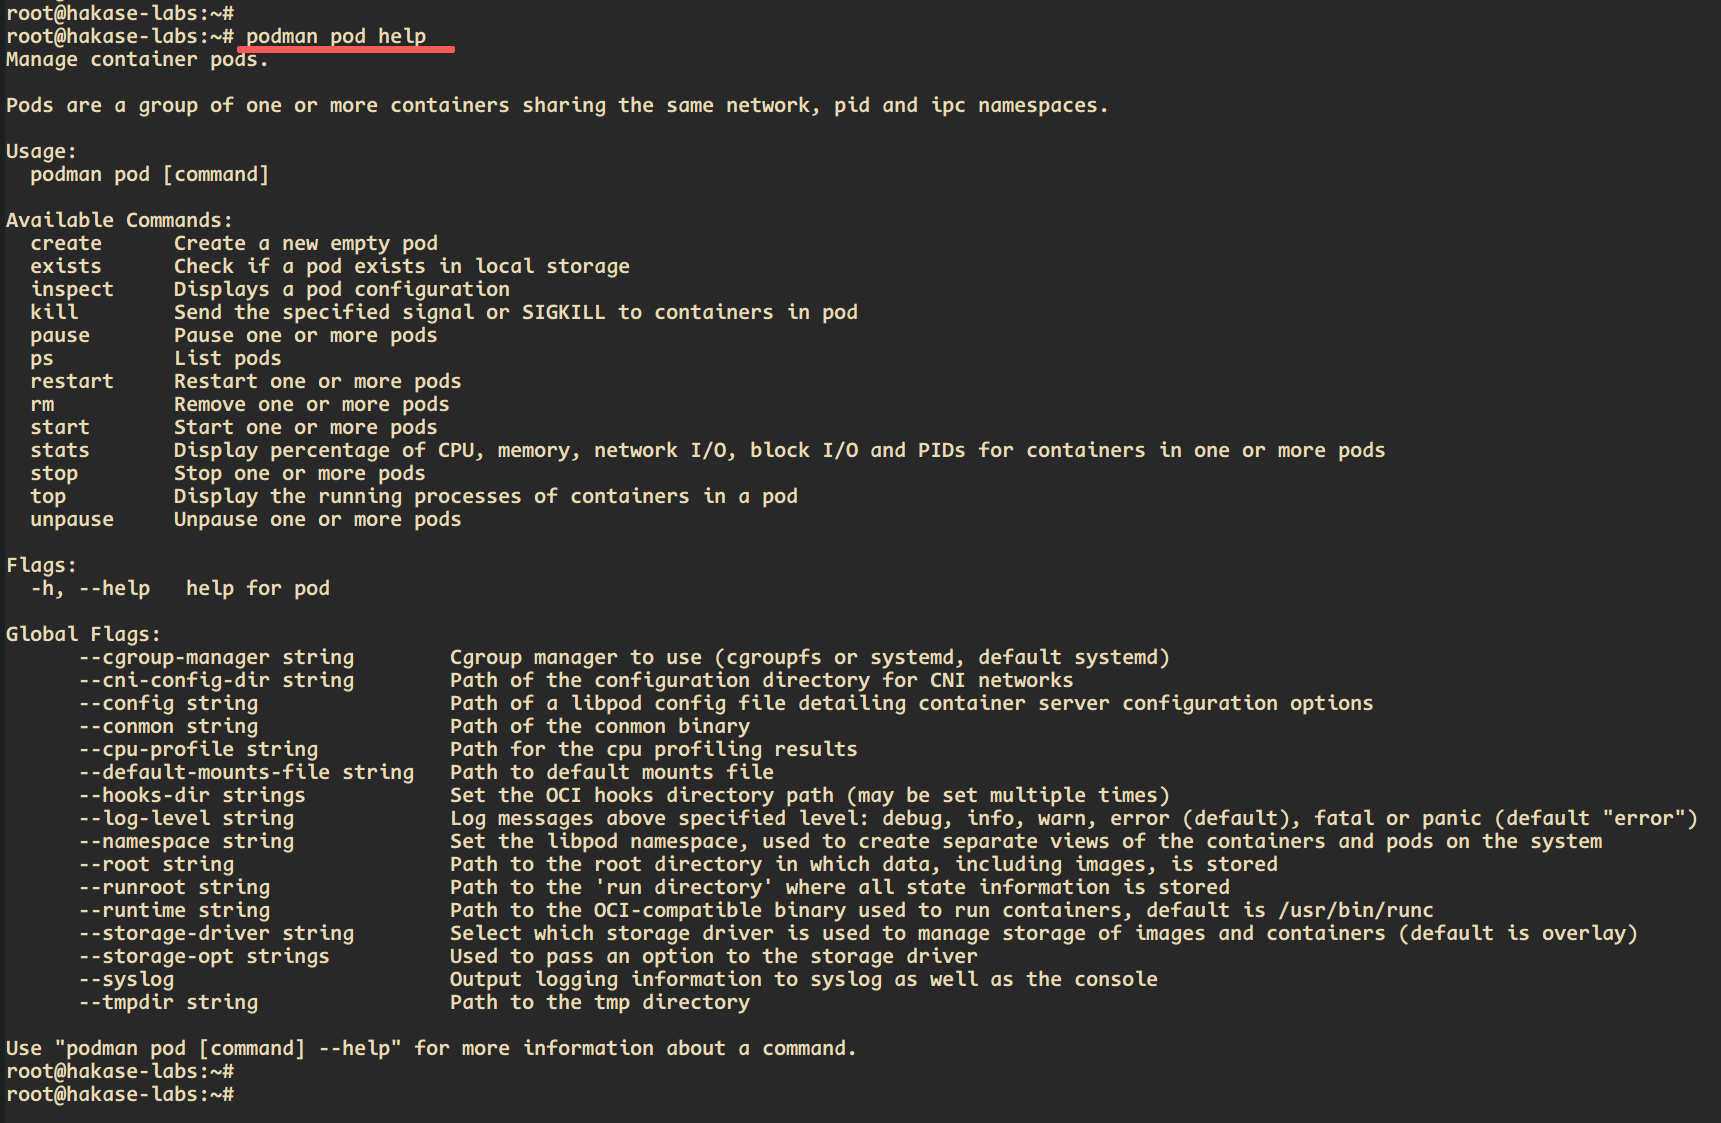
For help with a specific command, such as managing pods, use:
podman pod help
2. Managing Container Images with Podman
Container image management with Podman involves various essential operations: searching for images, downloading images, listing images available locally, and removing images.
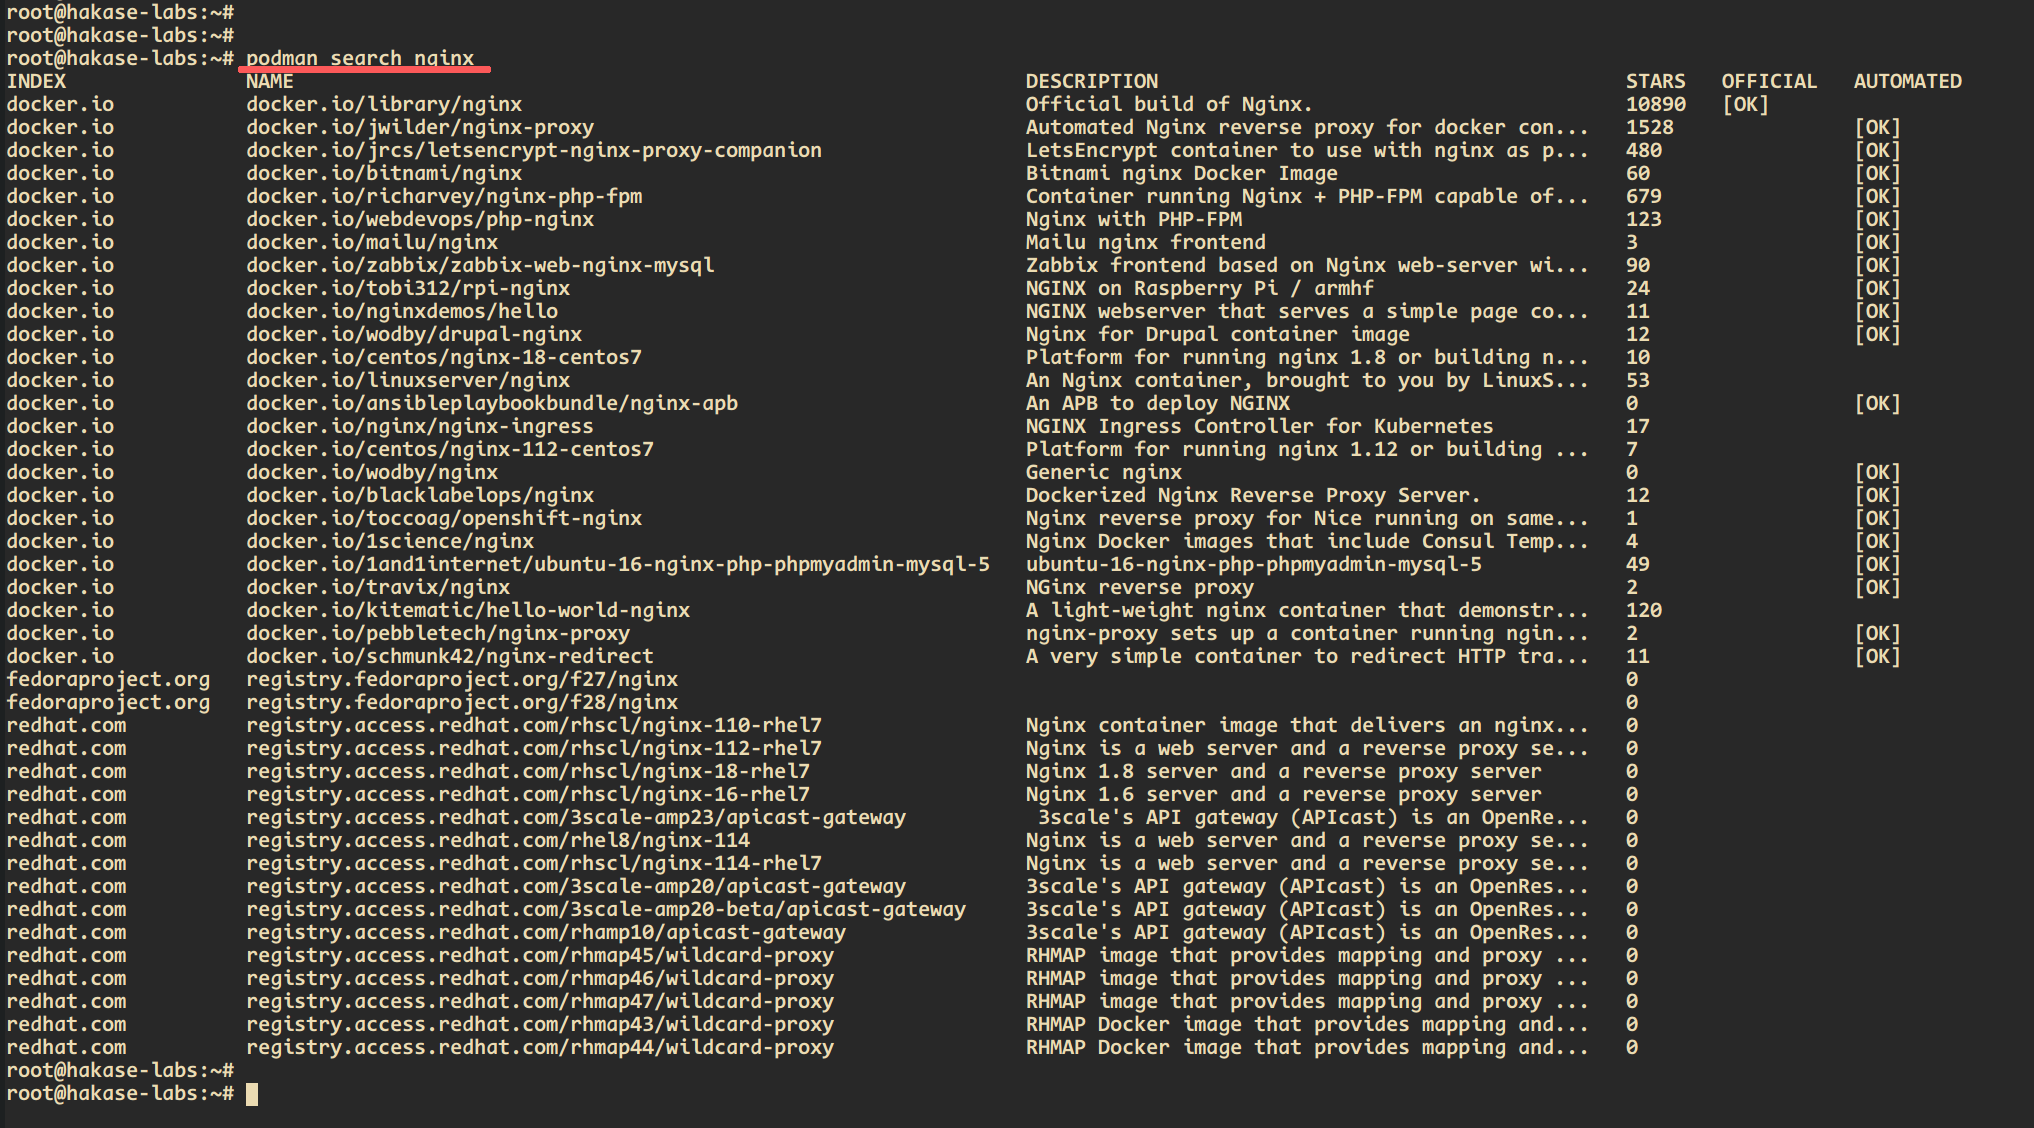
To search for an image, execute the command:
podman search nginx
This will query all repositories defined in ‘/etc/containers/repositories.conf’ for images containing the term ‘nginx’.
Download desired images using:
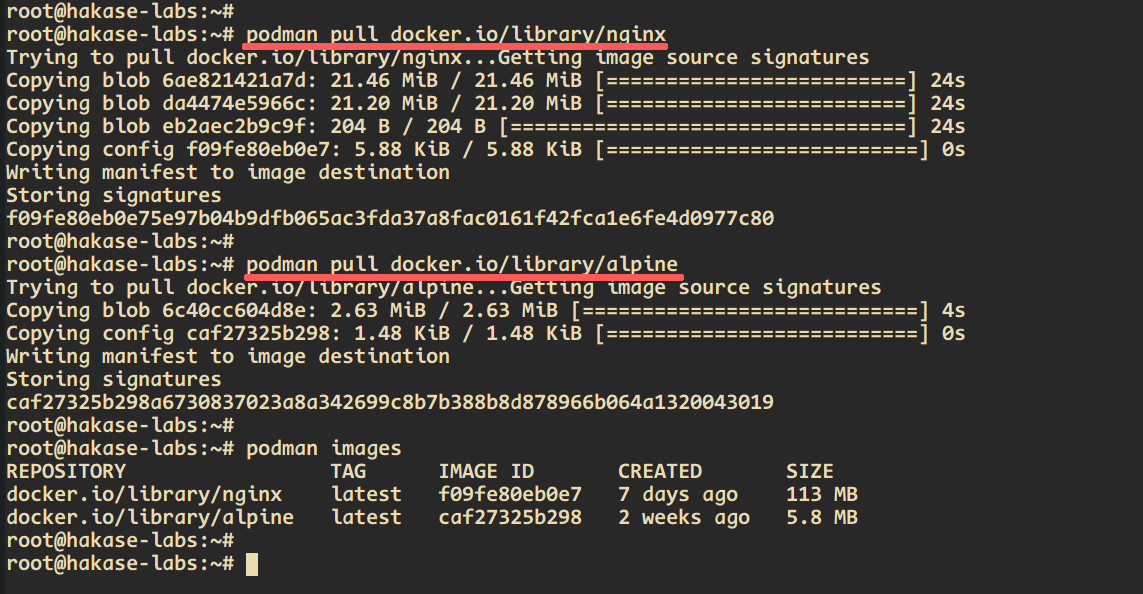
podman pull docker.io/library/nginx
podman pull docker.io/library/alpine
After downloading, list all images available on your server:
podman images
You should see both the nginx and alpine images in the output.
To remove an image such as ‘alpine’, use:
podman rmi alpine

This will leave only the nginx container image on your system.
3. Managing Containers
After mastering image management, learn to create and manage containers using Podman.
Create a new container with the following command:
podman run -d -p 8000:80 --name hakase-nginx docker.io/library/nginx
This initializes a container named ‘hakase-nginx’ using the nginx image and maps the container’s port 80 to port 8000 on the host.
Explanation of options:
- -d: Runs the container in the background and displays the container ID.
- -p 8000:80: Maps port 8000 on the host to port 80 on the container.
- –name hakase-nginx: Assigns the name ‘hakase-nginx’ to the container.
View all running containers with:
podman ps
The ‘hakase-nginx’ container should be listed as active.

To display all containers, regardless of state, add the ‘-a’ flag:
podman ps -a
Inspect processes inside the running container with:
podman top hakase-nginx
Attach to the running container using:
podman exec -it hakase-nginx /bin/bash
Within the ‘hakase-nginx’ container, verify the nginx version:
nginx -V
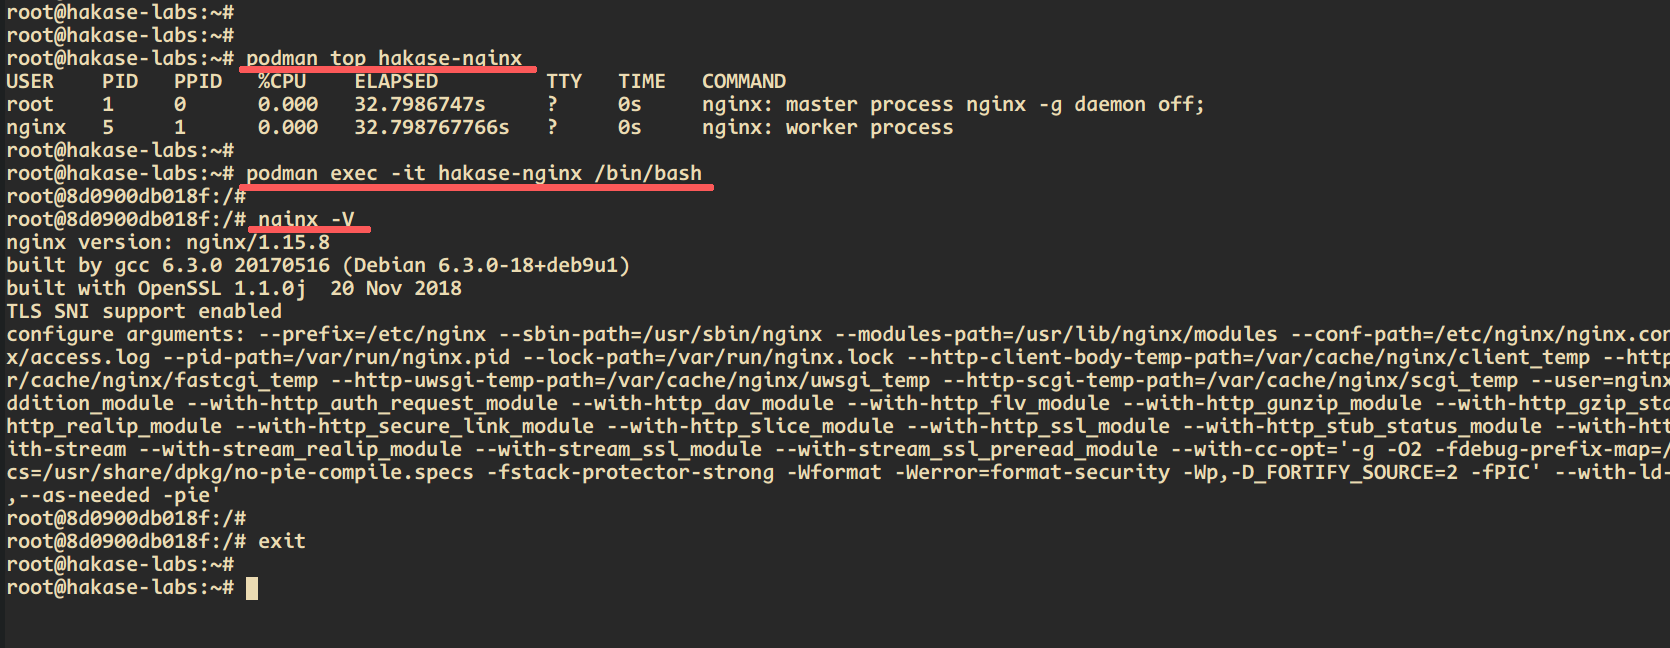
Exit the container by typing ‘exit’.
Stop the ‘hakase-nginx’ container with:
podman stop hakase-nginx
Remove the container with:
podman rm hakase-nginx
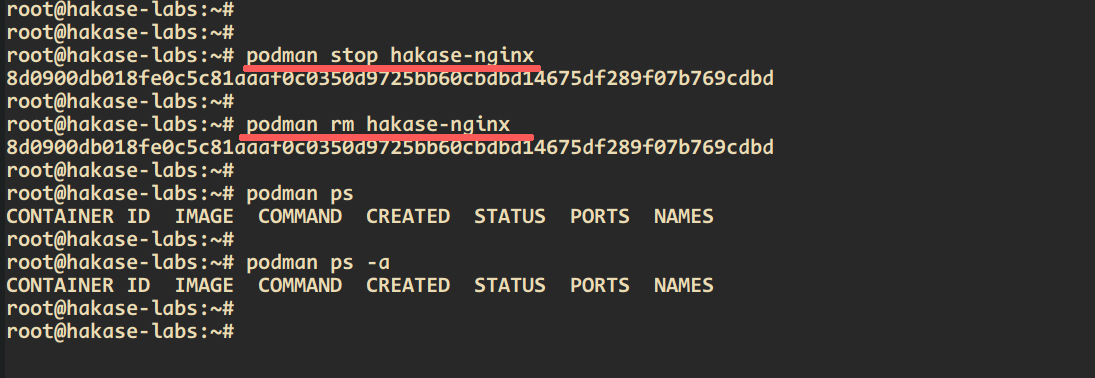
To forcefully stop and remove a container, append ‘-f’ to the command.
podman rm hakase-nginx -f
4. Managing Volumes
As of version 0.12, Podman includes the capability to create and manage local volumes. Ensure you are using a compatible version.
Create a local volume called ‘hakase-volume’:
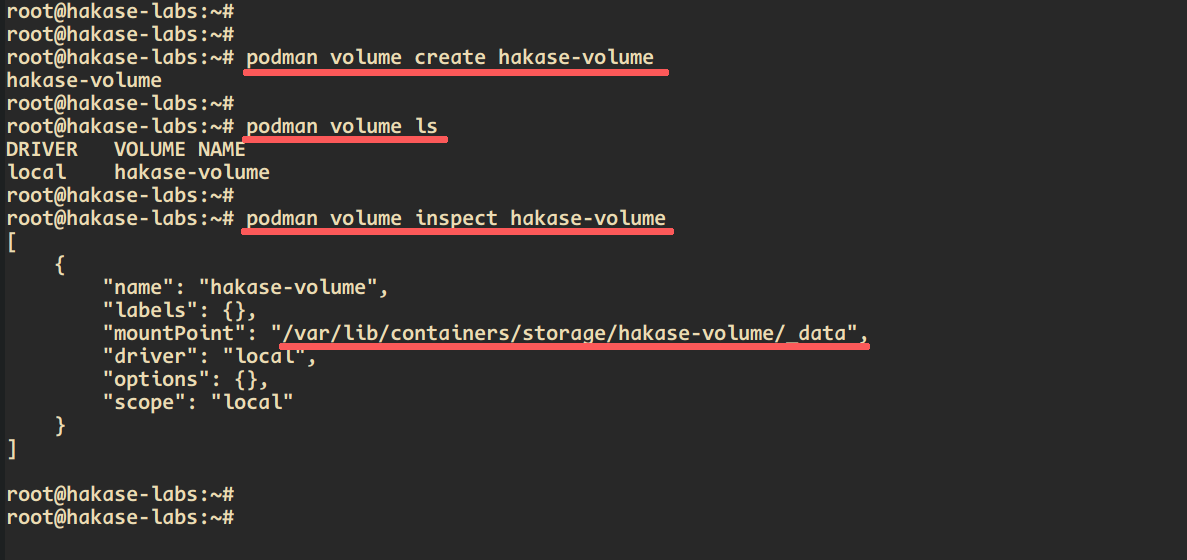
podman volume create hakase-volume
View all available volumes:
podman volume ls
Check volume details using:
podman volume inspect hakase-volume
The volume’s ‘mountPoint’ will show as ‘/var/lib/containers/storage/hakase-volume/_data’.
Navigate to that directory and create an ‘index.html’ file:
cd /var/lib/containers/storage/hakase-volume/_data
echo "<h1><center>This is custom index and volume - Hello Podman</center></h1>" > index.html
Launch a container and mount the ‘hakase-volume’:
podman run -d -p 8000:80 -v hakase-volume:/usr/share/nginx/html --name hakase-nginx docker.io/library/nginx
Inspect volumes mounted on the container:
podman inspect -f '{{ json .Mounts }}' hakase-nginx | jq
The ‘hakase-volume’ should be listed as a mounted volume.
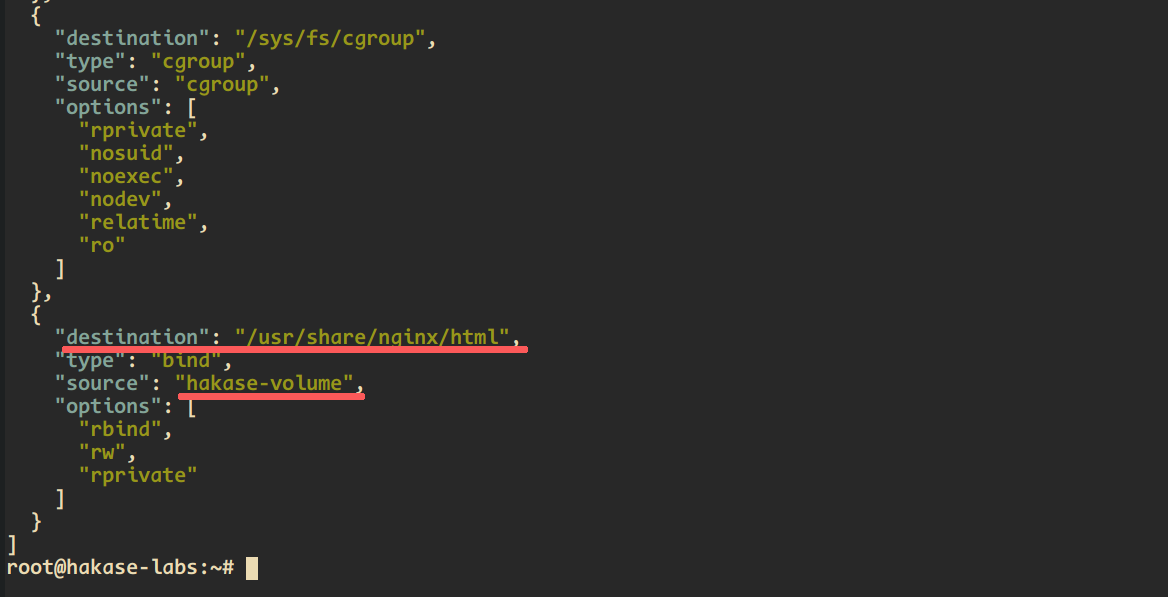
Discover the container’s IP address with:
podman inspect -f '{{ .NetworkSettings.IPAddress }}' hakase-nginx
Access the container via HTTP using:
http http://10.88.0.4/
The custom index.html should render as expected.
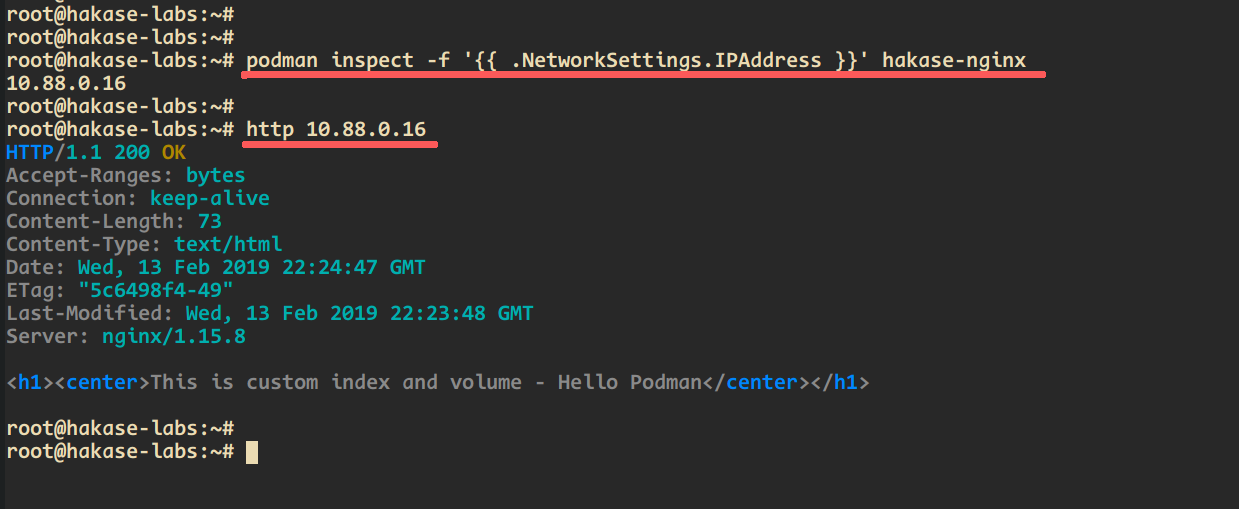
To remove volumes, use:
podman volume rm hakase-volume
5. Creating Custom Images with Commit
Podman allows you to generate custom container images from modified containers or from Dockerfiles.
Start by pulling a base image:
podman pull docker.io/library/ubuntu
Create a container and perform operations within it:
podman run --name container-temp ubuntu bash -c "apt update && apt install -y nginx"
Wait for the nginx package to install.
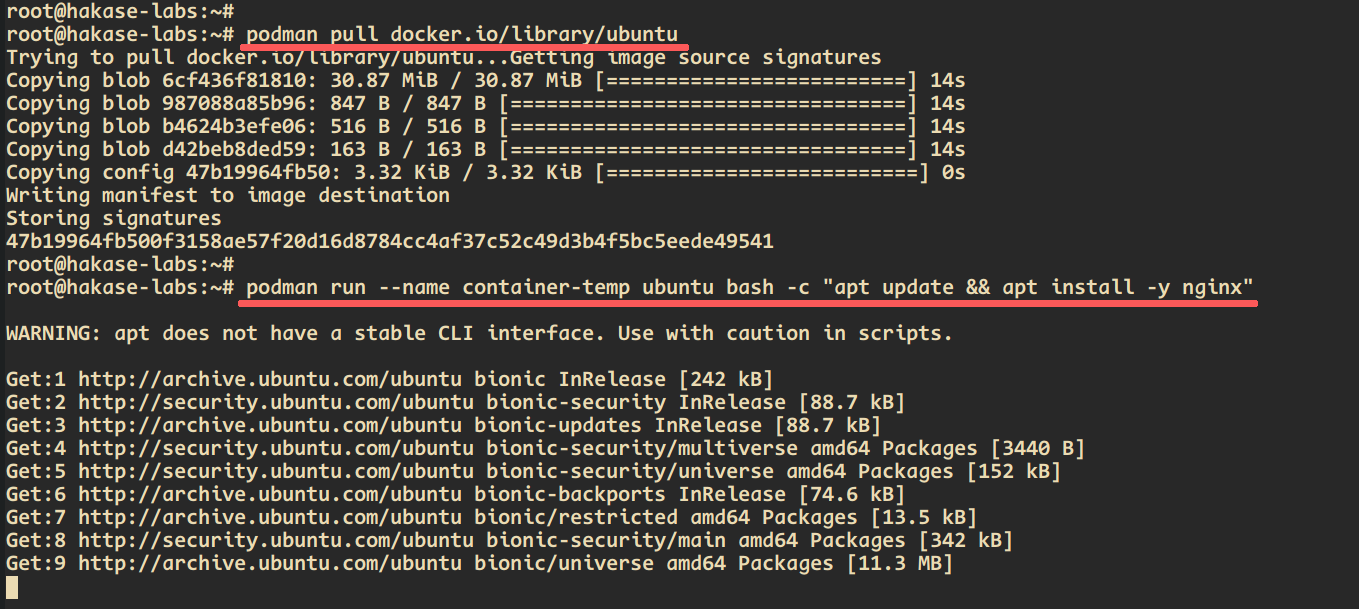
Commit changes to create a custom image:
podman commit container-temp my-nginx
Check available images to confirm the new image ‘my-nginx’:
podman images

To instantiate a container from the ‘my-nginx’ image:
podman run -dt -p 8001:80 --name nginx01 my-nginx /usr/sbin/nginx -g 'daemon off;'
Verify the container is running and check its IP:
podman ps
podman inspect --format '{{ .NetworkSettings.IPAddress }}' nginx01
Access the container on port HTTP:
http -p h 10.88.0.19
You should receive an HTTP header response, confirming connection.
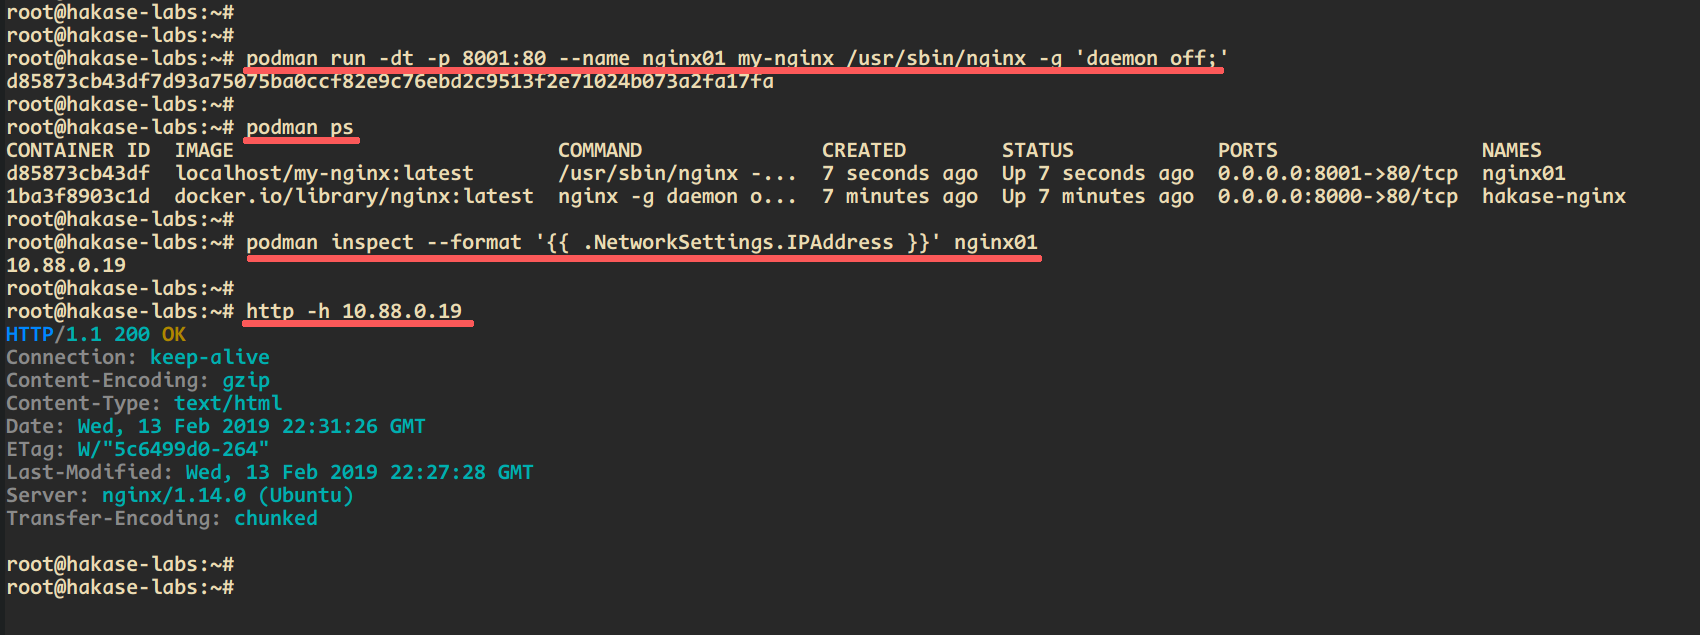
6. Creating Custom Images with Dockerfile
Create a custom container image using a Dockerfile.
Start by creating a project folder and Dockerfile:
mkdir project; cd project/
vim Dockerfile
Insert the following into the Dockerfile:
FROM ubuntu


# Install Nginx

RUN \
  apt-get update && \
  apt-get install -y nginx && \
  rm -rf /var/lib/apt/lists/* && \
  echo "\ndaemon off;" >> /etc/nginx/nginx.conf && \
chown -R www-data:www-data /var/lib/nginx


# Define mountable directories.

VOLUME ["/etc/nginx/sites-enabled", "/etc/nginx/certs", "/etc/nginx/conf.d", "/var/log/nginx", "/var/www/html"]


# Define the working directory.

WORKDIR /etc/nginx


# Define default command.

CMD ["nginx"]


# Expose ports.

EXPOSE 80

EXPOSE 443
Save and close the file.
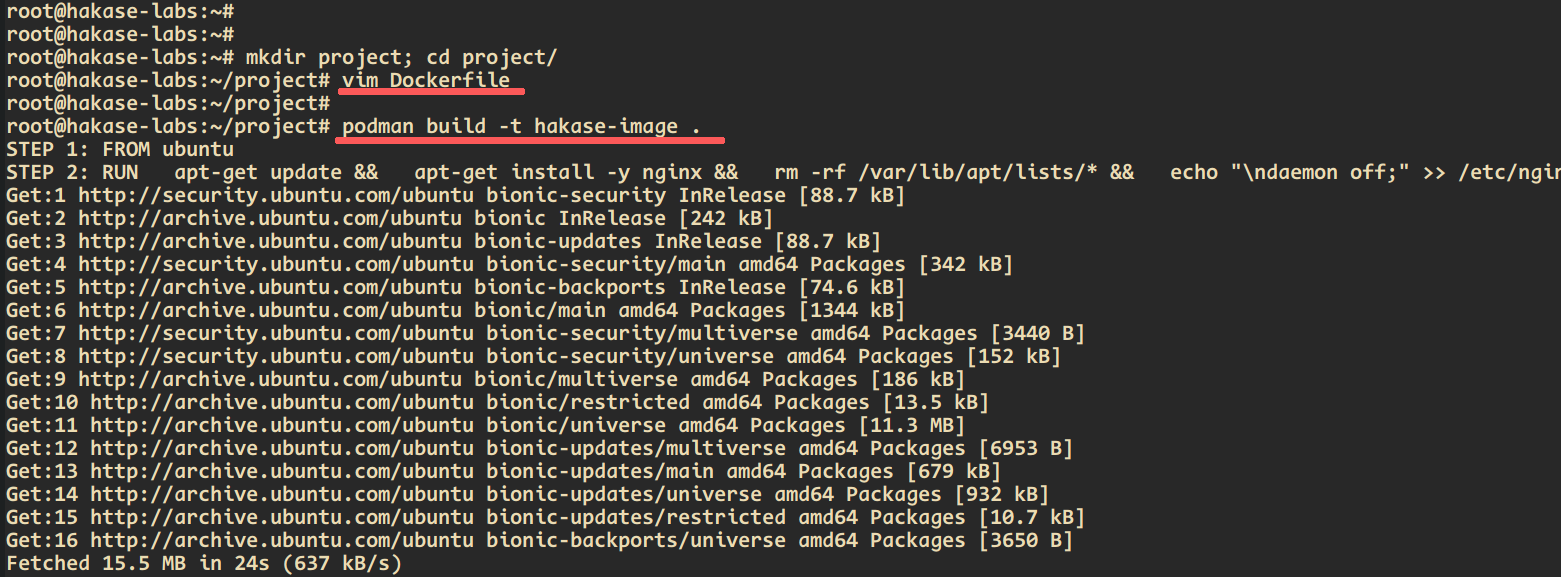
Build your custom image from the Dockerfile:
podman build -t hakase-image .
Check the list of images to confirm ‘hakase-image’:
podman images

Create a new container from ‘hakase-image’:
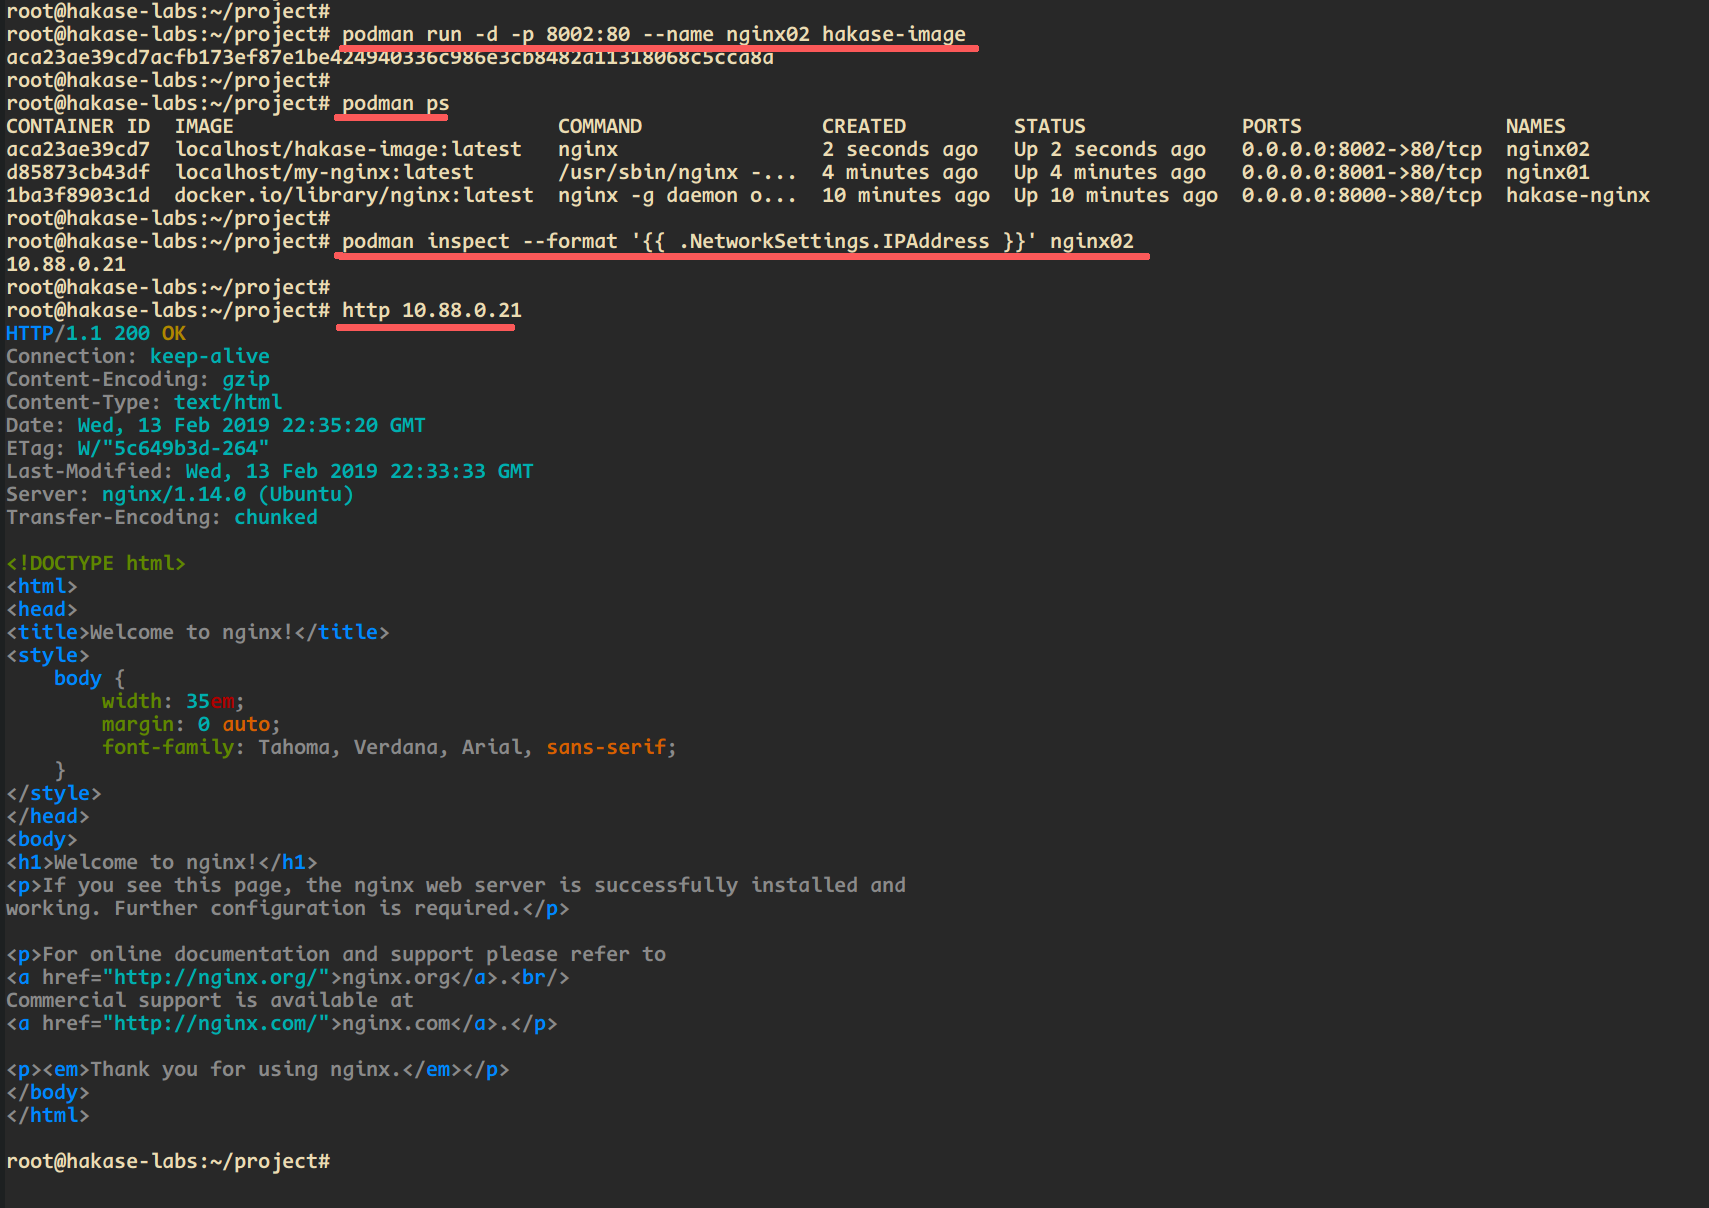
podman run -d -p 8002:80 --name nginx02 hakase-image
Verify the container is active and retrieve its IP:
podman ps
podman inspect --format '{{ .NetworkSettings.IPAddress }}' nginx02
Ensure the ‘nginx02’ container is operational.
Validate the container using httpie:
http 10.88.0.21
The default Nginx page and HTTP header will display.
You can now efficiently manage containers, images, and volumes using Podman and create new custom images for your application using a Dockerfile.
FAQ
- What is Podman?
- Podman is a container runtime that allows users to manage containers, images, and volumes, similar to Docker, but without the need for a running daemon.
- Can Podman run containers without root privileges?
- Yes, Podman can run containers without requiring root privileges, enhancing security by minimizing potential vulnerabilities.
- How do I install Podman?
- Visit the relevant guides for your operating system to install Podman. Links are provided in the prerequisites section above.
- How does Podman differ from Docker?
- Podman does not require a daemon to manage containers. Its architecture is designed to operate independently, enhancing flexibility and reducing security risks associated with daemon-based operations.
- Can I manage Docker images with Podman?
- Yes, Podman can handle Docker images, providing seamless integration and management capabilities compatible with Docker’s registry and image formats.
