Caddy is a robust, open-source web server developed using the Go language. It’s known for its extensive feature set, including support for HTTP/3, TLS v1.3, automatic SSL configuration via Let’s Encrypt, reverse proxy capabilities, and various plugins to enhance its functionalities. One of Caddy’s standout benefits is its unified configuration through a single file, regardless of the number of sites you wish to manage.
This guide will walk you through the installation and configuration of Caddy and PHP on Fedora 34 and CentOS 8-based servers. We’ll explore how to host both single and multiple websites and employ reverse proxy alongside other security features.
Prerequisites
- Fedora 34 or CentOS 8 based server
- A non-root user with sudo privileges
- A domain name pointing to the server IP address
- SELinux is disabled.
$ sudo setenforce 0 - Ensure the system is updated.
$ sudo dnf update
Step 1 – Configuring Firewall
The initial step is to configure the firewall to open HTTP and HTTPS ports. Fedora and CentOS come with the Firewalld firewall preinstalled.
Check if the firewall is active:
$ sudo firewall-cmd --stateYou should receive:
runningVerify the currently allowed services/ports:
$ sudo firewall-cmd --permanent --list-servicesExpected output:
dhcpv6-client mdns sshPermit HTTP and HTTPS ports:
$ sudo firewall-cmd --permanent --add-service=http
$ sudo firewall-cmd --permanent --add-service=https
Revalidate the firewall status:
$ sudo firewall-cmd --permanent --list-servicesExpected output:
dhcpv6-client http https mdns sshLastly, reload the Firewall:
$ sudo systemctl reload firewalldStep 2 – Install Caddy
Begin by installing Caddy. The process is consistent for both Fedora 34 and CentOS 8:
$ sudo dnf install 'dnf-command(copr)'
$ sudo dnf copr enable @caddy/caddy
$ sudo dnf install caddy
Verify the installation:
$ caddy version
v2.4.3 h1:Y1FaV2N4WO3rBqxSYA8UZsZTQdN+PwcoOcAiZTM8C0I=
Step 3 – Caddy Configuration Basics
Caddy’s primary configuration format is JSON, offering extensive flexibility. However, for simplicity, Caddyfile is available for those unfamiliar with JSON.
The default Fedora/CentOS package includes a Caddyfile at /etc/caddy/Caddyfile:
:80 {
    root * /usr/share/caddy
    file_server
}
Enable and start the Caddy daemon:
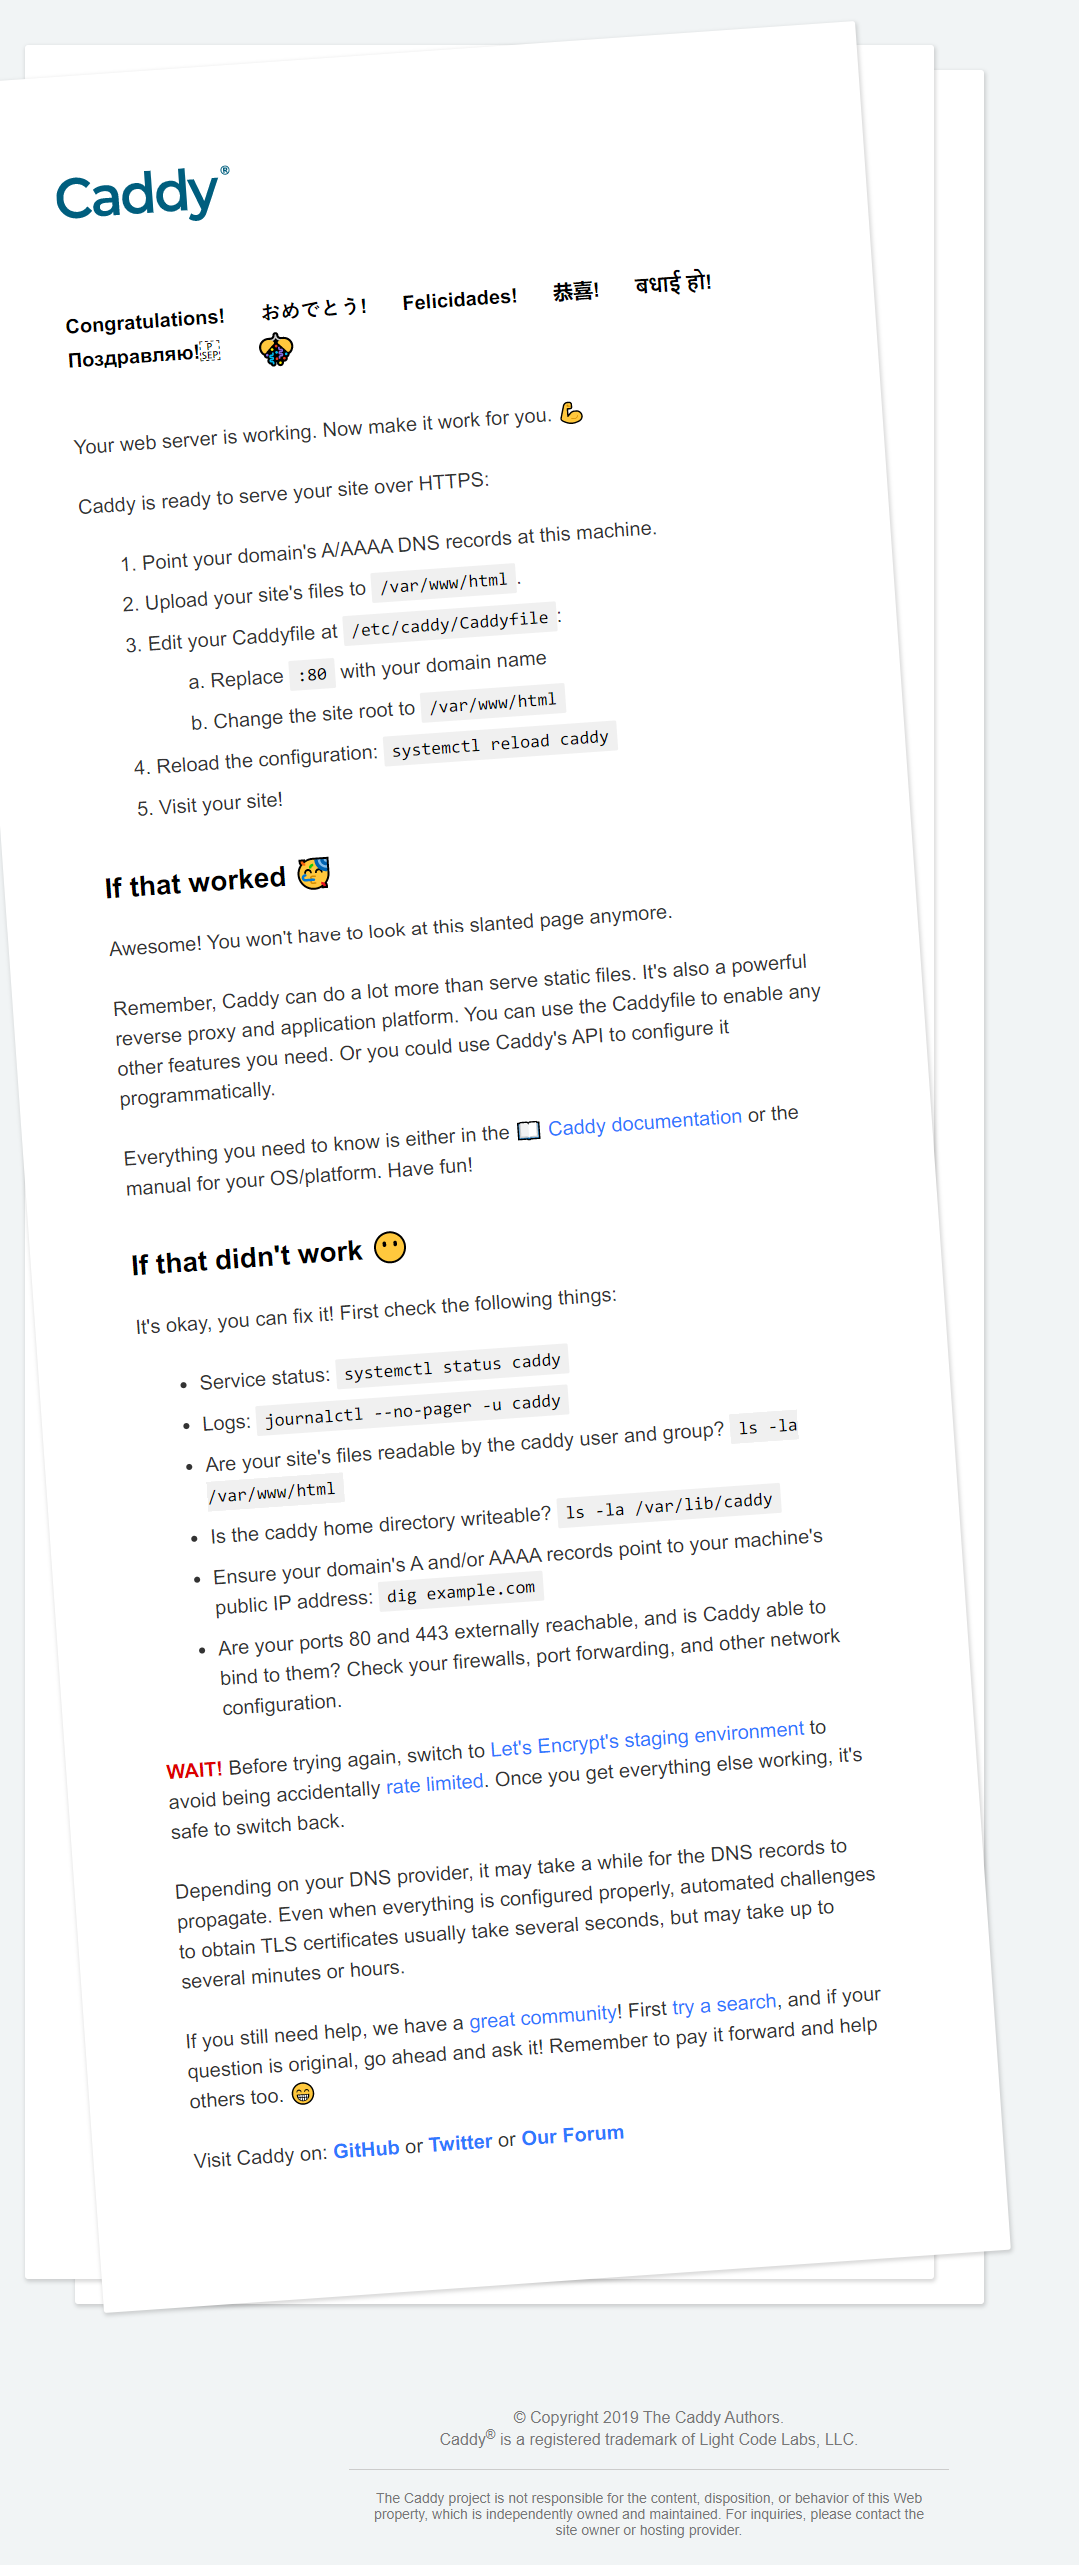
$ sudo systemctl enable --now caddyVisiting http://youripaddress should display the welcome page.

Configuring Caddy for a Basic HTML Website
Firstly, create the structure to host the website:
$ sudo mkdir -p /var/www/example.com/html
$ sudo mkdir /var/log/caddy
Change the directory ownership to Caddy:
$ sudo chown caddy:caddy /var/www/example.com/html -R
$ sudo chown caddy:caddy /var/log/caddy
Configuring Multiple Sites in Caddy
Multiple sites can be managed in a single Caddyfile, but separating configurations is advisable for easy maintenance:
example1.com {
    root * /var/www/example1.com/html
    ...
}

example2.com {
    root * /var/www/example2.com/html
    ...
}
Organize by creating the directory /etc/caddy/caddyconf:
$ sudo mkdir /etc/caddy/caddyconfImport configurations in /etc/caddy/caddyfile:
import caddyconf/*.conf
Configuring PHP Sites
To serve dynamic PHP sites, enable PHP support:
example1.com {
    root * /var/www/example1.com/html
    ...
    php_fastcgi unix//run/php-fpm/www.sock
}
Step 4 – Caddy Global Options
Set global options at the Caddyfile’s top for consistent configurations across sites:
{
    #TLS Options
    email name@example.com

    servers	:443 {
        protocol {
            experimental_http3
        }
        max_header_size 5mb
    }

    servers :80 {
        protocol {
            allow_h2c
        }
        max_header_size 5mb
    }
}
Step 5 – Enhancing Security
Enabling HTTP Authentication
Set up HTTP authentication by hashing passwords:
$ caddy hash-password
Enter password:
Confirm password:
JDJhJDEwJEVCNmdaNEg2Ti5iejRMYkF3MFZhZ3VtV3E1SzBWZEZ5Q3VWc0tzOEJwZE9TaFlZdEVkZDhX
Implement in Caddyfile:
basicauth /secret/* {
    John JDJhJDEwJEVCNmdaNEg2Ti5iejRMYkF3MFZhZ3VtV3E1SzBWZEZ5Q3VWc0tzOEJwZE9TaFlZdEVkZDhX
}
Conclusion
This guide has demonstrated the process of installing and configuring the Caddy web server on Fedora 34 / CentOS 8-based servers. Should you have further questions, feel free to comment below.
Frequently Asked Questions
- What makes Caddy different from other web servers?
- Caddy offers a simplified configuration with a single file, supports automatic SSL, and has built-in security features.
- Can I use Caddy for dynamic sites?
- Yes, Caddy can be used to host both static and dynamic sites, with PHP support easily configurable.
- Is it possible to manage multiple websites with Caddy?
- Absolutely. You can manage multiple sites in one Caddyfile or import separate configurations for easier maintenance.
- How does Caddy ensure security?
- Caddy provides several security features, including TLS 1.3 support, automatic SSL configuration, and various security headers.
- Can I enable HTTP/3 with Caddy?
- Yes, HTTP/3 can be enabled globally in the Caddyfile, although it remains an experimental feature.
