GitLab is a robust open-source repository manager built on Rails and developed by GitLab Inc. It serves as a comprehensive web-based git repository manager, enabling teams to efficiently collaborate on coding, testing, and deploying applications. GitLab offers a myriad of features, including wikis, issue tracking, code reviews, and activity feeds.
GitLab Inc provides four primary products:
- GitLab CE (Community Edition) – A self-hosted, free version supported by the Community forum.
- GitLab EE (Enterprise Edition) – A self-hosted, paid version with additional features.
- GitLab.com – A free SaaS solution.
- GitLab.io – A private GitLab instance managed by GitLab Inc.
This tutorial will guide you through installing GitLab CE on a CentOS 8 server. We’ll utilize the ‘omnibus’ package provided by GitLab, make some basic configurations, and test it by creating a new GitLab project.
Prerequisites
To follow this guide, you will need:
- A CentOS 8 server with 4GB of RAM, 30GB of free disk space, and 2 CPUs.
- A domain name configured with your GitLab instance.
Installation and Setup Process
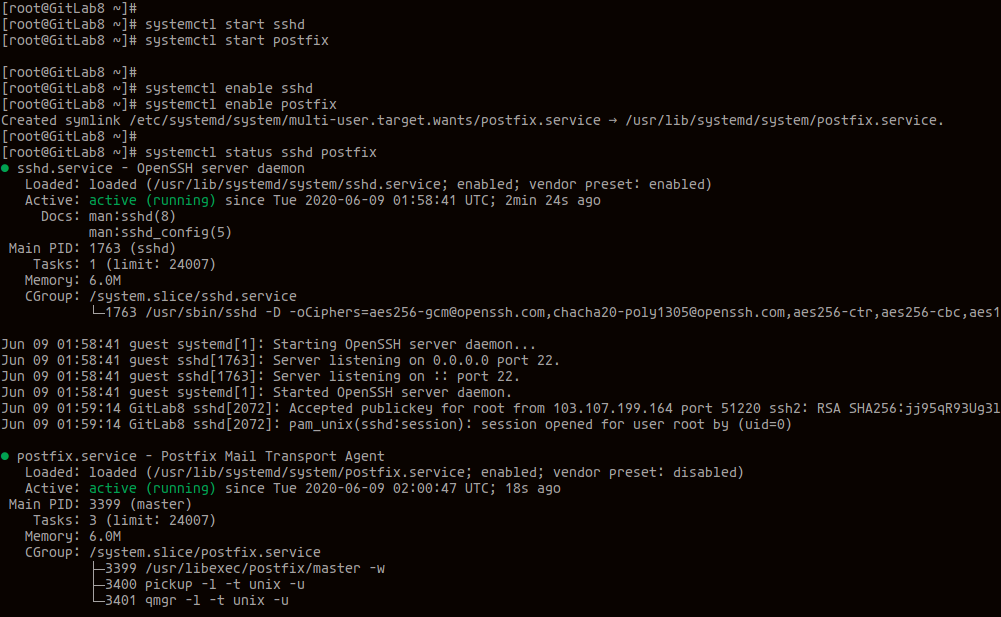
Install Package Dependencies: Begin by installing necessary packages like OpenSSH and Postfix using the command below.
sudo dnf -y install curl policycoreutils openssh-server openssh-clients postfix
After the installation, start and enable the SSH and Postfix services:
systemctl start sshd
systemctl enable sshd
systemctl start postfix
systemctl enable postfix
Add GitLab Repository and Install GitLab CE: Add the official GitLab package repository and install GitLab CE.
curl -s https://packages.gitlab.com/install/repositories/gitlab/gitlab-ce/script.rpm.sh | sudo bash
Verify the GitLab repository:
sudo dnf repolist
Install GitLab CE:
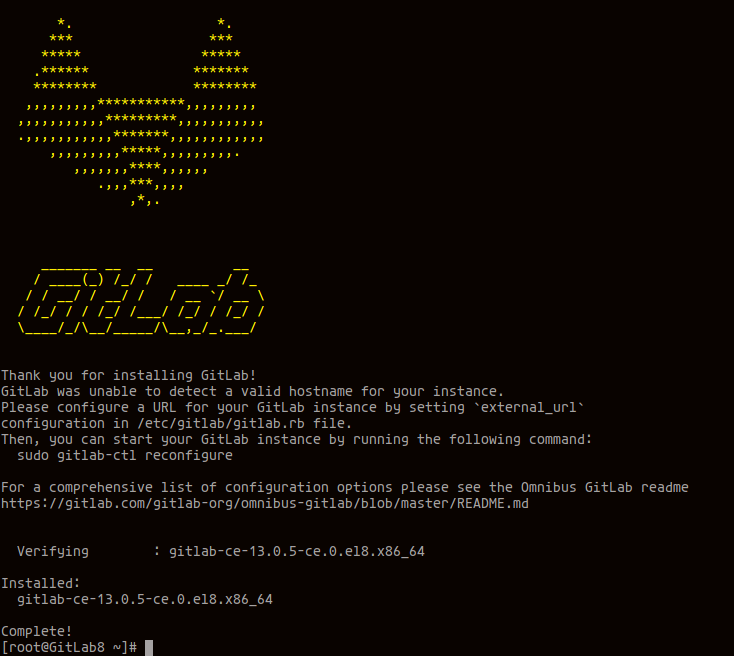
sudo dnf install gitlab-ce -y
Generate SSL Certificates: Secure GitLab with Let’s Encrypt SSL certificates.
sudo dnf install epel-release
sudo dnf install certbot
certbot certonly --rsa-key-size 2048 --standalone --agree-tos --no-eff-email --email user@hakase-labs.io -d gitlab.hakase-labs.io
Generate the DHPARAM certificate for enhanced security:
sudo openssl dhparam -out /etc/gitlab/dhparams.pem 2048
sudo chmod 600 /etc/gitlab/dhparams.pem
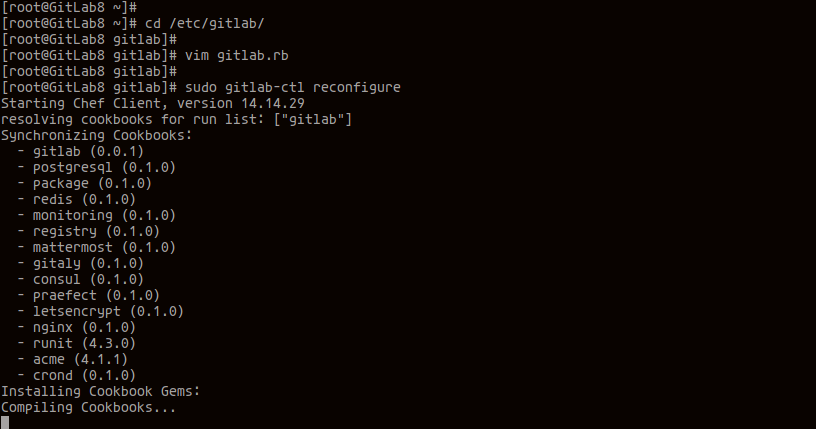
Configure Nginx for HTTPS: Edit the ‘gitlab.rb’ file to set up HTTPS.
cd /etc/gitlab/
vim gitlab.rb
external_url 'https://gitlab.hakase-labs.io'
nginx['redirect_http_to_https'] = true
nginx['ssl_certificate'] = "/etc/letsencrypt/live/gitlab.hakase-labs.io/fullchain.pem"
nginx['ssl_certificate_key'] = "/etc/letsencrypt/live/gitlab.hakase-labs.io/privkey.pem"
nginx['ssl_dhparam'] = "/etc/gitlab/dhparams.pem"
Reconfigure GitLab:
sudo gitlab-ctl reconfigure
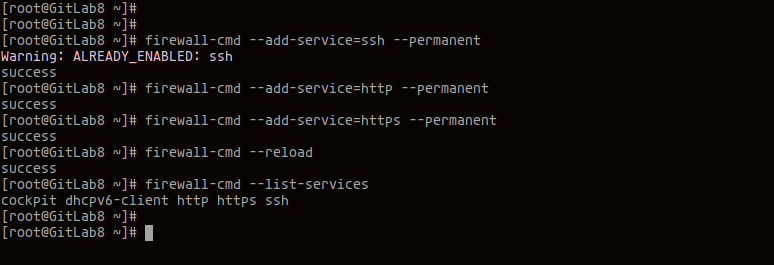
Configure Firewalld: Allow HTTP and HTTPS through your firewall.
firewall-cmd --add-service=ssh --permanent
firewall-cmd --add-service=http --permanent
firewall-cmd --add-service=https --permanent
firewall-cmd --reload
Verify your firewalld services:
firewall-cmd --list-services
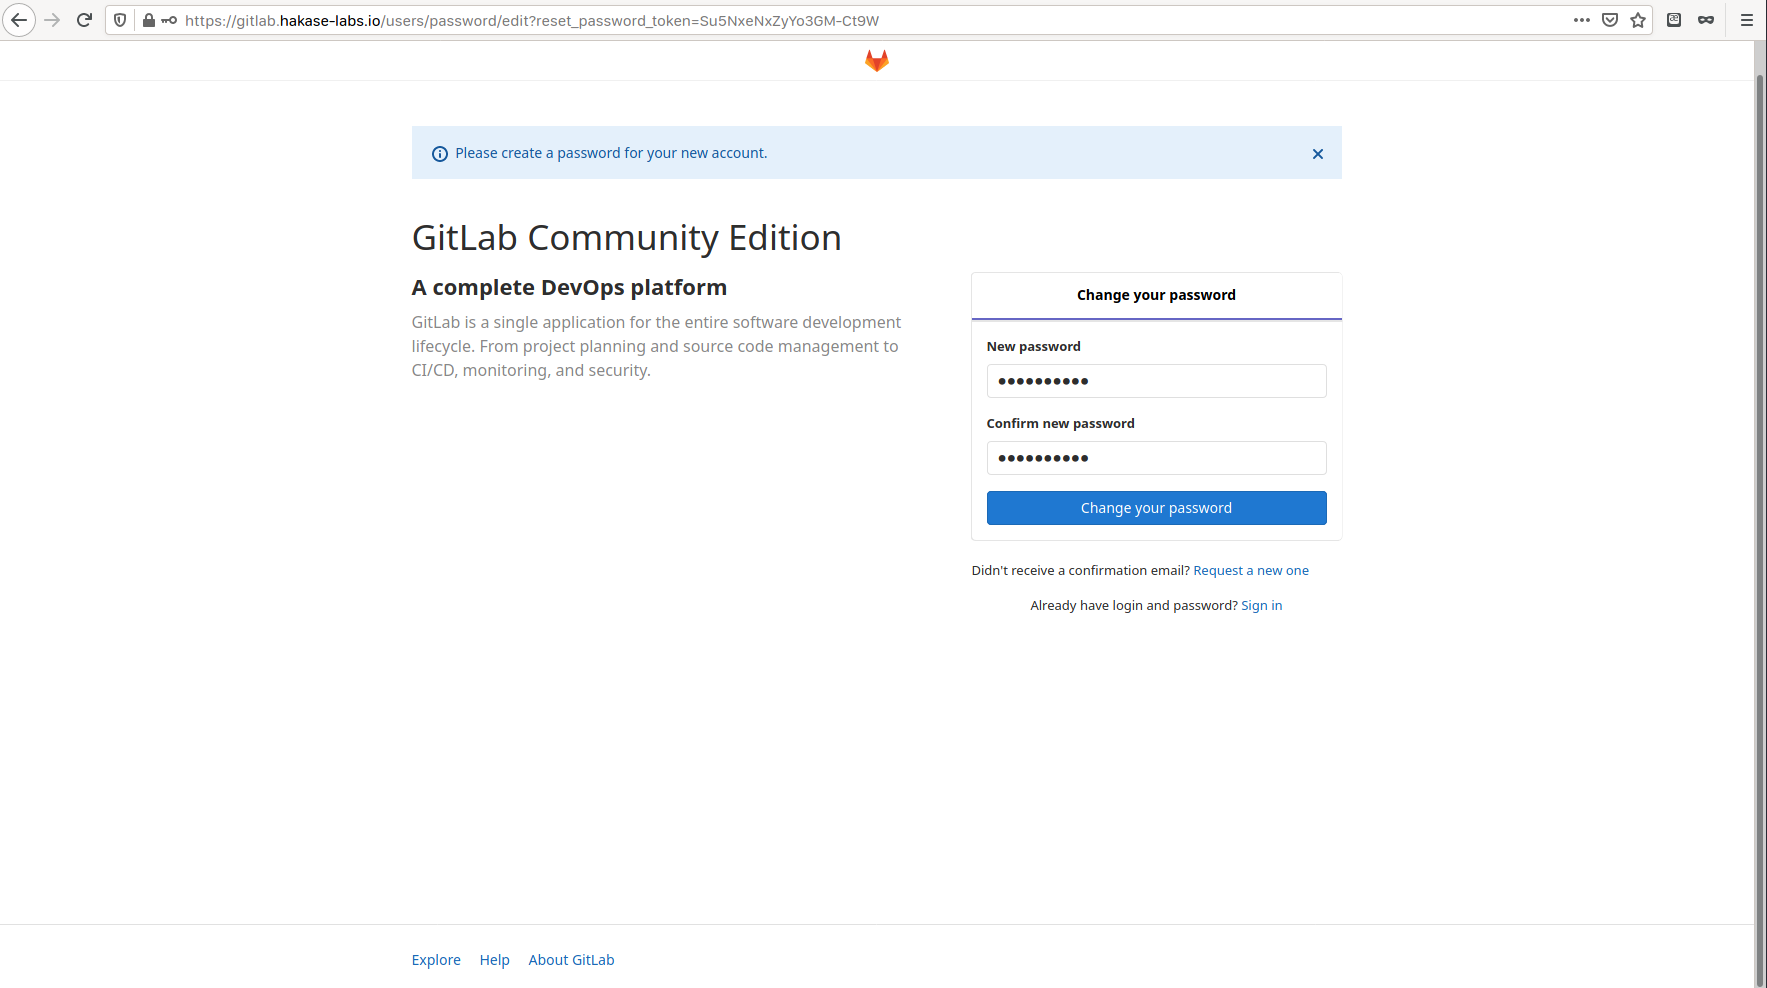
GitLab Post Installation: Access your GitLab instance to set the root password and configure user settings.
Reset Default Password
Visit https://gitlab.hakase-labs.io/, reset the default ‘root’ password, and login.
Change Profile and Username
Update your profile settings to personalize your GitLab environment.
Add SSH Key
Generate and add an SSH key to GitLab to enable SSH-based operations:
ssh-keygen
Setup Project Limit per Account
Adjust the project creation limit to suit administrative constraints from the ‘Settings’ menu.
- Create a New Project: Test your GitLab instance by creating a new project and performing basic Git operations.
Create New GitLab Project
Add a new project via the GitLab dashboard.
Setup GitLab on your Laptop
Configure your Git client to connect with your GitLab repository:
git config --global user.name "yourname"
git config --global user.email "youremail@example.com"
git clone https://gitlab.hakase-labs.io/yourname/yourproject.git
cd yourproject/
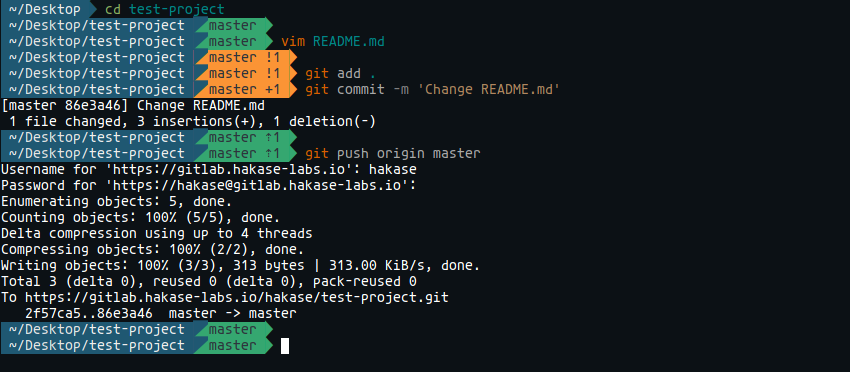
Make a Change and Commit
Edit files, commit changes, and push them to GitLab:
vim README.md
git add .
git commit -m "Update README"
git push origin master
Your GitLab installation on CentOS 8 is now complete and ready for use.
Frequently Asked Questions
What is the difference between GitLab CE and GitLab EE?
GitLab CE (Community Edition) is the open-source version supported by the community, while GitLab EE (Enterprise Edition) is a paid version offering additional features and support services.
How can I secure my GitLab installation?
Utilize Let’s Encrypt SSL certificates to secure your GitLab with HTTPS, configure your firewall settings properly, and keep your system updated with the latest security patches.
Can I integrate GitLab with other platforms?
Yes, GitLab offers extensive support for integrations with various platforms and services, including CI/CD tools, project management systems, and communication tools.
What resources are required to host GitLab CE?
For a basic setup, you will need at least 4GB of RAM, 30GB of disk space, and a dual-core processor. The resources required will largely depend on the team size and repository usage.
