Nexus is a robust repository manager offering a secure platform to oversee your entire software development lifecycle. It enables you to conveniently collect, manage dependencies, and distribute software, serving as a single source of truth for components, binaries, and build artifacts. Supporting tools like Gradle, Ant, Maven, and Ivy, Nexus facilitates the management of components via binaries, containers, assemblies, and finished goods. Additionally, Nexus seamlessly integrates with existing user authentication systems such as LDAP and Atlassian Crowd.
In this tutorial, we will guide you through the installation of the Nexus repository manager on an Ubuntu 20.04 server.
Prerequisites
- A server running Ubuntu 20.04.
- The root password configured on your server.
Getting Started
Begin by updating your system packages to ensure they are the latest versions. Use the following command to update:
apt-get update -y
Once your server is updated, proceed to the next step.
Install Java
Nexus relies on Java, so it’s essential to install Java version 8. Execute the following command to install it:
apt-get install openjdk-8-jdk -y
After the installation of Java, verify its installed version using:
java -version
Expected output should be similar to:
openjdk version "1.8.0_282"
OpenJDK Runtime Environment (build 1.8.0_282-8u282-b08-0ubuntu1~20.04-b08)
OpenJDK 64-Bit Server VM (build 25.282-b08, mixed mode)
With Java installed, proceed to install Nexus.
Install Nexus
First, create a dedicated user to run Nexus:
useradd -M -d /opt/nexus -s /bin/bash -r nexus
Grant this user sudo privileges without a password prompt:
echo "nexus ALL=(ALL) NOPASSWD: ALL" > /etc/sudoers.d/nexus
Create a directory for Nexus and download its latest version with the following commands:
mkdir /opt/nexus
wget https://sonatype-download.global.ssl.fastly.net/repository/downloads-prod-group/3/nexus-3.29.2-02-unix.tar.gz
Extract the downloaded file into the nexus directory:
tar xzf nexus-3.29.2-02-unix.tar.gz -C /opt/nexus --strip-components=1
Set appropriate ownership for the nexus directory:
chown -R nexus:nexus /opt/nexus
Edit the nexus.vmoptions configuration file to define the max memory size:
nano /opt/nexus/bin/nexus.vmoptions
Include the following settings:
-Xms1024m
-Xmx1024m
-XX:MaxDirectMemorySize=1024m

-XX:LogFile=./sonatype-work/nexus3/log/jvm.log
-XX:-OmitStackTraceInFastThrow
-Djava.net.preferIPv4Stack=true
-Dkaraf.home=.
-Dkaraf.base=.
-Dkaraf.etc=etc/karaf
-Djava.util.logging.config.file=/etc/karaf/java.util.logging.properties
-Dkaraf.data=./sonatype-work/nexus3
-Dkaraf.log=./sonatype-work/nexus3/log
-Djava.io.tmpdir=./sonatype-work/nexus3/tmp
Save and exit the file. Then, update the nexus.rc file to define the run user:
nano /opt/nexus/bin/nexus.rc
Modify the following line:
run_as_user="nexus"
Save and close the file, then start the Nexus service:
sudo -u nexus /opt/nexus/bin/nexus start
Verify Nexus is running by examining its log:
tail -f /opt/nexus/sonatype-work/nexus3/log/nexus.log
You should see outputs indicating Nexus has started:
2021-02-23 12:20:51,839+0000 INFO  [jetty-main-1]  *SYSTEM com.sonatype.nexus.bootstrap.jetty.JettyServer -
-------------------------------------------------

Started Sonatype Nexus OSS 3.29.2-02

-------------------------------------------------
Nexus should now be operational and listening on port 8081. Verify with:
ss -altnp | grep 8081
You should see output indicating the listener on port 8081:
LISTEN 0 50 0.0.0.0:8081 0.0.0.0:* users:(("java",pid=5548,fd=795))
Stop the Nexus service to prepare for the next configuration step:
/opt/nexus/bin/nexus stop
Create a Systemd Service File for Nexus
Create a systemd service file for better service management:
nano /etc/systemd/system/nexus.service
Insert the following content:
[Unit]
Description=nexus service
After=network.target

[Service]
Type=forking
LimitNOFILE=65536
ExecStart=/opt/nexus/bin/nexus start
ExecStop=/opt/nexus/bin/nexus stop
User=nexus
Restart=on-abort

[Install]
WantedBy=multi-user.target
Save and close the file, then reload the systemd daemon:
systemctl daemon-reload
Enable and start the Nexus service, allowing it to run on startup:
systemctl start nexus
systemctl enable nexus
To confirm Nexus is running, check its status:
systemctl status nexus
You should see an output confirming Nexus is active:
? nexus.service - nexus service
     Loaded: loaded (/etc/systemd/system/nexus.service; disabled; vendor preset: enabled)
     Active: active (running) since Tue 2021-02-23 12:22:49 UTC; 15s ago
Configure Nginx as a Reverse Proxy for Nexus
Install and configure Nginx to serve as a reverse proxy for Nexus. Start with installing Nginx:
apt-get install nginx -y
Create a new Nginx configuration for the Nexus proxy setup:
nano /etc/nginx/conf.d/nexus.conf
Add the following configuration:
upstream backend {
  server 127.0.0.1:8081;
}

server {
    listen 80;
    server_name nexus.example.com;

    location / {
        proxy_pass http://backend/;
        proxy_http_version 1.1;
        proxy_set_header Upgrade $http_upgrade;
        proxy_set_header Connection "upgrade";
        proxy_set_header Host $http_host;

        proxy_set_header X-Real-IP $remote_addr;
        proxy_set_header X-Forward-For $proxy_add_x_forwarded_for;
        proxy_set_header X-Forward-Proto http;
        proxy_set_header X-Nginx-Proxy true;

        proxy_redirect off;
    }
}
Save and check the Nginx configuration for syntax errors:
nginx -t
An output confirming successful configuration checks should appear:
nginx: the configuration file /etc/nginx/nginx.conf syntax is ok
nginx: configuration file /etc/nginx/nginx.conf test is successful
Restart Nginx to apply these changes:
systemctl restart nginx
Verify Nginx is running smoothly:
systemctl status nginx
Look for an “active (running)” status in the output:
? nginx.service - A high performance web server and a reverse proxy server
     Loaded: loaded (/lib/systemd/system/nginx.service; enabled; vendor preset: enabled)
     Active: active (running) since Tue 2021-02-23 12:24:57 UTC; 4s ago
Access Nexus Web Interface
Before accessing Nexus’s web interface, retrieve the admin password:
cat /opt/nexus/sonatype-work/nexus3/admin.password
Your output will resemble:
b7c899cf-c6d3-4d11-a4cb-9a44e5d1787e
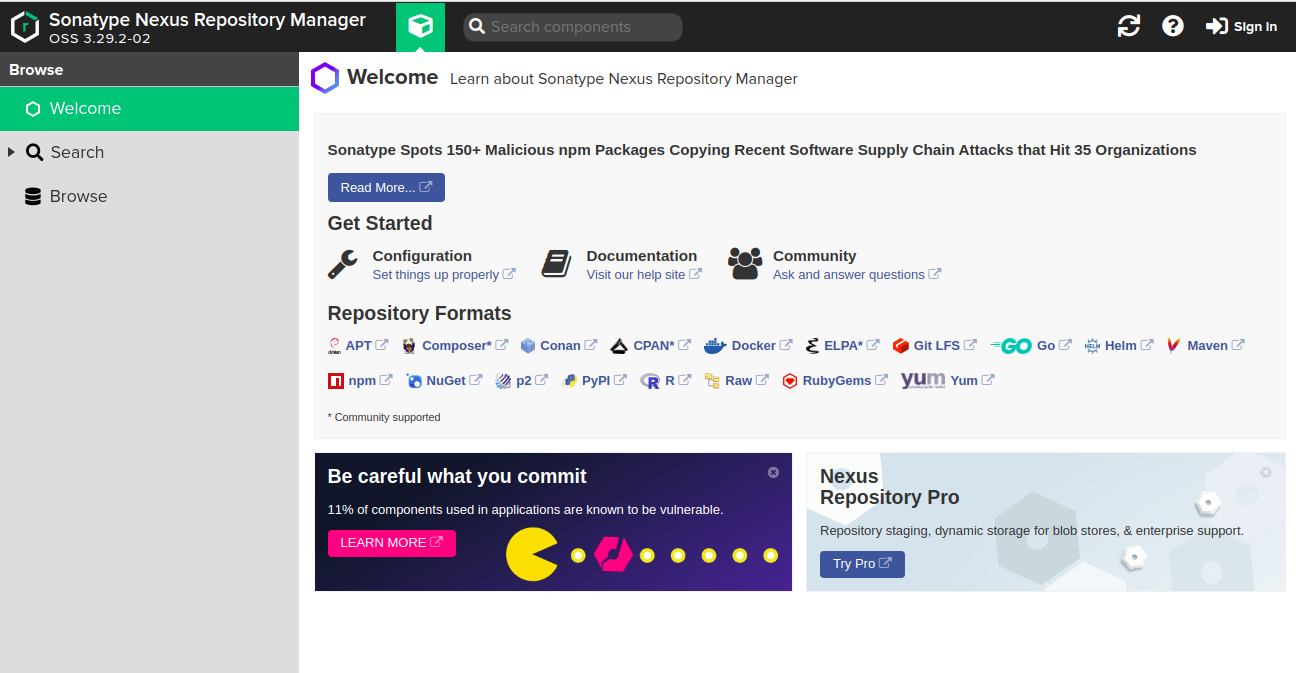
Open your browser and navigate to http://nexus.example.com. You’ll encounter a login screen:
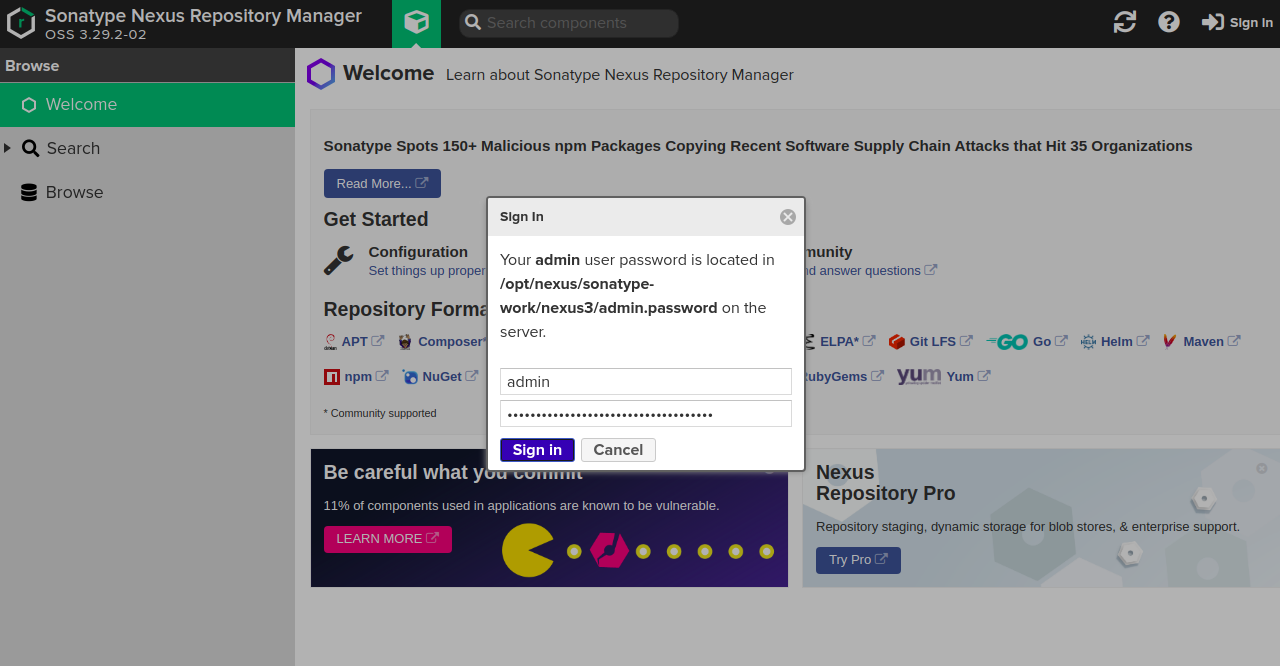
After clicking Sign in, you should see this login page:
Login with your admin credentials to reach the setup page:
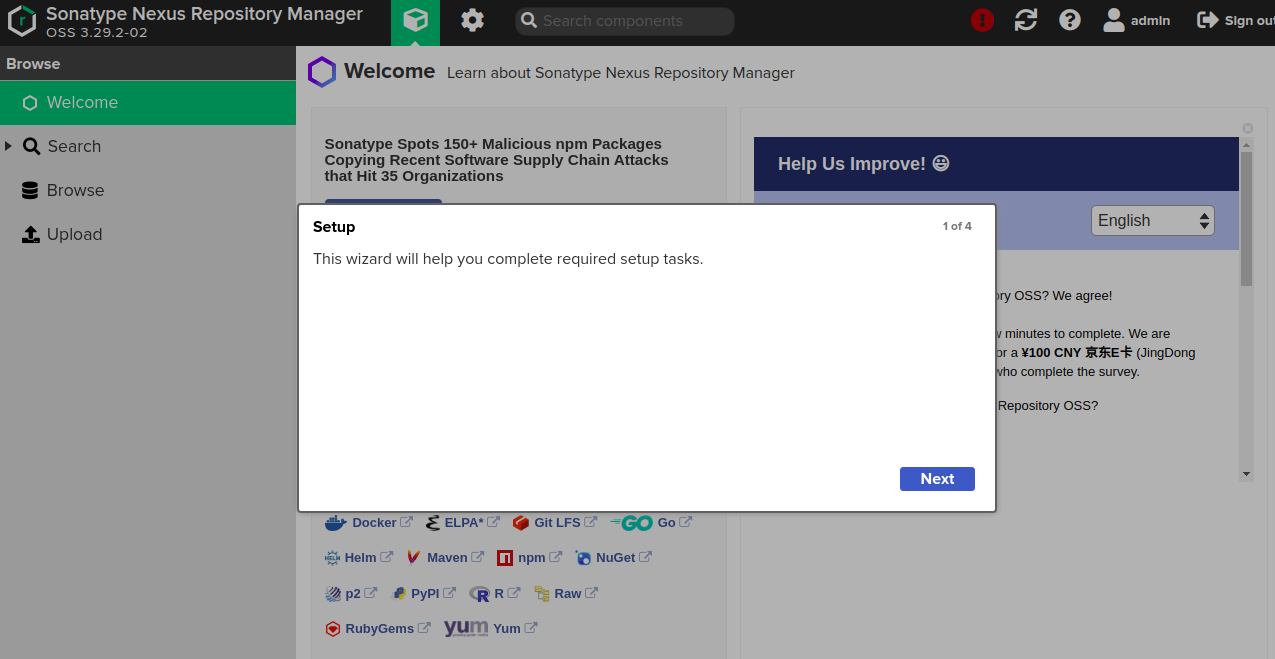
Proceed via Next through setup windows:
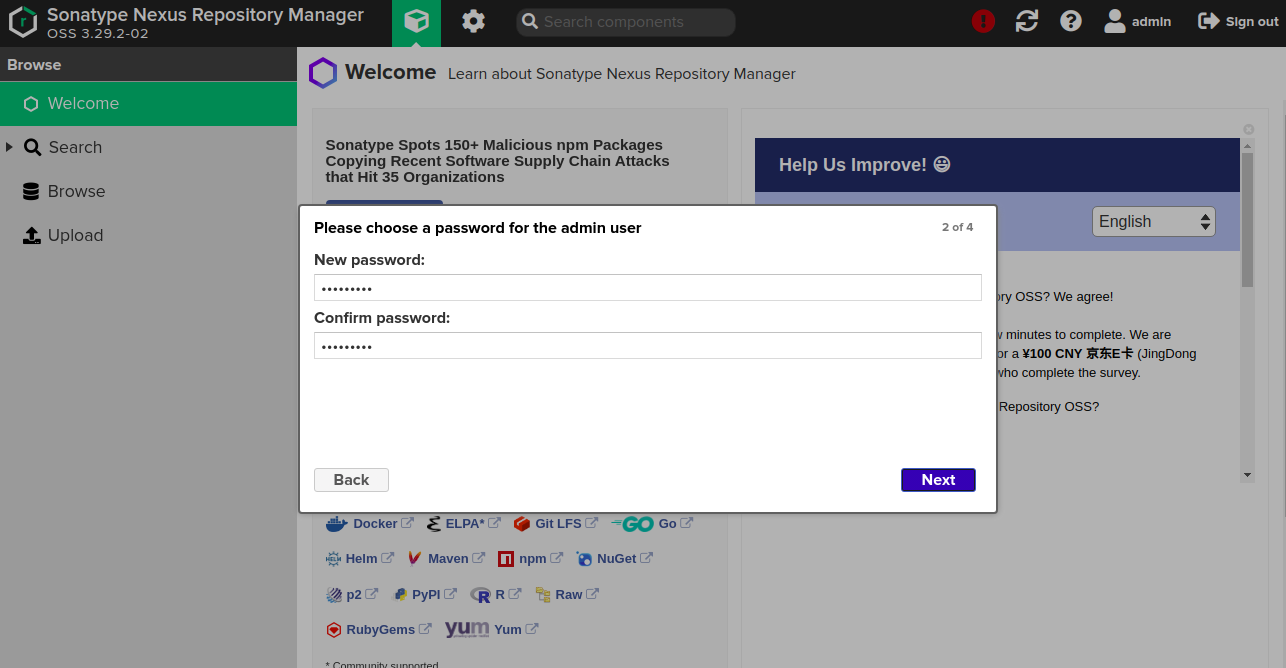
Set a new password as prompted, then configure options like anonymous access before reaching the setup completion:
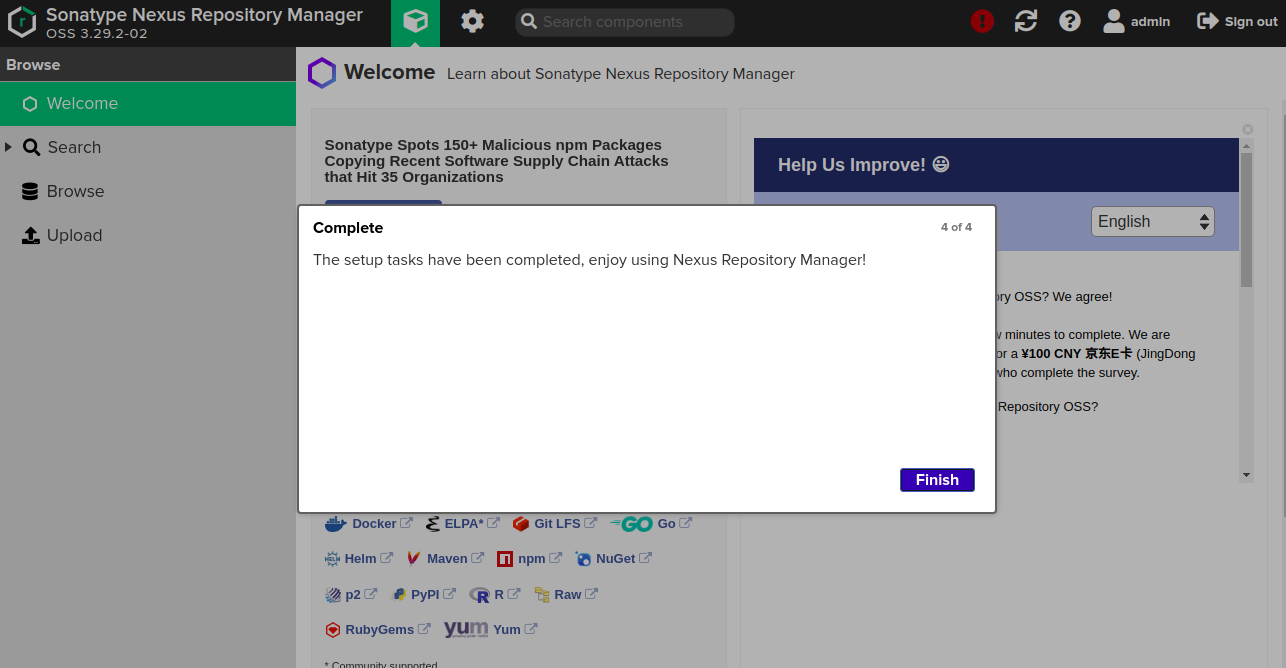
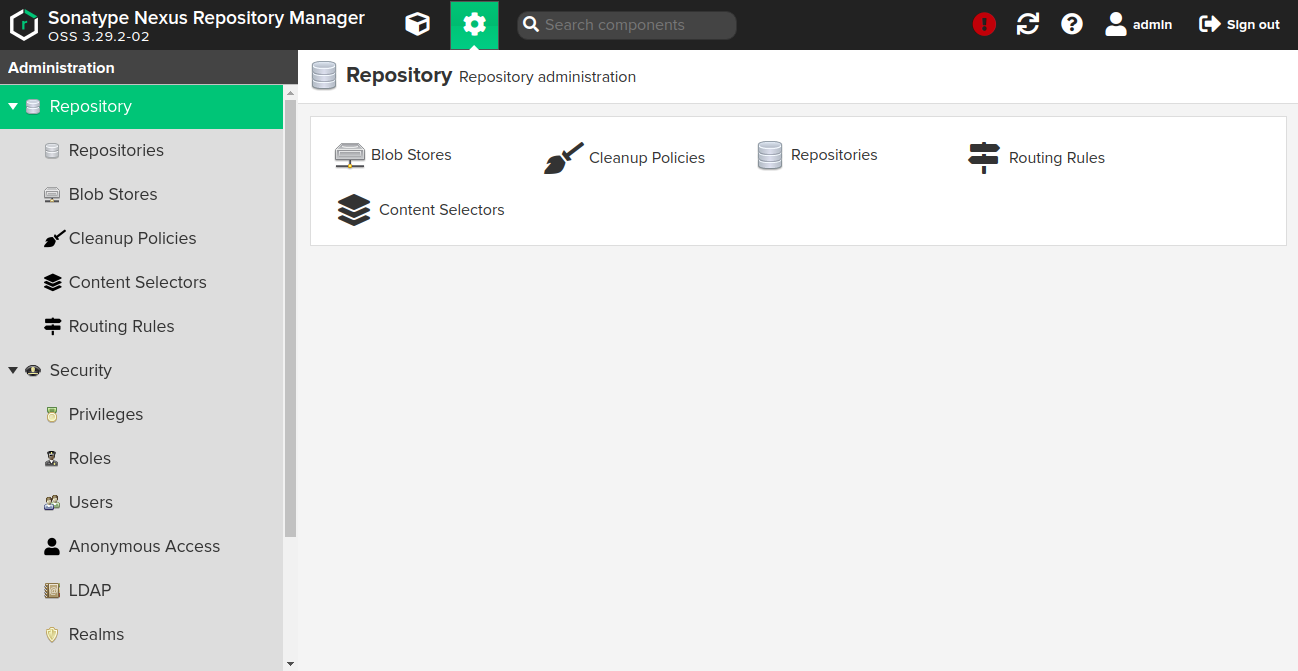
Finalize setup by hitting Finish, then access the Nexus repository dashboard:
Conclusion
Congratulations! You have successfully installed the Nexus repository manager with Nginx as a reverse proxy on an Ubuntu 20.04 server. Feel free to ask questions if you need further assistance.
FAQ
What is Nexus Repository Manager?
Nexus Repository Manager is a component management solution that stores and organizes binary libraries for your applications and is part of the DevOps lifecycle to streamline development and collaboration.
What are the main prerequisites to install Nexus on Ubuntu 20.04?
You need a server with Ubuntu 20.04 installed and root access to configure Nexus and its dependencies.
How can I verify if Nexus is running correctly?
You can verify by accessing its web interface via your configured domain and port (e.g., http://nexus.example.com) or by checking its system service status using systemctl status nexus.
Why should I configure Nginx as a reverse proxy for Nexus?
Nginx as a reverse proxy enables handling of incoming web traffic, enhancing security, and potentially improving performance by managing client requests efficiently.
Can Nexus integrate with existing authentication systems?
Yes, Nexus supports integration with authentication services like LDAP and Atlassian Crowd to enhance and streamline user management.
