Pydio is a robust, open-source cloud-based file-sharing and synchronization platform that centralizes access to all your data storages. As an excellent alternative to popular solutions like ownCloud and Nextcloud, Pydio offers an AJAX-based web interface accessible from any location and browser. It supports integration with existing storage systems such as SAN, SAMBA, CIFS, FTP, and NFS. Additionally, Pydio provides native clients for Mac, Windows, Linux, and mobile clients for iOS and Android, making file sharing easy for both individual users and the public. The platform also supports LDAP/AD integration for authentication and SSO with CMS platforms like WordPress, Drupal, and Joomla.
In this tutorial, we will walk through the steps to install Pydio on an Ubuntu 18.04 LTS server.
Requirements
- A server running Ubuntu 18.04.
- A static IP address configured on your server.
- Root access with a password set up on your server.
Getting Started
To begin, update your system to the latest version using the following commands:
apt-get update -y
apt-get upgrade -y
Once the system updates are complete, restart your server to apply the changes.
Install LAMP Server
You’ll need to install Apache, MariaDB, PHP, and other essential packages. Execute the following command to install them:
apt-get install apache2 mariadb-server apt-transport-https libapache2-mod-php7.2 php7.2-cli php7.2-fpm php7.2-json php7.2-mysql php7.2-zip php7.2-gd php7.2-mbstring php7.2-curl php7.2-xml php-pear php7.2-bcmath php7.2-intl php7.2-opcache mariadb-server php7.2-xml postfix wget unzip -y
After the installations, modify the php.ini configuration file:
nano /etc/php/7.2/apache2/php.ini
Update the following parameters:
upload_max_filesize = 1G
post_max_size = 1G
output_buffering = Off
Save the file, and make similar changes in the CLI PHP configuration file:
nano /etc/php/7.2/cli/php.ini
Save and close the file once the modifications are done.
Configure MariaDB
To secure MariaDB, run the following command:
mysql_secure_installation
Enter current password for root (enter for none):
Set root password? [Y/n]: N
Remove anonymous users? [Y/n]: Y
Disallow root login remotely? [Y/n]: Y
Remove test database and access to it? [Y/n]:  Y
Reload privilege tables now? [Y/n]:  Y
After securing MariaDB, log in to the MariaDB shell:
mysql -u root -p
Create a database and user for Pydio:
MariaDB [(none)]> create database pydio;
MariaDB [(none)]> create user pydio@localhost identified by 'mypassword';
Substitute 'mypassword' with a secure password. Next, grant the necessary privileges:
MariaDB [(none)]> GRANT ALL ON pydio.* TO 'pydio'@'localhost' IDENTIFIED BY 'mypassword' WITH GRANT OPTION;
Again, replace 'mypassword' with your chosen password. Finally, flush privileges and exit:
MariaDB [(none)]> FLUSH PRIVILEGES;
MariaDB [(none)]> EXIT;
MariaDB is now ready. You can proceed to install Pydio.
Install Pydio
Pydio is not included in the default Ubuntu 18.04 repositories, so add it manually:
echo "deb https://download.pydio.com/pub/linux/debian/ bionic main" | tee /etc/apt/sources.list.d/pydio.list
Import the GPG key and update your package list:
wget -qO - https://download.pydio.com/pub/linux/debian/key/pubkey | apt-key add -
apt-get update -y
Then, install Pydio:
apt-get install pydio pydio-all php-xml -y
Once installed, enable the Apache rewrite module:
a2enmod rewrite
Restart the Apache server:
systemctl restart apache2
Verify that Apache is running:
systemctl status apache2
Look for output indicating that the Apache server is active and running.
Access Pydio Web Interface
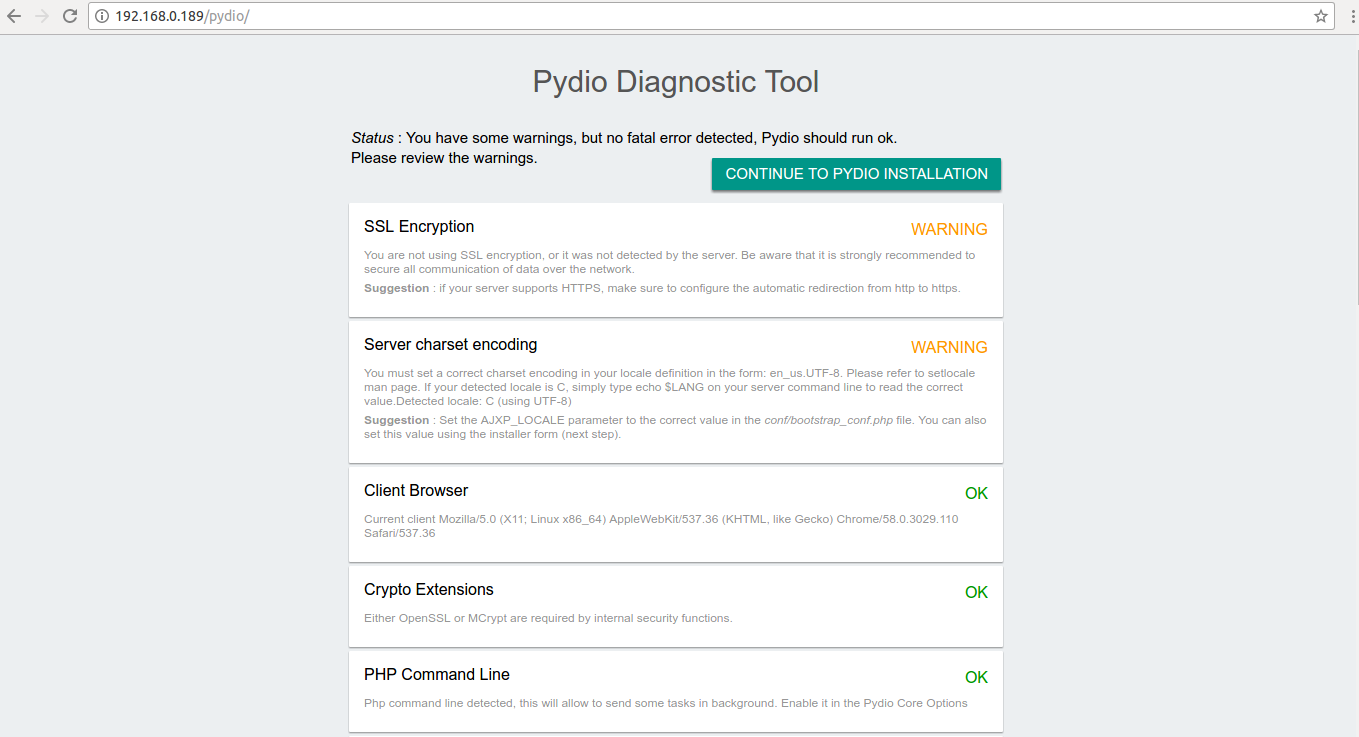
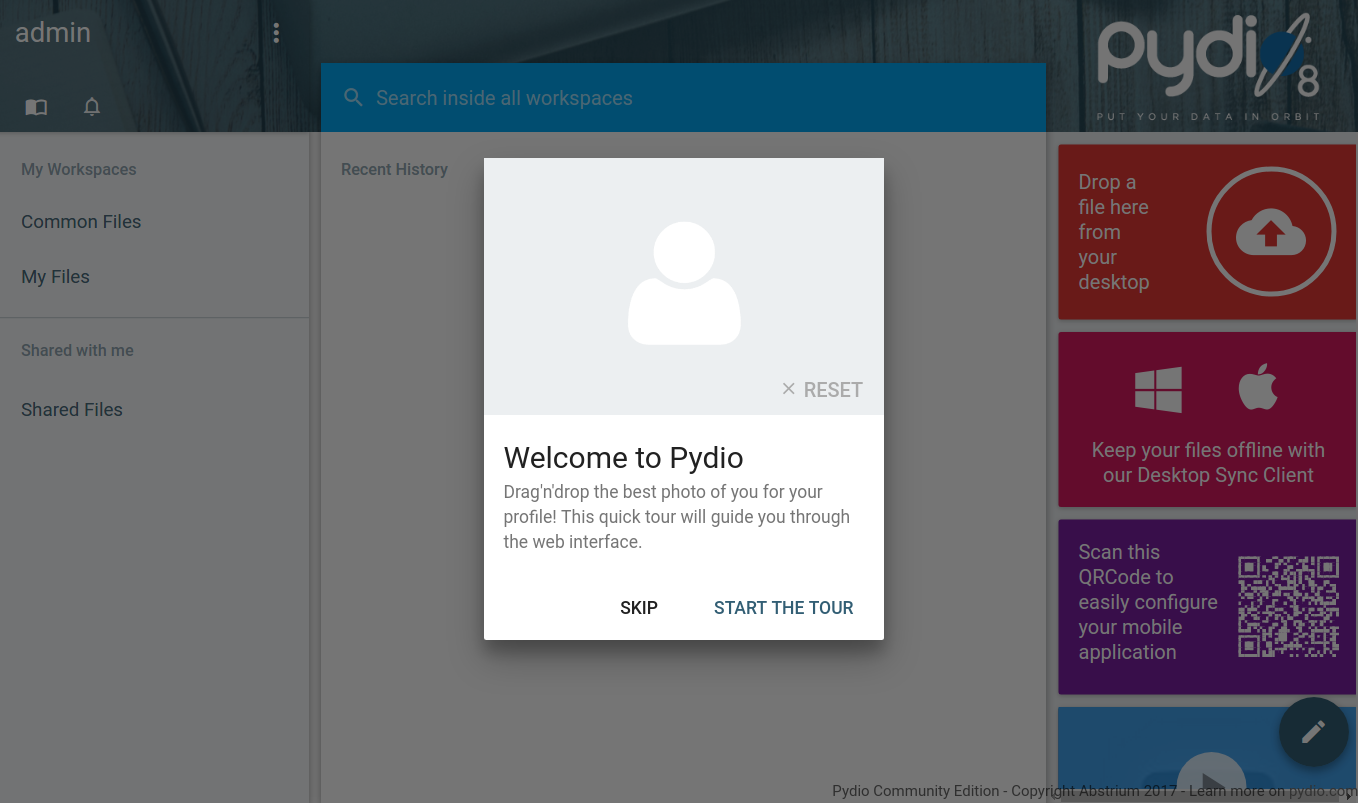
With Pydio installed, access the web interface by navigating to http://your-server-ip/pydio in your web browser. The following images guide you through the setup process:

Complete the installation by following the prompts and configuring settings like language, application name, admin account, and database details. When finished, log in with your admin credentials to access the Pydio dashboard.

Congratulations! You have successfully set up a Pydio file-sharing server on Ubuntu 18.04. Enjoy effortless file sharing!
FAQs
What is Pydio?
Pydio is an open-source cloud-based file-sharing platform that allows users to access and synchronize files across multiple devices and locations. It is an alternative to platforms like ownCloud and Nextcloud.
What are the system requirements for Pydio?
You need a server running Ubuntu 18.04 with a static IP address and root access. A LAMP stack is also required, including Apache, MariaDB, and PHP.
How do I access the Pydio web interface?
Open a web browser and navigate to http://your-server-ip/pydio. Follow the on-screen instructions to complete the initial setup and configuration.
Can Pydio integrate with LDAP/AD?
Yes, Pydio supports integration with LDAP/AD for user authentication and can also work with various CMS platforms for SSO.
