phpMyAdmin is a free, open-source, web-based tool designed for managing MySQL and MariaDB databases through a user-friendly interface. While managing databases via the command line can be daunting for beginners, phpMyAdmin simplifies tasks such as handling databases, user accounts, and privileges, running SQL commands, and importing/exporting data—all via a web browser.
In this guide, we will walk you through the installation and securing of the phpMyAdmin database administration tool on Debian 11.
Prerequisites
- Debian 11 server.
- Configured root password on the server.
Getting Started
Start by updating your system packages to the latest version using:
apt-get update -y
Install LAMP Server
Since phpMyAdmin is PHP-based and requires a web server, install the LAMP stack with:
apt-get install apache2 mariadb-server libapache2-mod-php php-cli php-mysql php-zip php-curl php-xml php-mbstring php-gd unzip -y
Install and Configure phpMyAdmin
- Download phpMyAdmin:
wget https://files.phpmyadmin.net/phpMyAdmin/5.1.1/phpMyAdmin-5.1.1-all-languages.zip
- Unzip the downloaded file:
unzip phpMyAdmin-5.1.1-all-languages.zip
- Move the files to the appropriate directory:
mv phpMyAdmin-5.1.1-all-languages /usr/share/phpmyadmin
- Create necessary directories:
mkdir -p /var/lib/phpmyadmin/tmp
- Set the correct permission:
chown -R www-data:www-data /var/lib/phpmyadmin
- Copy the sample configuration file:
cp /usr/share/phpmyadmin/config.sample.inc.php /usr/share/phpmyadmin/config.inc.php
- Install pwgen and generate a secret key:
apt-get install pwgen -y
pwgen -s 32 1
The output will be similar to:
pau9t1SG6lmaeCFxKqeeaY5N4erIa25K
- Edit the configuration file:
nano /usr/share/phpmyadmin/config.inc.php
Uncomment and set your secret key:
$cfg['blowfish_secret'] = 'pau9t1SG6lmaeCFxKqeeaY5N4erIa25K';
Uncomment additional settings as listed in the article.
Create phpMyAdmin Admin User
- Import phpMyAdmin tables:
mysql < /usr/share/phpmyadmin/sql/create_tables.sql
- Open the MariaDB shell:
mysql
- Grant privileges:
MariaDB [(none)]> GRANT SELECT, INSERT, UPDATE, DELETE ON phpmyadmin.* TO 'pma'@'localhost' IDENTIFIED BY 'password';
- Create an admin user and grant all privileges:
MariaDB [(none)]> CREATE USER myadmin;
MariaDB [(none)]> GRANT ALL PRIVILEGES ON *.* TO 'myadmin'@'localhost' IDENTIFIED BY 'password' WITH GRANT OPTION;
MariaDB [(none)]> FLUSH PRIVILEGES;
MariaDB [(none)]> EXIT;
Configure Apache for phpMyAdmin
- Create a new Apache configuration file:
nano /etc/apache2/conf-available/phpmyadmin.conf
Add the following lines:
Alias /phpmyadmin /usr/share/phpmyadmin <Directory /usr/share/phpmyadmin> Options SymLinksIfOwnerMatch DirectoryIndex index.php AllowOverride None <IfModule mod_php.c> php_value include_path . php_admin_value upload_tmp_dir /var/lib/phpmyadmin/tmp </IfModule> </Directory> ... # Adjust further configurations as necessary from the guide - Enable the configuration and reload Apache:
a2enconf phpmyadmin.conf
systemctl reload apache2
Access phpMyAdmin
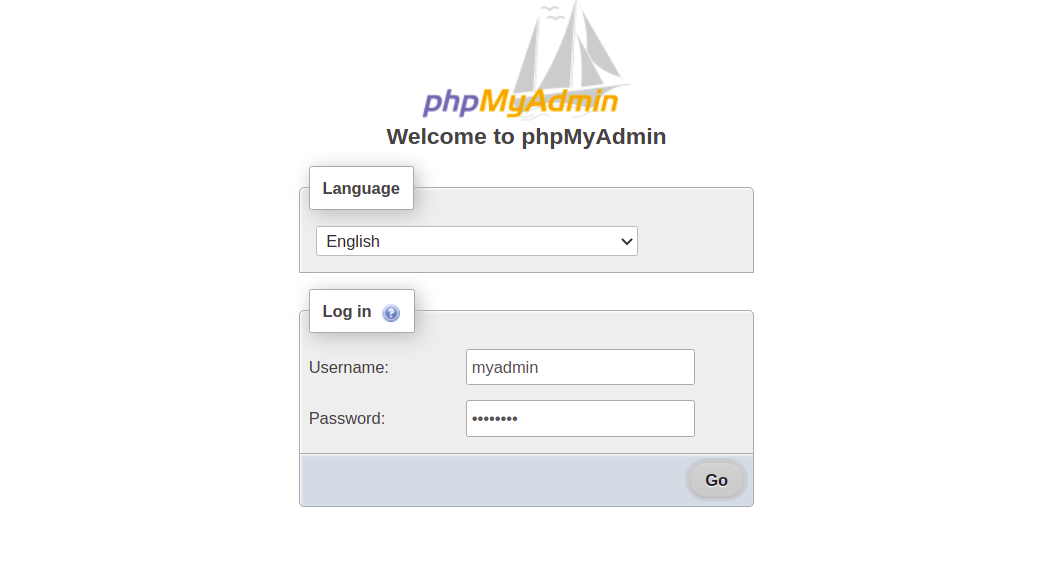
Visit http://your-server-ip/phpmyadmin to reach the phpMyAdmin login page. Use the credentials you set up to log in.

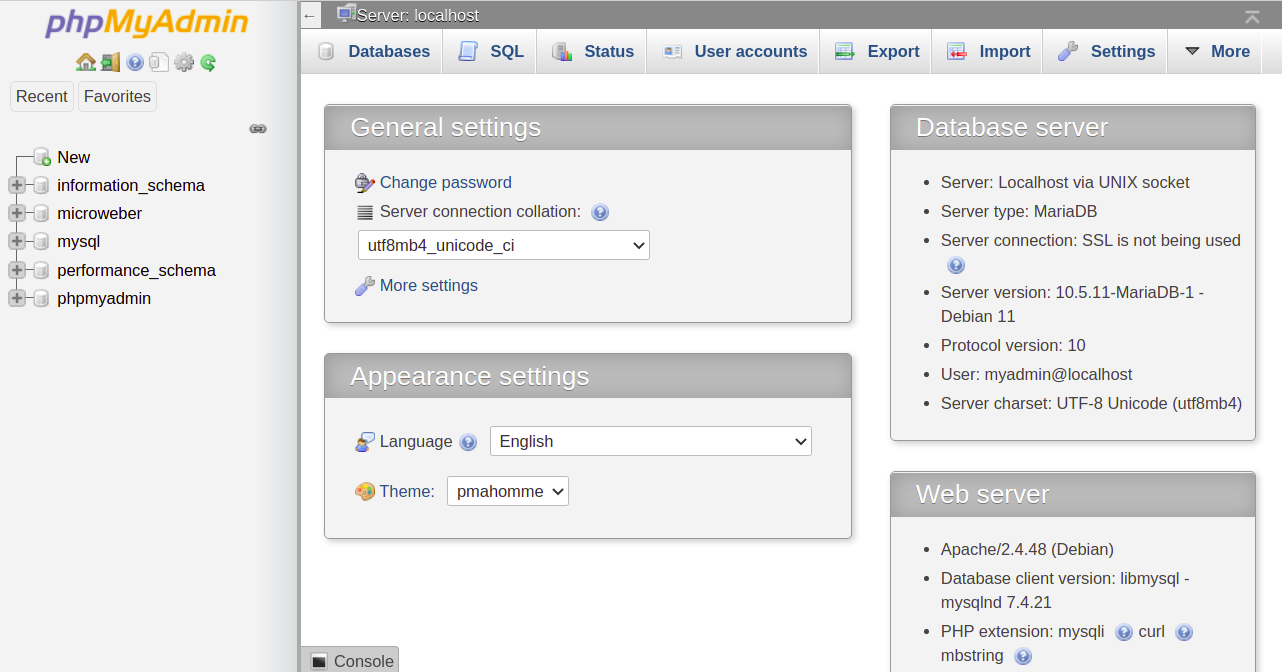
After logging in, you should see the phpMyAdmin dashboard:

Secure phpMyAdmin
- Edit the phpMyAdmin configuration to allow .htaccess overrides:
nano /etc/apache2/conf-available/phpmyadmin.conf
Add
AllowOverride Allwithin the<Directory /usr/share/phpmyadmin>block. - Restart Apache:
systemctl restart apache2
- Create a .htaccess file:
nano /usr/share/phpmyadmin/.htaccess
Add:
AuthType Basic
AuthName "Restricted Files"
AuthUserFile /usr/share/phpmyadmin/.htpasswd
Require valid-user
- Create a secure user:
htpasswd -c /usr/share/phpmyadmin/.htpasswd secureuser
Enter a password when prompted.
Verify phpMyAdmin
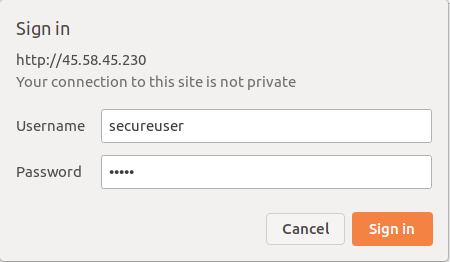
To confirm the additional security, visit phpMyAdmin again at http://your-server-ip/phpmyadmin. You should now be prompted for the new credentials:

Conclusion
Congratulations! You have successfully installed and secured phpMyAdmin on Debian 11. You can now manage your databases efficiently through a web interface.
FAQs
- What is phpMyAdmin?
phpMyAdmin is a web-based tool to manage MySQL and MariaDB databases efficiently. - Is phpMyAdmin secure?
By default, phpMyAdmin can be vulnerable without proper configuration. Implementing additional security measures such as .htaccess protection and strict user privileges enhances its security. - How can I reset a MySQL admin password in phpMyAdmin?
You can reset MySQL passwords via the command line with MySQL’s password reset utilities or by logging into phpMyAdmin if you have sufficient privileges. - Can I access phpMyAdmin remotely?
Yes, but ensure your server’s firewall rules allow remote connections and that phpMyAdmin is securely configured.
