Portainer is a powerful open-source container management solution for Docker, Kubernetes, and Nomad that provides a user-friendly web interface for managing containers, images, networks, and volumes. This guide will walk you through installing and configuring Portainer on a Linux server, enabling you to efficiently manage Docker containers and deploy applications. You’ll also learn how to place these containers behind a proxy using Nginx Proxy Manager.
Prerequisites
- A Linux server running Ubuntu, Debian, CentOS, Rocky Linux 8, or Alma Linux.
- A non-root user with sudo privileges.
- A Fully Qualified Domain Name (FQDN) pointing to the server for Portainer (
portrainer.example.com) and Nginx Proxy Manager (npm.example.com).
Step 1 – Configure the Firewall
CentOS/Rocky Linux/Alma Linux
Ensure that the Firewalld service is running before proceeding to open the necessary ports for Portainer and Nginx Proxy Manager.
$ sudo firewall-cmd --state
running
Open the HTTP, HTTPS, and required management ports.
  $ sudo firewall-cmd --permanent --add-service=http
  $ sudo firewall-cmd --permanent --add-service=https
  $ sudo firewall-cmd --permanent --add-port=9443/tcp
  $ sudo firewall-cmd --permanent --add-port=81/tcp
  $ sudo firewall-cmd --reload
Ubuntu/Debian
With `ufw` as the default firewall, ensure it’s active before opening the necessary ports.
$ sudo ufw status
If active, allow the required traffic on HTTP, HTTPS, and management ports.
  $ sudo ufw allow 80
  $ sudo ufw allow 443
  $ sudo ufw allow 9443
  $ sudo ufw allow 81
  $ sudo ufw reload
If ufw is not active, enable it first:
  $ sudo ufw allow "OpenSSH"
  $ sudo ufw enable
Step 2 – Install Docker
CentOS/Rocky Linux/Alma Linux
To install Docker on CentOS-based systems, execute the following commands:
  $ sudo yum install -y yum-utils
  $ sudo yum-config-manager \
      --add-repo \
      https://download.docker.com/linux/centos/docker-ce.repo
  $ sudo yum install docker-ce docker-ce-cli containerd.io
  $ sudo systemctl start docker --now
  $ sudo usermod -aG docker $USER
Ubuntu
  $ sudo apt install ca-certificates curl gnupg lsb-release
  $ curl -fsSL https://download.docker.com/linux/ubuntu/gpg | sudo gpg --dearmor -o /usr/share/keyrings/docker-archive-keyring.gpg
  $ echo "deb [arch=$(dpkg --print-architecture) signed-by=/usr/share/keyrings/docker-archive-keyring.gpg] https://download.docker.com/linux/ubuntu \
    $(lsb_release -cs) stable" | sudo tee /etc/apt/sources.list.d/docker.list > /dev/null
  $ sudo apt update
  $ sudo apt install docker-ce docker-ce-cli containerd.io
  $ sudo systemctl start docker --now
  $ sudo usermod -aG docker $USER
Debian
  $ sudo apt install ca-certificates curl gnupg lsb-release
  $ curl -fsSL https://download.docker.com/linux/debian/gpg | sudo gpg --dearmor -o /usr/share/keyrings/docker-archive-keyring.gpg
  $ echo "deb [arch=$(dpkg --print-architecture) signed-by=/usr/share/keyrings/docker-archive-keyring.gpg] https://download.docker.com/linux/debian \
    $(lsb_release -cs) stable" | sudo tee /etc/apt/sources.list.d/docker.list > /dev/null
  $ sudo apt update
  $ sudo apt install docker-ce docker-ce-cli containerd.io
  $ sudo systemctl start docker --now
  $ sudo usermod -aG docker $USER
Step 3 – Install Docker Compose
Download and configure Docker Compose for container orchestration:
  $ sudo curl -L "https://github.com/docker/compose/releases/download/1.29.2/docker-compose-$(uname -s)-$(uname -m)" -o /usr/local/bin/docker-compose
  $ sudo chmod +x /usr/local/bin/docker-compose
Step 4 – Install Portainer
Create a directory for Portainer and use Docker Compose to set it up:
  $ mkdir ~/portainer
  $ cd ~/portainer
  $ nano docker-compose.yaml
Insert the following configuration:
version: "3.3"
services:
    portainer:
      image: portainer/portainer-ce:latest
      container_name: portainer
      restart: always
      privileged: true
      volumes:
        - ./data:/data:Z
        - /var/run/docker.sock:/var/run/docker.sock:Z
      ports:
        - 9443:9443
After editing, start Portainer:
  $ docker-compose up -d
  $ docker ps
Step 5 – Access and Configure Portainer
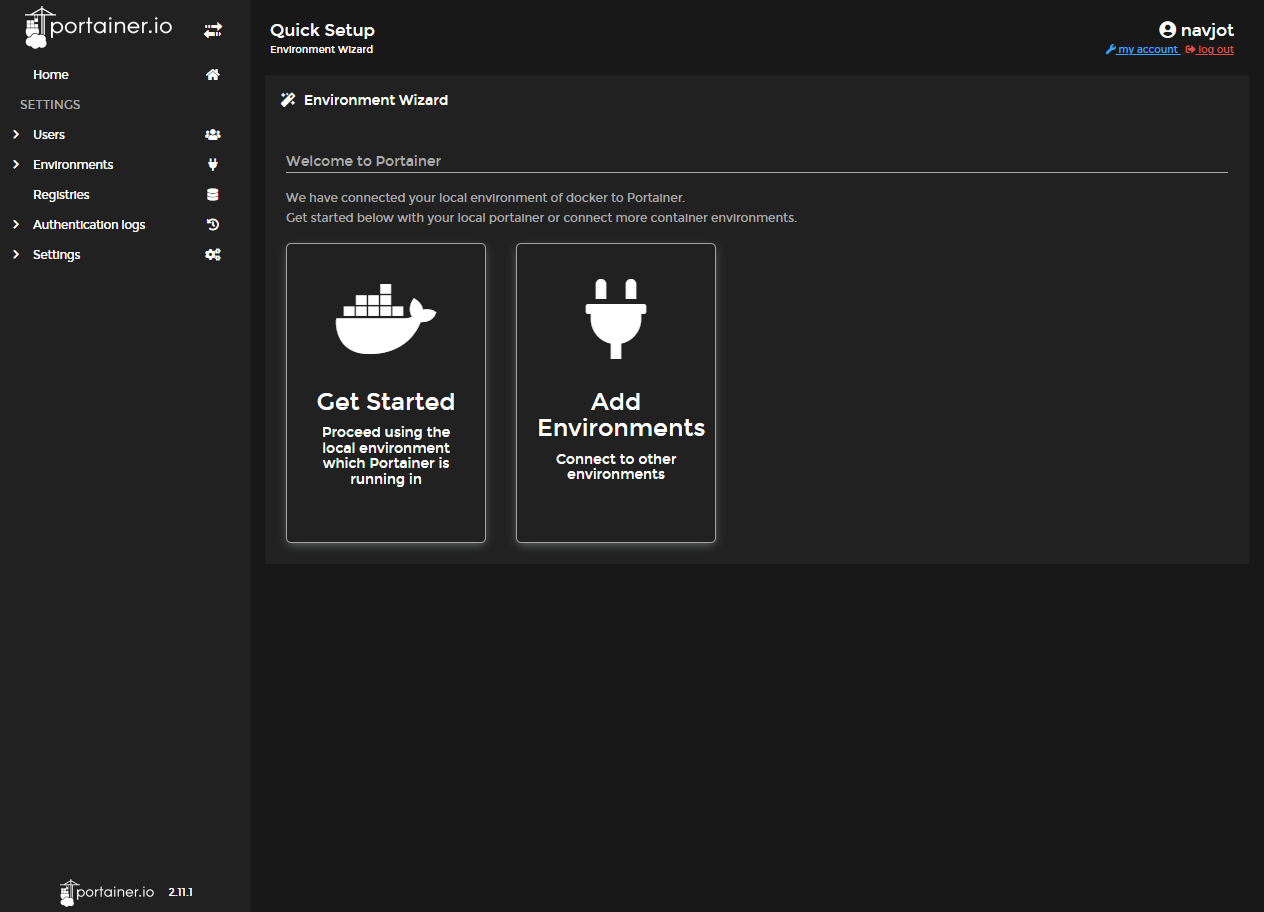
Access Portainer by navigating to https://<yourserverIP>:9443 in a web browser. Create an admin account when prompted.
Step 6 – Setup Nginx Proxy Manager
Install NPM
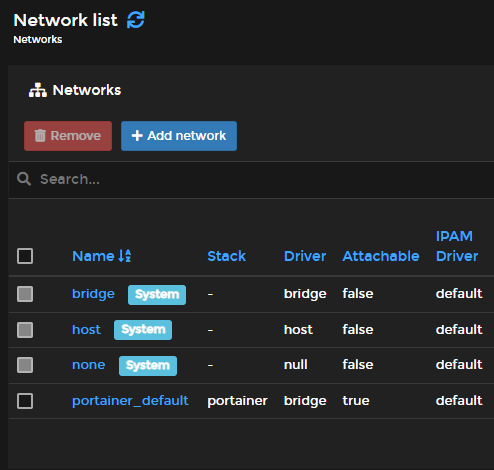
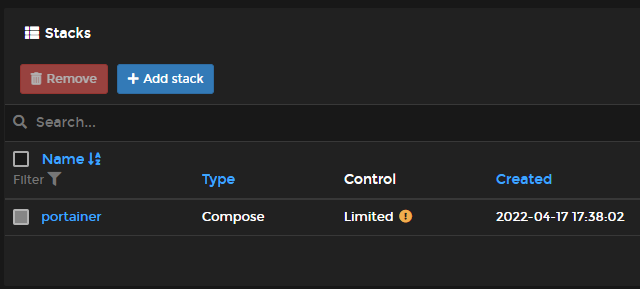
Create a Docker network for Nginx Proxy Manager and then deploy NPM using Docker Compose:
version: "3.3"
services:
  npm-app:
    image: 'jc21/nginx-proxy-manager:latest'
    container_name: npm-app
    restart: unless-stopped
    ports:
      - '80:80'
      - '443:443'
      - '81:81'
    environment:
      DB_MYSQL_HOST: "npm-db"
      DB_MYSQL_PORT: 3306
      DB_MYSQL_USER: "npm"
      DB_MYSQL_PASSWORD: ${DB_MYSQL_PASSWORD}
      DB_MYSQL_NAME: "npm"
    volumes:
      - ./npm-data:/data:Z
      - ./letsencrypt:/etc/letsencrypt:Z
    depends_on:
      - npm-db
    networks:
      - npm-network
      - npm-internal

  npm-db:
    image: 'mariadb:latest'
    container_name: npm-db
    restart: unless-stopped
    environment:
      MYSQL_ROOT_PASSWORD: ${MYSQL_ROOT_PASSWORD}
      MYSQL_DATABASE: 'npm'
      MYSQL_USER: 'npm'
      MYSQL_PASSWORD: ${DB_MYSQL_PASSWORD}
    volumes:
      - ./npm-data/mysql:/var/lib/mysql:Z
    networks:
      - npm-internal

networks:
  npm-internal:
  npm-network:
    external: true
Access NPM
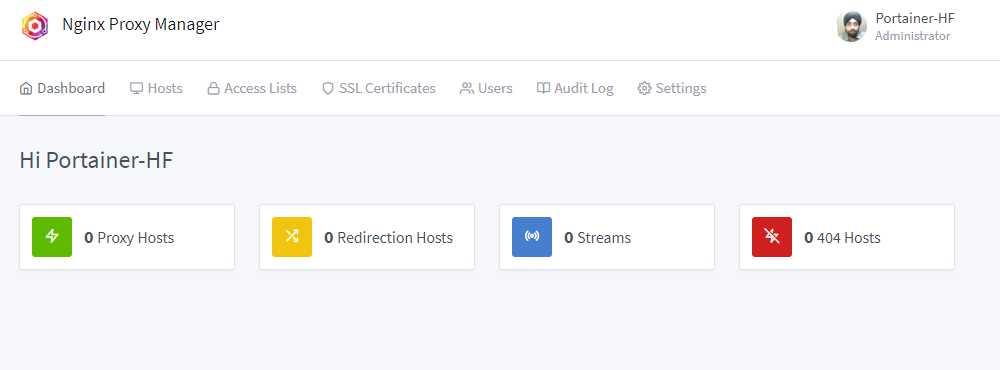
Open https://<yourserverIP>:81 and log in using the default credentials, then secure them by changing the password.
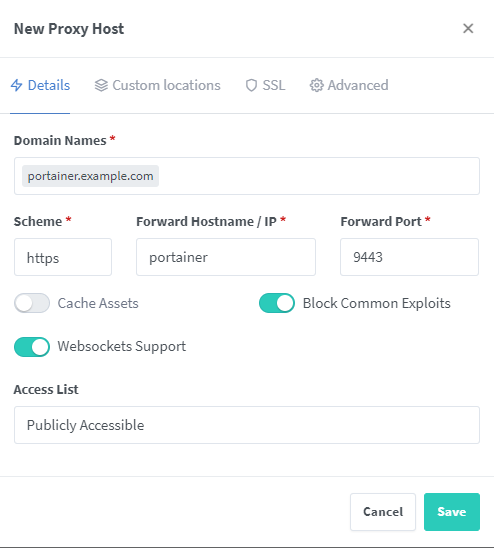
Configure Proxy Hosts for Portainer by adding a proxy host with the desired domain and Portainer settings.
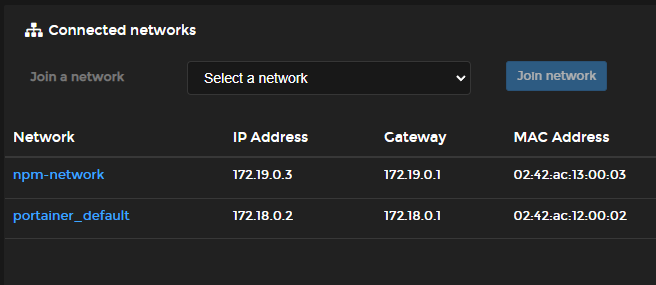
Ensure Portainer is connected to the NPM network.
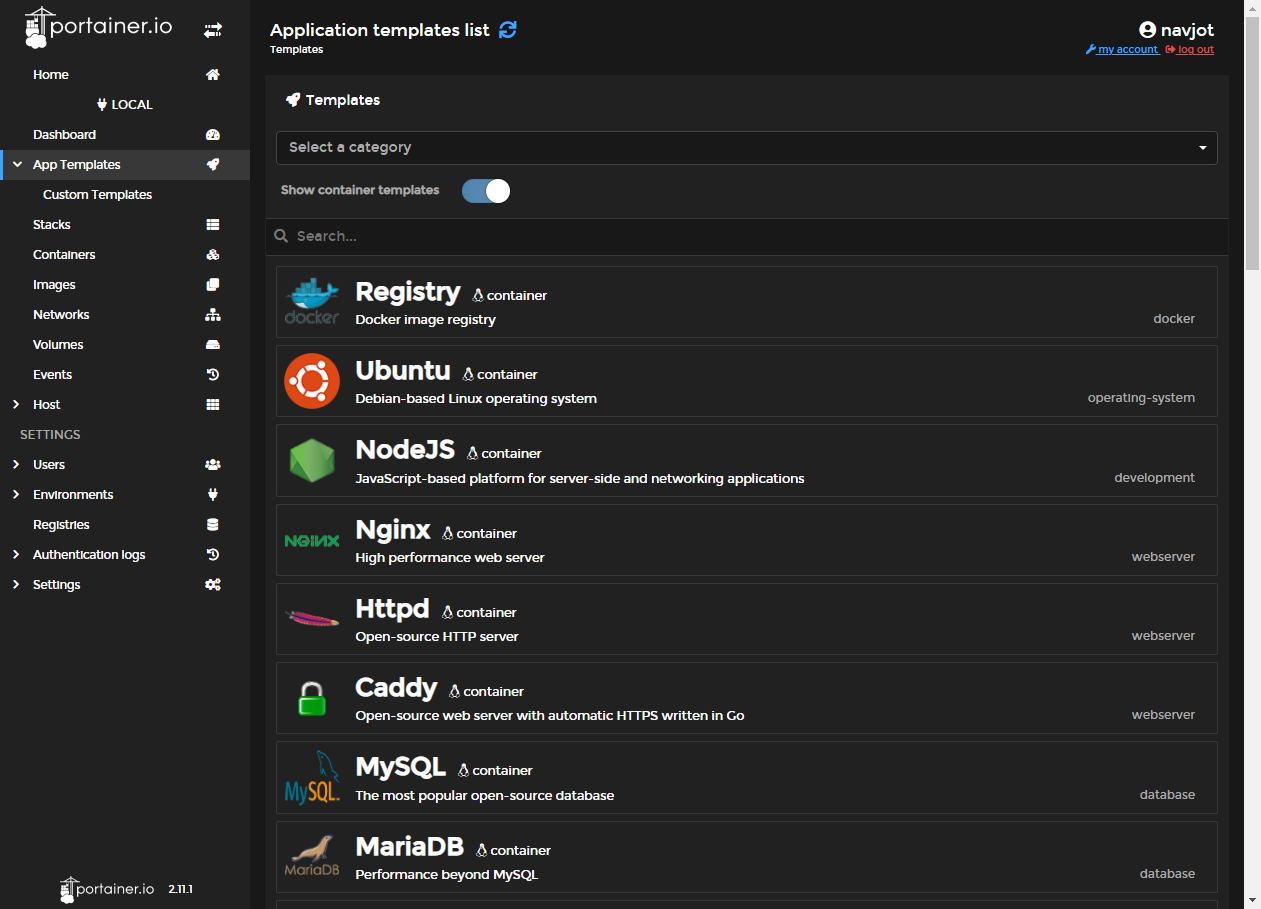
Step 7 – Deploy a Container Using App Template
Utilize Portainer’s app templates to deploy applications easily with minimal configuration. Select a template, customize settings as needed, and deploy.
Step 8 – Manage Containers
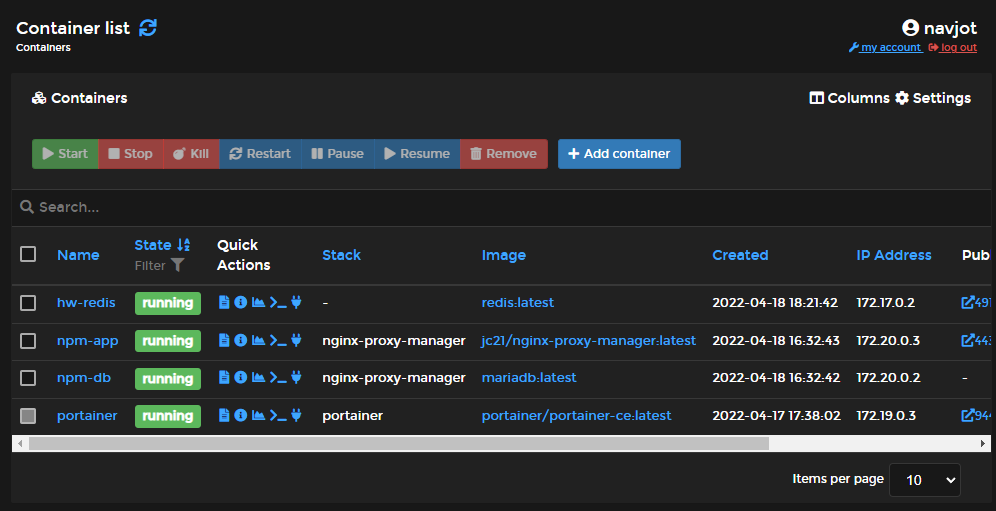
Portainer’s interface allows you to manage your containers effectively—perform actions such as inspecting, viewing stats, accessing the console, and more via the container management page.
Attach an Outside Container to Portainer
Regardless of Portainer, any Docker container created on the host will appear in the Portainer dashboard, allowing seamless management.
Example of running a Hello World container:
$ docker run hello-world
$ docker ps -a
Verify appearance in Portainer:

Conclusion
This concludes the guide to installing and using Portainer and setting up Nginx Proxy Manager for easy container orchestration and management. For further exploration, consider diving into building Docker images and custom containers in Portainer.
Frequently Asked Questions (FAQ)
What is Portainer?
Portainer is a lightweight management UI that allows you to easily manage your Docker, Kubernetes, and Nomad resources through a simple web interface.
Can Portainer manage multiple containers?
Yes, Portainer provides a centralized interface to manage multiple containers, making it easier to monitor and administer your Docker applications.
Is Portainer free?
Portainer is available in two editions: the Community Edition, which is free to use, and the Business Edition, which requires a paid license offering enhanced features for enterprise environments.
What is the purpose of Nginx Proxy Manager (NPM)?
Nginx Proxy Manager provides a web UI to configure Nginx as a reverse proxy, allowing secure SSL, configurable host names, and service redirection effortlessly.
Can I use Portainer to manage Kubernetes clusters?
Yes, Portainer supports Kubernetes and can manage your K8s clusters alongside Docker environments.
How does Docker Compose fit into this setup?
Docker Compose simplifies the deployment and management of multi-container Docker applications, making it a key component in initial setups and operational management in Portainer environments.
What is the advantage of using a reverse proxy for Portainer?
Using a reverse proxy, like NPM, helps in securing, organizing, and accessing Portainer and other hosted services over the internet with HTTPS support and custom domains.
