Apache Cassandra is an open-source NoSQL database management system originally developed in 2008 by Facebook engineers. They created a scalable storage engine with capabilities such as replication, partitioning, and load balancing without placing restrictions on hardware types or sizes. They had initially been using MySQL but found it couldn’t scale as their user base grew beyond tens of millions.
Key features of Apache Cassandra include its extensibility, linear scaling with the addition of nodes, and a fully distributed architecture that eliminates single points of failure. It offers ease of installation and operation without requiring complex setup tasks like hardware configuration and can run on commodity hardware. Moreover, it’s self-healing, automatically replacing any node that goes down within the cluster.
Commonly used as a data store for operational and real-time analytics, Apache Cassandra allows businesses, such as those in retail, to track customer traffic patterns and react promptly to changes, such as seasonal demand fluctuations.
This guide will walk you through installing Apache Cassandra on Ubuntu 20.04 and also explain how to uninstall it if necessary.
Prerequisite
- A server running Ubuntu Server 20.04
- A user with sudo privileges
Getting Started
Updating Your System
Although Ubuntu 20.04 comes pre-installed with Apache Cassandra, ensure all your system packages are up-to-date by running the following commands in your terminal:
sudo apt update -y
sudo apt upgrade -y
The -y option automatically answers “yes” to any prompts during updates.
Sample output:
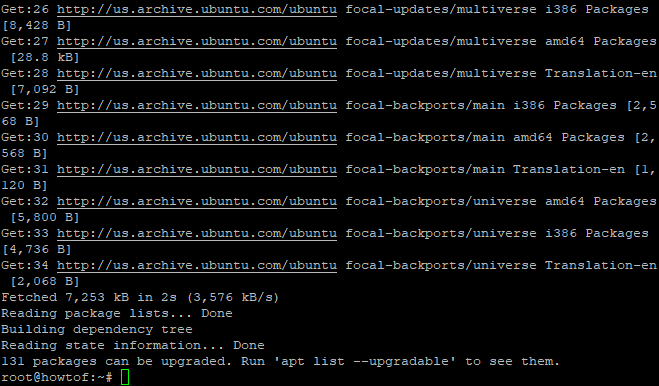
Updating Your System
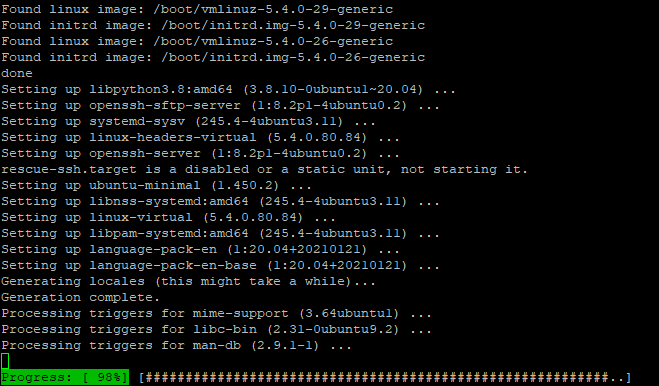
Upgrading Your System
Installing Dependencies
Before installing Cassandra, certain dependencies need to be installed:
sudo apt install apt-transport-https wget gnupg
The apt-transport-https allows secure communication via SSL, wget is used to download content, and gnupg verifies file integrity.
Sample output:
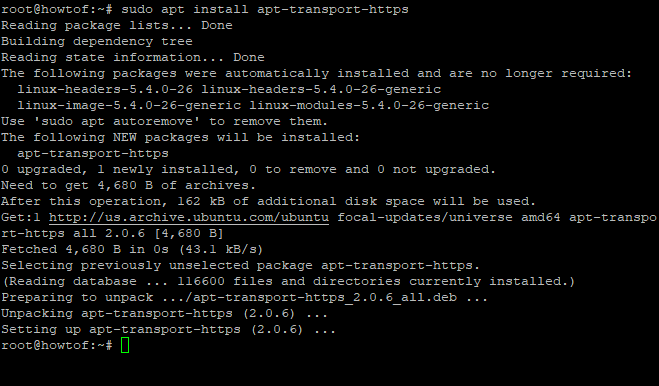
Installing Dependencies
Installing Java
Java is required for Apache Cassandra. Install OpenJDK with the following command:
sudo apt install openjdk-8-jdk
This command will download and install Java 8.
Sample output:
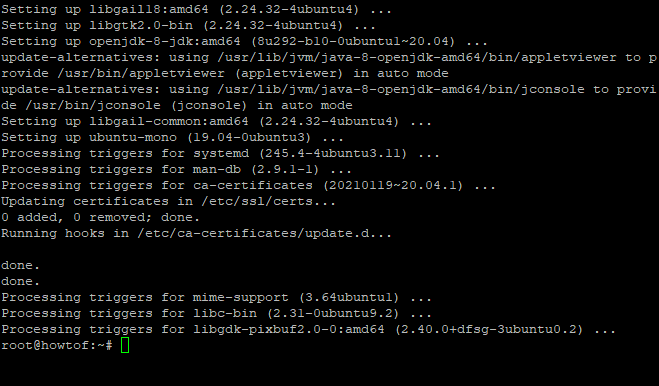
Installing Java
Verify the installation of Java by running:
java -version
Sample output:
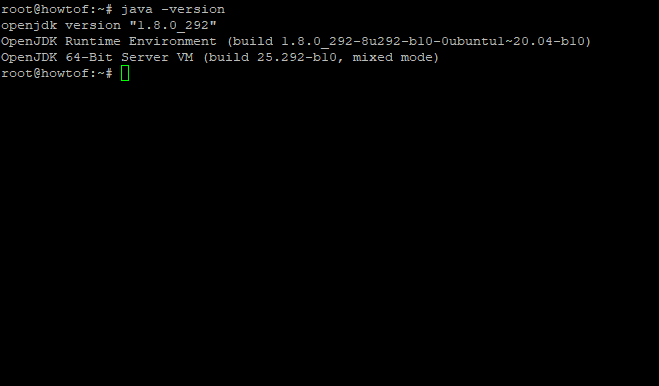
Java’s Version
Installing Apache Cassandra
With prerequisites in place, proceed to install Apache Cassandra. Start by importing the GPG key:
wget -q -O - https://www.apache.org/dist/cassandra/KEYS | sudo apt-key add -
Sample output:

Importing the GPG Key
Then add the Apache Cassandra repository:
sudo sh -c 'echo "deb http://www.apache.org/dist/cassandra/debian 311x main" > /etc/apt/sources.list.d/cassandra.list'
Update your system’s package index:
sudo apt-get update
Install Apache Cassandra:
sudo apt install cassandra
Sample output:
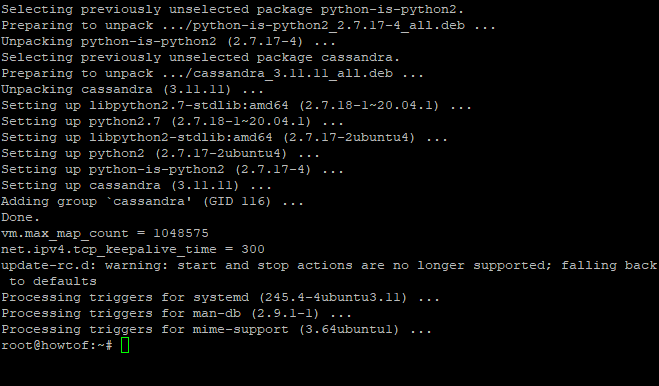
Installing Cassandra
Check Apache Cassandra’s status:
sudo systemctl status cassandra
Sample output:
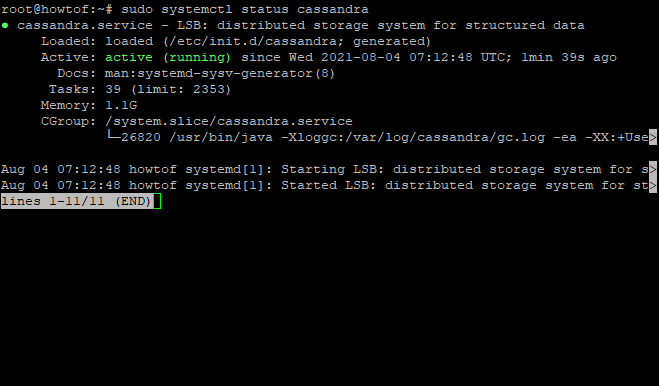
Checking Apache Cassandra’s Status
If needed, restart Apache Cassandra:
sudo systemctl restart cassandra
Verify node stats:
sudo nodetool status
Sample output:
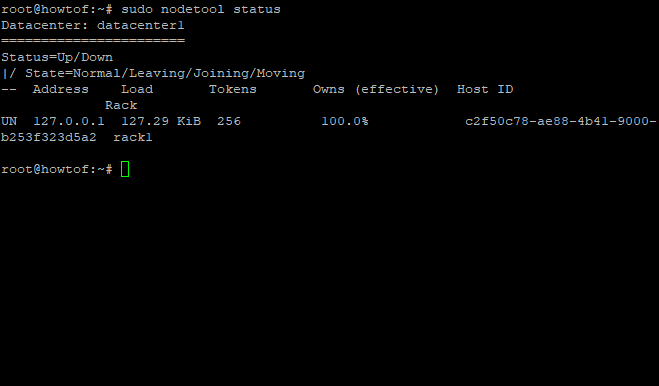
Nodetool Status
Log in to Apache Cassandra with the following command:
cqlsh
Sample output:
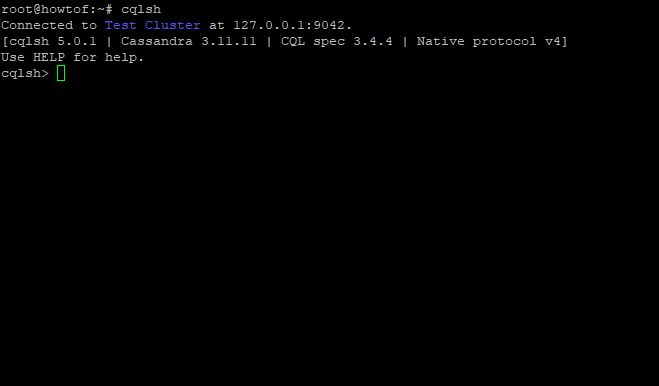
Login Screen
To exit the cqlsh tool, type exit and press Enter.
Configuring Apache Cassandra
Post-installation, you can configure Apache Cassandra. By default, Cassandra’s data resides in the /var/lib/cassandra/data/ directory, and configuration files are located in /etc/cassandra. Backup your files before making any changes to avoid data loss.
If you want to change Cassandra’s default cluster name, log into Cassandra and use:
cqlsh
UPDATE system.local SET cluster_name = 'Howtoforge Cluster' WHERE KEY = 'local';
This command renames the cluster. Restart Cassandra for changes to take effect:
sudo systemctl restart cassandra
When you log in, the new cluster name will appear.
Sample output:
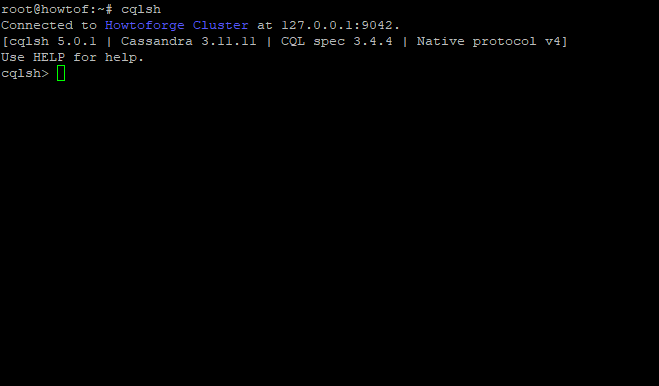
New Cluster Name
Uninstall Apache Cassandra
To remove Apache Cassandra from your system, follow these steps:
Stop the Cassandra service:
sudo service cassandra stop
Remove libraries and log directories and uninstall Cassandra with:
sudo rm -r /var/lib/cassandra
sudo rm -r /var/log/cassandra
sudo apt purge cassandra
Remove leftover files:
sudo rm -r /usr/lib/cassandra
sudo rm -r /etc/apache-cassandra
sudo rm -r ~/.cassandra
Troubleshooting
Common troubleshooting steps for Apache Cassandra:
- If you encounter “Unable to create native thread,” it might be due to insufficient physical memory or server issues. Check server logs for memory allocation errors and adjust kernel parameters like
vmalloc=256m. - If you get a “libcurl.so” error, ensure OpenSSL is correctly installed (especially on Ubuntu 16.04).
- If “cassandra-” is missing in
/etc/init.d, ensure Apache Cassandra’s init script is properly installed. Usesudo update-rc.d cassandra defaults && service cassandra restartto fix this. - If Cassandra doesn’t start, verify that changes are saved in service configuration files before leaving the session.
Conclusion
In this tutorial, we covered how to install Apache Cassandra on Ubuntu 20.04, along with some post-installation steps. This guide is helpful for beginners or anyone updating their current setup.
If you found this article helpful, please share it with others and follow us on social media for more tutorials.
Frequently Asked Questions
Can I install Apache Cassandra on Ubuntu versions other than 20.04?
Yes, you can install Apache Cassandra on other versions of Ubuntu, but ensure to check compatibility with dependencies like Java and ensure repository settings match the version of Ubuntu you are using.
What Java version is required for Apache Cassandra?
Apache Cassandra typically requires OpenJDK 8. Make sure to use this version during installation to avoid compatibility issues.
How can I monitor the performance of my Apache Cassandra cluster?
Use the nodetool utility to check various metrics of your Cassandra nodes. You can also integrate monitoring tools like Prometheus or Grafana for detailed insights.
Is it possible to perform an upgrade of Apache Cassandra without downtime?
Yes, Apache Cassandra supports rolling upgrades, allowing you to upgrade cluster nodes one at a time to minimize downtime. Ensure to follow the official upgrade documentation for best practices.