Apache Solr is an open-source search platform built on Apache Lucene, designed to create powerful application search and indexing capabilities. It offers advanced features such as full-text search, faceted search, real-time indexing, and distributed searching, making it a popular choice for building search engines and data retrieval systems. Solr is highly scalable and optimized for large volumes of data, often utilized in enterprise environments for tasks like website search, e-commerce, and big data analytics. Its REST-like API enables easy integration with other systems, and it supports features like highlighting query suggestions and geospatial search. Solr’s flexibility, performance, and community support have established it as a leading solution for organizations needing robust search functionality.
In this guide, we’ll provide step-by-step instructions on how to install Apache Solr on a Debian 12 server. You will learn how to install Apache Solr with Java OpenJDK 17, secure it using the BasicAuth plugin, and create a Solr index from the command line.
Prerequisites
- A Debian 12 server with at least 4GB of memory.
- A non-root user with sudo privileges.
Installing Java OpenJDK
Apache Solr requires at least Java JRE version 11. You will use OpenJDK 17, which is available in the Debian repository. First, update your Debian package index:
sudo apt update

Next, install OpenJDK using:
sudo apt install default-jdk
Confirm the installation by typing y when prompted.

Verify the Java version:
java --version

Downloading and Installing Apache Solr
Next, download and install Apache Solr on your machine. First, install necessary dependencies:
sudo apt install curl lsof bc
Download the Apache Solr binary package:
curl -qO https://downloads.apache.org/solr/solr/9.4.0/solr-9.4.0.tgz
Extract the installer script:
tar xzf solr-9.4.0.tgz solr-9.4.0/bin/install_solr_service.sh --strip-components=2
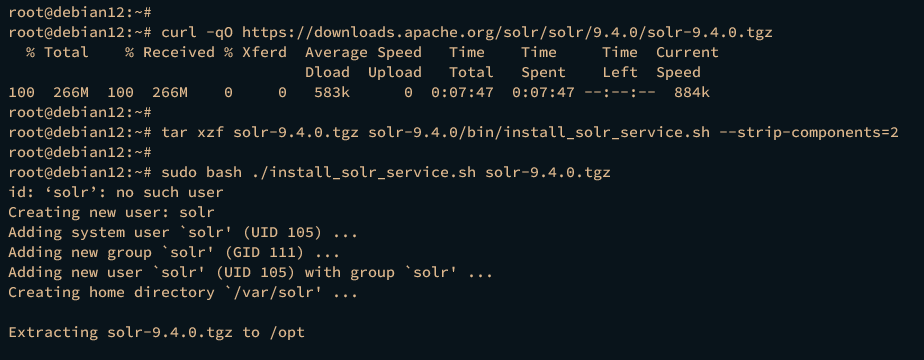
Run the installer script:
sudo bash ./install_solr_service.sh solr-9.4.0.tgz
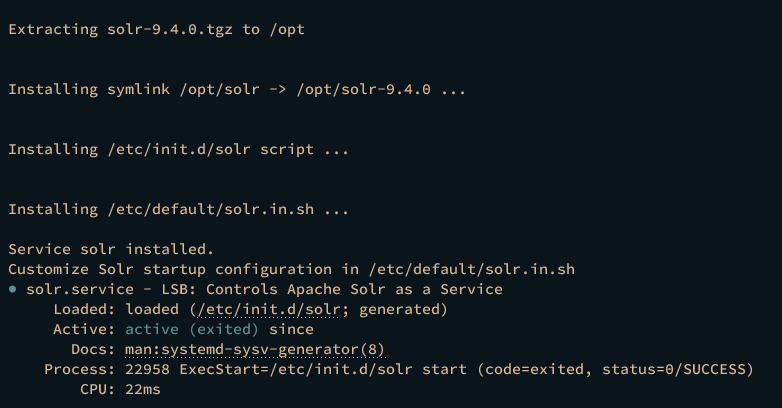
- Solr is installed at /opt/solr with data directory /var/solr.
- The solr user is created to manage Solr processes.
- The service script solr.service is available for managing Solr.
Check the Solr service status:
sudo service solr status

Configuring Apache Solr
Configure your Debian system and Apache Solr settings:
Configuring Debian System
Optimize your Debian system for Solr:
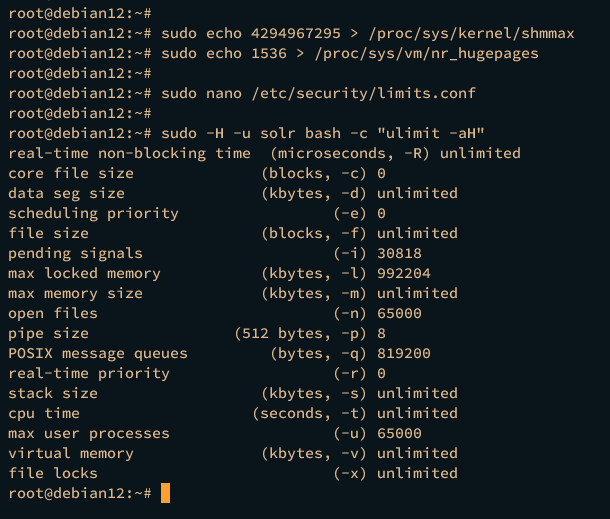
sudo echo 4294967295 > /proc/sys/kernel/shmmax
sudo echo 1536 > /proc/sys/vm/nr_hugepages
Update system limits by editing /etc/security/limits.conf:
sudo nano /etc/security/limits.conf
solr     soft    nofile   65000
solr     hard    nofile   65000
solr     soft    nproc    65000
solr     hard    nproc    65000
Verify the configuration:
sudo -H -u solr bash -c "ulimit -aH"
Configuring Apache Solr
Set max heap memory and run Solr on a specific IP:
sudo nano /etc/default/solr.in.sh
SOLR_HEAP="4g"
SOLR_HOST="192.168.10.15"
SOLR_JETTY_HOST="192.168.10.15"
Restart Solr to apply changes:
sudo service solr restart
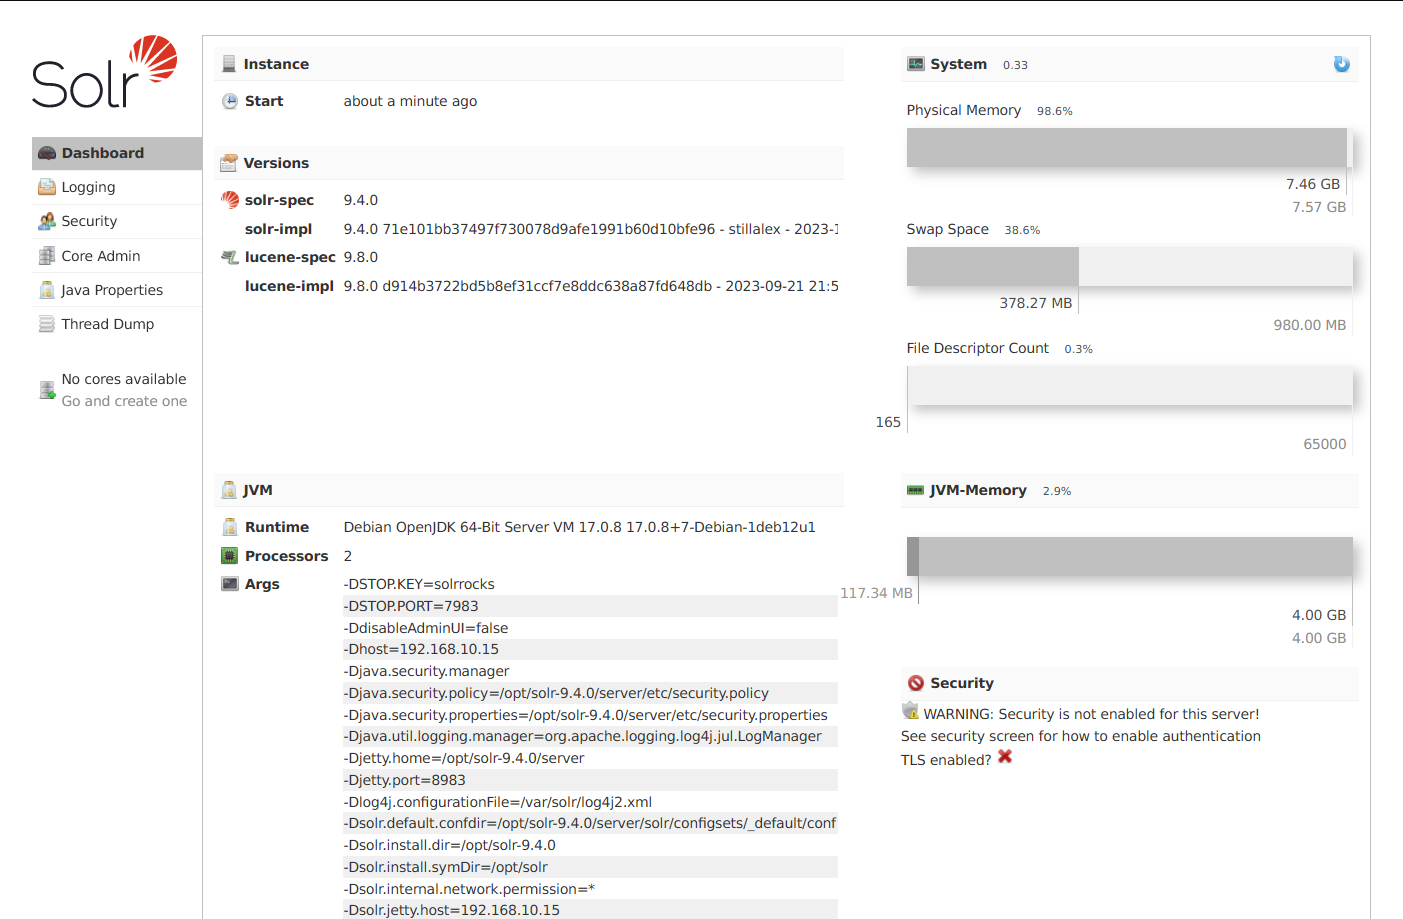
Access Solr at http://192.168.10.15:8983/ to see the dashboard:
Securing Apache Solr with BasicAuth Plugin
To add authentication via BasicAuth plugin, create the configuration as follows:
sudo nano /var/solr/data/security.json
{
  "authentication":{
    "blockUnknown": true,
    "class":"solr.BasicAuthPlugin",
    "credentials":{"solr":"IV0EHq1OnNrj6gvRCwvFwTrZ1+z1oBbnQdiVC3otuq0= Ndd7LKvVBAaZIF0QAVi1ekCfAJXr1GGfLtRUXhgrF8c="},
    "realm":"My Solr users",
    "forwardCredentials": false
  },
  "authorization":{
    "class":"solr.RuleBasedAuthorizationPlugin",
    "permissions":[{"name":"all", "role":"admin"}],
    "user-role":{"solr":"admin"}
  }
}
Restart Solr to apply these settings:
sudo service solr restart
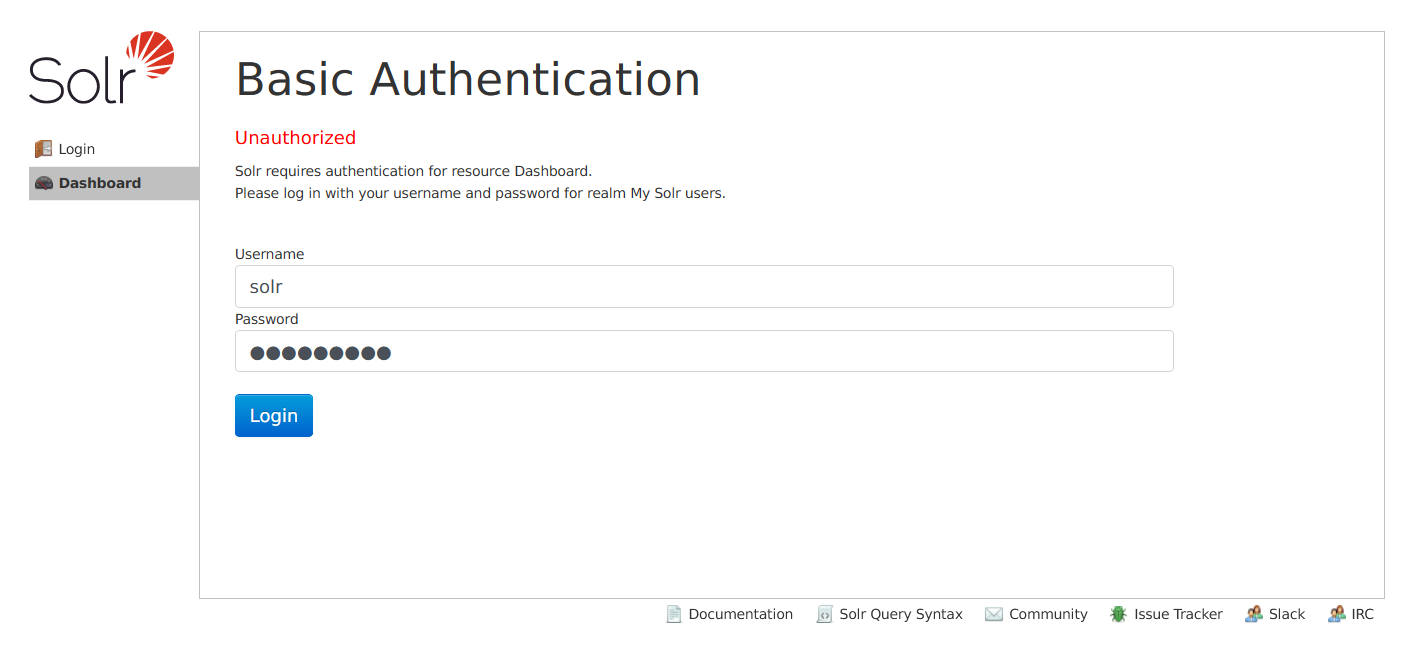
Reload the Solr page and log in with credentials: solr / SolrRocks.
Creating First Index in Apache Solr
Before creating an index, configure default authentication:
sudo nano /etc/default/solr.in.sh
SOLR_AUTH_TYPE="basic"
SOLR_AUTHENTICATION_OPTS="-Dbasicauth=solr:SolrRocks"
Restart Solr:
sudo service solr restart
Create your first Solr index:
su - solr -c "/opt/solr/bin/solr create -c test_core -n TestCore"
Verify the index on the Solr dashboard:

Conclusion
Congratulations! You’ve successfully installed Apache Solr on Debian 12. You’ve set up Java OpenJDK 17, secured Solr with BasicAuth, and created your first Solr index. You can now explore more advanced Solr features or scale up by creating a Solr cluster.
Frequently Asked Questions (FAQ)
- What is Apache Solr?
- Apache Solr is an open-source search platform that provides advanced search and indexing capabilities on top of Apache Lucene.
- Why use Java OpenJDK 17 for Apache Solr?
- Java OpenJDK 17 is a stable version compatible with recent Solr releases, offering support for new Java features.
- How do I change the Solr user password?
- You can change the password by updating the /var/solr/data/security.json file and restarting the Solr service.
- Can I run Solr on another port?
- Yes, you can configure Solr to run on a different port by modifying the solr.in.sh file.
- How can I troubleshoot Solr service issues?
- Check the Solr logs located in /var/solr/logs/ for any error messages or run
sudo service solr statusfor service status.
