Asterisk, developed by Sangoma, is a powerful free and open-source VoIP server platform designed to create VoIP telephony infrastructures for organizations of any size. VoIP (Voice Over Internet Protocol) allows you to make calls using the TCP/IP stack, enabling calls from mobile devices or computers to other devices at no cost. Asterisk operates on Unix and Linux-based operating systems and can connect with any traditional global telephony network. This platform offers a comprehensive suite of features including conference calling, voicemail, IVR, and automatic call distribution.
In this tutorial, we will guide you through installing the Asterisk server and its GUI on an Ubuntu 20.04 setup.
Prerequisites
- An Ubuntu 20.04 server.
- A configured static IP address on your server.
- A root password set on the server.
Getting Started
To begin, update your system packages to their latest versions using the command below:
apt-get update -y
After updating your system, install the necessary dependencies for Asterisk with the following command:
apt-get install gnupg2 software-properties-common git curl wget libnewt-dev libssl-dev libncurses5-dev subversion libsqlite3-dev build-essential libjansson-dev libxml2-dev uuid-dev -y
Install Asterisk
Since the latest version of Asterisk isn’t available in Ubuntu 20.04’s default repository, we’ll download and compile it from the source. First, fetch the latest version of Asterisk:
wget http://downloads.asterisk.org/pub/telephony/asterisk/asterisk-17-current.tar.gz
Extract the downloaded file:
tar -xvzf asterisk-17-current.tar.gz
Change to the extracted directory and install the required MP3 modules:
cd asterisk-17.7.0
contrib/scripts/get_mp3_source.sh
You should see a similar output:
A    addons/mp3
A    addons/mp3/MPGLIB_README
...
Exported revision 202.
Install other dependencies with:
contrib/scripts/install_prereq install
After completion, configure Asterisk:
./configure
You should see output similar to:
configure: Package configured for:
...
Run the following command to select and install recommended modules:
make menuselect
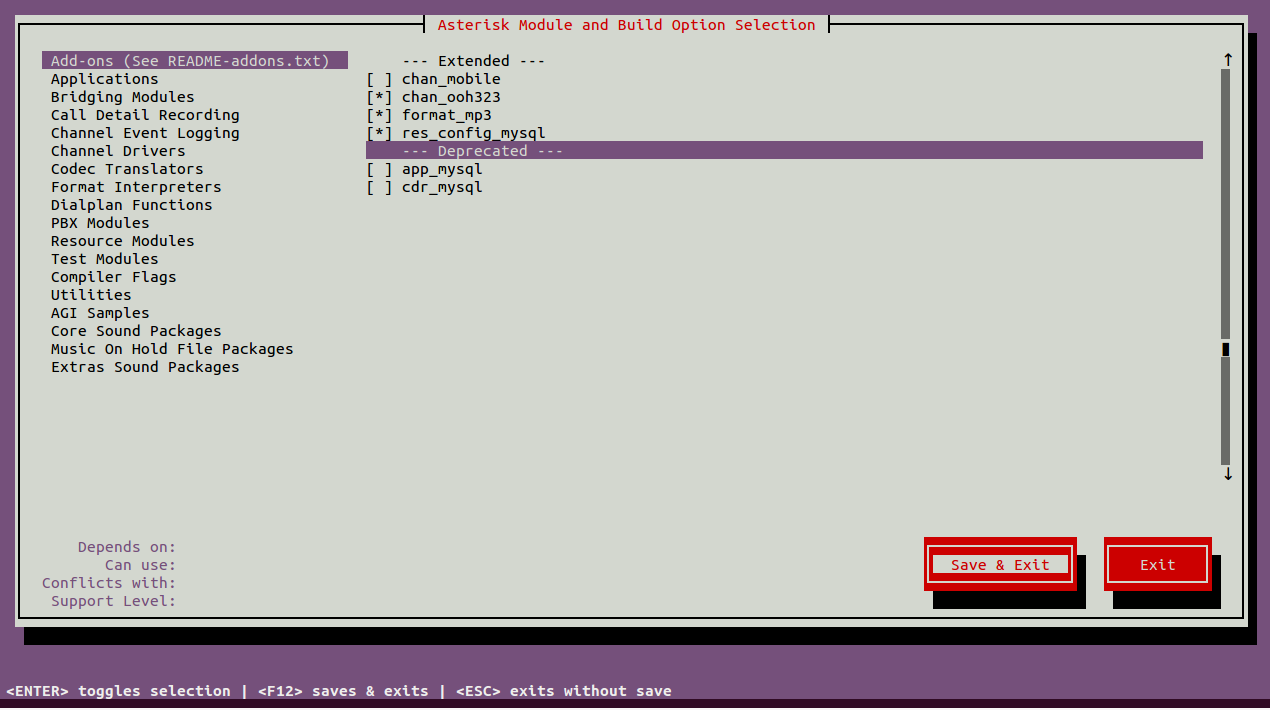
Use the arrow keys to navigate and press Enter to select modules. Enable the necessary add-ons:
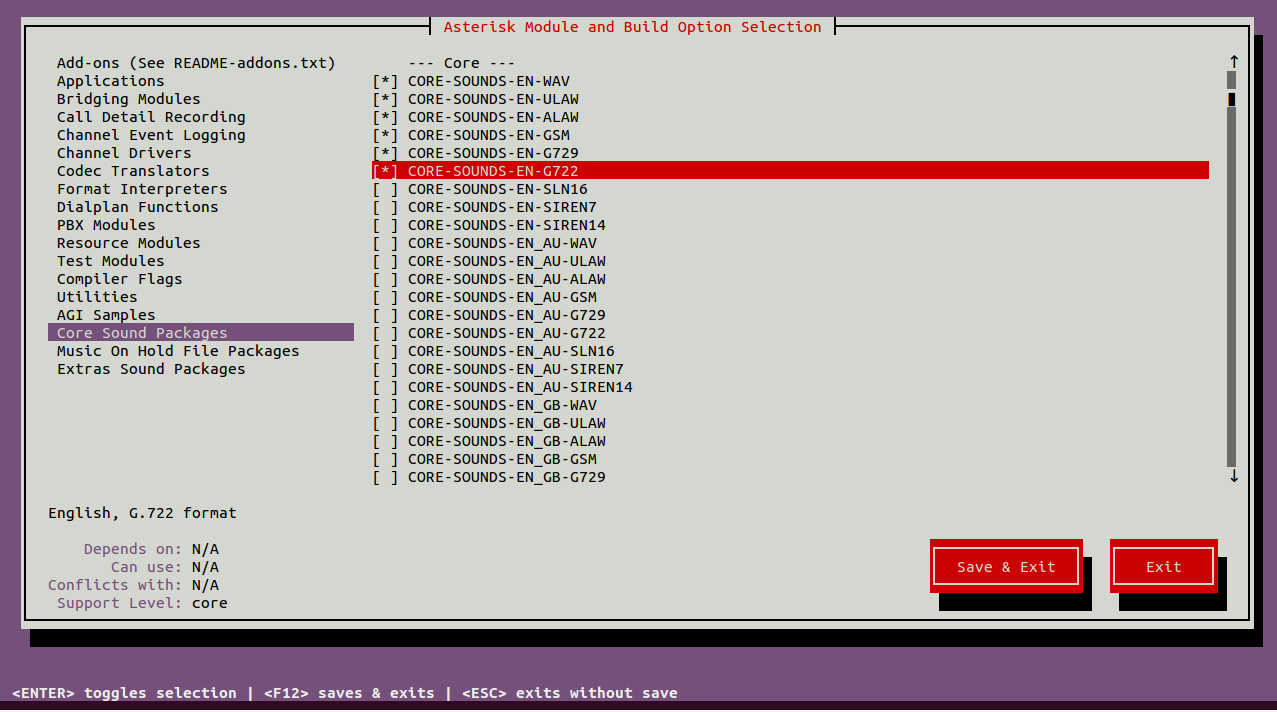
Enable the core sound modules:
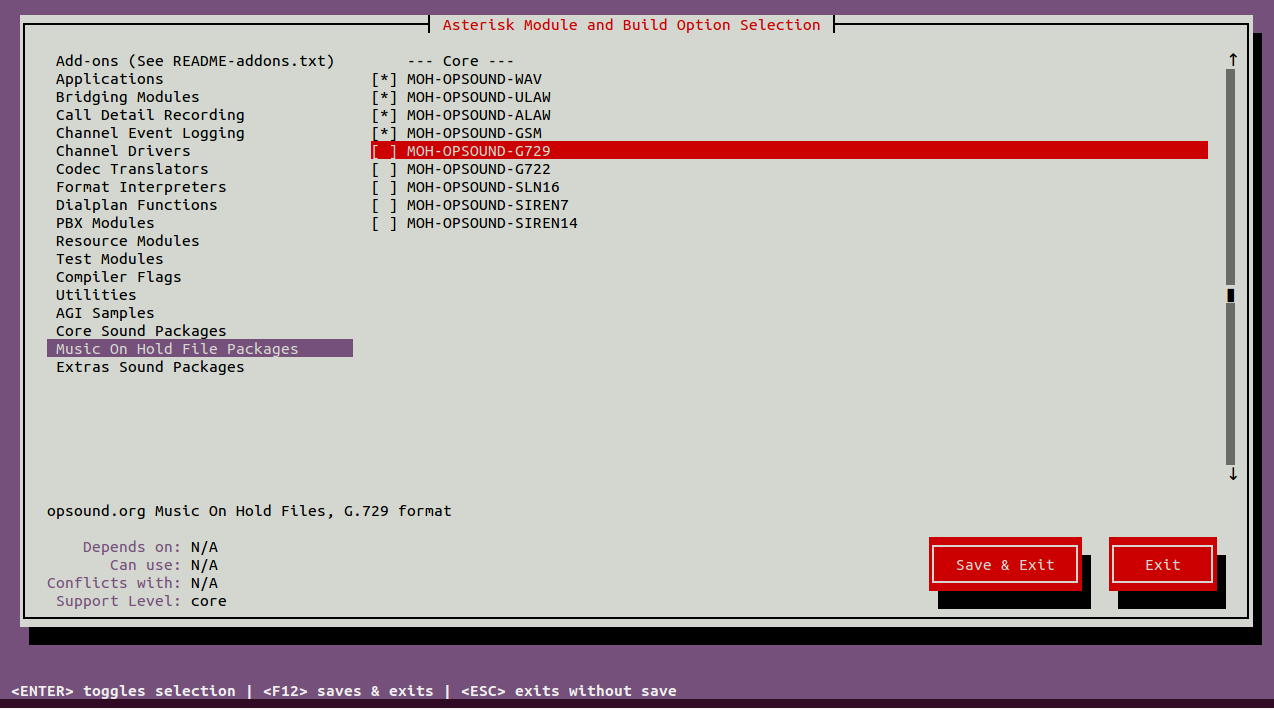
Enable MOH (Music On Hold) packages:
Enable Extra Sound Packages:
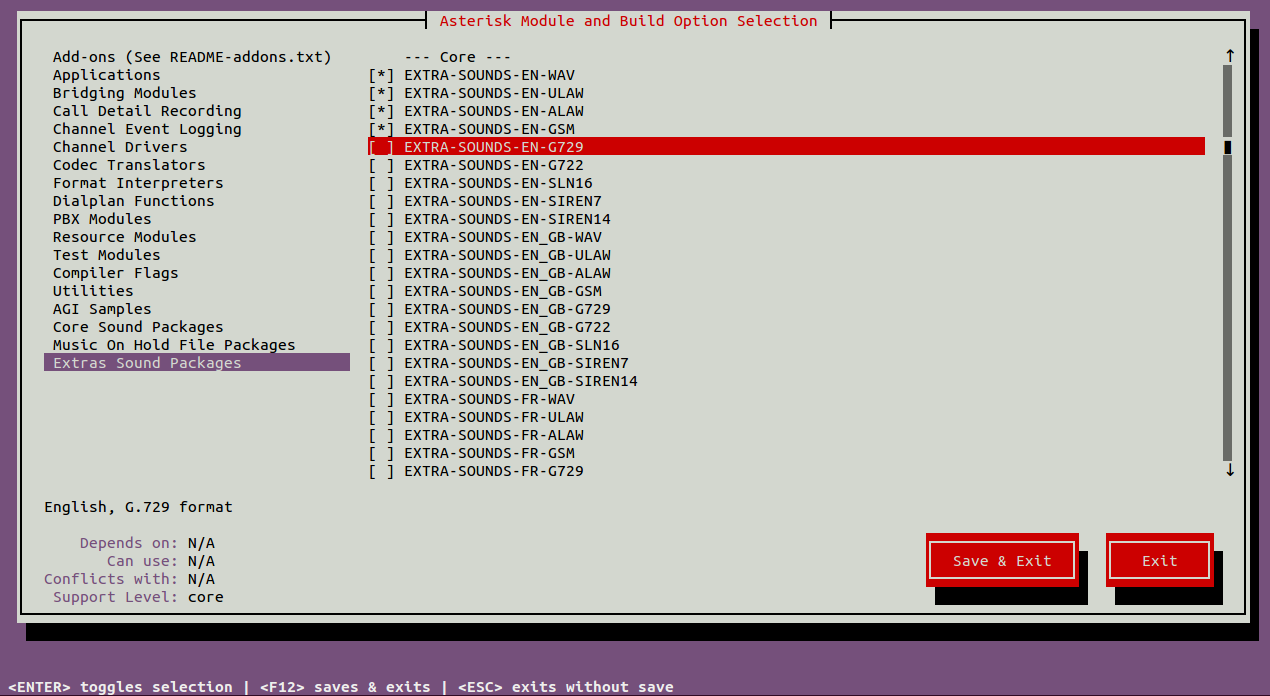
Once finished, save and exit to install all the addons.
Building and Installing Asterisk
Proceed to build Asterisk using:
make
After a successful build, run the following commands to install Asterisk, configuration files, and samples:
make install
make samples
make config
ldconfig
Create an Asterisk User
Create an Asterisk user and group, and change ownership of the Asterisk directory for proper permissions:
groupadd asterisk
useradd -r -d /var/lib/asterisk -g asterisk asterisk
Add audio and dialout privileges to the Asterisk group:
usermod -aG audio,dialout asterisk
Alter ownership of key directories:
chown -R asterisk.asterisk /etc/asterisk
chown -R asterisk.asterisk /var/{lib,log,spool}/asterisk
chown -R asterisk.asterisk /usr/lib/asterisk
Configure Asterisk
Edit the Asterisk default configurations to run under the Asterisk user and group:
nano /etc/default/asterisk
AST_USER="asterisk"
AST_GROUP="asterisk"
Modify the main Asterisk configuration file:
nano /etc/asterisk/asterisk.conf
runuser = asterisk
rungroup = asterisk
Start Asterisk and enable it at boot:
systemctl restart asterisk
systemctl enable asterisk
Check the status of the Asterisk service:
systemctl status asterisk
Verify Asterisk connection:
asterisk -rvv
Enable Asterisk GUI
Edit the HTTP configuration to enable the web GUI:
nano /etc/asterisk/http.conf
enabled = yes
bindaddr = 0.0.0.0
bindport = 8088
prefix = asterisk
enable_static = yes
enablestatic = yes
redirect = / /static/config/index.html
uploads = /var/lib/asterisk/uploads/
Edit the manager settings to enable web access:
nano /etc/asterisk/manager.conf
enabled = yes
webenabled = yes
port = 5038
bindaddr = 0.0.0.0
[admin]
secret = admin1234
read = system,call,log,verbose,command,agent,user,config
write = system,call,log,verbose,command,agent,user,config,originate
Install Asterisk GUI
Fetch and configure the Asterisk GUI:
svn checkout http://svn.digium.com/svn/asterisk-gui/branches/2.0
Change into the downloaded directory and configure it:
cd 2.0/
./configure
Build and install the GUI:
make
make install
Access Asterisk GUI
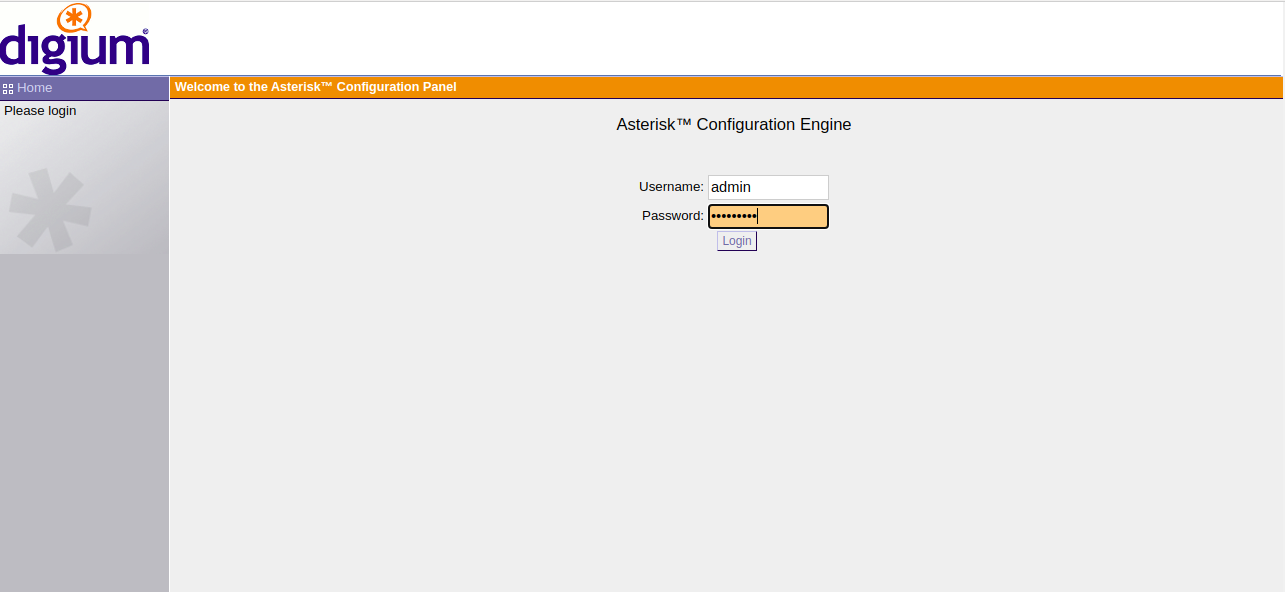
After restarting Asterisk with systemctl restart asterisk, access the GUI via your web browser at http://your-server-ip:8088/asterisk/static/config/index.html. You should see a login page similar to:
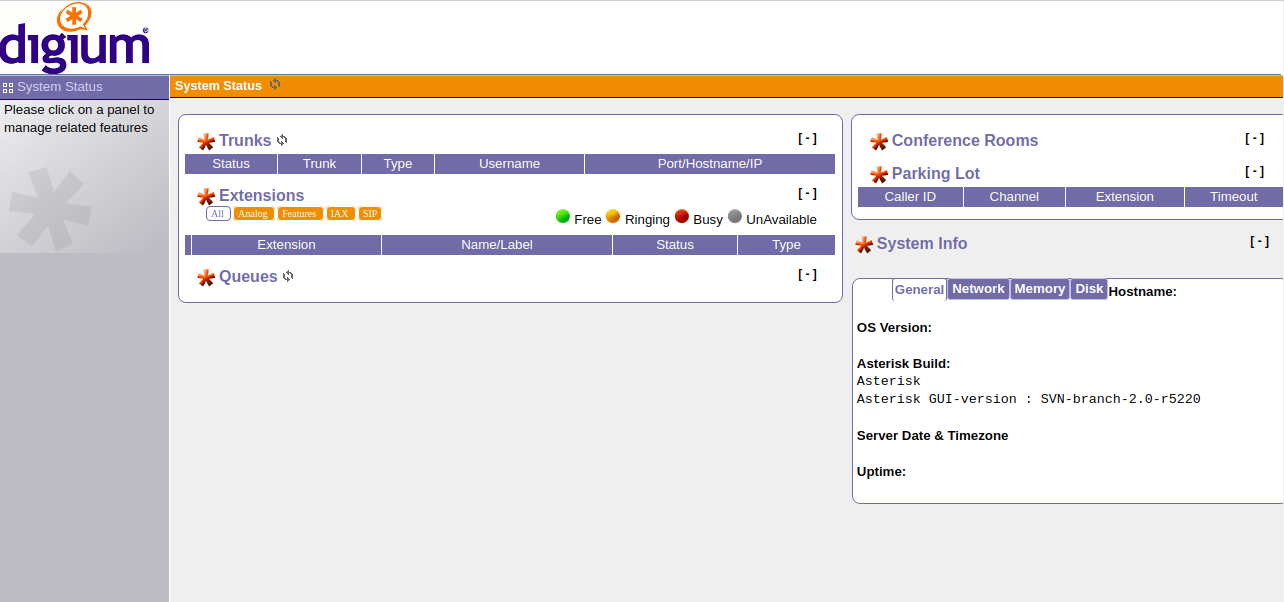
Log in with your admin credentials to view the Asterisk GUI dashboard:
Conclusion
Congratulations! You have successfully installed Asterisk and its GUI on Ubuntu 20.04. Your server is now ready to connect to any PSTN network, enabling free calls.
Frequently Asked Questions (FAQ)
- What is Asterisk?
- Asterisk is an open-source framework for building communications applications, such as VoIP gateways, conference servers, and call centers.
- Can Asterisk work on operating systems other than Linux?
- While Asterisk is primarily designed to run on Unix-based systems, including Linux, there are ways to run it on other platforms with additional configuration.
- Is it possible to integrate Asterisk with traditional telephone systems?
- Yes, Asterisk can interface with traditional global telephony networks, enabling integration with traditional phone systems.
- Do I need to pay for calls made via Asterisk?
- Typically, VoIP calls through Asterisk are free, but connecting to standard telecom lines may incur charges depending on the provider.
- What are some advanced features offered by Asterisk?
- Asterisk provides features like conference calling, voicemail, interactive voice response (IVR), and automatic call distribution.
