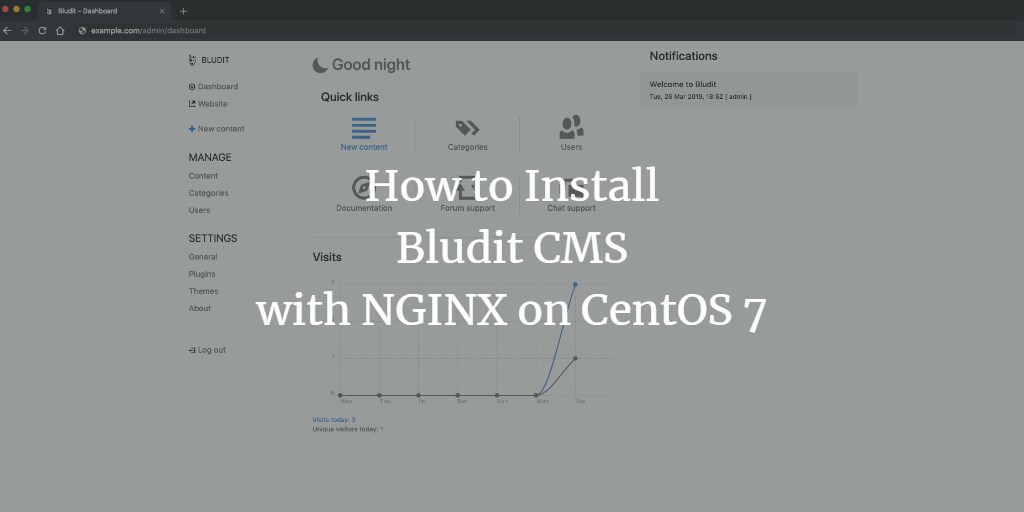
Bludit is a user-friendly, fast, and secure flat-file CMS, perfect for crafting websites or blogs effortlessly. This open-source platform, available on GitHub, utilizes JSON files for content storage, eliminating the need for database setup or configuration. It requires a web server with PHP support, such as NGINX, Apache, Lighttpd, or H2O. In this guide, you’ll learn how to install and set up Bludit CMS on a CentOS 7 system using NGINX as the web server.
Requirements
Your system should meet the following prerequisites:
- PHP version 5.3 or higher, with extensions: mbstring, gd, dom, and JSON.
- A web server supporting PHP, specifically NGINX for this tutorial.
Prerequisites
- A CentOS 7 system.
- A non-root user with sudo privileges.
Initial Steps
Verify your CentOS version:
cat /etc/centos-release
# CentOS Linux release 7.6.1810 (Core)
Set your timezone:
timedatectl list-timezones
sudo timedatectl set-timezone 'Region/City'
Update system packages to ensure the latest updates and security fixes:
sudo yum update -y
Install essential packages for basic system administration:
sudo yum install -y curl wget vim git unzip socat bash-completion epel-release
Step 1 – Install PHP
Set up the Webtatic YUM repository:
sudo rpm -Uvh https://mirror.webtatic.com/yum/el7/webtatic-release.rpm
Install PHP along with necessary extensions:
sudo yum install -y php72w php72w-cli php72w-fpm php72w-common php72w-mbstring php72w-zip php72w-pgsql php72w-sqlite3 php72w-curl php72w-gd php72w-mysql php72w-intl php72w-json php72w-opcache php72w-xml
Verify installed PHP modules:
php -m
Check the PHP version:
php --version
# PHP 7.2.14 (cli) (built: Jan 12 2019 12:47:33) ( NTS )
# Copyright (c) 1997-2018 The PHP Group
# Zend Engine v3.0.0, Copyright (c) 1998-2017 Zend Technologies
#     with Zend OPcache v7.2.14, Copyright (c) 1999-2018, by Zend Technologies
Start and enable the PHP-FPM service:
sudo systemctl start php-fpm.service
sudo systemctl enable php-fpm.service
Step 2 – Install acme.sh client and obtain Let’s Encrypt certificate (optional)
Securing your site with HTTPS is advisable for safeguarding traffic. To obtain a TLS certificate from Let’s Encrypt, use the Acme.sh client, a shell script with zero dependencies.
Install Acme.sh:
sudo mkdir /etc/letsencrypt
git clone https://github.com/Neilpang/acme.sh.git
cd acme.sh
sudo ./acme.sh --install --home /etc/letsencrypt --accountemail your_email@example.com
cd ~
Check Acme.sh version:
/etc/letsencrypt/acme.sh --version
# v2.8.0
Obtain RSA and ECC/ECDSA certificates for your domain:
# RSA 2048
sudo /etc/letsencrypt/acme.sh --issue --standalone --home /etc/letsencrypt -d example.com --keylength 2048
# ECDSA
sudo /etc/letsencrypt/acme.sh --issue --standalone --home /etc/letsencrypt -d example.com --keylength ec-256
Certificates and keys locations:
- RSA: /etc/letsencrypt/example.com
- ECC/ECDSA: /etc/letsencrypt/example.com_ecc
Step 3 – Install and configure NGINX
Install NGINX from the CentOS repository:
sudo yum install -y nginx
Verify NGINX version:
nginx -v
# nginx version: nginx/1.12.2
Start and enable the NGINX service:
sudo systemctl start nginx.service
sudo systemctl enable nginx.service
Configure NGINX for Bludit:
sudo vim /etc/nginx/conf.d/bludit.conf
Use the following configuration:
server {
  listen 80;
  listen 443 ssl;

  ssl_certificate /etc/letsencrypt/example.com/fullchain.pem;
  ssl_certificate_key /etc/letsencrypt/example.com/private.key;
  ssl_certificate /etc/letsencrypt/example.com_ecc/fullchain.pem;
  ssl_certificate_key /etc/letsencrypt/example.com_ecc/private.key;

  server_name example.com;
  root /var/www/bludit;

  index index.php;

  location ~ \.php$ {
    fastcgi_pass 127.0.0.1:9000;
    fastcgi_index index.php;
    include fastcgi.conf;
  }

  location / {
    try_files $uri $uri/ /index.php?$args;
  }

  location ^~ /bl-content/tmp/ { deny all; }
  location ^~ /bl-content/pages/ { deny all; }
  location ^~ /bl-content/databases/ { deny all; }
}
Check NGINX configuration for syntax errors:
sudo nginx -t
Reload NGINX service:
sudo systemctl reload nginx.service
Step 4 – Install Bludit
Create the document root directory for Bludit:
sudo mkdir -p /var/www/bludit
Change directory ownership:
sudo chown -R [your_user]:[your_user] /var/www/bludit
Navigate to the document root:
cd /var/www/bludit
Download the latest Bludit version and extract it:
wget https://www.bludit.com/releases/bludit-3-8-1.zip
unzip bludit-3-8-1.zip
rm bludit-3-8-1.zip
mv bludit-3-8-1/* . && mv bludit-3-8-1/.* .
rmdir bludit-3-8-1
NOTE: Update the download URL if a newer release is available.
Set appropriate ownership:
sudo chown -R nginx:nginx /var/www/bludit
Edit PHP-FPM configuration to set the user and group to nginx:
sudo vim /etc/php-fpm.d/www.conf
# user = nginx
# group = nginx
Restart PHP-FPM service:
sudo systemctl restart php-fpm.service
Step 5 – Complete the Bludit installation wizard
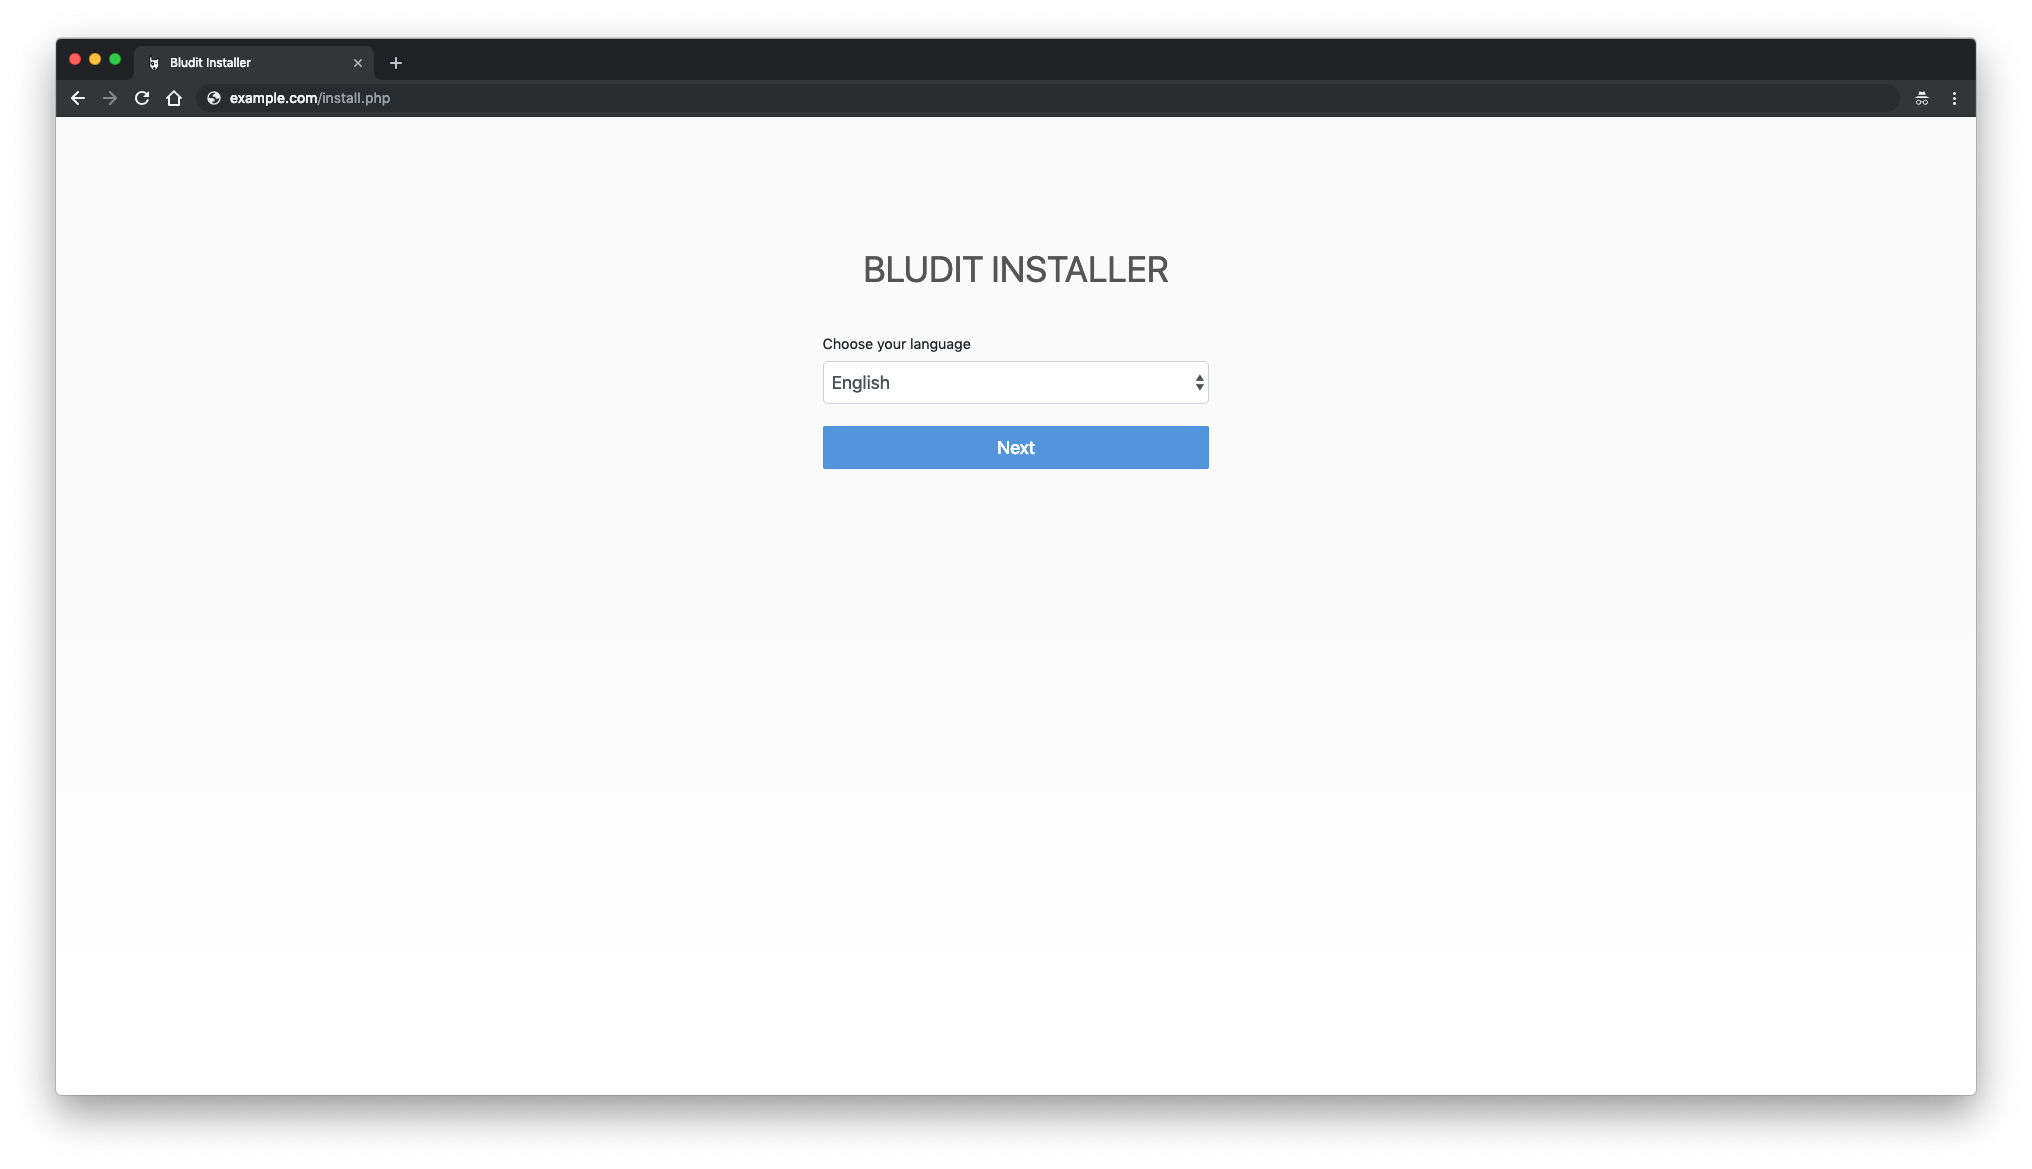
Open your website in a web browser. You should be prompted to select your language:
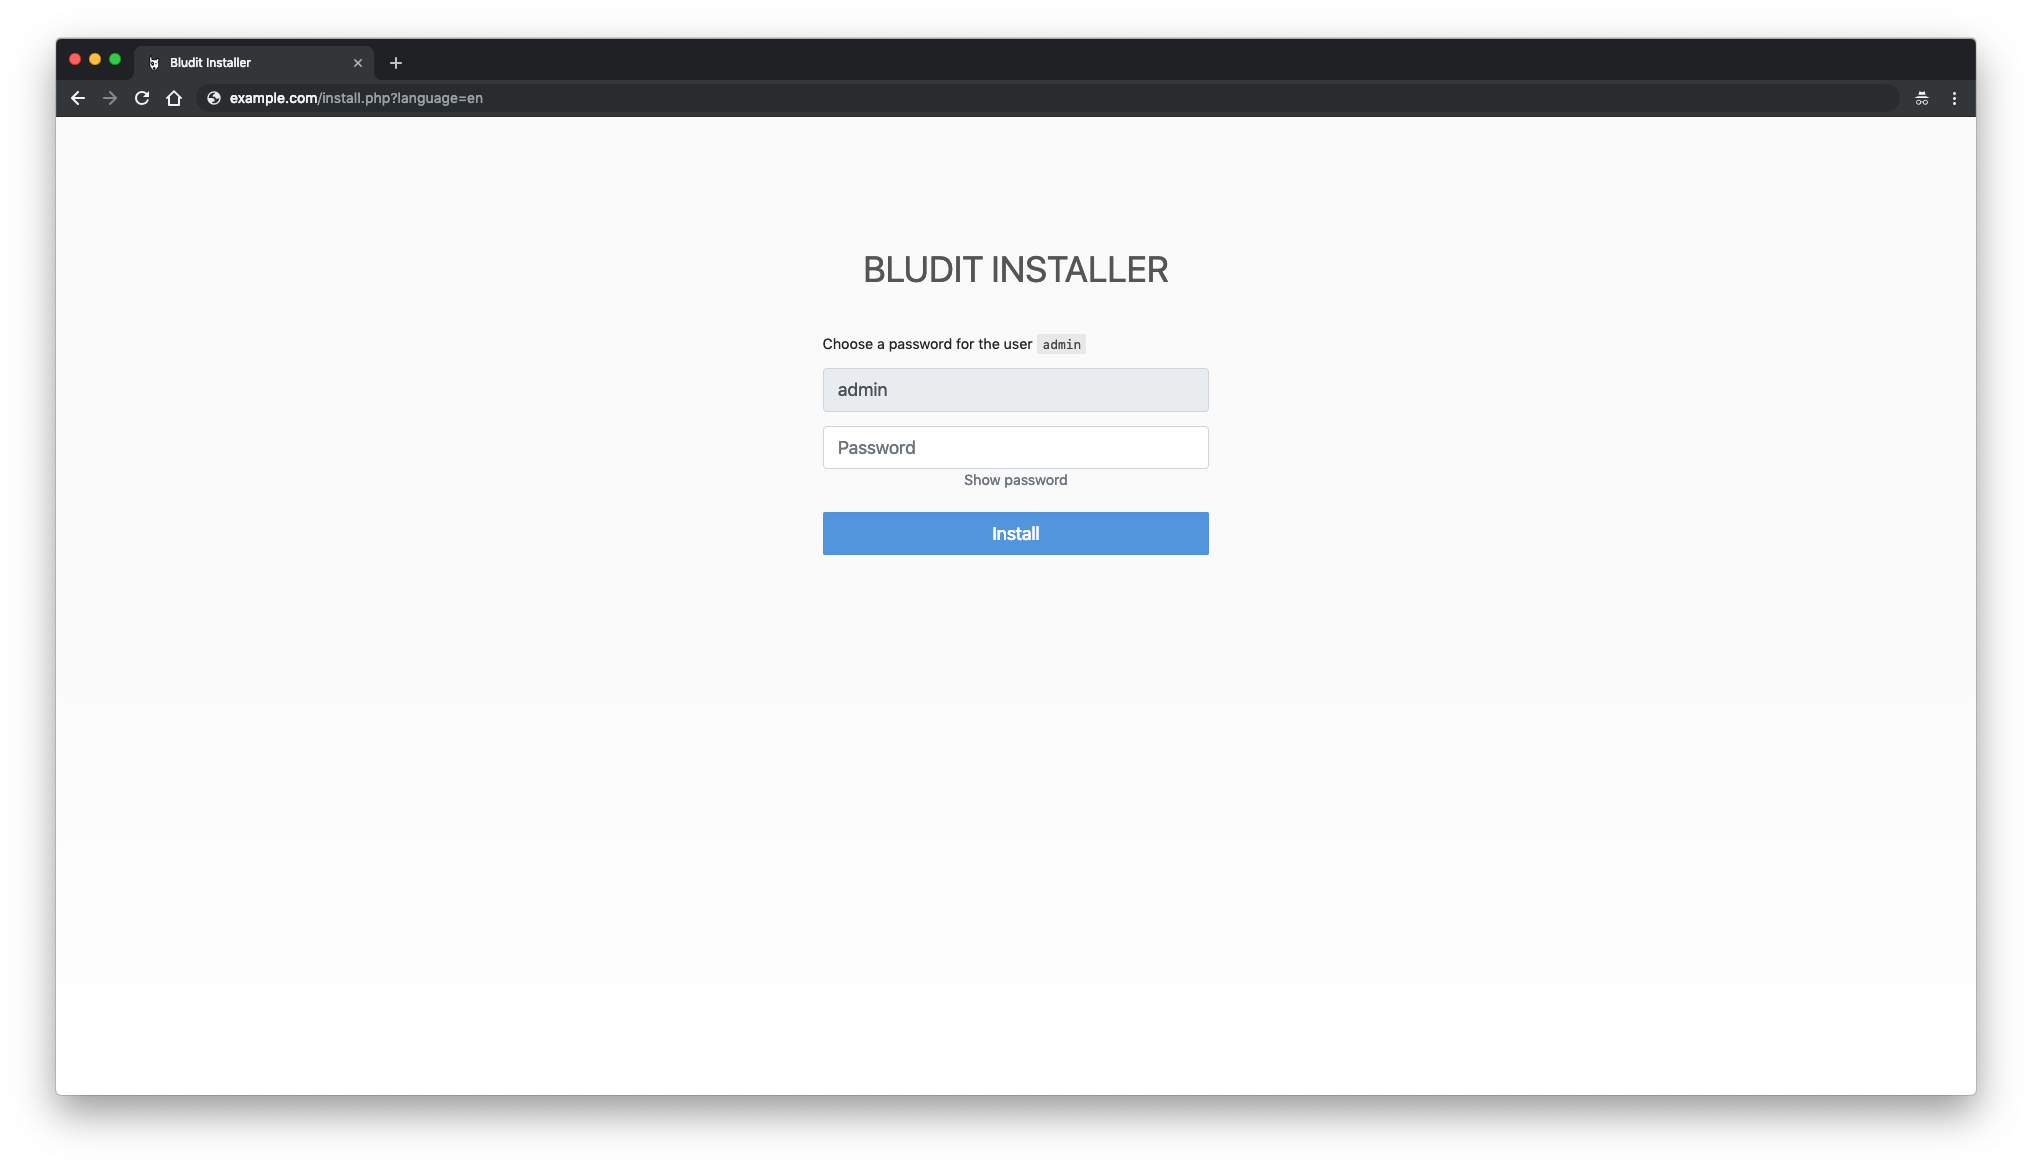
Set a password for the admin account and click “Install”:
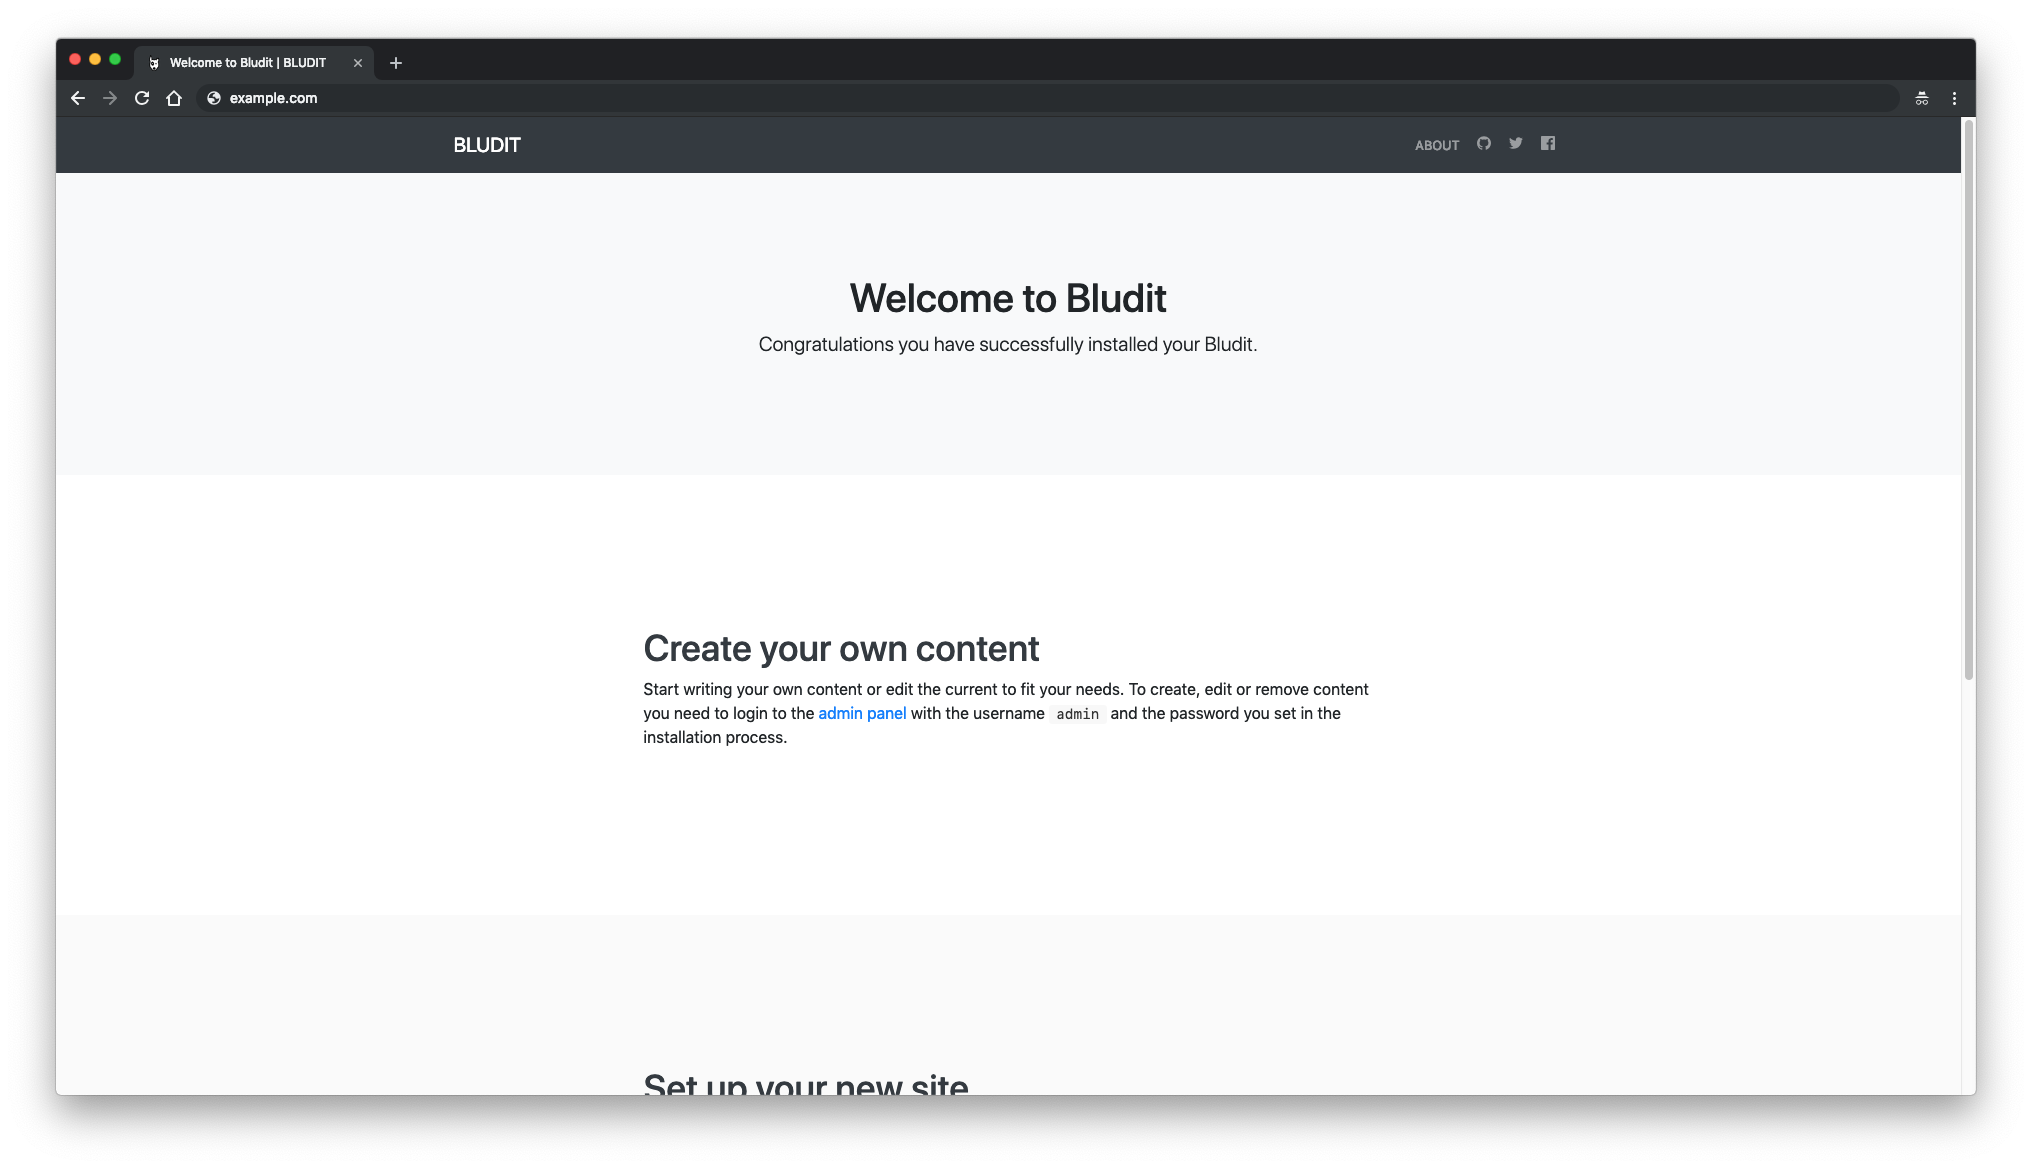
Once complete, you’ll be redirected to the Bludit frontend:
Access the Bludit admin area by adding /admin to your site’s URL. The admin interface appears like this:
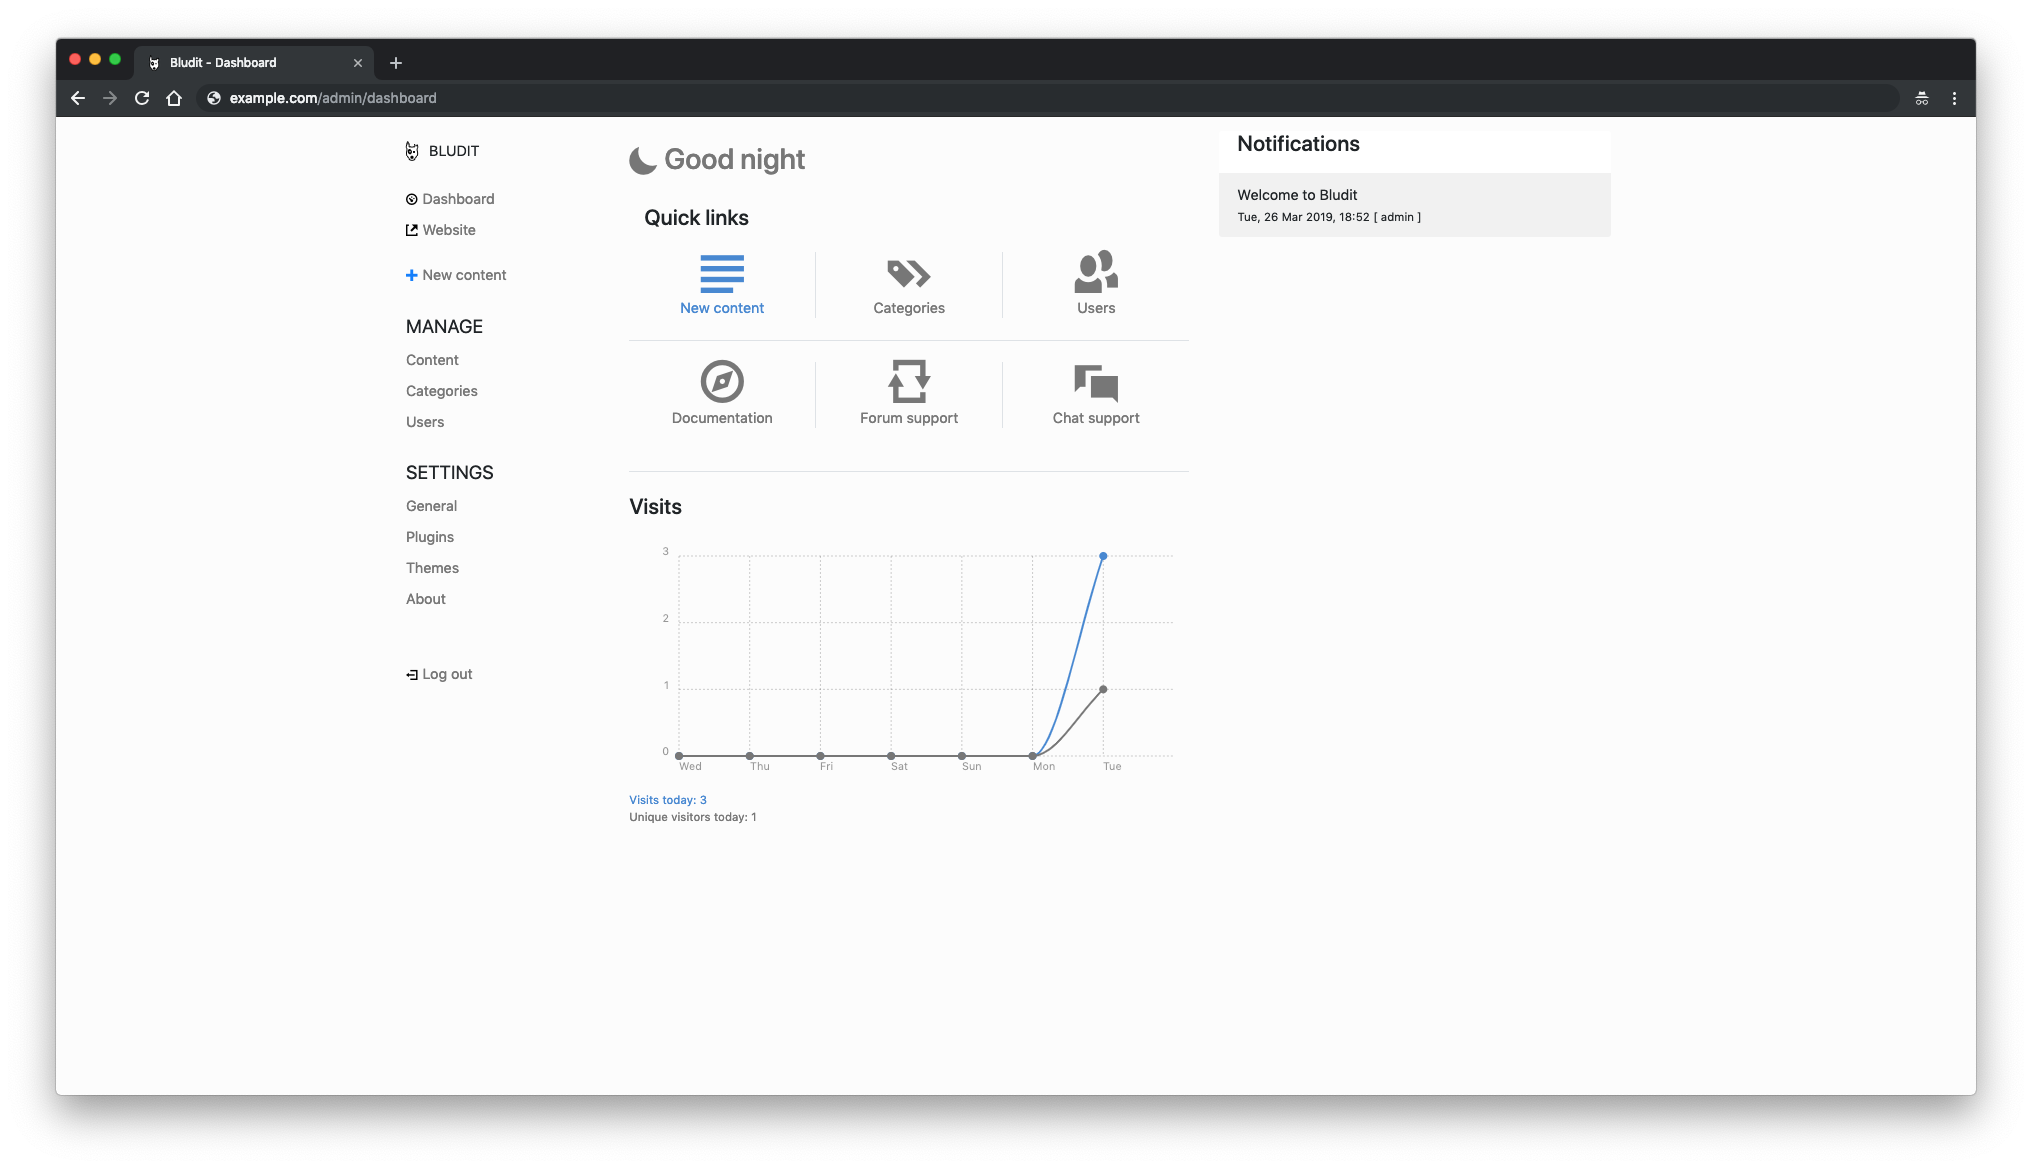
Your Bludit CMS installation is now complete. Enjoy blogging!
Useful Links
Frequently Asked Questions
- What are the benefits of using Bludit?
- Bludit is lightweight, does not require a database, and is easy to set up. It’s ideal for simple websites and blogs.
- Do I need advanced technical skills to install Bludit?
- No, with clear instructions and prerequisites, even beginners can follow the installation process.
- Can I use a different web server other than NGINX?
- Yes, you can use web servers like Apache, Lighttpd, or H2O, as long as they support PHP.
- Why should I secure my site with HTTPS?
- HTTPS encrypts the communication between your site and its visitors, enhancing security and privacy.
- Where can I find themes and plugins for Bludit?
- Visit the Bludit Plugins and Bludit Themes websites for a variety of options to customize your site.
