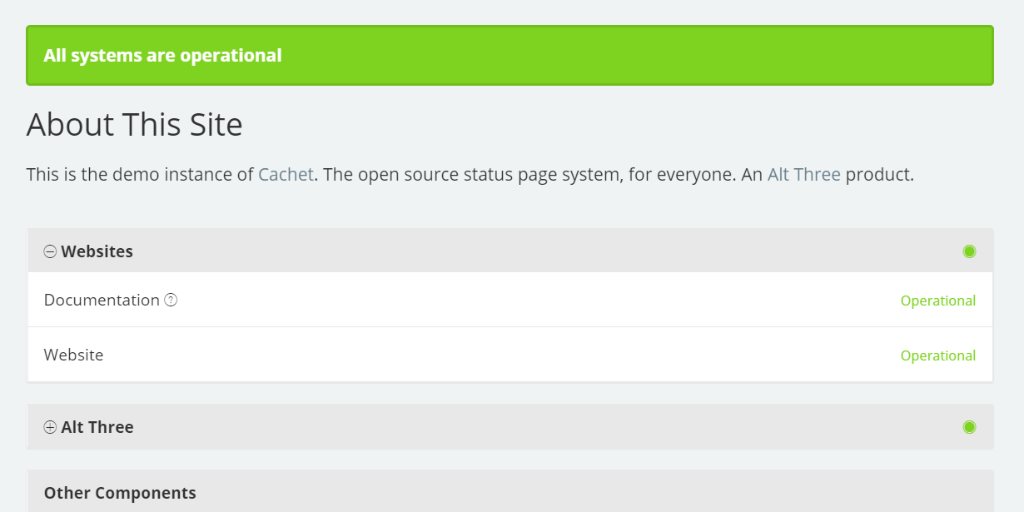
Cachet is an elegant and robust open-source status page system, designed in PHP to improve communication regarding downtime and system issues to your customers, teams, and stakeholders. It boasts an extensive feature set, including a powerful JSON API, event reports, metrics, subscription support for event messages, email notifications for subscribers, and two-factor authentication.
In this guide, you’ll learn how to install the Cachet status page system using PHP, Nginx, MySQL, and Composer on a CentOS 7 system.
Requirements
To successfully run Cachet on your CentOS 7 system, ensure you have the following components:
- PHP version 7.1 or greater
- An HTTP server with PHP support (e.g., Nginx, Apache, Caddy)
- Composer
- A supported database: MySQL, PostgreSQL, or SQLite
- Git
Prerequisites
- A CentOS 7 operating system.
- A non-root user with sudo privileges.
Initial Steps
To begin, check your CentOS version:
cat /etc/centos-release
Set up the desired timezone as follows:
timedatectl list-timezones
sudo timedatectl set-timezone 'Region/City'
Update your operating system packages to ensure the latest updates and security patches:
sudo yum update -yInstall essential packages necessary for basic administration of the CentOS environment:
sudo yum install -y curl wget vim git unzip socat bash-completionStep 1 – Install PHP
Setup the Webtatic YUM repository:
sudo rpm -Uvh https://mirror.webtatic.com/yum/el7/webtatic-release.rpmInstall PHP along with the required PHP extensions:
sudo yum install -y php72w-cli php72w-fpm php72w-common php72w-xml php72w-gd php72w-zip php72w-mbstring php72w-mysqlnd php72w-pgsql php72w-sqlite3 php72w-opcache php72w-apcu php72w-jsonVerify the PHP installed modules:
php -mConfirm the installed PHP version:
php --versionThen, start and enable the PHP-FPM service:
sudo systemctl start php-fpm.service
sudo systemctl enable php-fpm.service
Next, proceed to set up the database.
Step 2 – Install MariaDB and Create a Database for Cachet
Cachet supports various databases: MySQL, MariaDB, PostgreSQL, and SQLite. This guide will demonstrate using MariaDB:
Create a MariaDB 10.2 YUM repository for CentOS:
sudo vim /etc/yum.repos.d/MariaDB.repoCopy and paste the following text:
# MariaDB 10.2 CentOS repository list - created 2017-12-11 23:19 UTC
# http://downloads.mariadb.org/mariadb/repositories/
[mariadb]
name=MariaDB
baseurl=https://yum.mariadb.org/10.2/centos7-amd64
gpgkey=https://yum.mariadb.org/RPM-GPG-KEY-MariaDB
gpgcheck=1
Install MariaDB:
sudo yum install -y MariaDB-server MariaDB-clientVerify the installed MariaDB version:
mysql --versionStart and enable the MariaDB service:
sudo systemctl start mariadb.service
sudo systemctl enable mariadb.service
Run the following secure installation script to improve MariaDB security and set the root password:
sudo mysql_secure_installationAnswer the following prompts:
Would you like to setup VALIDATE PASSWORD plugin? N
    New password: your_secure_password
    Re-enter new password: your_secure_password
    Remove anonymous users? [Y/n] Y
    Disallow root login remotely? [Y/n] Y
    Remove test database and access to it? [Y/n] Y
    Reload privilege tables now? [Y/n] Y
Connect to the MariaDB shell:
sudo mysql -u root -pCreate a blank database and user for Cachet:
MariaDB> CREATE DATABASE dbname;
MariaDB> GRANT ALL ON dbname.* TO 'username' IDENTIFIED BY 'password';
MariaDB> FLUSH PRIVILEGES;
Remember to replace dbname, username, and password with your own values.
Exit the MariaDB shell:
MariaDB> exitStep 3 – Install Acme.sh Client and Obtain Let’s Encrypt Certificate (Optional)
Securing with HTTPS is recommended for traffic encryption. Use Acme.sh client, a UNIX shell script with zero dependencies:
Install Acme.sh:
sudo su - root
git clone https://github.com/Neilpang/acme.sh.git
cd acme.sh
./acme.sh --install --accountemail your_email@example.com
source ~/.bashrc
cd ~
Verify Acme.sh version:
acme.sh --versionAcquire RSA and ECC certificates for your domain:
# RSA 2048
acme.sh --issue --standalone -d example.com --keylength 2048
# ECC
acme.sh --issue --standalone -d example.com --keylength ec-256
Once retrieved, your certificates and keys can be found in:
- For RSA:
/home/username/example.com - For ECC:
/home/username/example.com_ecc
Create directories to store your certs:
sudo mkdir -p /etc/letsencrypt/example.comsudo mkdir -p /etc/letsencrypt/example.com_ecc
Install certificates into the /etc/letsencrypt directory:
# RSA
acme.sh --install-cert -d example.com --cert-file /etc/letsencrypt/example.com/cert.pem --key-file /etc/letsencrypt/example.com/private.key --fullchain-file /etc/letsencrypt/example.com/fullchain.pem --reloadcmd "sudo systemctl reload nginx.service"
# ECC
acme.sh --install-cert -d example.com --ecc --cert-file /etc/letsencrypt/example.com_ecc/cert.pem --key-file /etc/letsencrypt/example.com_ecc/private.key --fullchain-file /etc/letsencrypt/example.com_ecc/fullchain.pem --reloadcmd "sudo systemctl reload nginx.service"
The certificates will be automatically renewed every 60 days. Exit root and return to the sudo user:
exitStep 4 – Install and Configure NGINX
We’ll use NGINX, which works well with Cachet. Install NGINX:
sudo yum install -y nginxVerify the NGINX installation:
sudo nginx -vStart and enable the NGINX service:
sudo systemctl start nginx.service
sudo systemctl enable nginx.service
Configure NGINX for Cachet:
sudo vim /etc/nginx/conf.d/cachet.confAdd the following configuration to your NGINX config:
server {
  listen 80;
  listen [::]:80;
  listen 443 ssl;
  listen [::]:443 ssl;
  server_name status.example.com;
  root /var/www/cachet/public;
  index index.php;
  ssl_certificate /etc/letsencrypt/status.example.com/fullchain.cer;
  ssl_certificate_key /etc/letsencrypt/status.example.com/status.example.com.key;
  ssl_certificate /etc/letsencrypt/status.example.com_ecc/fullchain.cer;
  ssl_certificate_key /etc/letsencrypt/status.example.com_ecc/status.example.com.key;
  location / {
    try_files $uri /index.php$is_args$args;
  }
  location ~ \.php$ {
    include fastcgi_params;
    fastcgi_pass 127.0.0.1:9000;
    fastcgi_param SCRIPT_FILENAME $document_root$fastcgi_script_name;
    fastcgi_index index.php;
    fastcgi_keep_conn on;
  }
}
Test the NGINX configuration:
sudo nginx -tReload NGINX:
sudo systemctl reload nginx.serviceStep 5 – Install Composer
Install Composer, the PHP dependency manager:
php -r "copy('https://getcomposer.org/installer', 'composer-setup.php');"
php -r "if (hash_file('sha384', 'composer-setup.php') === '48e3236262b34d30969dca3c37281b3b4bbe3221bda826ac6a9a62d6444cdb0dcd0615698a5cbe587c3f0fe57a54d8f5') { echo 'Installer verified'; } else { echo 'Installer corrupt'; unlink('composer-setup.php'); } echo PHP_EOL;"
php composer-setup.php
php -r "unlink('composer-setup.php');"
sudo mv composer.phar /usr/local/bin/composer
Check the Composer version:
composer --versionStep 6 – Install Cachet
Create Cachet’s document root directory:
sudo mkdir -p /var/www/cachetSet the directory ownership:
sudo chown -R {your_user}:{your_user} /var/www/cachetNOTE: Replace {your_user} with your non-root user’s username.
Navigate to the document root:
cd /var/www/cachetDownload Cachet using Git:
git clone -b 2.4 --single-branch https://github.com/cachethq/Cachet.git .Copy and update the .env.example file:
cp .env.example .env
vim .env
Install Cachet’s dependencies with Composer:
composer install --no-dev -oSet up the application key:
php artisan key:generateFinish Cachet’s installation:
php artisan cachet:installChange ownership of Cachet’s files:
sudo chown -R nginx:nginx /var/www/cachetEdit the www.conf file to set the user and group to nginx:
sudo vim /etc/php-fpm.d/www.conf
# user = nginx
# group = nginx
Access your Cachet site and follow the setup instructions in the browser.
Step 7 – Complete the Cachet Setup
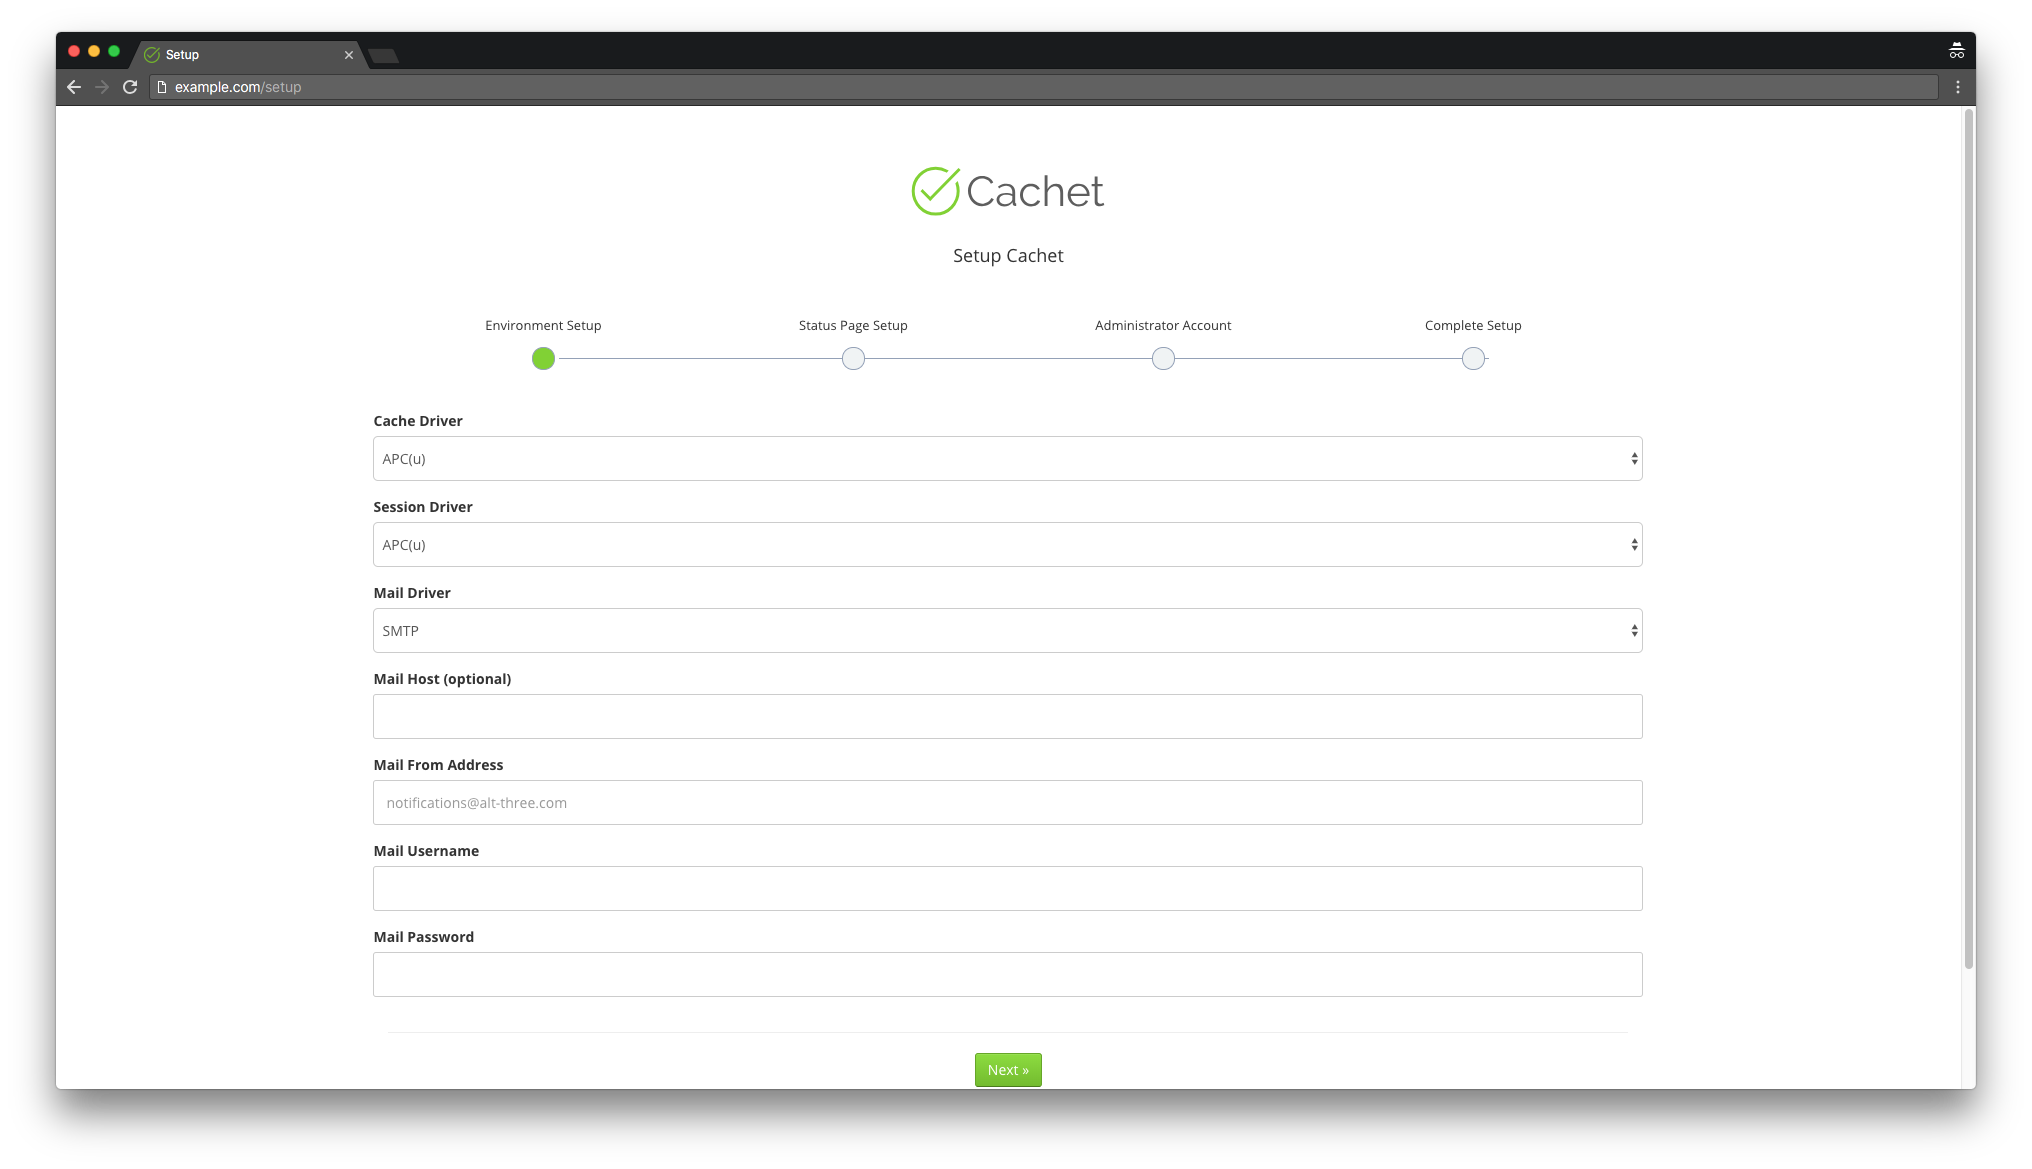
Configure the cache, session drivers, and mail options:
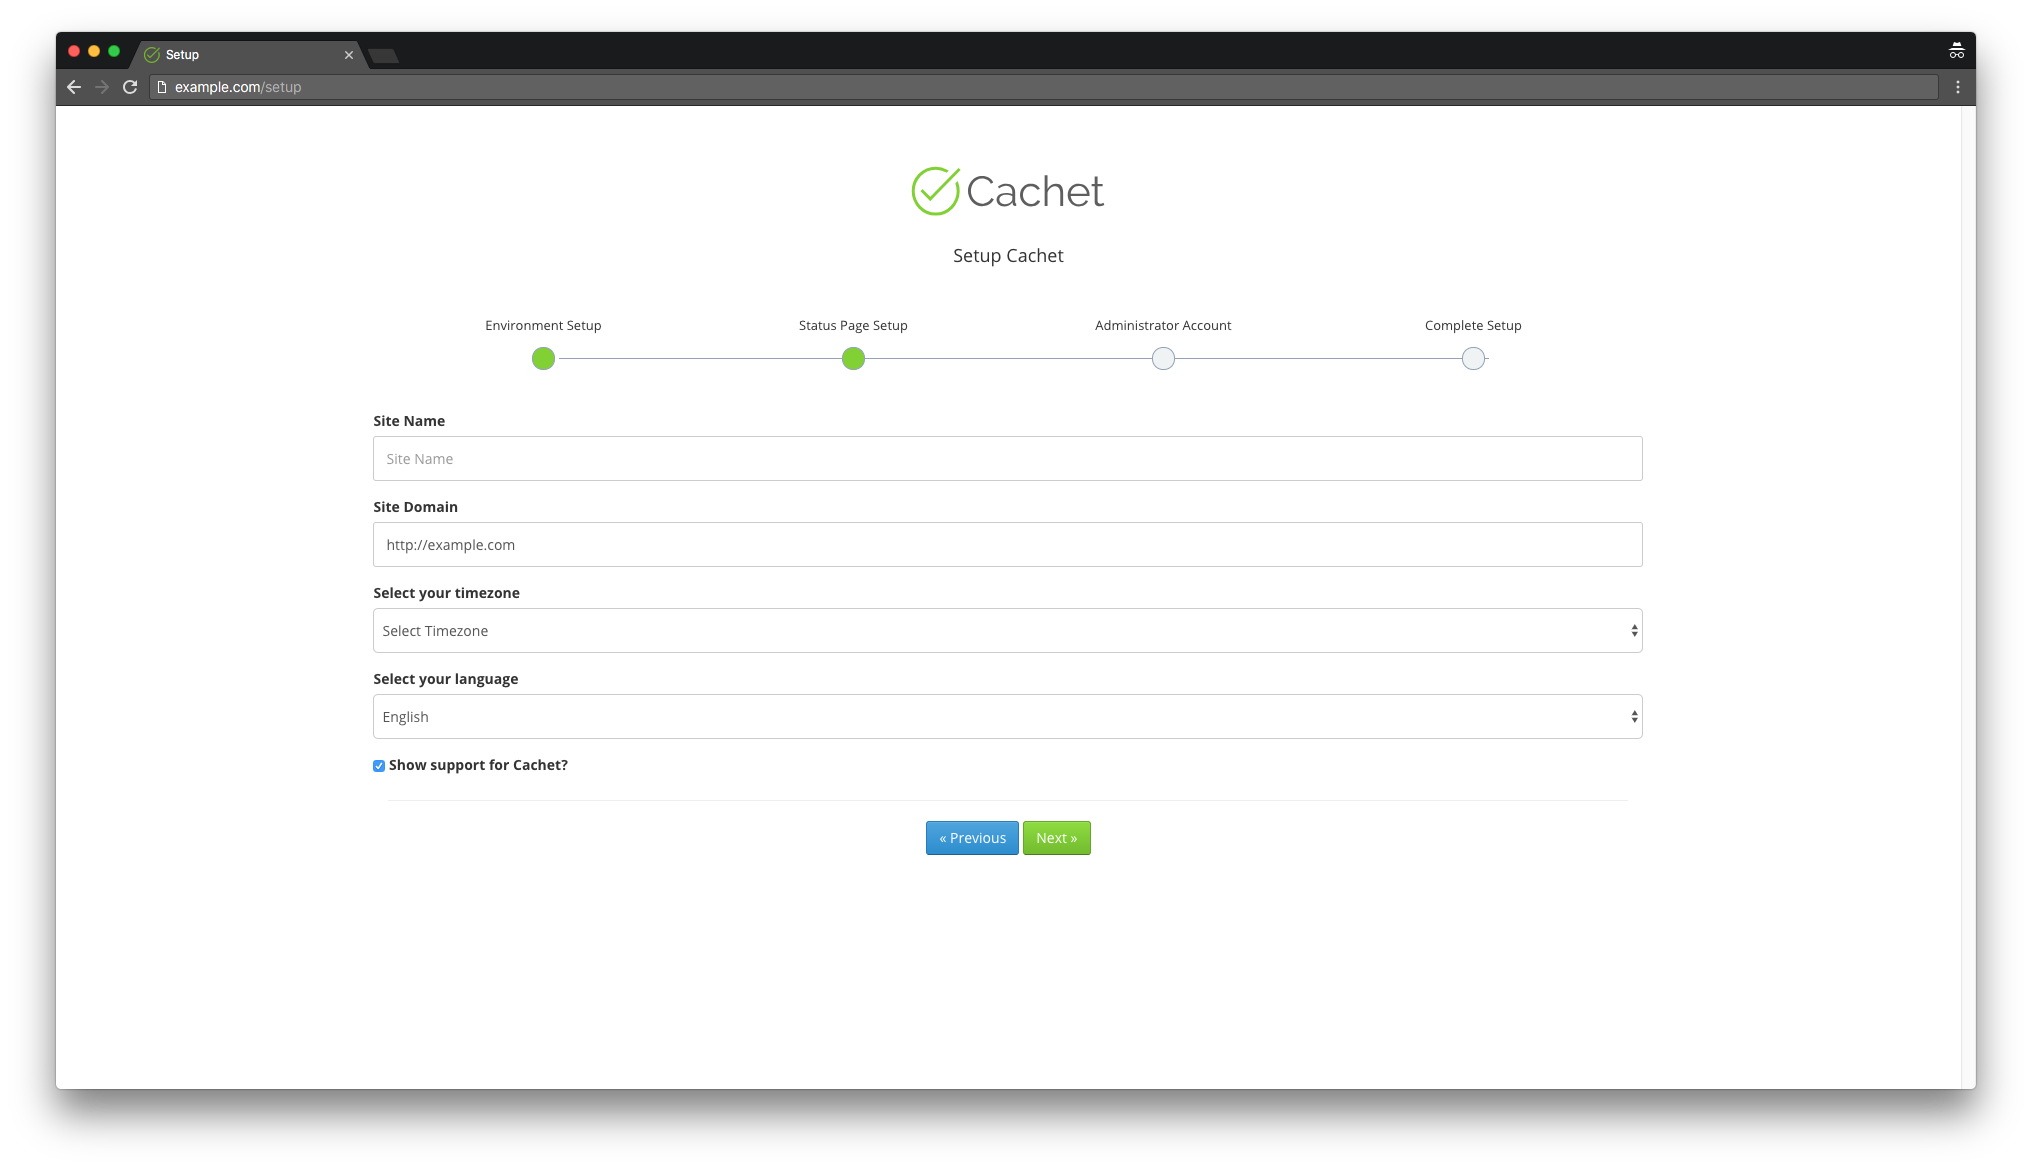
Set general site settings like the site name, domain, timezone, and language:
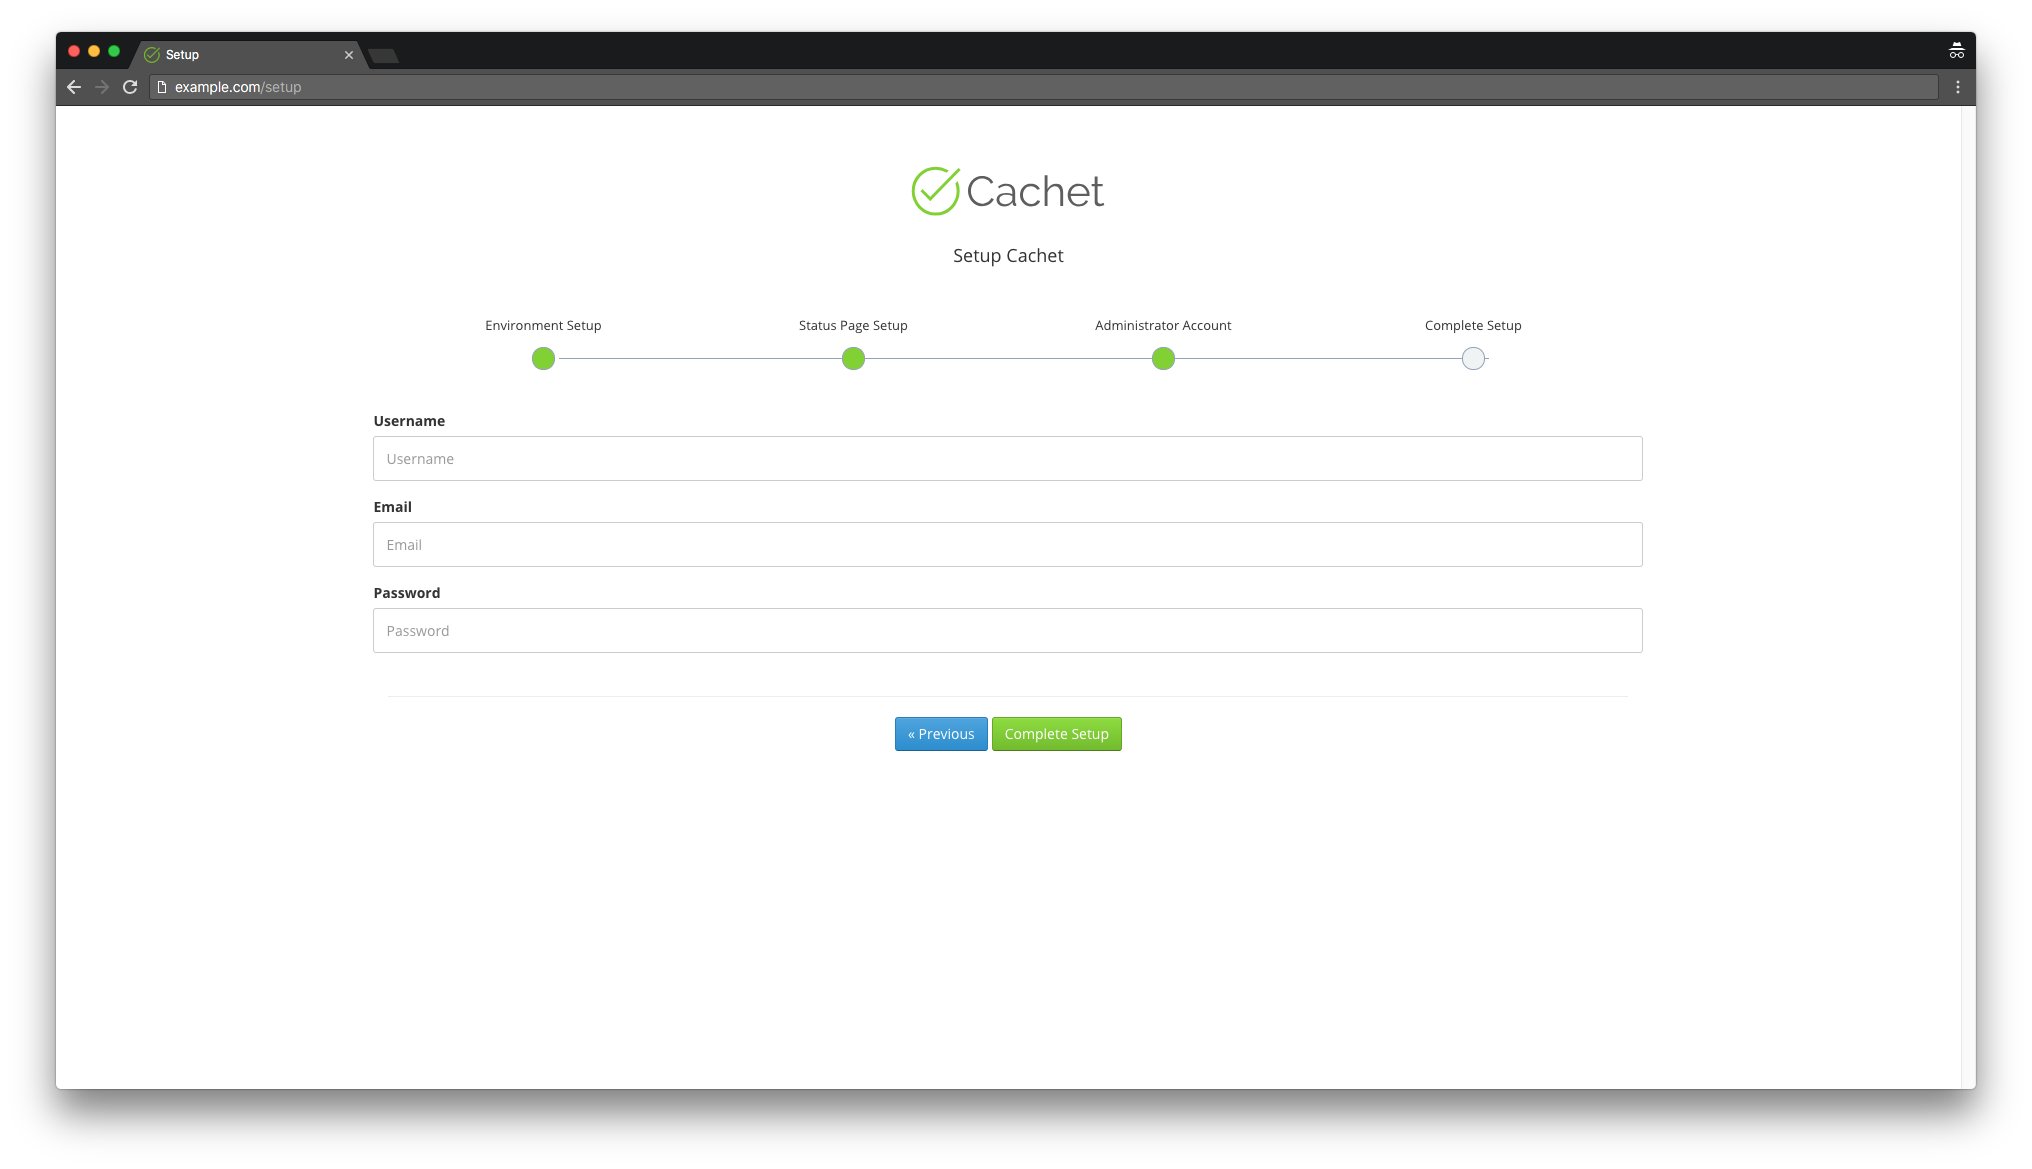
Create an admin account:
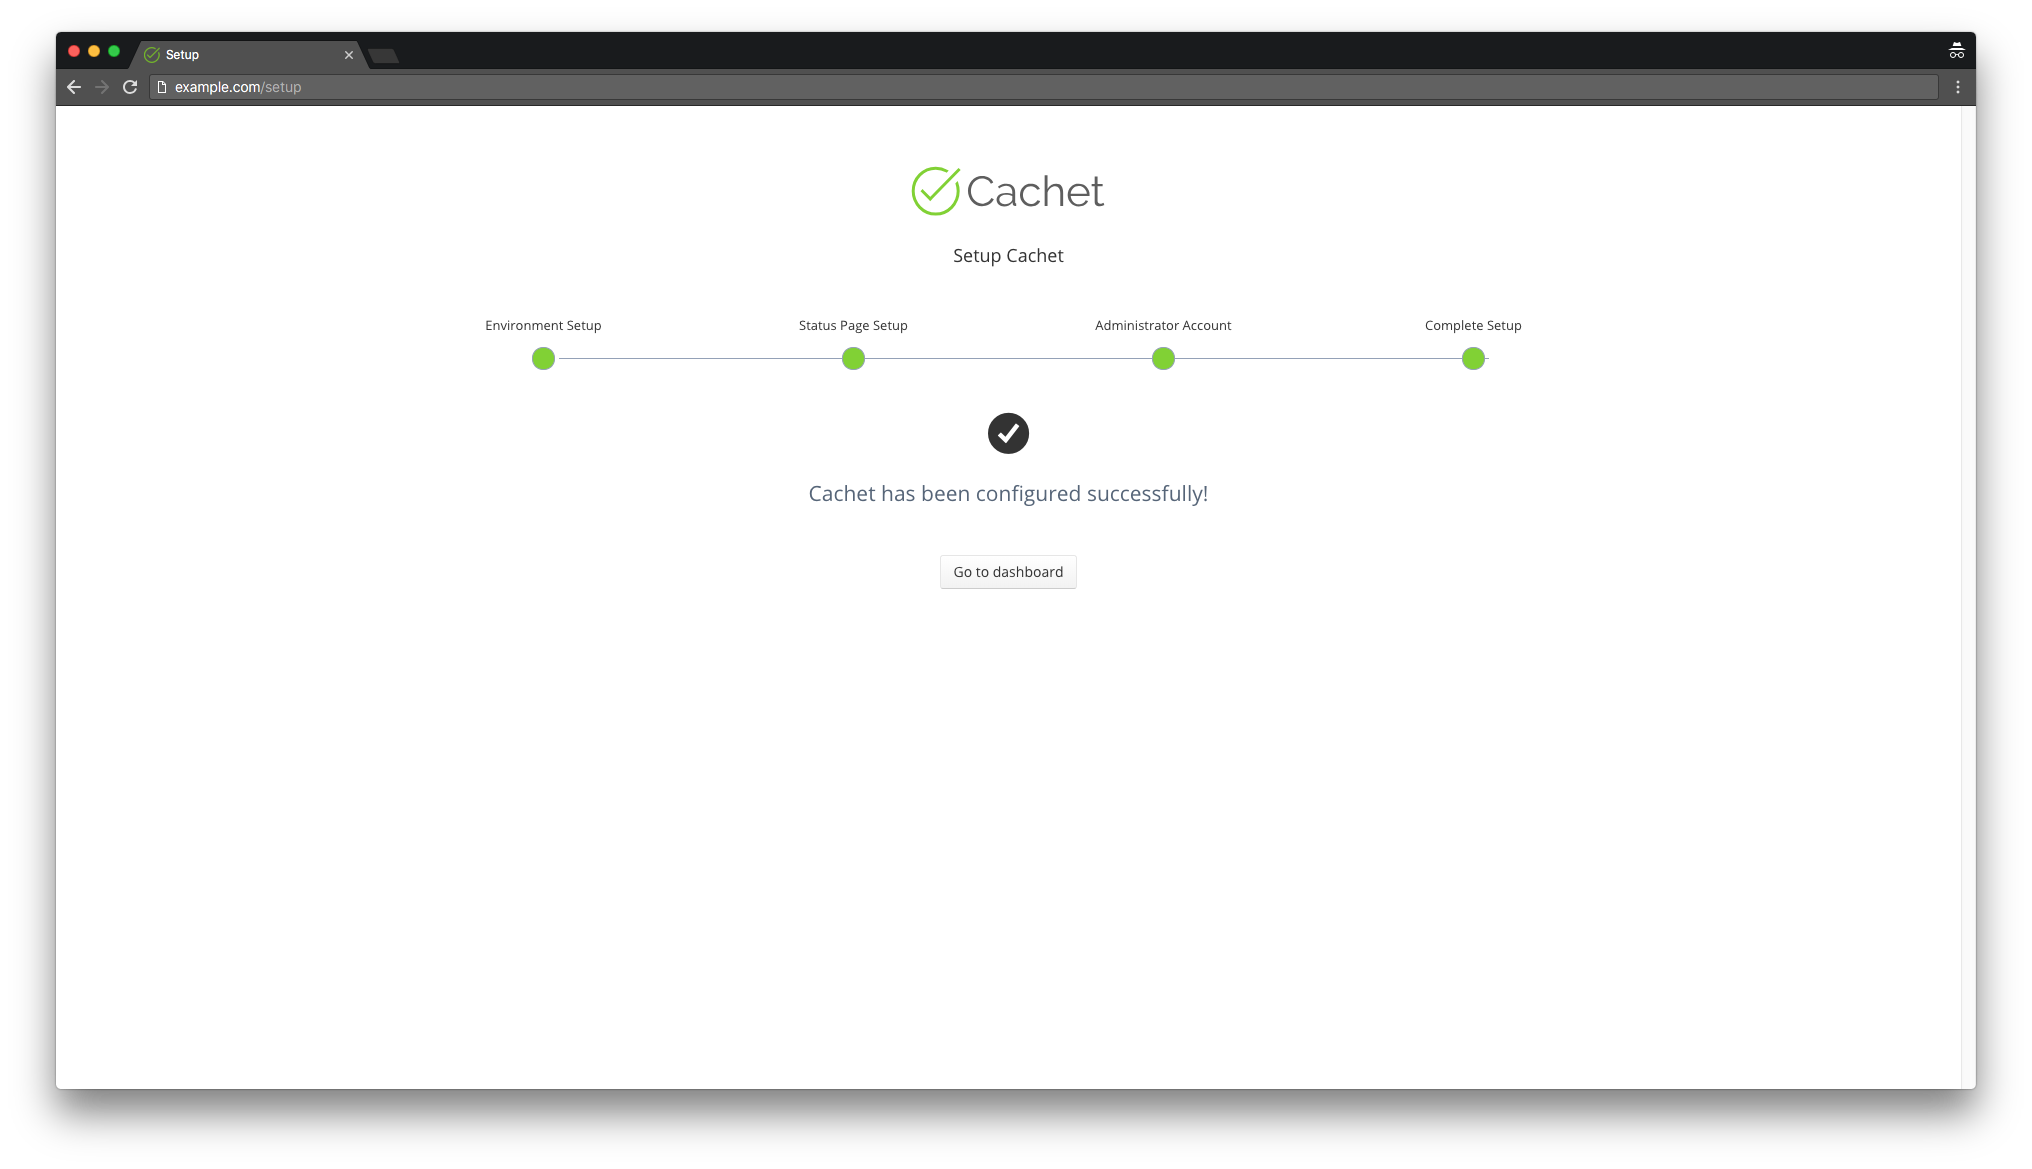
Once complete, you’ll receive a success message. Access the Cachet dashboard by clicking “Go to dashboard”:
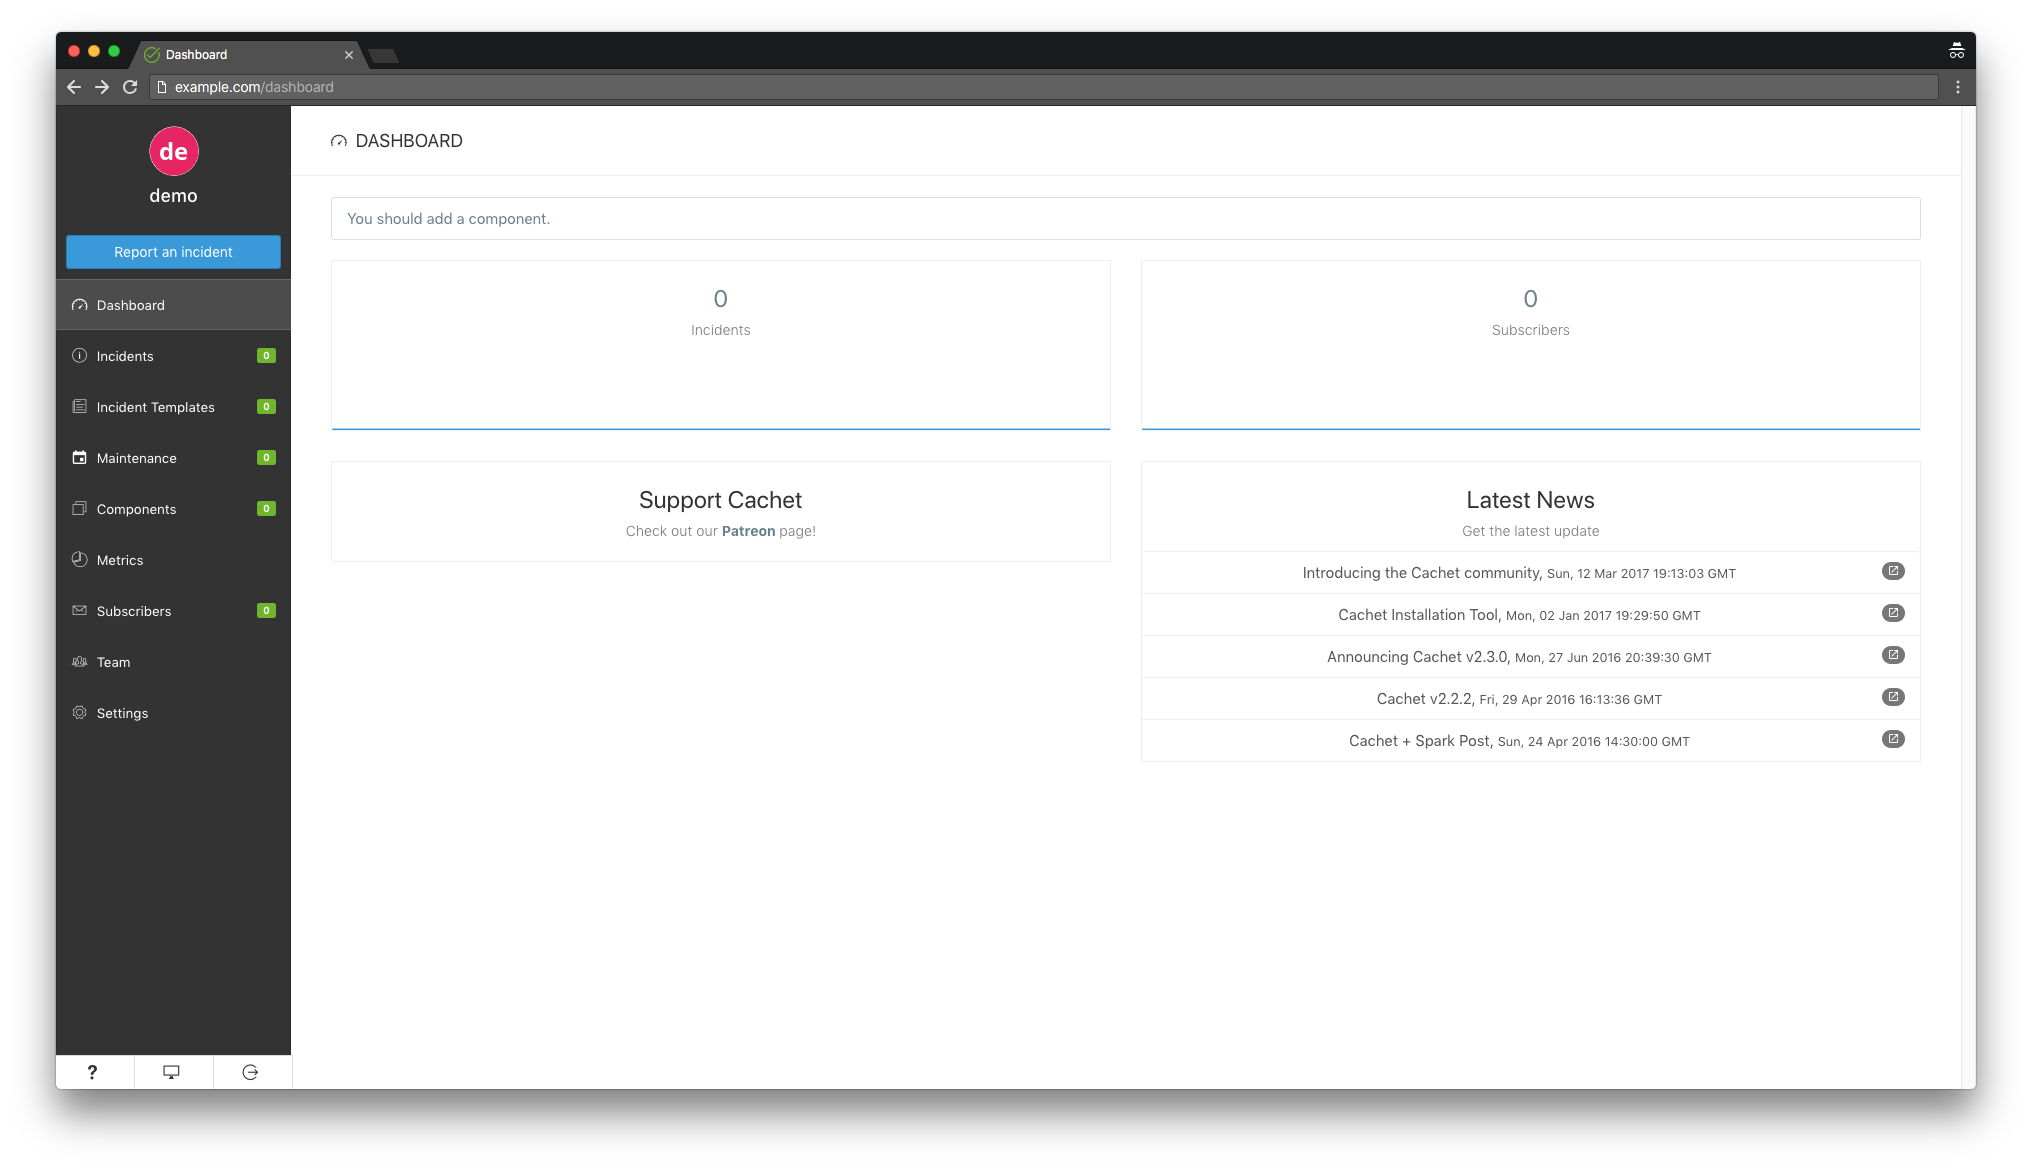
Congratulations! You’ve successfully completed the Cachet installation and setup.
To access the Cachet dashboard, append /dashboard to your website URL.
Links
Frequently Asked Questions (FAQ)
What is Cachet?
Cachet is an open-source platform that allows you to communicate downtime and system failures to your customers, teams, and stakeholders effectively.
Which PHP version is required for Cachet?
Cachet requires PHP version 7.1 or greater for installation.
What databases are supported by Cachet?
Cachet supports MySQL, MariaDB, PostgreSQL, and SQLite databases.
Is it necessary to secure my site with HTTPS for Cachet?
While it’s not mandatory, we highly recommend securing your site with HTTPS to safeguard traffic and enhance security.
How can I access the Cachet dashboard post-installation?
To access the Cachet dashboard, append /dashboard to your website’s base URL.
