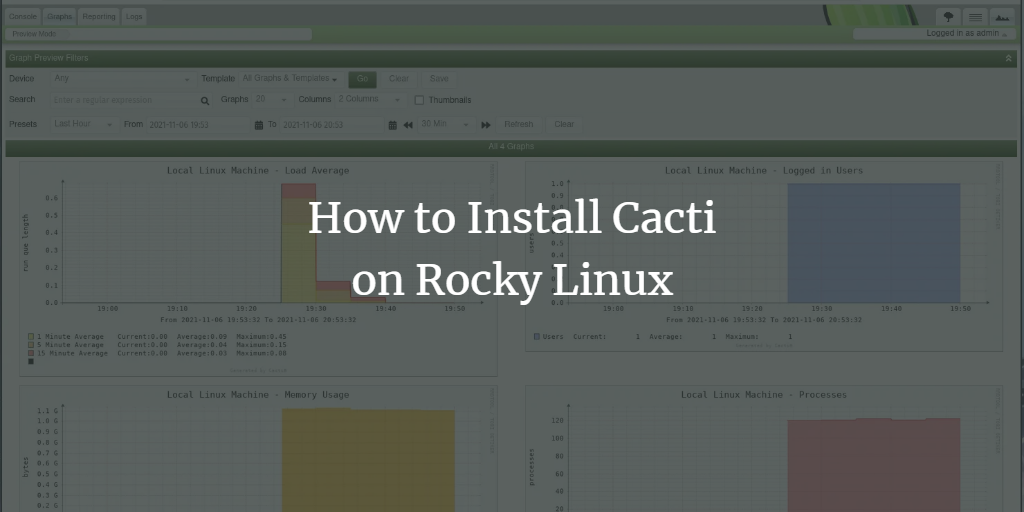
Cacti is a powerful, open-source web-based network monitoring tool built on PHP and MySQL. It relies on SNMP (Simple Network Management Protocol) to gather data from devices and the RRDtool (Round-robin Database Tool) to store data and generate graphs. This versatile tool is ideal for various businesses, particularly ISPs and dedicated server providers, due to its extensive hardware monitoring capabilities and multi-user support.
Prerequisites
This guide will help you install Cacti on a Rocky Linux system. Since Cacti requires PHP and MySQL, these packages will also be installed alongside the httpd web server. The example environment for this installation follows:
- OS: Rocky Linux 8.4 (Green Obsidian)
- Server IP address: 192.168.1.10
- Sudo root privilege
Let’s begin installing the Cacti monitoring tool.
Installing Package Dependencies
Begin by installing the necessary package dependencies for Cacti. Ensure all commands are executed with root or sudo privileges.
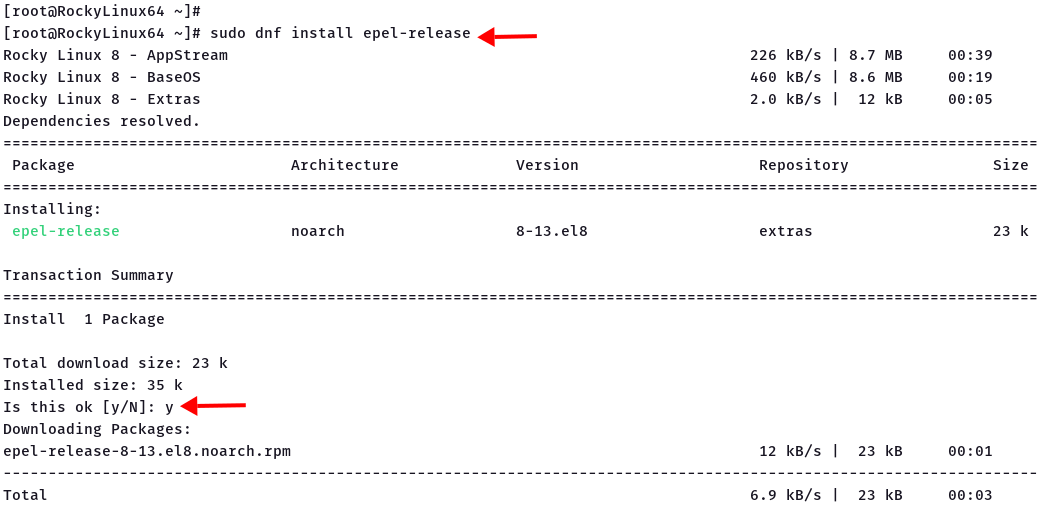
Step 1: Add the EPEL (Extra Packages for Enterprise Linux) repository.
sudo dnf install epel-release
Step 2: Install the httpd web server.
sudo dnf install httpd -y
sudo systemctl enable --now httpd
sudo systemctl is-enabled httpd

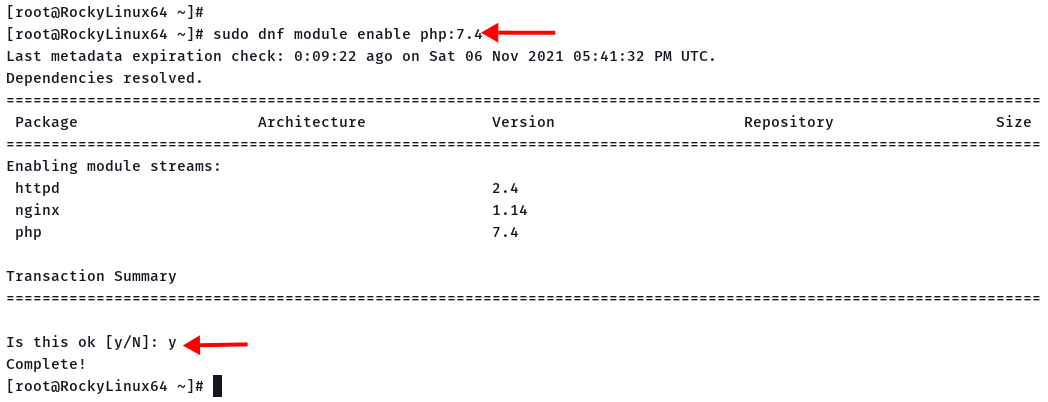
Step 3: Install PHP version 7.4 and related packages.
dnf module enable php:7.4
sudo dnf install -y php php-xml php-session php-sockets php-ldap php-gd php-json php-mysqlnd php-gmp php-mbstring php-posix php-snmp php-intl
nano /etc/php.ini
  date.timezone = Europe/Amsterdam
  memory_limit = 512M
  max_execution_time = 60
sudo systemctl restart httpd
Step 4: Install SNMP and RRDtool.
sudo dnf install -y net-snmp net-snmp-utils net-snmp-libs rrdtool -y
sudo systemctl enable --now snmpd
sudo systemctl is-enabled snmpd

Installing and Configuring MariaDB
Step 1: Install MariaDB packages.
sudo dnf install -y @mariadb
Step 2: Configure MariaDB with Cacti requirements.
cd /etc/my.cnf.d/
nano mariadb-server.cnf
  character-set-server=utf8mb4
  collation-server=utf8mb4_unicode_ci
  innodb_file_format = Barracuda
  max_heap_table_size=32M
  tmp_table_size=32M
  join_buffer_size=64M
  # 25% Of Total System Memory
  innodb_buffer_pool_size=1GB
  # pool_size/128 for less than 1GB of memory
  innodb_buffer_pool_instances=10
  innodb_flush_log_at_timeout=3
  innodb_large_prefix=1
  innodb_read_io_threads=32
  innodb_write_io_threads=16
  innodb_io_capacity=5000
  innodb_io_capacity_max=10000
  log-error = /var/log/mariadb/mariadb-error.log
  log-queries-not-using-indexes = 1
  slow-query-log = 1
  slow-query-log-file = /var/log/mariadb/mariadb-slow.log
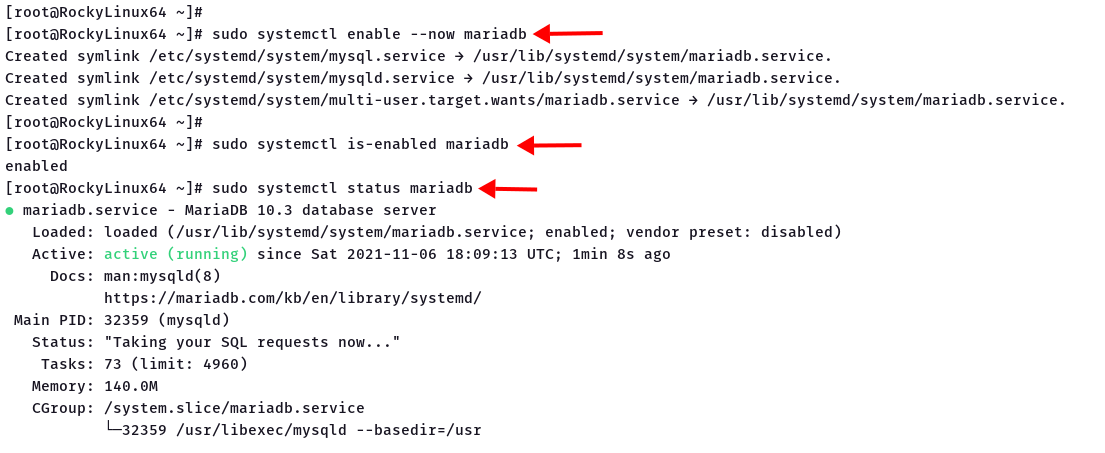
Step 3: Start and enable the MariaDB service.
sudo systemctl enable --now mariadb
sudo systemctl is-enabled mariadb
sudo systemctl status mariadb
Step 4: Populate time zone tables to the database.
mysql_tzinfo_to_sql /usr/share/zoneinfo | mysql -u root -p mysql
Create New Database and User for Cacti
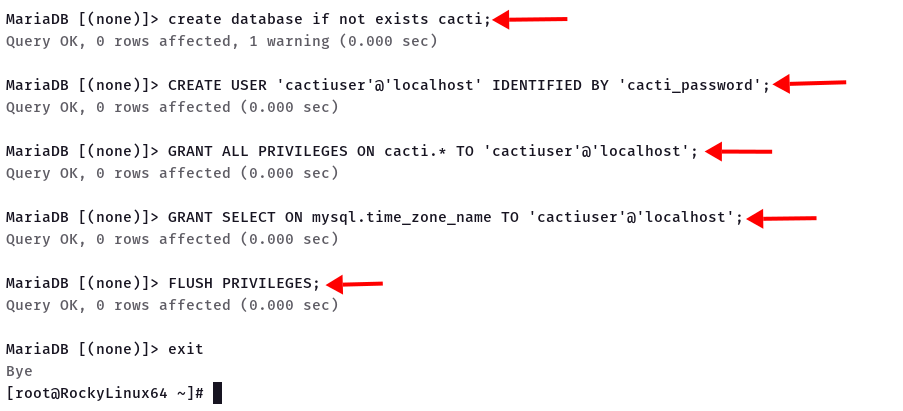
Step 1: Log in to MySQL and create a Cacti database.
mysql -u root -p
create database if not exists cacti;
Step 2: Create a cactiuser and grant permissions.
  CREATE USER 'cactiuser'@'localhost' IDENTIFIED BY 'cacti_password';
  GRANT ALL PRIVILEGES ON cacti.* TO 'cactiuser'@'localhost';
  GRANT SELECT ON mysql.time_zone_name TO 'cactiuser'@'localhost';
  FLUSH PRIVILEGES;
  exit
Installing and Configuring Cacti
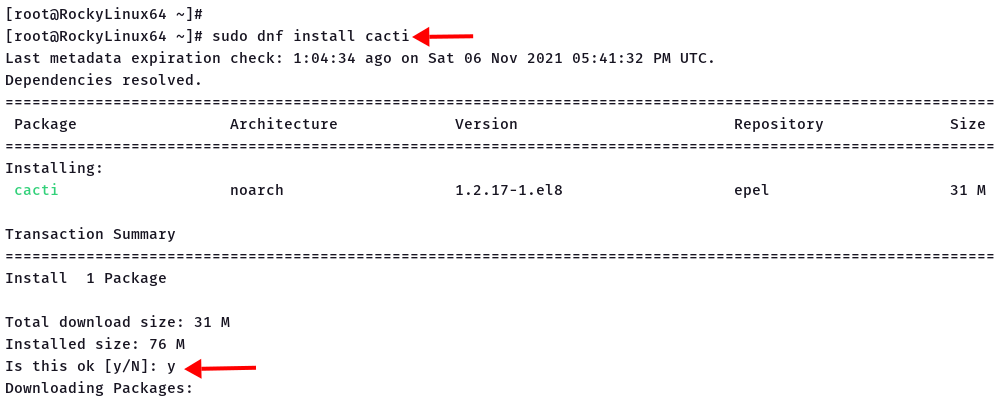
Step 1: Install Cacti from the EPEL repository.
sudo dnf install cacti
Step 2: Import the Cacti database schema.
mysql -u cactiuser -p cacti < /usr/share/doc/cacti/cacti.sql
Step 3: Configure /usr/share/cacti/include/config.php.
nano /usr/share/cacti/include/config.php
  $database_type = 'mysql';
  $database_default = 'cacti';
  $database_hostname = 'localhost';
  $database_username = 'cactiuser';
  $database_password = 'cacti_password';
  $database_port = '3306';
Step 4: Allow external access in /etc/httpd/conf.d/cacti.conf.
nano /etc/httpd/conf.d/cacti.conf
Require all granted
Step 5: Enable the Cacti poller in /etc/cron.d/cacti.
nano /etc/cron.d/cacti
*/5 * * * * apache /usr/bin/php /usr/share/cacti/poller.php > /dev/null 2>&1
Step 6: Adjust the firewall to allow HTTP connections.
firewall-cmd add-service=http --permanent
firewall-cmd --reload
Cacti Installation Wizard
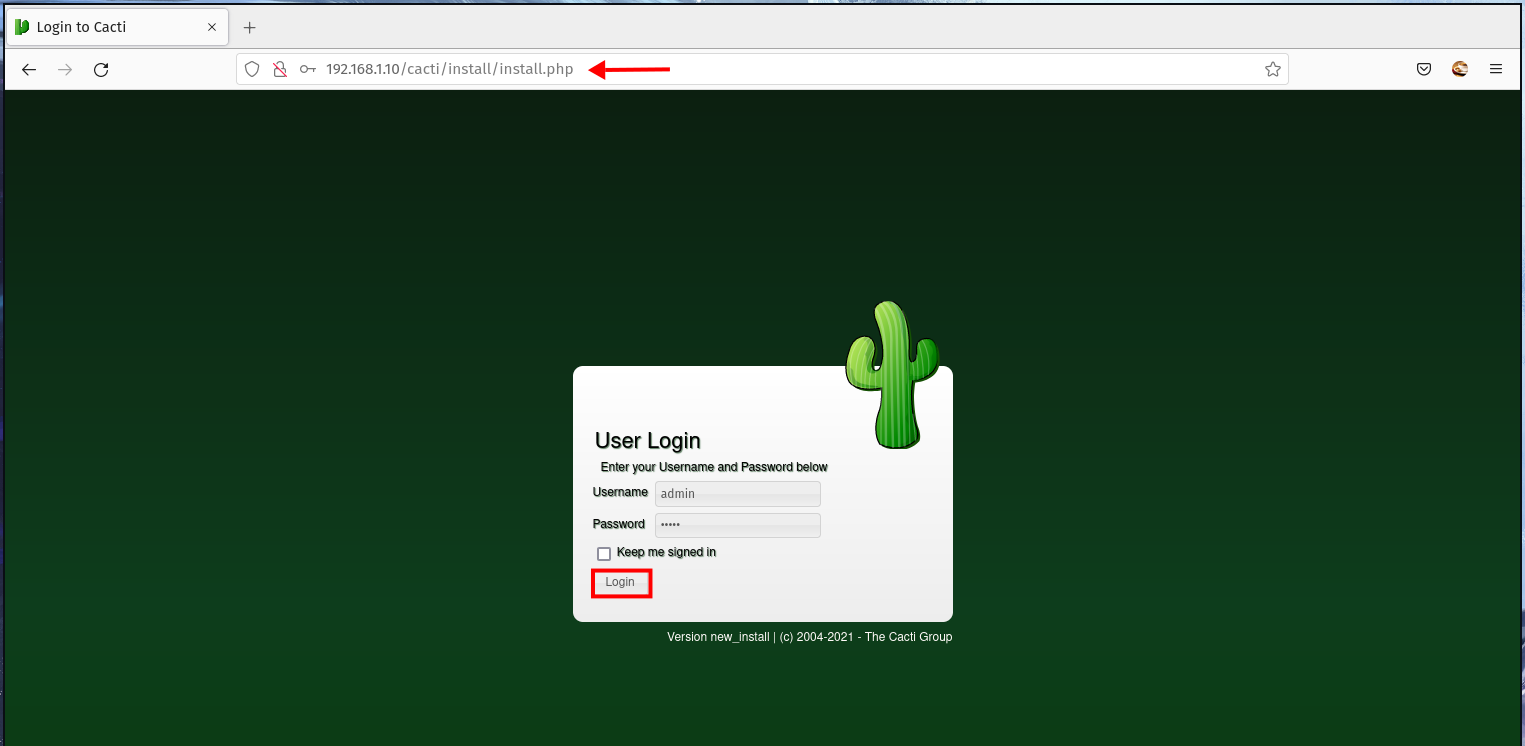
Open your browser and navigate to: http://192.168.1.10/cacti/
Step 1: Log in with username admin and password admin.
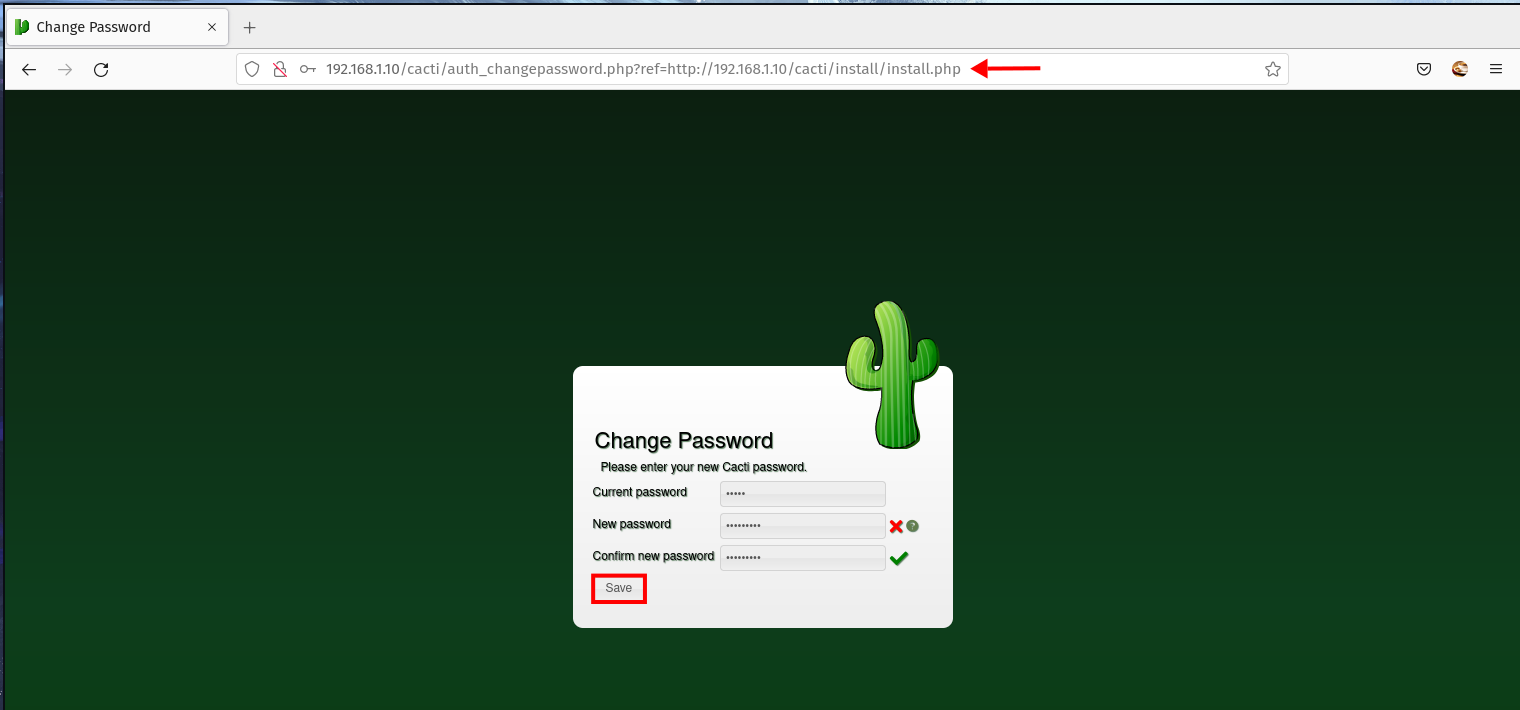
Step 2: Change the default password.
Step 3-10: Follow the wizard’s prompts for license agreement, system checks, server type selection, directory and permissions checks, binary path setup, input whitelist validation, profile setup, and template configuration.
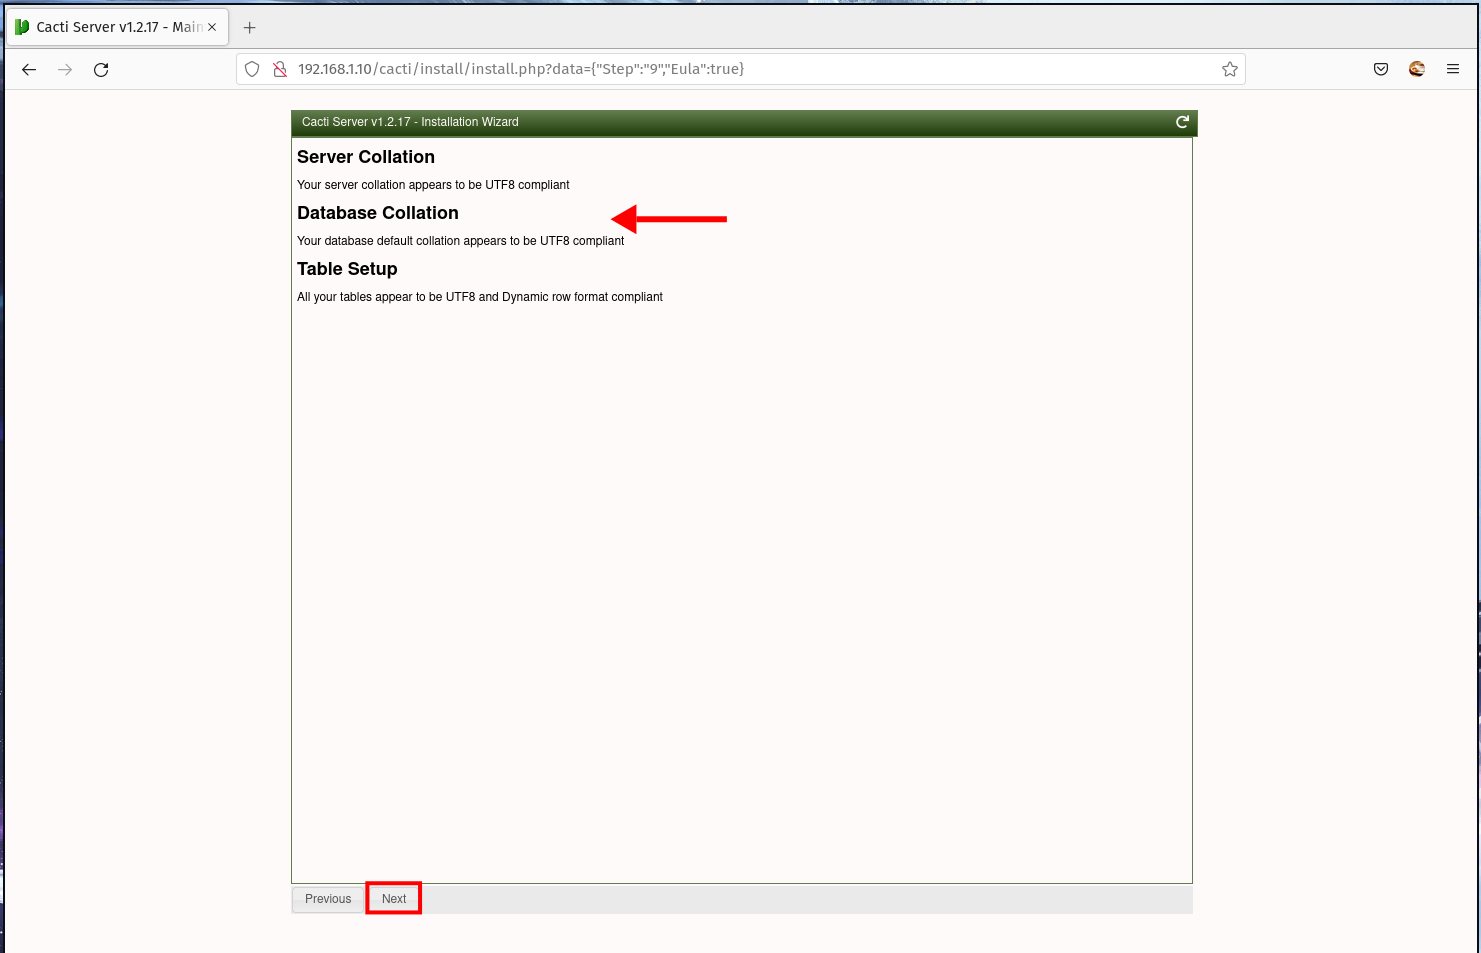
Step 11: Verify system localization and database localization checks.
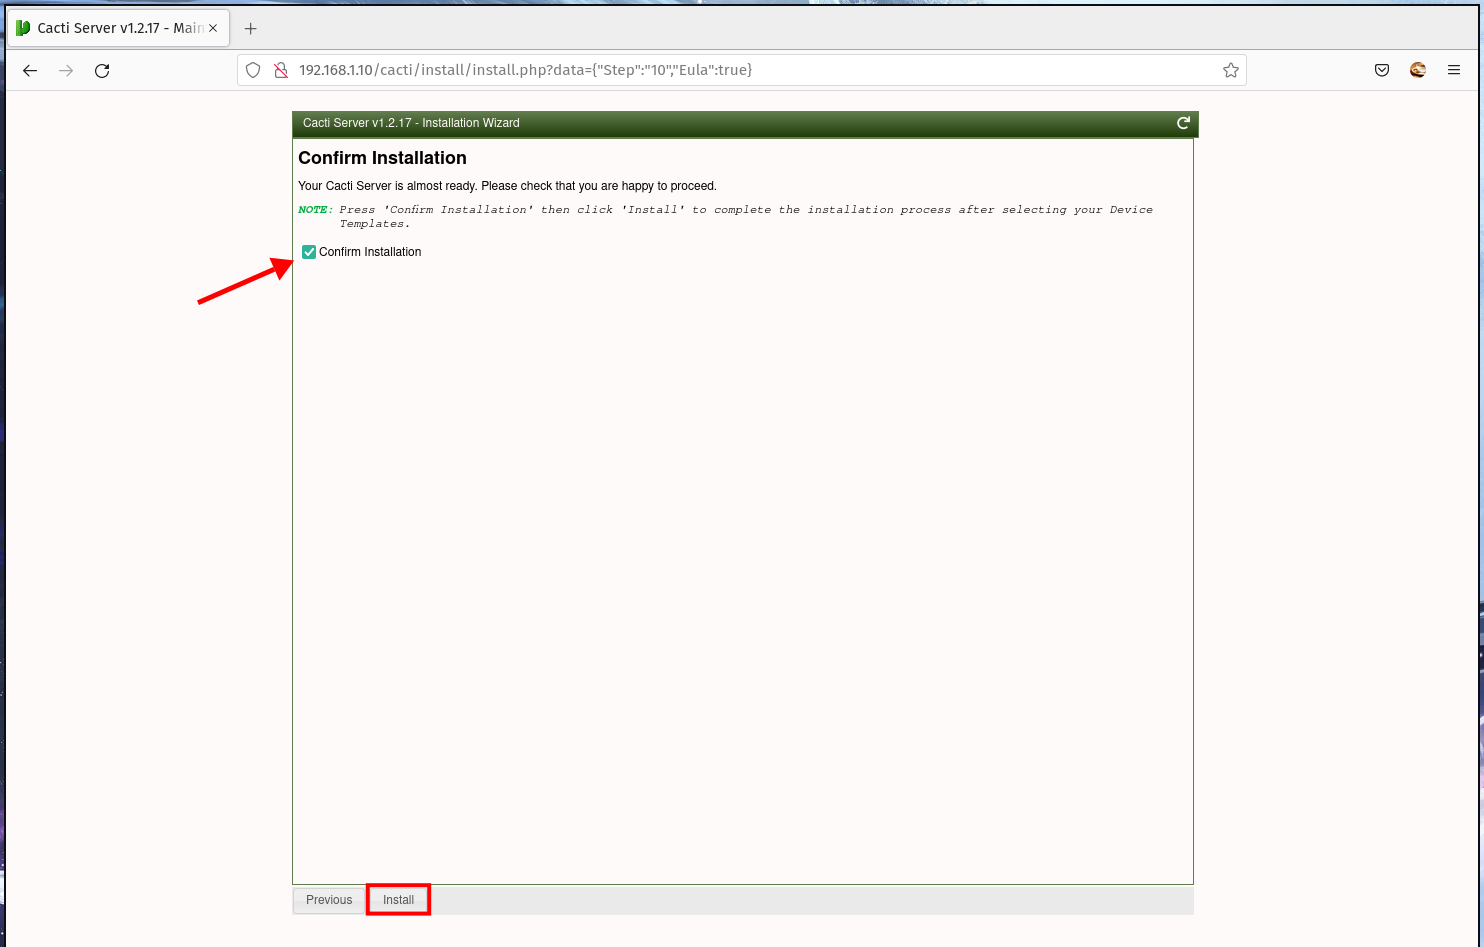
Step 12: Confirm installation and click Install.
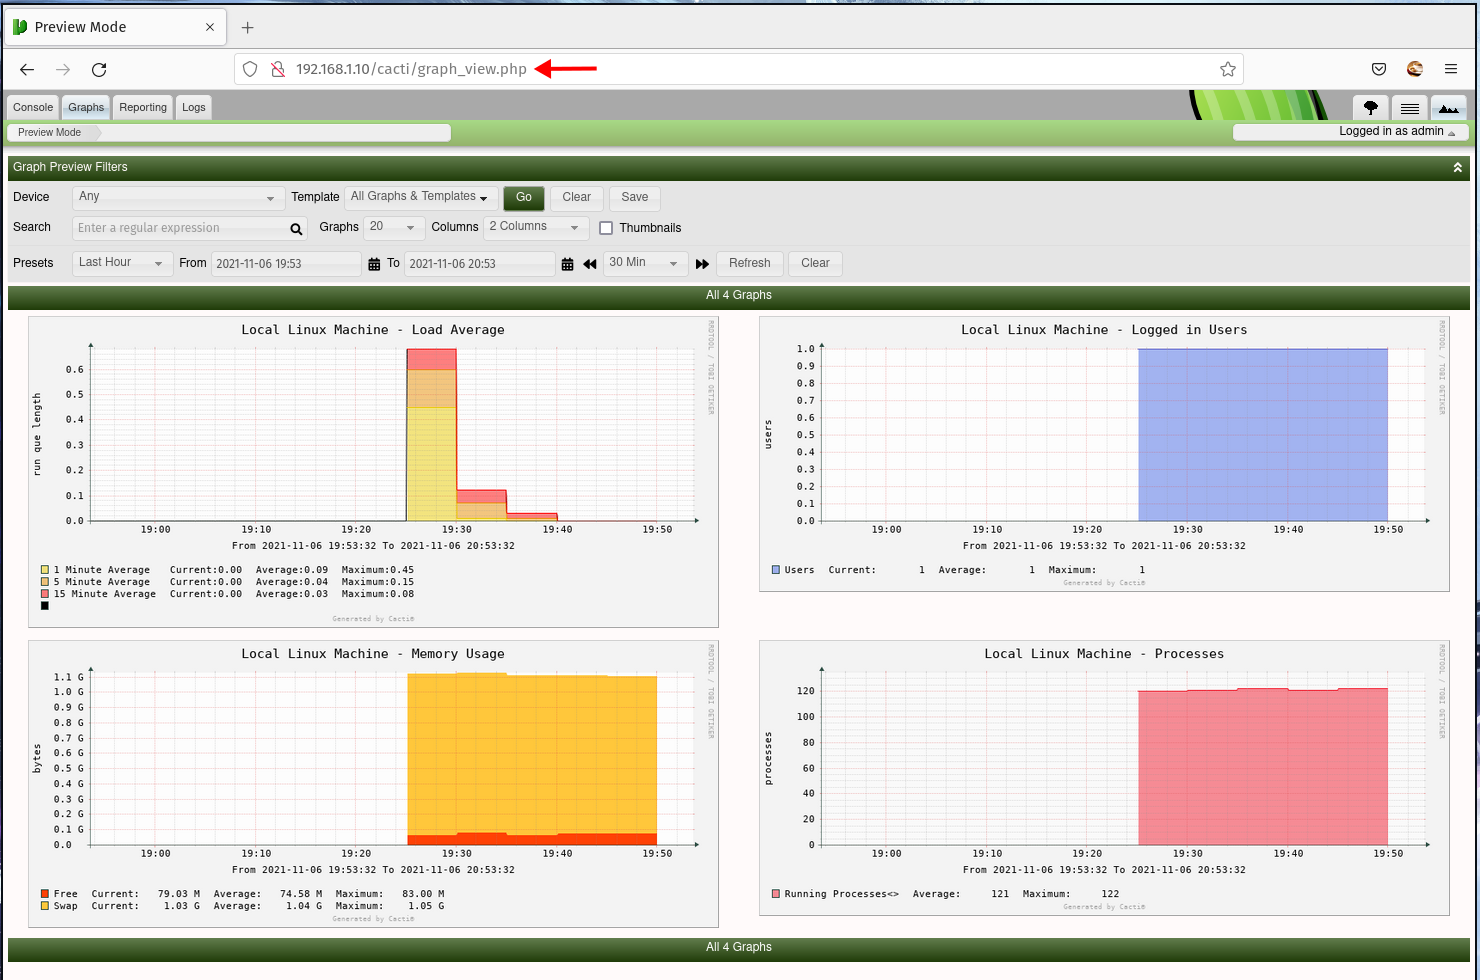
Step 13-16: Complete installation and wait for data collection. Verify graphs on the Cacti dashboard.
Conclusion
Congratulations! You’ve successfully installed the Cacti monitoring tool on a Rocky Linux system. As a next step, consider setting up ‘spine’, a multi-threaded Data Collector for Cacti, and adding new hosts or devices to monitor.
Frequently Asked Questions
What is Cacti?
Cacti is an open-source, web-based network monitoring and graphing tool designed to harness SNMP for data gathering and RRDtool for data storage and graphical representation.
What are the prerequisites for installing Cacti?
Cacti requires a compatible web server (such as Apache or Nginx), PHP, MySQL, EPEL repository, SNMP, and RRDtool to function correctly. This guide explains how to install each on a Rocky Linux system.
How do I access the Cacti installation wizard?
Once the installation is complete, access the Cacti installation wizard by opening your web browser and navigating to http:///cacti/. Use the default credentials (username ‘admin’, password ‘admin’) to log in.
Why is configuring SELinux or the firewall necessary for Cacti?
Configuring SELinux or your server’s firewall ensures that necessary ports are open for Cacti to function properly, allowing external access to the dashboard.
What should I do if I encounter errors during installation?
If you encounter errors, refer to the output during installation for specific issues. Check log files for additional error messages and ensure all dependencies are correctly installed and configured. The FAQ section on Cacti’s official website and their community forums can also be helpful resources for troubleshooting.
