Cacti is a robust, open-source, web-based network monitoring solution that excels in providing comprehensive graphics and analysis tools. It features a fast poller, advanced graph template creation, and supports multiple data collection methods. As a complete front-end for RRDTool, Cacti efficiently stores all necessary information about monitoring devices to generate informative graphics and populate them using a MySQL database.
In this tutorial, we will guide you through the process of installing Cacti on Debian Buster 10. We’ll set up Cacti using a LAMP stack comprising the Apache web server, PHP 7.3, and the MariaDB server on Debian Buster 10.
Prerequisites
This guide assumes you have a Debian system with at least 1 GB RAM, 25 GB of free disk space, and 2 CPUs. You should also have sudo root privileges to install packages and modify configuration settings on the system.
Installation Overview
- Install Apache Web Server
- Install and Configure MariaDB Server
- Install and Configure PHP 7.3
- Install Additional Packages
- Install Cacti on Debian 10
- Test the Installation
Step 1 – Install Apache Web Server
Begin by installing the Apache web server on the Debian 10 server.
First, update all repositories on the Debian system and install Apache2 packages with the following command:
sudo apt update
sudo apt install apache2 apache2-utils
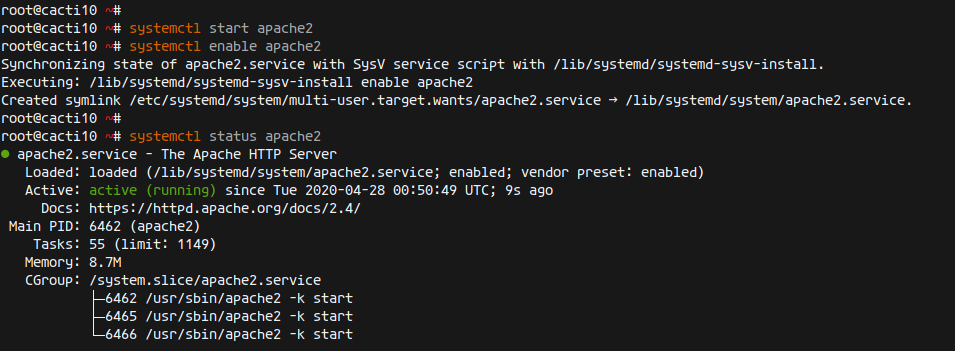
After installation completes, start the Apache2 service and enable it to start on boot:
systemctl start apache2
systemctl enable apache2
Verify that the Apache2 web server is up and running:
systemctl status apache2
Step 2 – Install MariaDB
In this step, install and configure the MariaDB database server.
Install MariaDB using:
sudo apt install mariadb-server
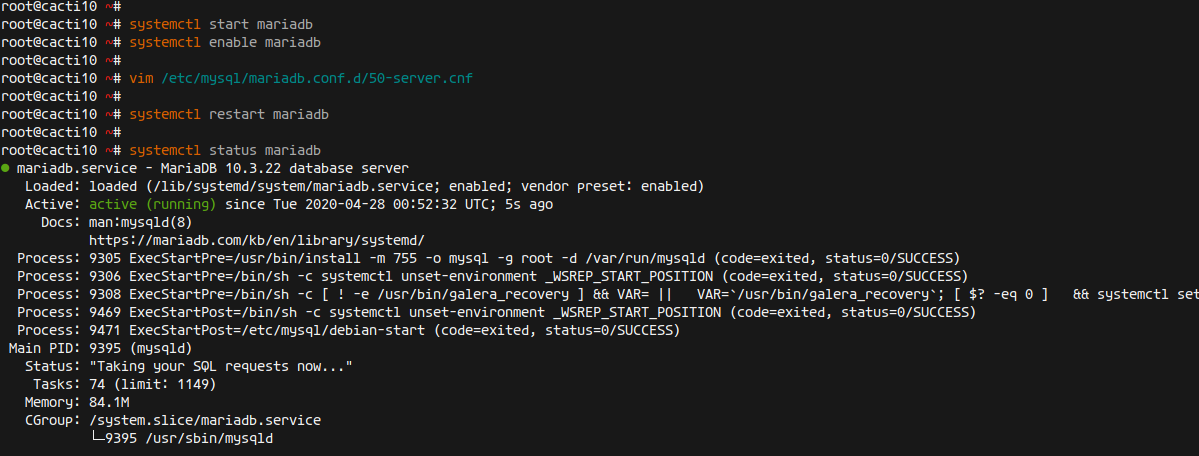
Start MariaDB and set it to run at boot:
systemctl start mariadb
systemctl enable mariadb
Configure MariaDB for Cacti installation by editing ‘/etc/mysql/mariadb.conf.d/50-server.cnf’:
vim /etc/mysql/mariadb.conf.d/50-server.cnf
Add the following under the ‘[mysqld]’ section:
[mysqld]
...
collation-server = utf8mb4_unicode_ci
character-set-server  = utf8mb4
innodb_flush_log_at_timeout = 4
innodb_read_io_threads = 34
innodb_write_io_threads = 17
max_heap_table_size = 70M
tmp_table_size = 70M
join_buffer_size = 130M
innodb_buffer_pool_size = 250M
innodb_io_capacity = 5000
innodb_io_capacity_max = 10000
innodb_file_format = Barracuda
innodb_large_prefix = 1
...
Save and exit the configuration file.
Restart MariaDB and check that it starts without errors:
systemctl restart mariadb
systemctl status mariadb
Step 3 – Install PHP 7.3
Install PHP 7.3 and necessary packages for Cacti:
sudo apt install php php-common php-mysql php-snmp php-xml php-mbstring php-json php-gd php-gmp php-zip php-ldap php-pear php-php-gettext php-phpseclib php-twig
Navigate to the PHP configuration directory:
cd /etc/php/7.3/
Edit the ‘php.ini’ files for Apache2 and cli to set the correct timezone and additional configurations:
vim apache2/php.ini
vim cli/php.ini
Uncomment and set the ‘date.timezone’ option with your timezone:
date.timezone = Asia/Singapore
Set ‘cgi.fix_pathinfo’ to ‘0’:
cgi.fix_pathinfo = 0
Save, exit the editor, and restart Apache2 to apply the changes:
systemctl restart apache2

Step 4 – Install SNMP and RRDTool
Install SNMP and RRDTool to facilitate management and display of network statistics:
sudo apt install snmp php-snmp rrdtool librrds-perl
Step 5 – Install Cacti
Cacti and Cacti-spine packages are available in the Debian repository. Install them using:
sudo apt install cacti cacti-spine
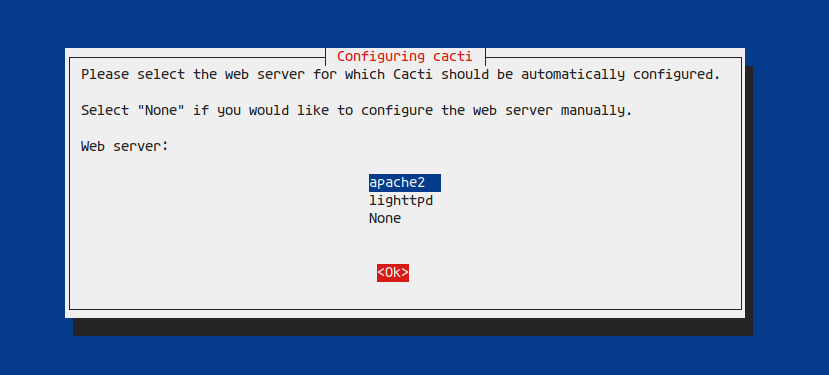
During setup, choose ‘apache2’ as your web server and select ‘Yes’ for dbconfig-common setup:
Provide the database configuration password and the Cacti admin password. Confirm them to continue.

Step 6 – Testing Cacti Installation
To test your installation, open your web browser and visit:
http://serverip/cacti/
You should see the Cacti login page:
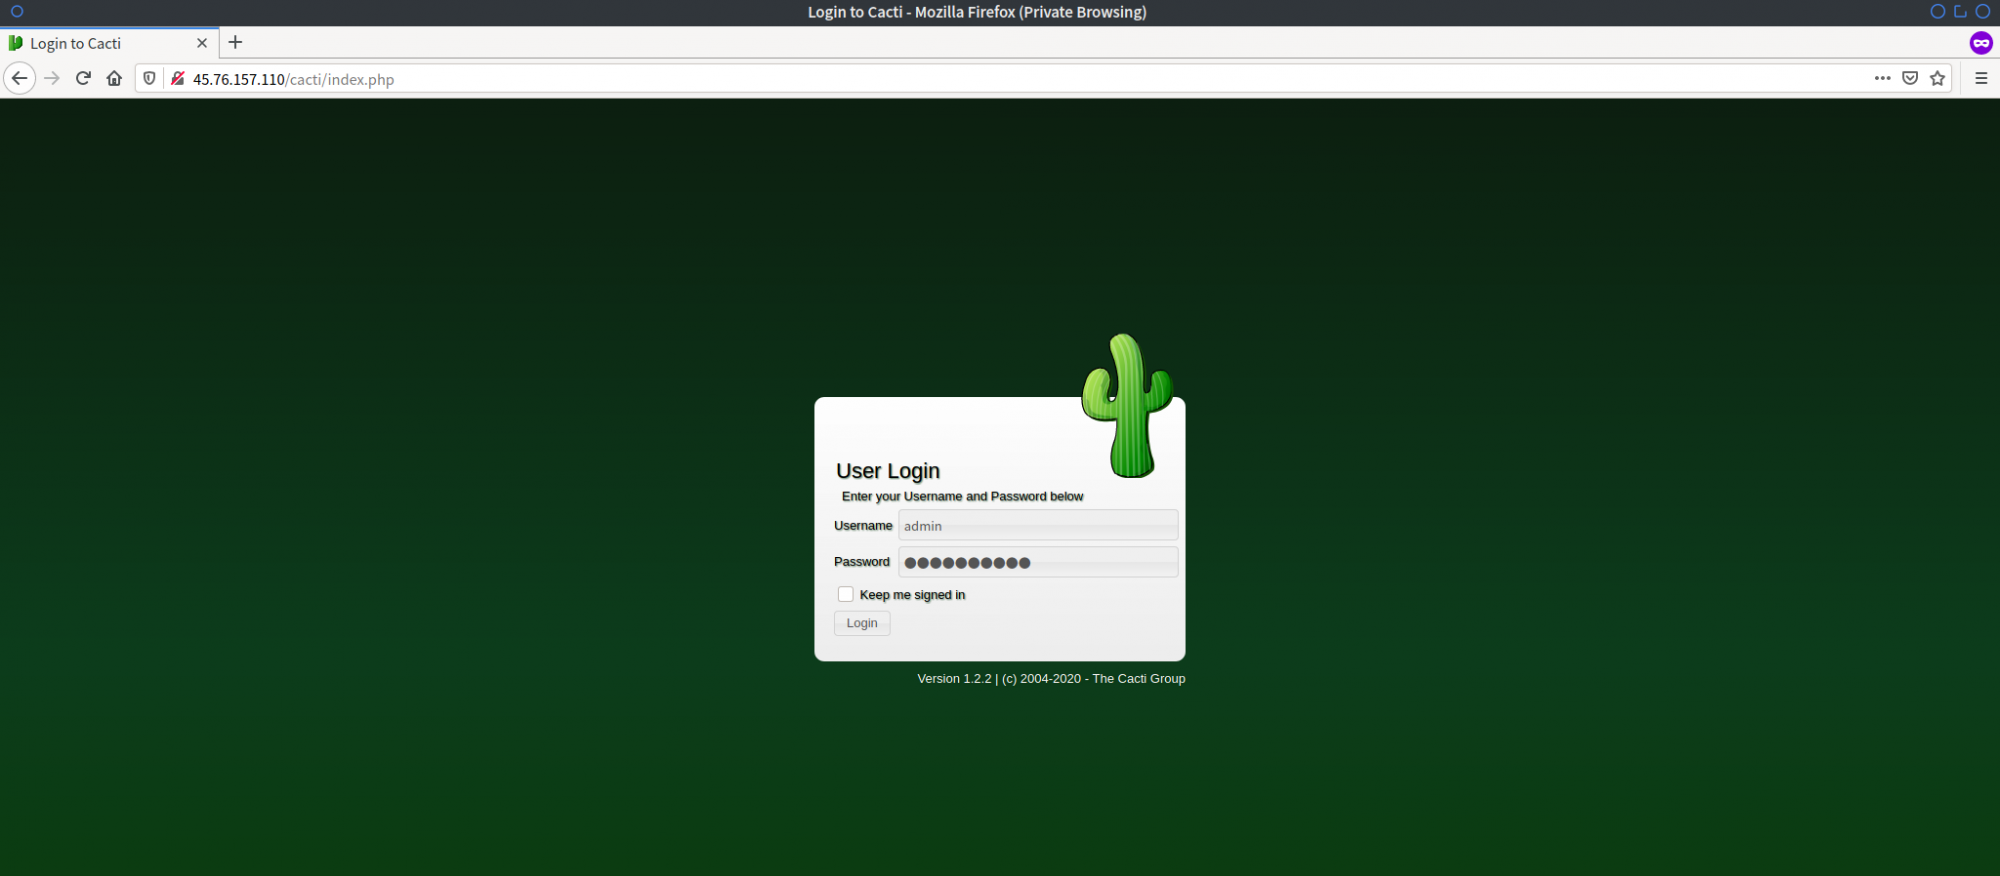
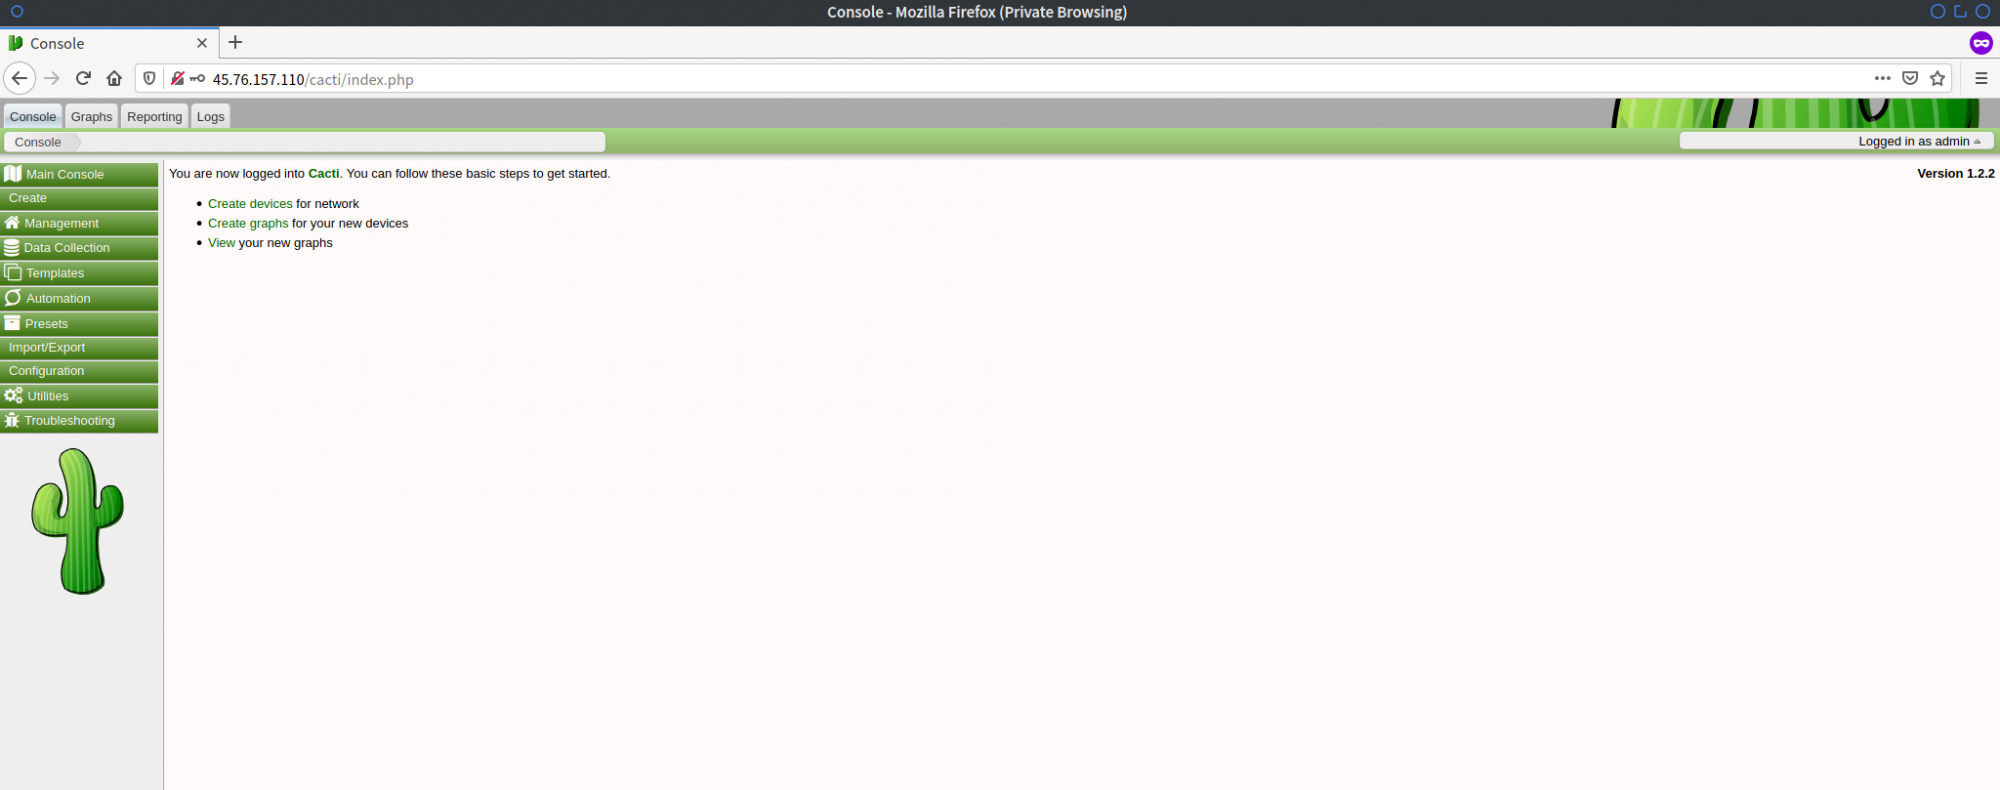
Log in using ‘admin’ and the password you configured. You will then access the Cacti Admin Dashboard:
FAQ
What is the default Cacti login credentials?
The default Cacti username is ‘admin’, and during installation or your first login, you will set the password.
How can I access Cacti after installation?
Open a web browser and navigate to http://serverip/cacti/, replacing ‘serverip’ with your server’s IP address.
What should I do if I encounter issues starting MariaDB after configuration?
Check your configuration file for syntax errors and ensure all services have been restarted correctly. Use systemctl status mariadb for troubleshooting.
Is it possible to install newer versions of PHP or MariaDB?
Yes, but you might need to add external repositories for these packages, which could require additional configuration steps not covered in this guide.
Can I host Cacti on a different web server other than Apache?
While this guide covers Apache, Cacti can also be configured with other web servers like Nginx, though further configuration might be necessary.
