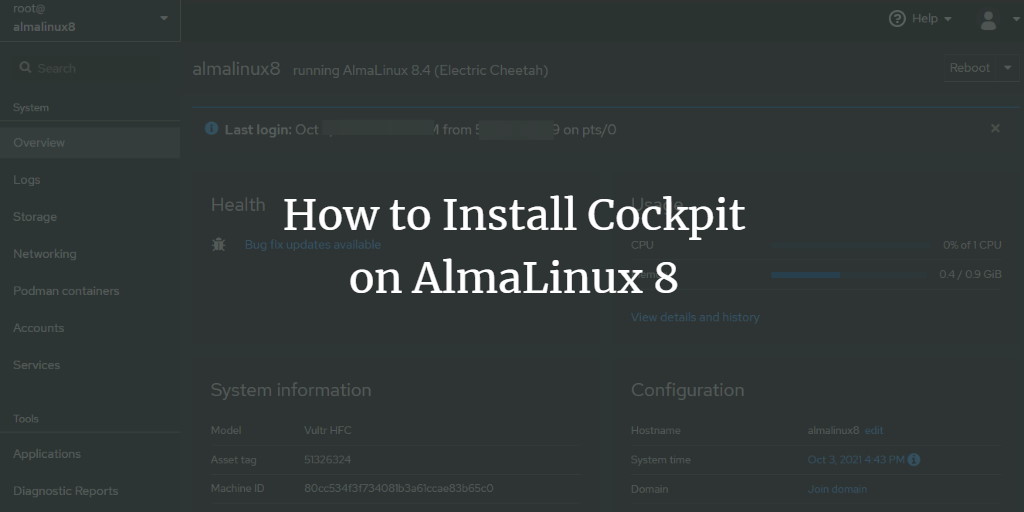
Linux Cockpit offers a user-friendly, browser-based interface for managing Linux systems, aiming to simplify and enhance the experience of system administration.
Cockpit serves as a handy alternative to command-line utilities (like top, free, htop, lsof, and iotop) for monitoring resources such as CPU, memory, disk I/O, and managing running processes. Additionally, it features a robust shell interface with command tab completion, akin to a conventional interactive shell session.
If you’re exploring Linux for home or business server use, installing Cockpit on your AlmaLinux 8 system can provide substantial insight and control over system components including the graphical interface, audio and network cards, printers, and more. This guide details the steps to install Cockpit, enabling you to reap its full benefits.
Prerequisites
- A server running AlmaLinux 8.
- Access to a non-root user account with sudo privileges.
- An internet connection for downloading packages.
Step 1: System Update
To ensure compatibility and performance, update your system with the latest packages. Log into your AlmaLinux server via SSH and execute the following commands:
sudo dnf update
sudo dnf install epel-release
Step 2: Install Cockpit
Cockpit is available in the default repository, making installation straightforward using the dnf package manager:
sudo dnf install cockpit -y
After installation, start and enable the Cockpit service to ensure it automatically launches at system boot:
sudo systemctl start cockpit.socket
sudo systemctl enable --now cockpit.socket
Confirm the service status to ensure Cockpit is running:
sudo systemctl status cockpit.socket
You should expect an output similar to the image below:

Step 3: Configure Firewall
Cockpit communicates using web sockets on port 9090 by default. Ensure your firewall rules are configured to allow this connection:
sudo firewall-cmd --permanent --zone=public --add-service=cockpit
sudo firewall-cmd --reload
Step 4: Access the Cockpit Web UI
Access the Cockpit Web UI by navigating to https://<IP ADDRESS>:9090 in a web browser (Google Chrome or Firefox is recommended), replacing <IP ADDRESS> with your server’s IP address.
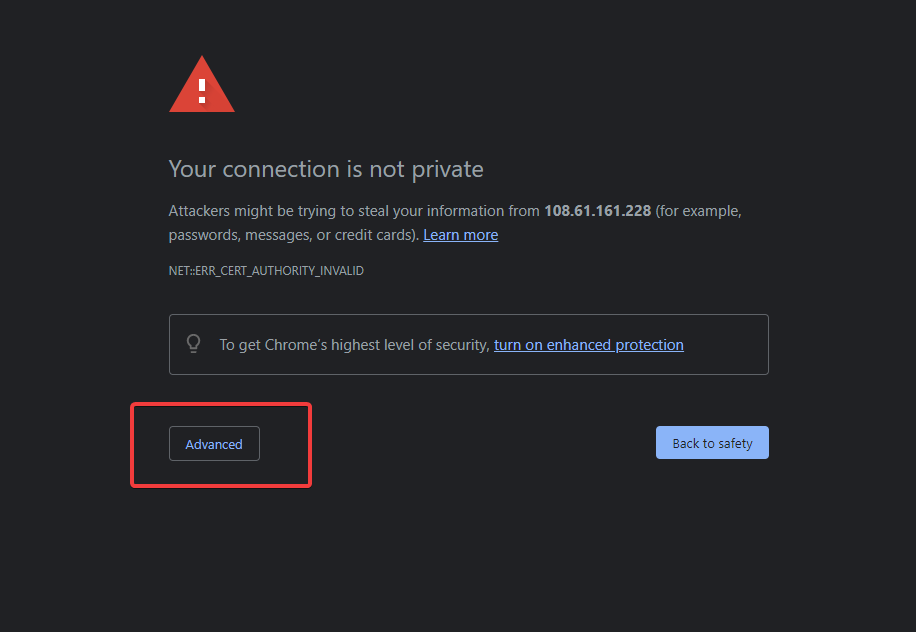
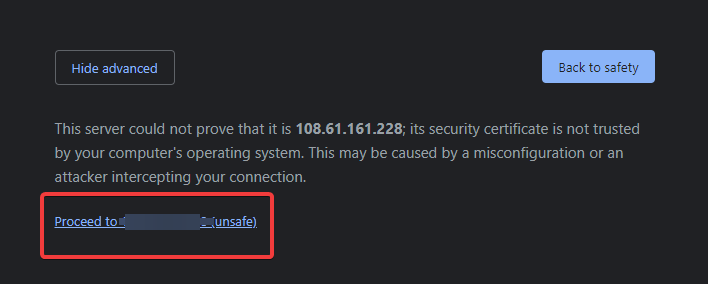
Expect a warning saying Your connection is not private, which is normal due to the absence of SSL encryption. To proceed, select “Advanced” and then “Proceed to…(unsafe)“.
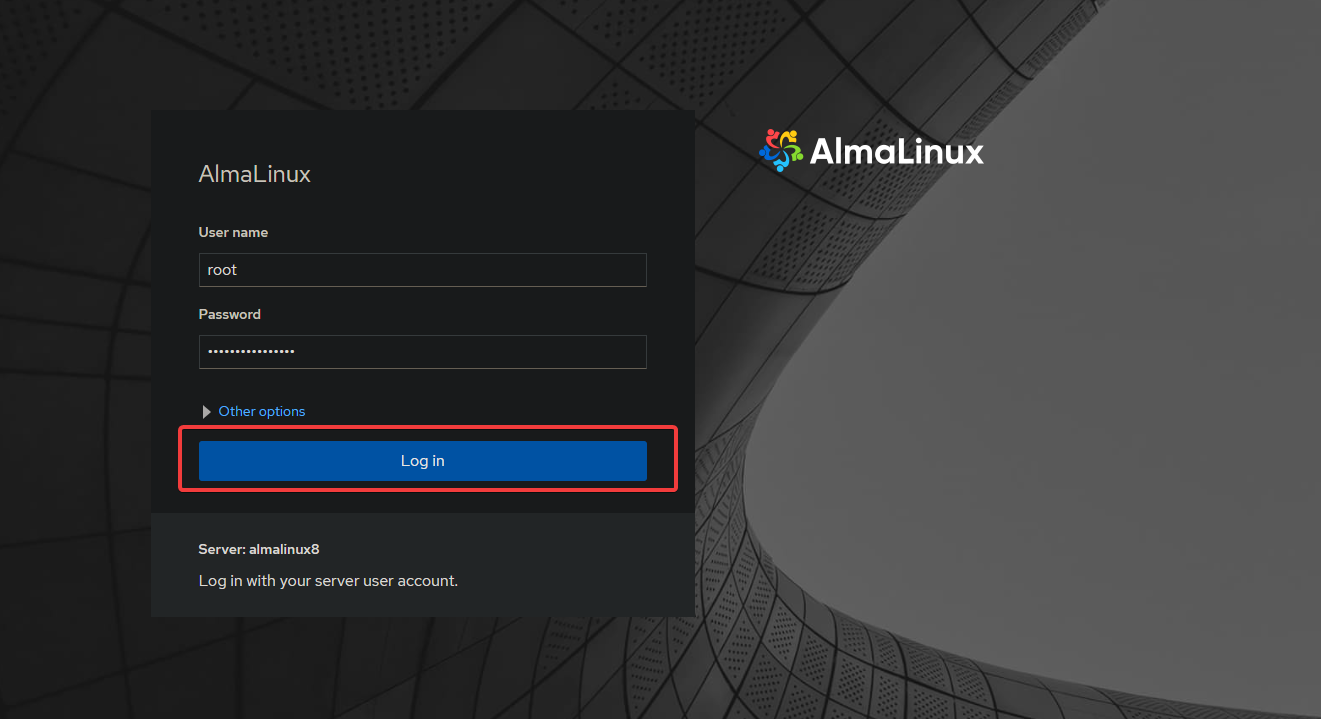
Log in using your root credentials, and you’ll be directed to the Cockpit dashboard.
Upon successful login, you’ll arrive at the Cockpit dashboard. Here, explore detailed system information like memory usage, disk performance, network connections, and active processes.
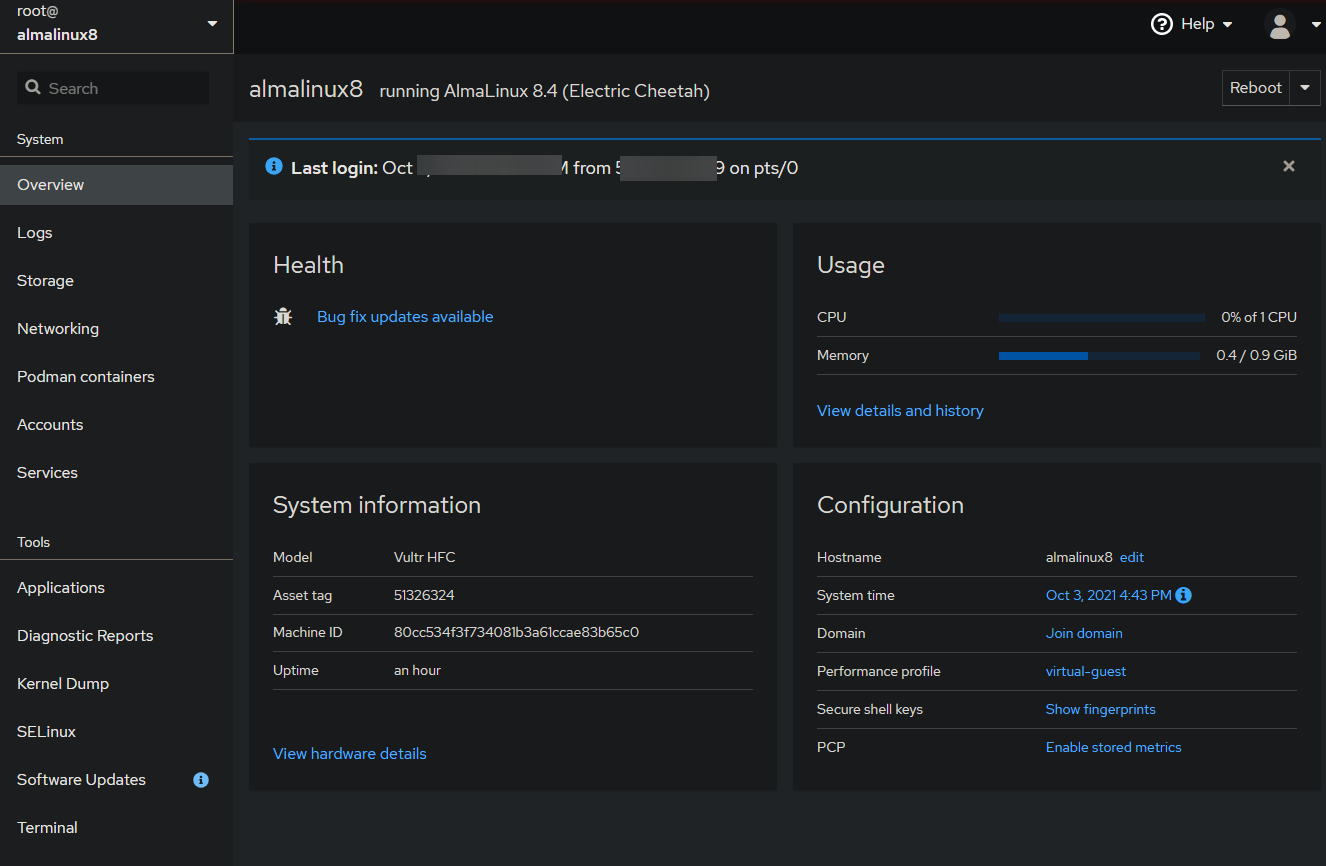
Congratulations! You’ve set up Cockpit on your server. Dive in and explore this powerful interface for system management.
For further details, refer to the official Cockpit documentation.
Conclusion
This guide has shown you how to install and access Cockpit on your AlmaLinux 8 server. For any questions or feedback, feel free to comment below.
Frequently Asked Questions (FAQ)
What is Cockpit?
Cockpit is an easy-to-use, web-based interface for managing Linux servers. It streamlines administrative tasks and offers extensive monitoring capabilities for system resources.
Is Cockpit secure?
While Cockpit offers a secure connection on port 9090, it is recommended to configure SSL for enhanced security, especially in a production environment.
Can I use Cockpit with other Linux distributions?
Yes, Cockpit supports various Linux distributions besides AlmaLinux, including Fedora, CentOS, and Ubuntu.
Do I need to be a Linux expert to use Cockpit?
No, Cockpit is designed to be approachable for users of all skill levels, providing graphical representations and easy access to common administrative functions.
